I am having the WORST experience tramming this machine. I have the Boring Research dual dial indicator tramming gauge and I’ve spent about 4 hours so far trying to get my Z axis trammed. Anyone have any tips or suggestions?? I know there isn’t an eccentric nut anywhere, which would be nice, like I have on my Shapeoko and my AVID CNC.
1 Like
I’ve seen a number of people have good success tramming the router on here. Someone posted a idea and picture on the Facebook group about using 123 blocks to help
Hopefully this week will take you to the thread there!
Hey Lane… Here’s a quick video showing how I do it… https://youtu.be/VGVYXyECEXI
I basically just loosen the 4 Z-Slider mounting screws, twist the Z-Slider until it’s square then re-tighten one screw. While tightening the second screw I hold the Z-Slider in place to ensure it doesn’t move. Once I’m happy I tighten the remaining screws. If this doesn’t work try surfacing the waste board first then tramming the Z-Slider. Hope this helps. If you need more assistance please let me know. Talk soon…
8 Likes
What is that leveling tool? It looks great.
3 Likes
Just looked them up on Amazon… only thing is they start at $80 and go up to several hundred bucks.
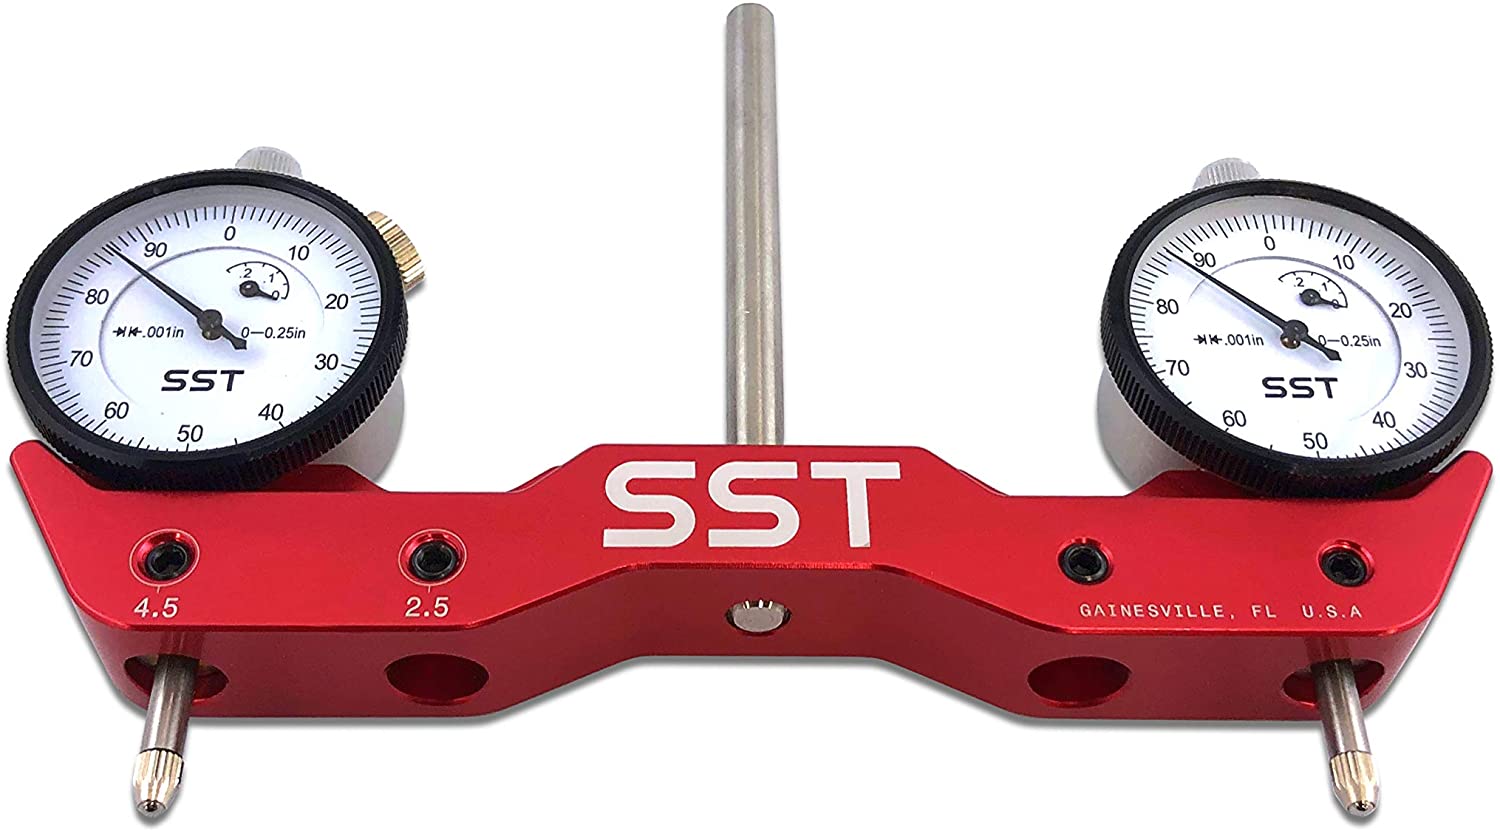
I have the one from Boring Research and it was $99. WELL worth the money trust me
1 Like
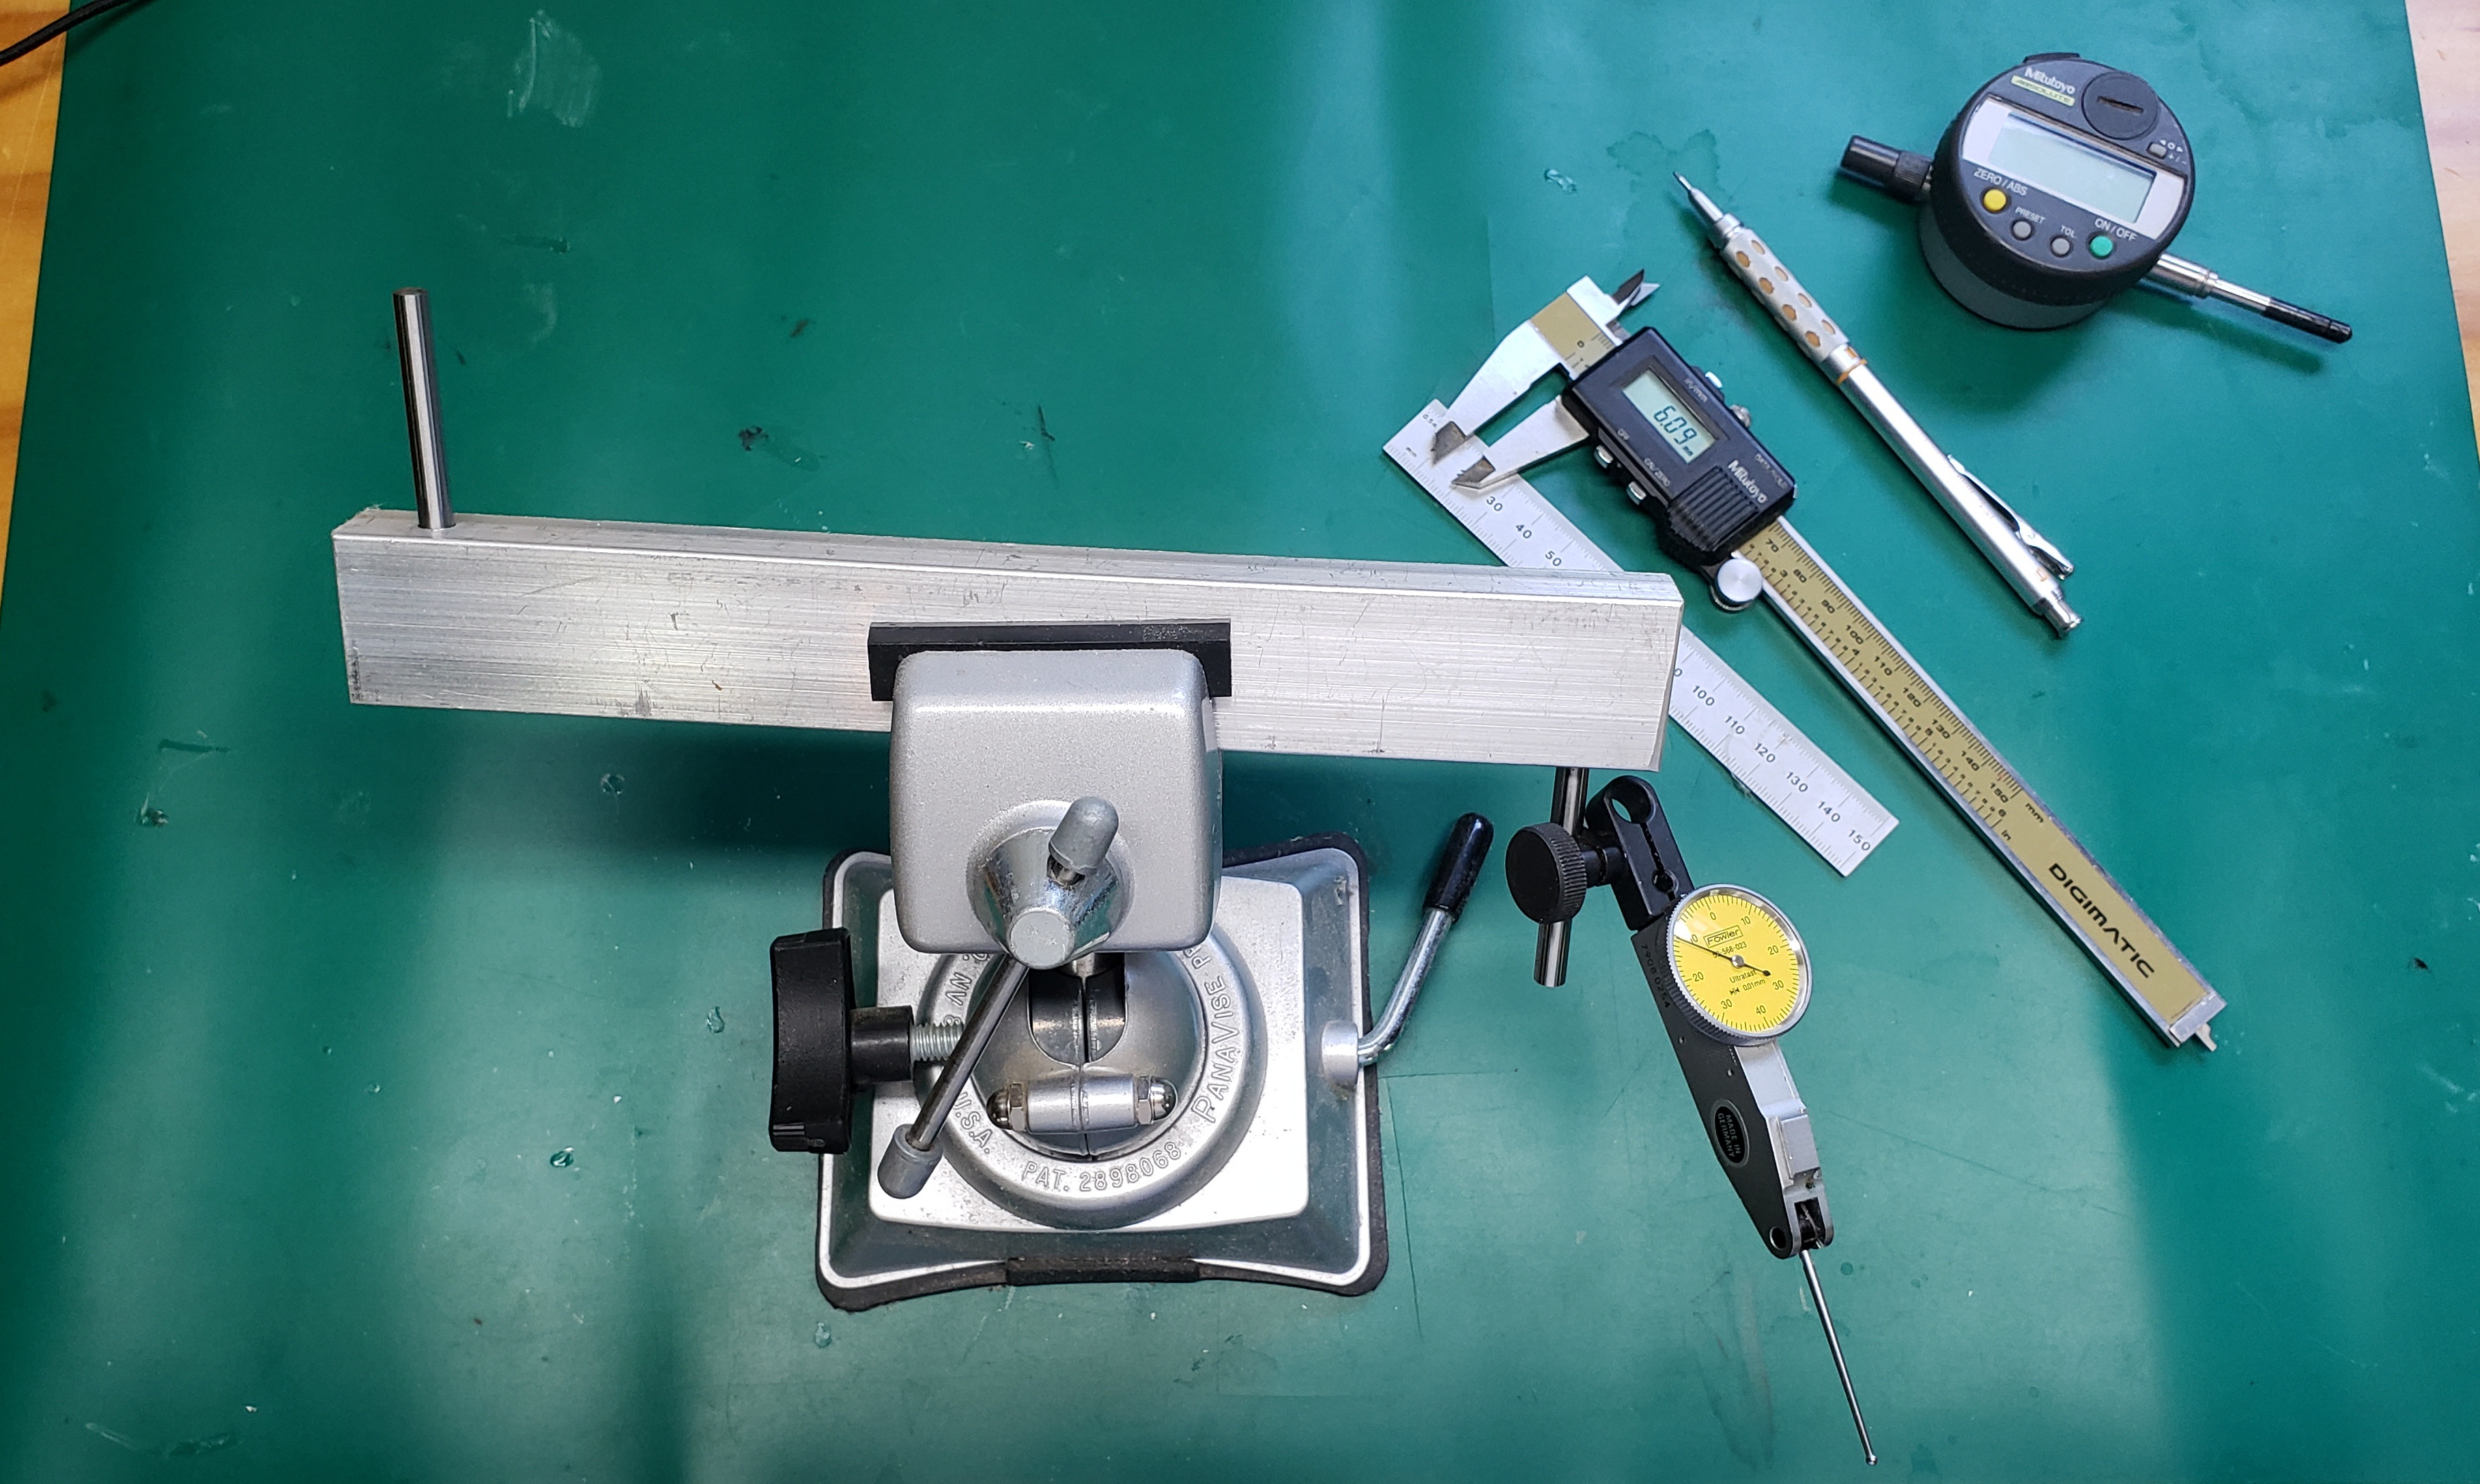
You can make one that will work just as well. Heres mine. You don’t have to make it out of aluminum and you don’t have to have a dial indicator, you can use a a long screw and some shim stock. I’ll try and make a video when I get home. I just got my waste board flattened yesterday and im eager to see how accurate it is.
Renting My New Tramming Tool
If anyone has interest in renting my brand new Tramming Tool for a few days. My thought is for $45.00 you can rent it for a few days which would include me sending it to you via USPS Priority Mail along with a return Label.
Would anyone be interested if I do this? It would save you spending the $80 on one.
Hit me up if your interested. Unfortunately shipping both ways with insurance cost with me ~$21.00 which is why the price has gone up to $45.00 now. Got to love the USPS regular postal rate hikes!
-Alex
1 Like
So I had never used a Tramming Tool (let alone heard of one) before and I was on the fence in spending $80 on a tool that might only have 1 application. Turns out… it was money well spent.
I used a T-Square to install my Z mount originally, sort of using the natural bolt travel to install it. It looked like it was dead-nuts, I saw zero light along the edge of the mount and square… I was WRONG.
Well my Tramming tool came yesterday and I quickly found out my Z was tilted clockwise 210 thousands of an inch (apologize I know that is not the correct nomenclature). After adjusting I was able to get my machine to within 17 Thousands of an inch to perfect. (without shimming the router body that is as close as the bolt holes will let me twist it. For what I’m doing that is WAY close enough.
The bit sounds when cutting rock maple is much less “scream’ie” (technical term) ![]()
Let me know if anyone wants to rent my tool, if not no biggie.
Cheers’
-Alex

2 Likes
I just tried trimming using 123 blocks and only made it worse than my initial setup of eyeballing with a machinist square. It’s not bad, but not good either. Going to try my hand at making a dual indicator trimming tool.
1 Like
Wow, .210" is an incredible amount to be off over a span of, what, 6" from indicator to indicator? Did that tool come with a calibration jig of sorts to zero both indicators?
1 Like
it self zero’s with the set screw and then you just rotate the bezel to 0. Yes you can space the gauges at different spacing if want.
2 Likes
Just saw this video on using a digital angle gauge for tramming. I have one already so am going to give it a shot.
 vs Mini Pro Tramming Tool ($100)")
3 Likes
That seems like a viable method of ‘tramming’ (not ‘trimming’). The only thing I don’t like about this method is that the angle gage is getting zeroed across a localized 2" section of wasteboard, so the accuracy is questionable. I think it would be better to zero the gage across the top of a good 24" or 36" straight-edge to average out the surface. Would also be advisable to use a 1/4" dowel pin instead of a cutter for better stabilization of the tool. This would also lend much better accuracy to the 1-2-3 block method.
1 Like
Oops…autocorrect.
The method doesn’t look perfect, but worth a try. I was surprised with my ~$15 digital inclinometer how repeatable it was.
3 Likes
Sorry I am new to all this… Do the machines not come, for the lack of better terminology pre-calibrated where we attach a router to the head and it should be square. I am sure not 100% square but close enough for the hobbyist. Is it super critical to Tramm?
1 Like
Tramming is not “critical” and yes if you mount it as instructed it is very close to perfect, especially if you use a square when doing it. Tramming is something you can do to get your machine without a few thousands of an inch from perfect. In the end for the 90% of users that is totally fine.
Sure having something dead nuts is great, but if you follow the instruction video for setup, you’ll be just fine. I alike it to sure going 100mph is great for most people with an average car… but there are those who like to push things to the extreme and go as fast as possible.
Hope that helps, but do not worry if you don’t do this you will probably never know the difference. I went 4 years on my prior CNC and never even knew what it was… and I’m still here typing to you today.

-Alex
5 Likes
@MindOfMcClure Thank you! I like to things to be 100%, but as a beginner, after reading this post, I thought I might mess up things the machine was not true 100% and not “Trammed” properly. So, thank you for your reply.
2 Likes
Alex is correct. Tramming is something you can revisit at a future time after you have a better understanding of how everything works.
3 Likes
Does your offer still stand to rent your gauge?