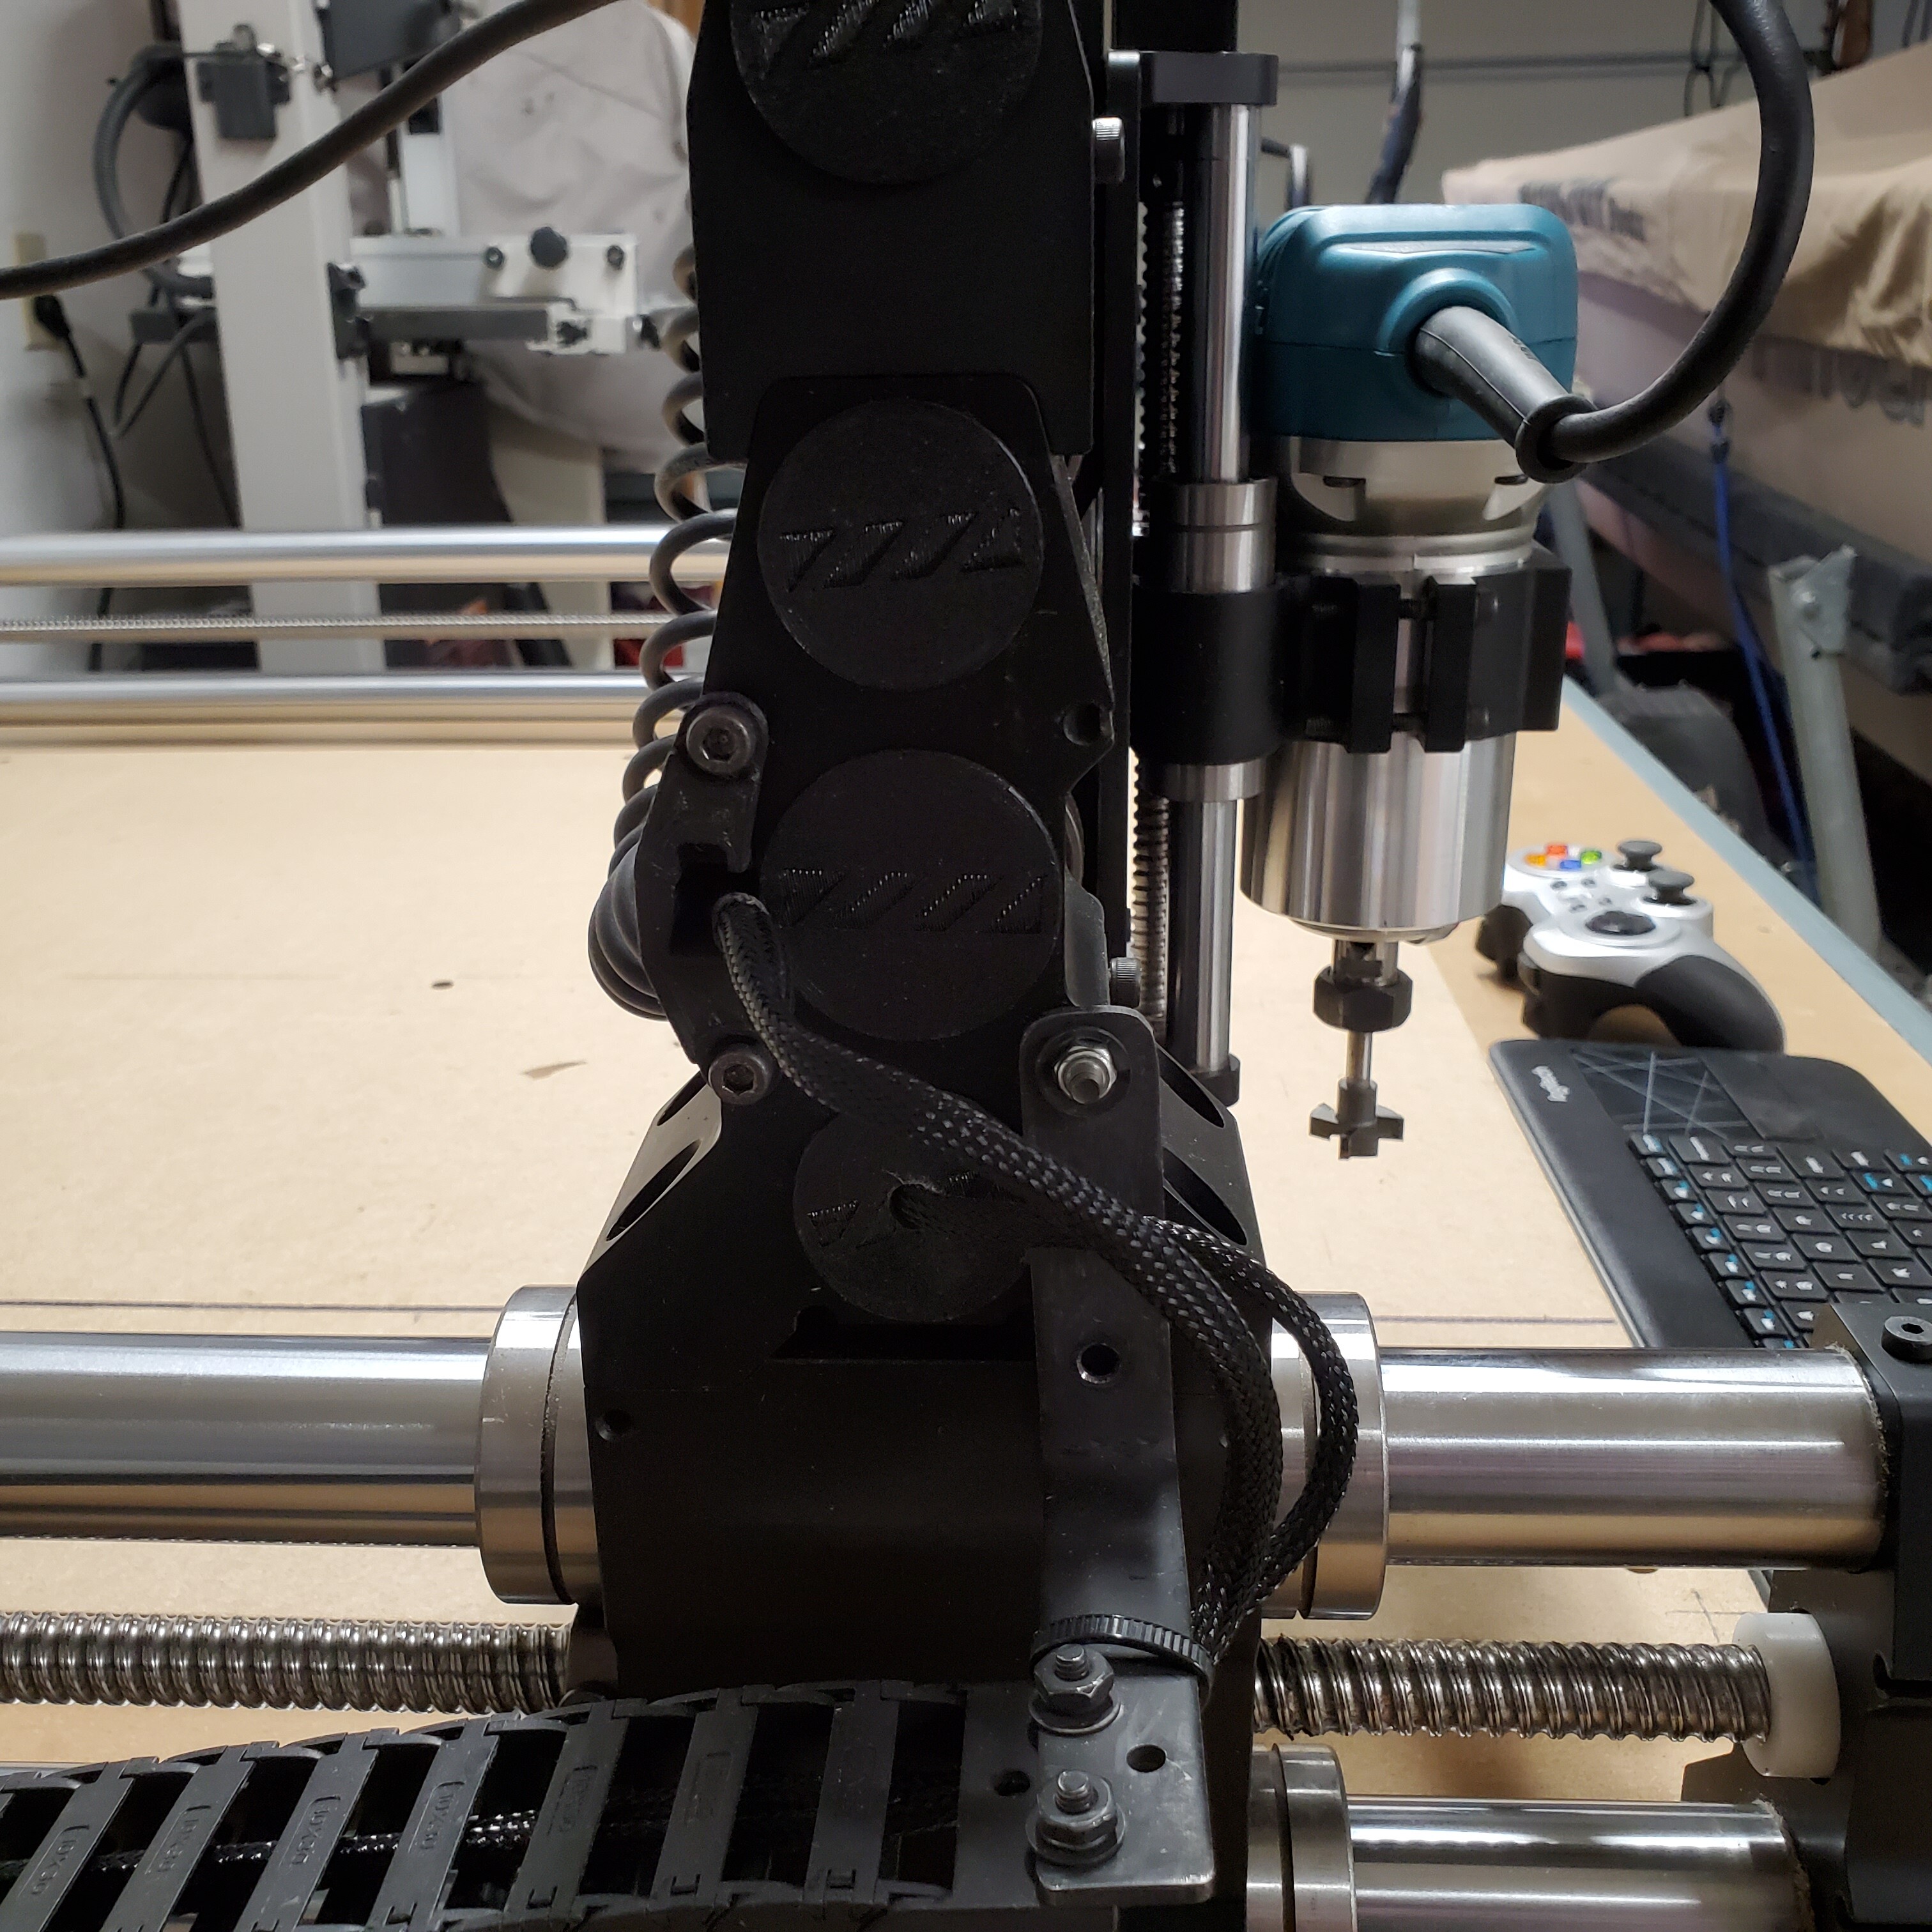
Wiring completed with a major screw up!!!
The wires in the tubes are actually there for a polarity change between the stepper motor and controller. So now I have to figure out where and what the changes where, then make a new polarity change wire harness since I clipped connectors off. Once that is done I can rerun the wiring and connect to controller. Should have paid better attention to this before hacking things up. Onefinity did advise me tonight that there is a polarity change and that is why the cable was there and that is why the machine is not working.
Hopefully this will help someone else out and save the headaches.
I agree with BJ
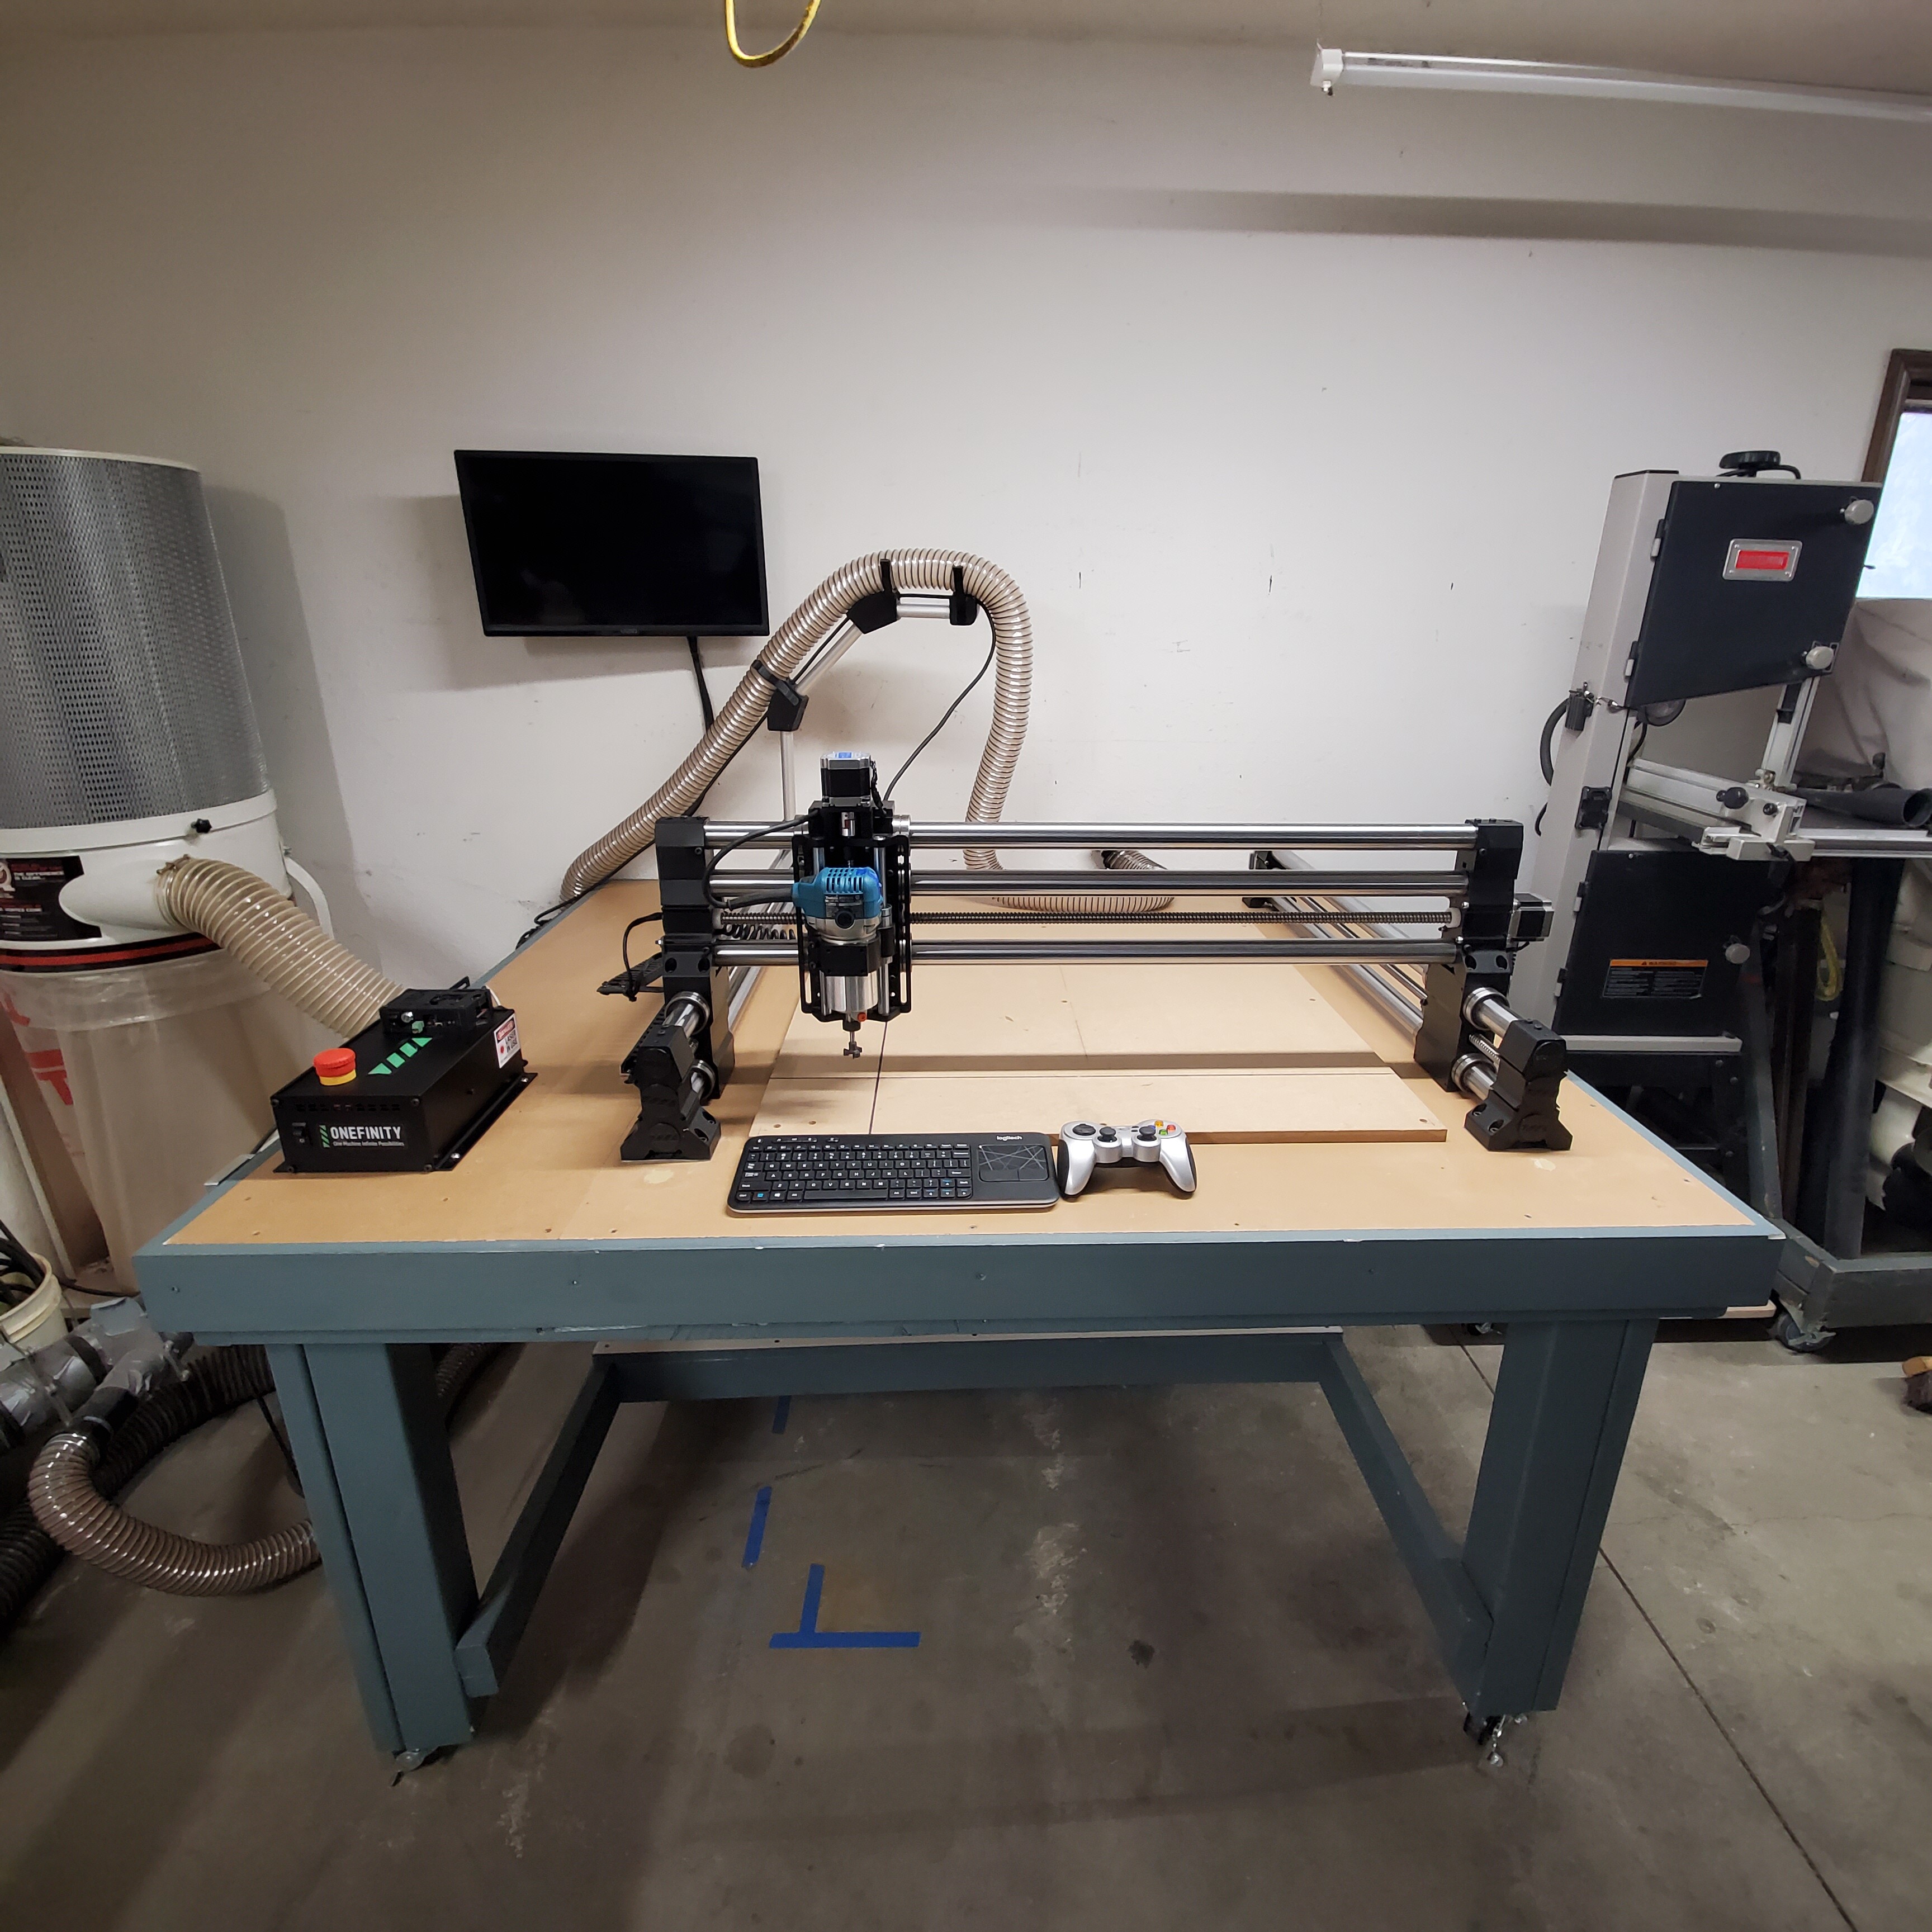
Do not get the wrong impression from this or any of my posts. The machine is awesome and this is not a necessary change just one I wanted to do. Onefinity support has been there all the way supporting me in this.
I fear that many of our own modifications may look poorly on potential buyers of a Onefinity when in fact it is our own doing and support has been awesome in supporting us modifying the machines to our workflow and our workspace. I think we should make a point to call out on our posts when we are suffering because of our own excitement in trying to make the machine our own. It seems like an accepted practice with any of the hobby cncs out there but I was shocked how many people were doing heavy modifications to a brand new machine. Being new to it I am happy as is but of course I am now seeing little tweaks to my space and workflow that would be nice to have and starting to tinker with things.
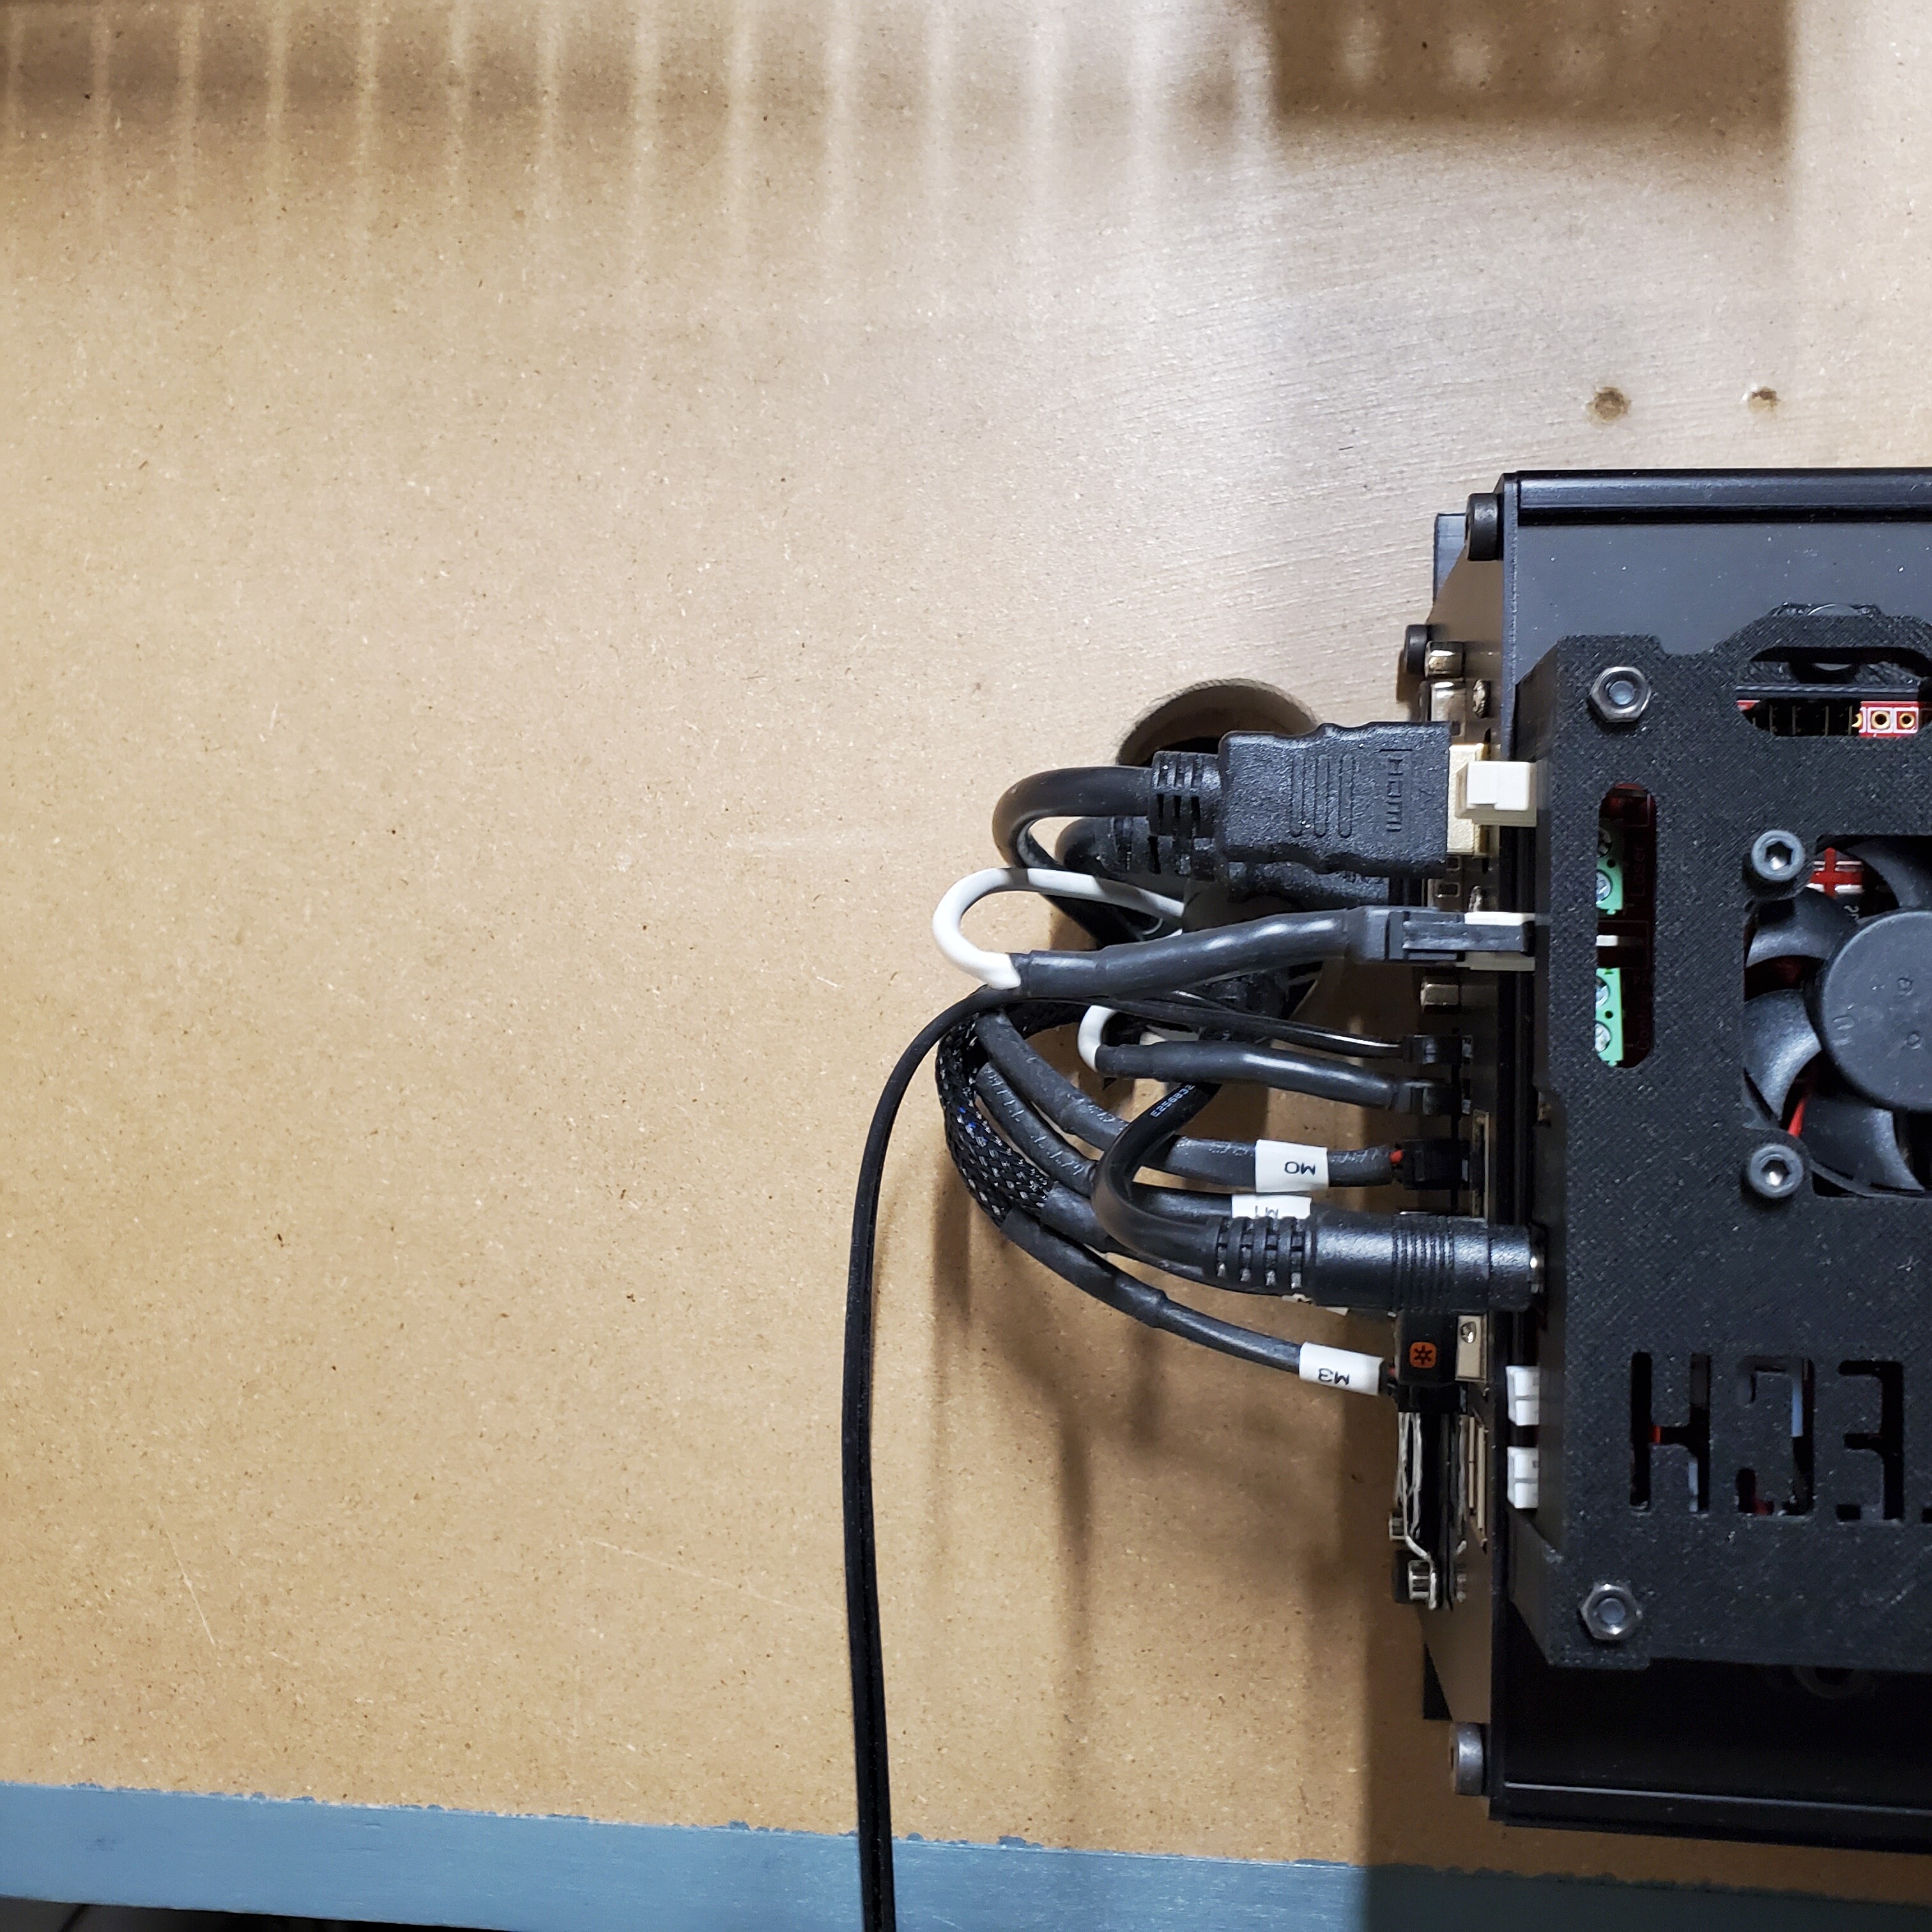
Final update on rewire
All i can say is what an amazing company!!!
The few little issues I had in completing this process was greatly supported by Onefinity.
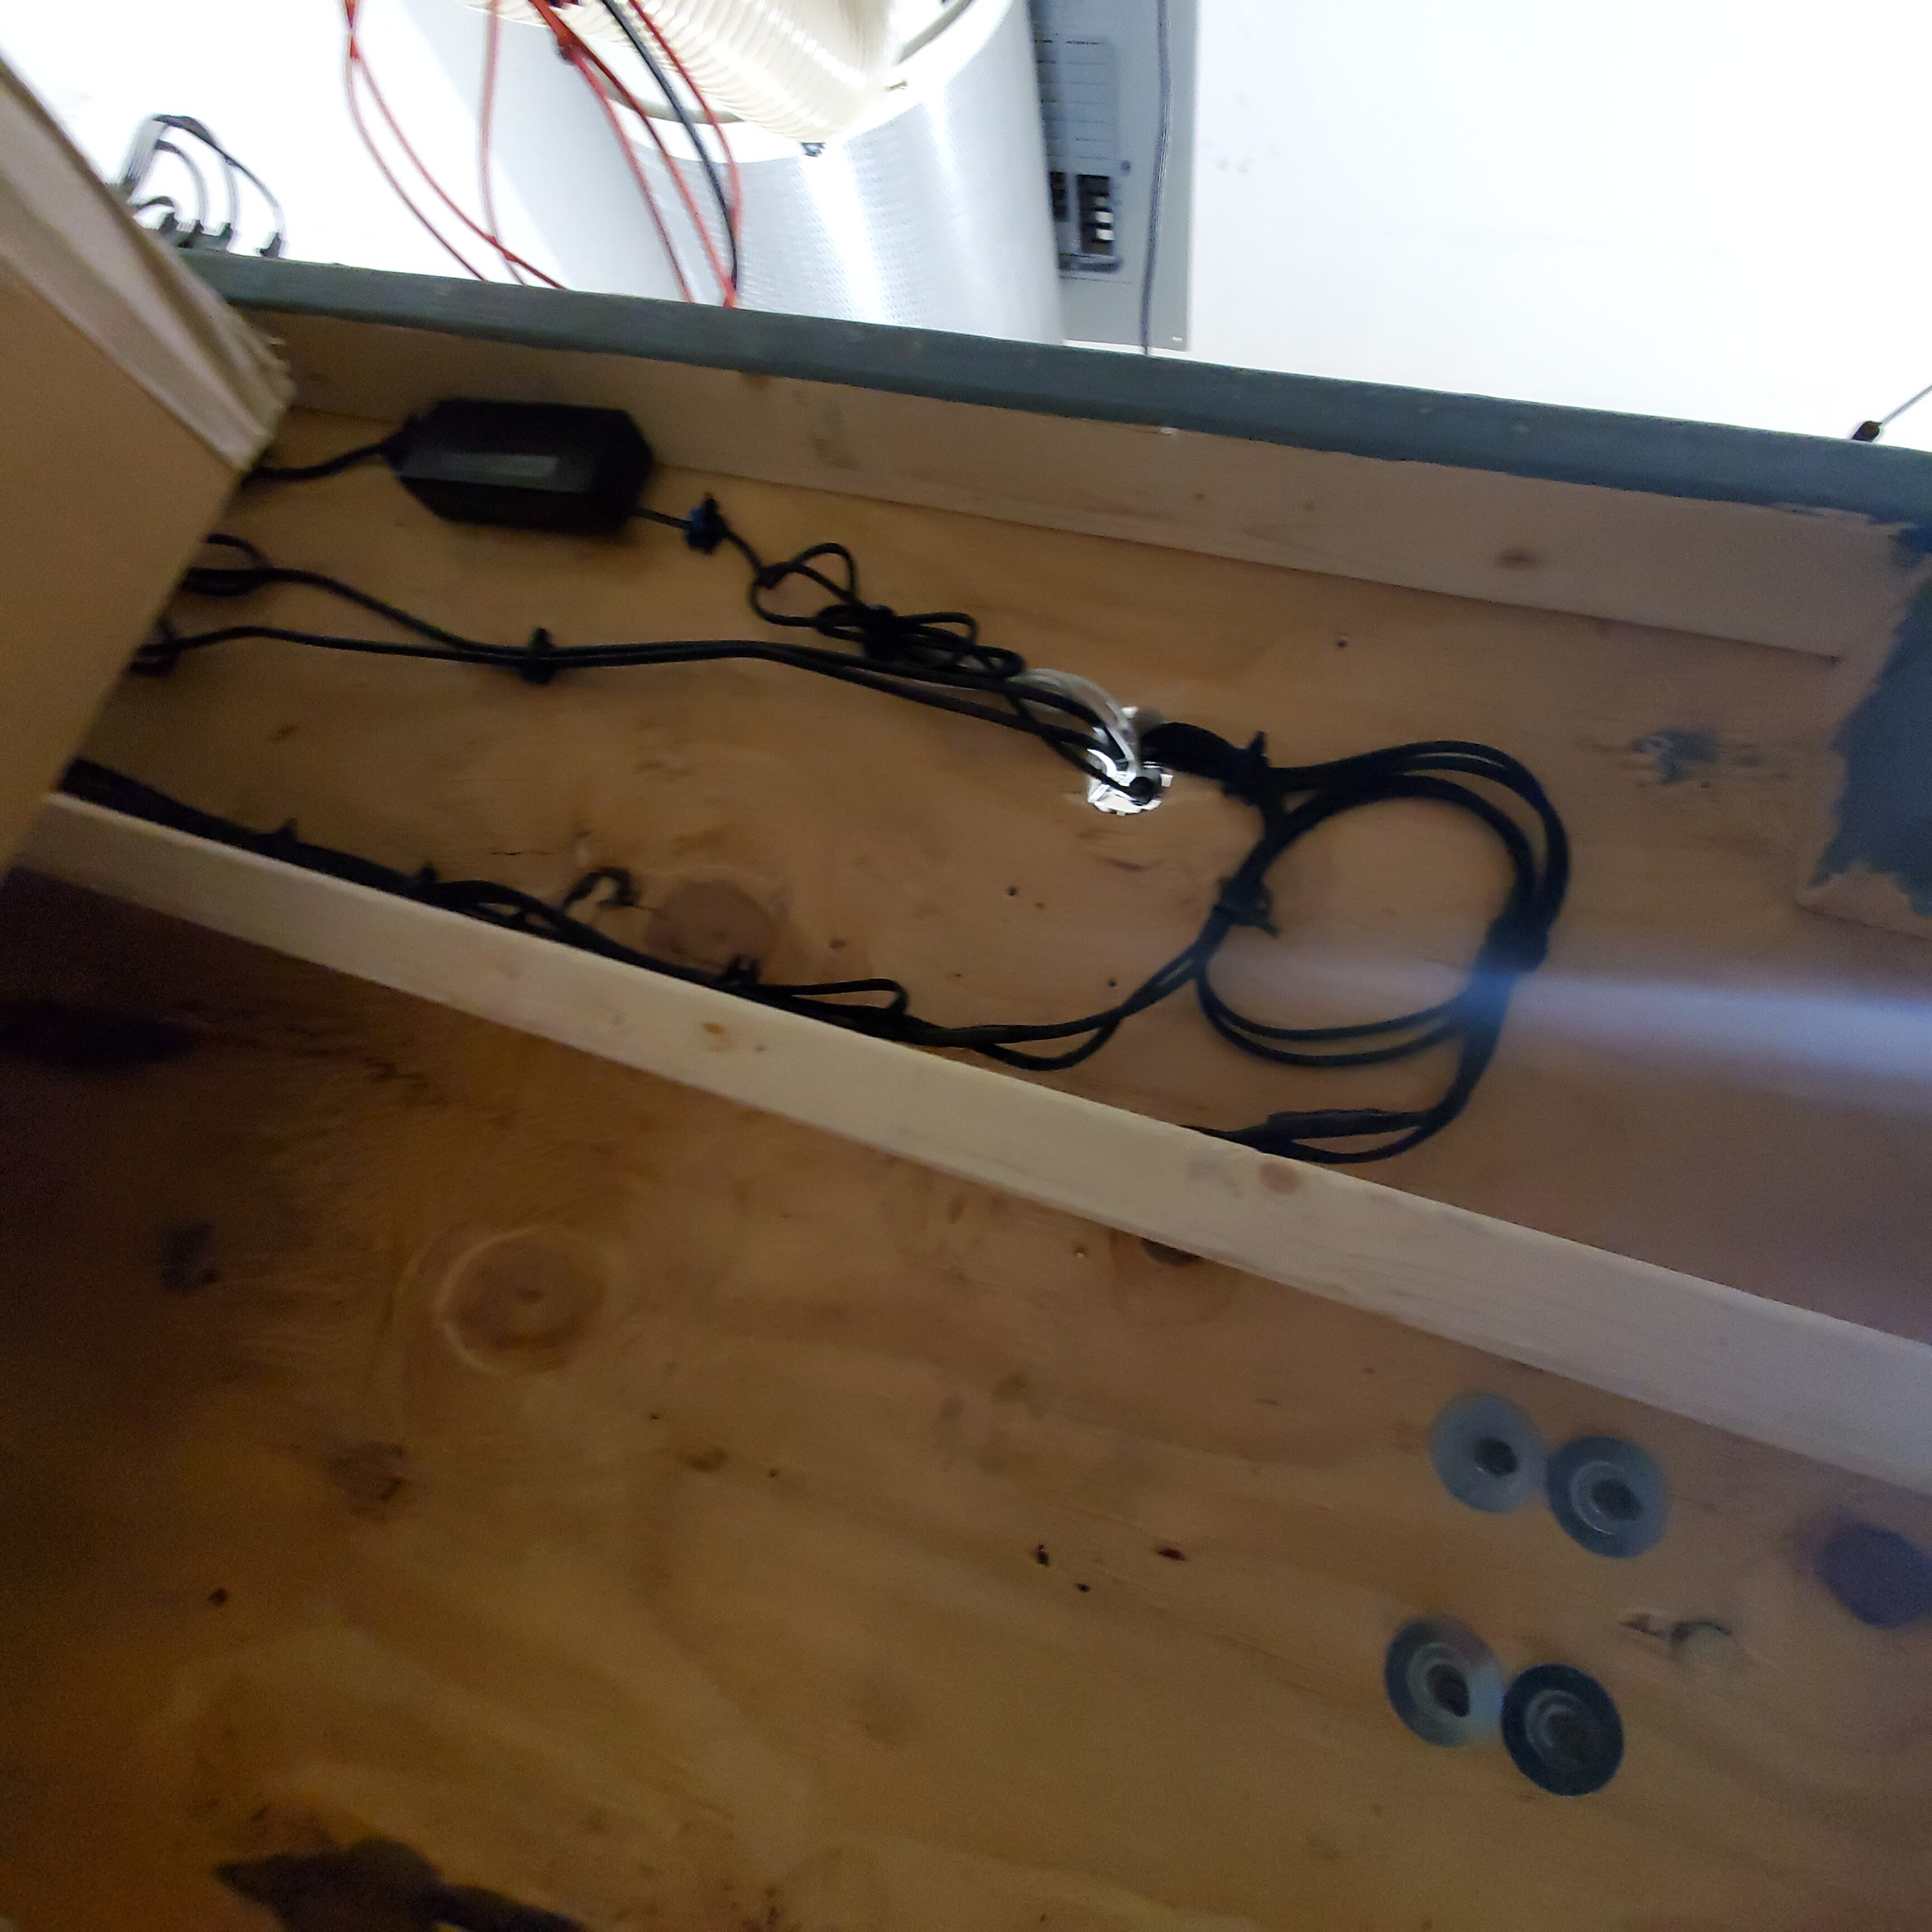
The results amazing only connectors are at the control itself everything else has been soldered, heat shrinked and cable wrapped. Everything routed neatly beneath the unit table have to love OCD lol. The machine has not skipped a beat or any homing or jerky issues. Now time to do some projects.
@KTH71 I am considering rewiring the Y axis motors similar to how you did. Does the 3D printed molex connector housing remove from the Y tubing via the two screws under the front supports for the machine? Curious about this before I unbolt my machine from the bed to get to try it out. Thanks.
Yes they unscrew and then the plug comes out in 2 pieces. I put the screws back in so I didn’t lose them. Unfortunately have to take the machine down and reset afterwards
Thanks @muddyfeet I 3D printed all the files, watched your YouTube video and it worked great. I ordered some 18/4 security alarm cable with 4.2 molex 4 pin connectors and rewiring was fast and easy. I also 3D printed the drag chains so they fix nicely. I added a small piece for zip ties cut the router cable, bought a 12’ extension and two 2 prong ends. Made putting the power through drag chains pretty easy and the router can easily be removed and even used for something else quick. Lastly I 3D printed a bumper case using TPU for the LCD and printed a case for probe and a few other tools. as soon as bits come I’m ready to go!
@Hermsen.BJ this looks perfect exactly what I was thinking, also not having access to 3D printer.
What was the total length of the drag chain, my 1F not arriving for another 4-5 weeks so I’m trying to get all the bits I need.
Hello all! Like others, we have yet to receive our 1F yet but wait anxiously for it later this month.
In my past working life, I worked with machine tools/robotic systems having drag chains. Often we had to replace the drag chain wiring because the cables/wires were not flexible enough to withstand constant repetitive axil movement and would break.
Has anyone considered using ultra flexible wire to head off future problems due to that possible failure mode? Something like these silicone ultra flex wires come to mind and might be a benefit, would it not?
Yep as I am also a equipment automation Eng. that’s what I am using and running them through this before running it through the drag chain. I have had to replace to many myself.