Hey anyone have any experience using diamond drag bits on there Makita router?
I suppose you dont run it and you just have your machine drag at a certain depth.
Any suggestions for someone starting out? Brand of bit? Depth?
Planning on etching .4mm annodized aluminum.
Thanks,
ARC CNC
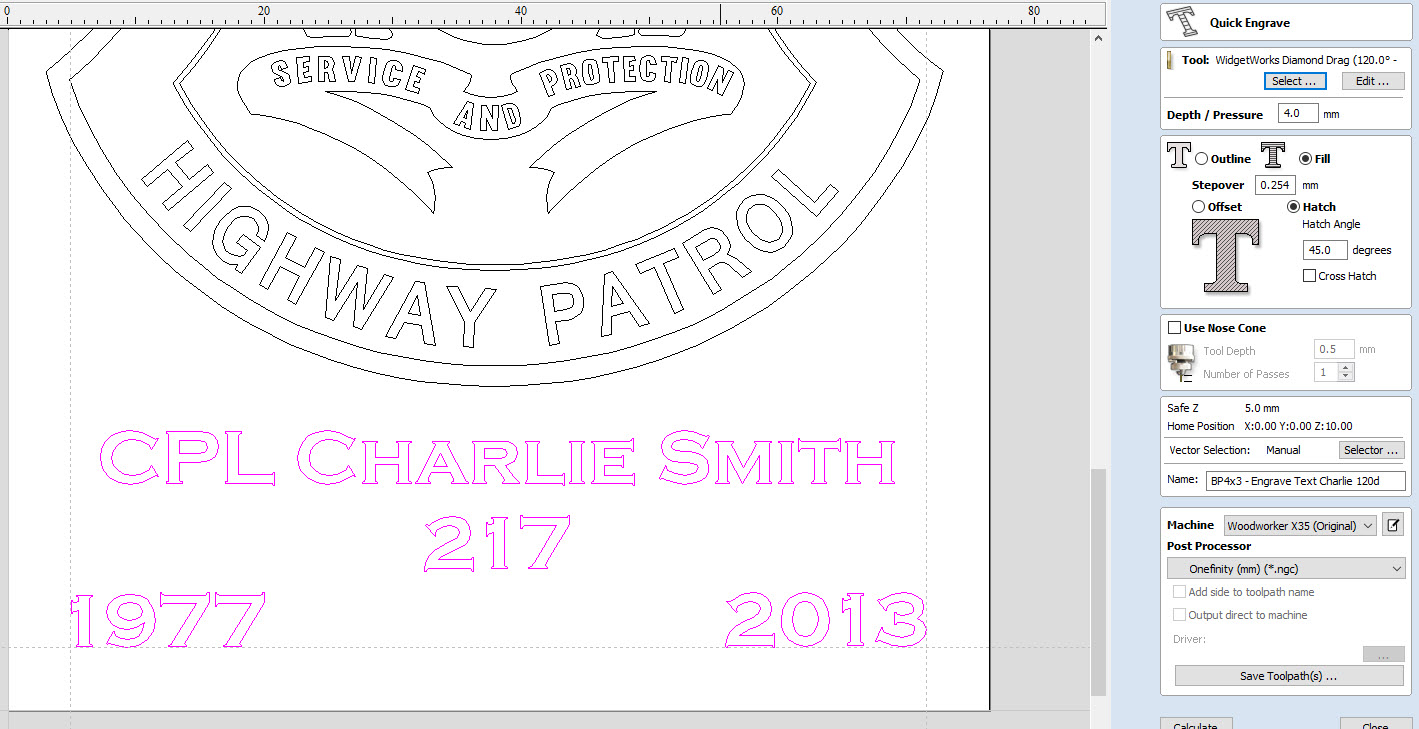
Below are the settings I have found to work well when engraving into brass using a WidgetWorks drag bit. Noting that the project I created below is 4 inches total overall height, and the badge itself being about 3 inches tall. The largest letters for the person’s name (e.g. capital ‘C’) are a little over 1/8" (4.6mm) tall and wide.
To engrave both the outlines of vectors and perform a type of “fill” operation inside the vectors, you can utilize a “Hatch” operation.
If there isn’t enough space inside the vectors or you simply want to engrave just the outlines of the vectors, then use the operation with the same name.
In the example screenshots, I use a 90-degree tip for small details or outlines only. Alternatively, you can employ a larger 120-degree tip for outlines, which “should” result in wider or thicker lines.
I utilize the 120-degree tip for infilling or “hatching” the vectors with the “Stepover” setting shown, which I find visually appealing and emphasizes the engraving process itself. This creates a pattern that reflects enough light to look good at all angles and provides enough texture or “feel” when touched.