Probably. That likely creates shadows or doubled up lines due to the distance between the edges.
I’ve used laser engraved versions before so I know they don’t need to be printed.
You might want a shallower engrave and use a steeper v-bit like 30 or 15 degrees. Also don’t use a VCarve operation - you just want to engrave along the dots/squares not the spaces between them.
Actually I know almost nothing about a vegan diet. I will check out some of the foods you mention, perhaps I’ll like some of them. I’m very happy I got many comments on my project, both serious and tongue-in-cheek. They have made me think that I should make my Christmas table name card even more personal for each family member. That is, instead of using the same picture with a different name, pick a picture special for each person. I don’t have a big family but I better get busy.
you are right, the more you make something individually for a person the more it is appreciated (I often heard that when people throw things away after their birthday )
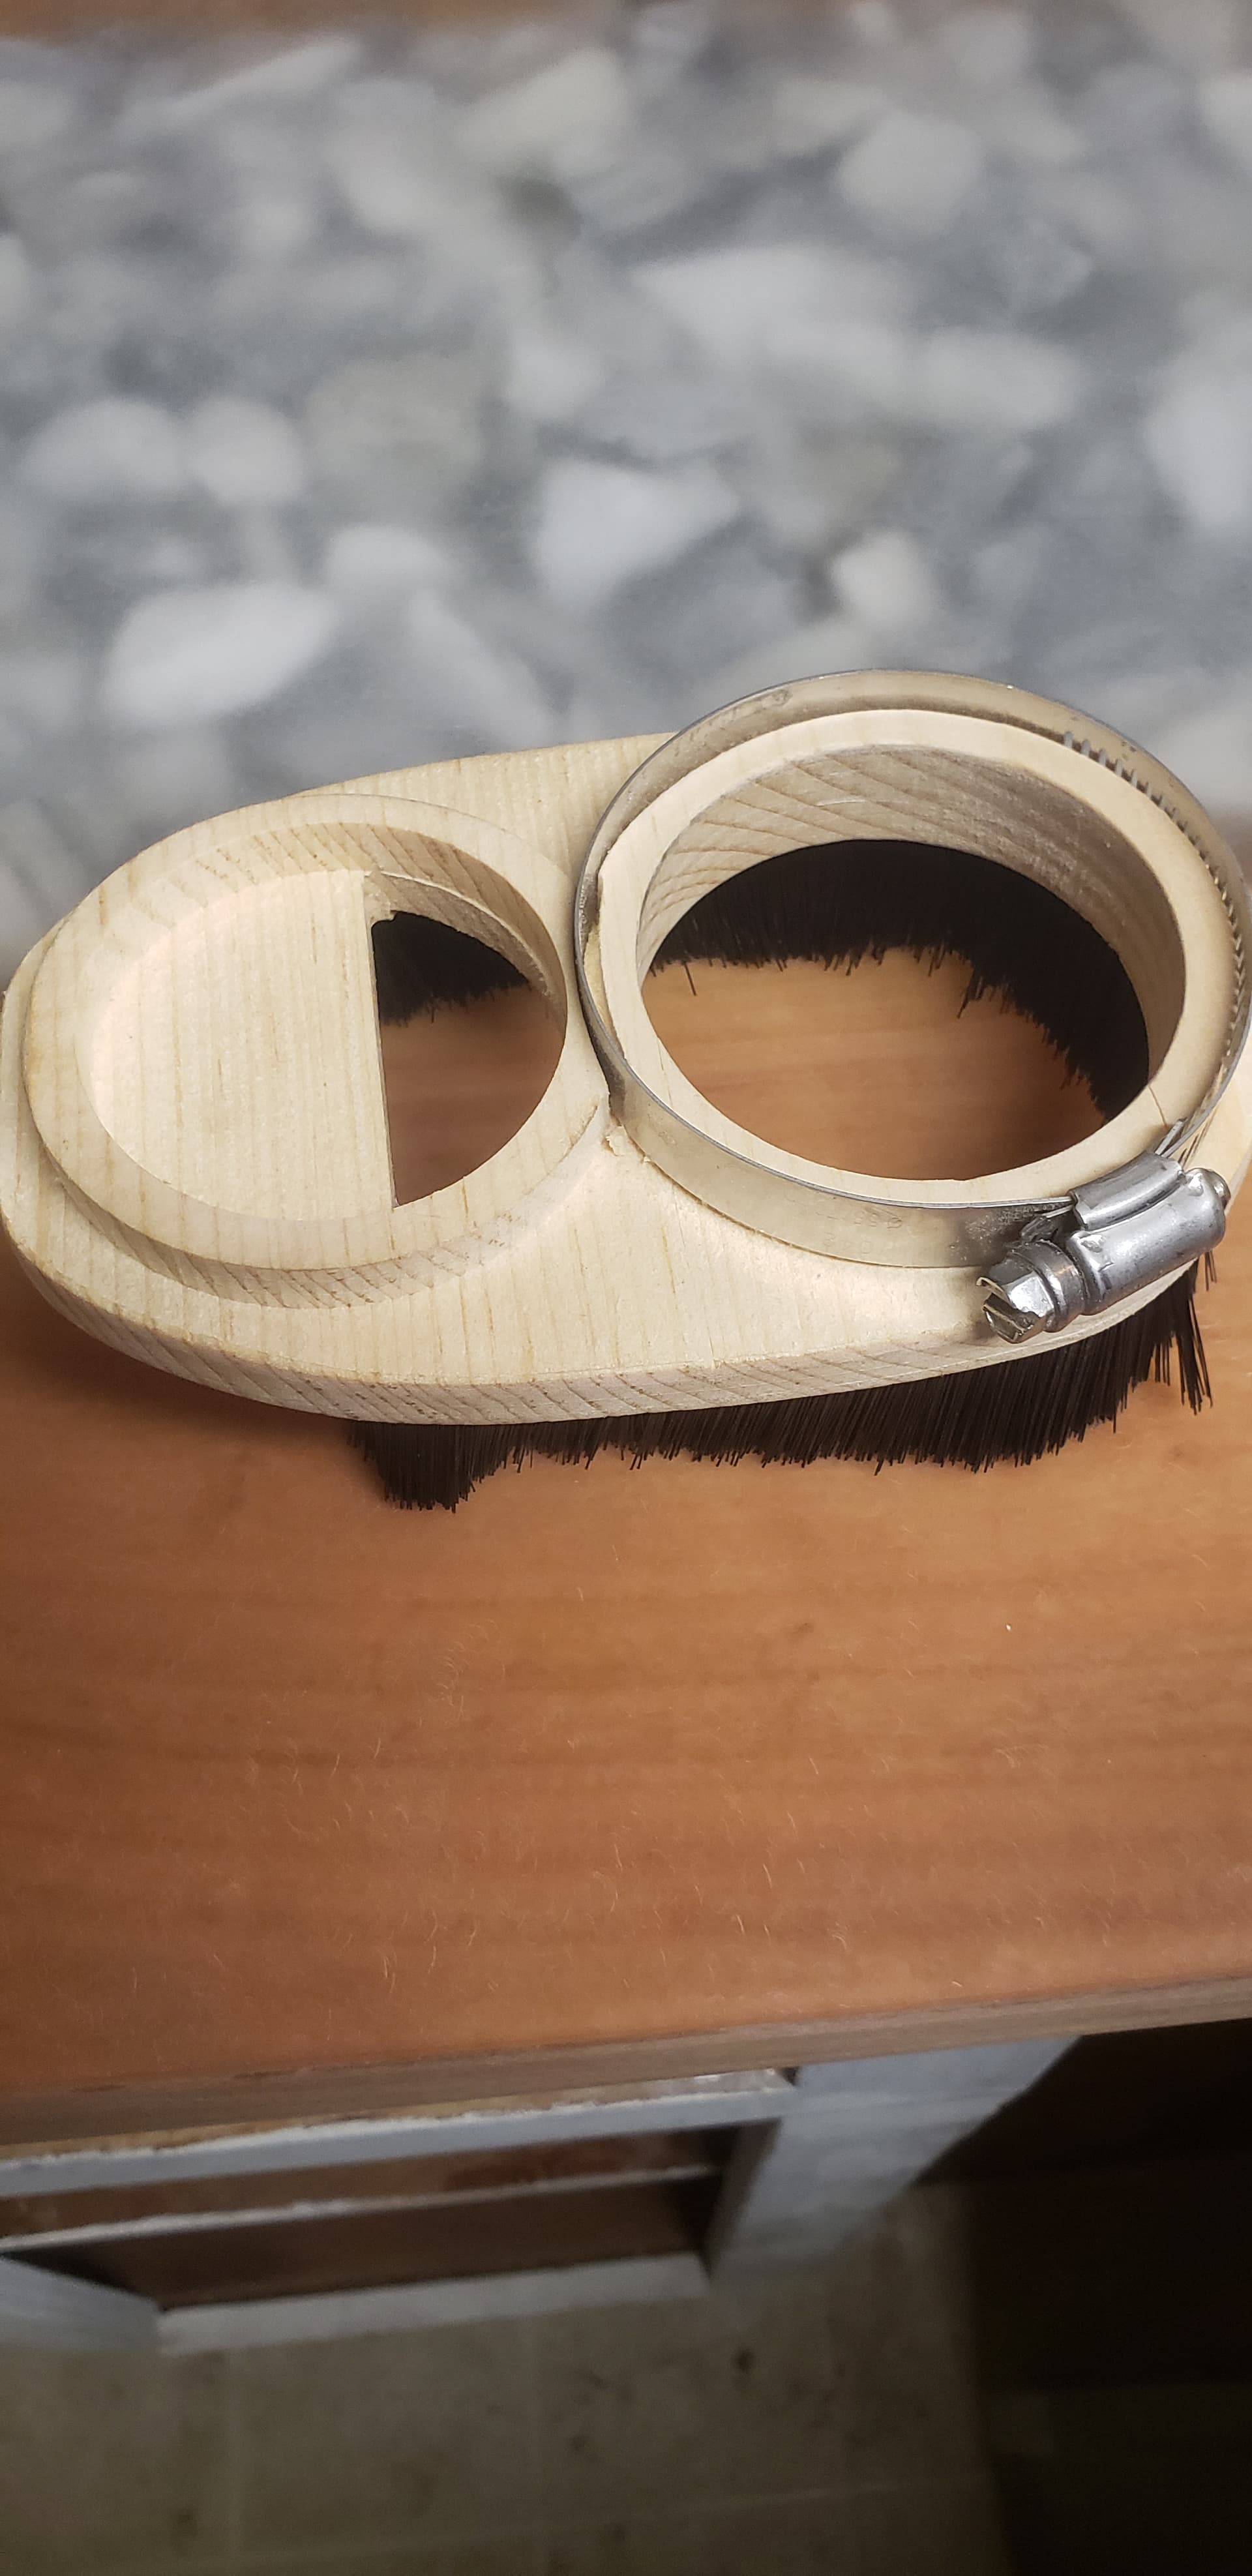
Got tired of breaking dust shields so I designed my own clamp style dust boot made from wood. This way if I break it I can just print out another one. I designed this to use the skirt from the suckit dust boot i already had so it fits perfectly around the bottom. The router uses a pipe clamp to keep it tight. The up pipe is made for a 2 inch vac hose.
Thanks for the advice on the cuts. As far as not using a v-carve operation should I cut on the lines. I’m not sure what you mean by not engraving the spaces in between? I’m also not sure if I should cut on the black part of the code or so the inverse and cut out the white. What do you think?
A V-Carve operation in VCarve cuts the spaces between vectors to provide the V shaped cut & the squared off corners you see on incised lettering.
But a Profile or Pocket cut using a V-bit can give you a very fine (narrow) cut with just the point of the bit. The resulting width of cut is directly related to the angle of your v-bit with something like a 15 degree bit very fine to a 120 degree being wider at any given depth of cut.
V-bits can be used for other types of cuts than just a standard V-Carve operation but folks often associate the bit & the carve and don’t use them for other things. They have great value in the very small point they have to make lines & such. I’ve also used them to create bevels on the edges of pieces so I could mate pieces together for mitered box sides. A 90 degree v-bit can create a 45 degree mitered bevel.
For a QR code I would mask it (blue painters tape is fine or Oracal if you have that), do the carve and then shoot it with some dark or black spray paint. In that case I’d do the dark parts. If you paint first you don’t need the masking and can carve the white parts.
QR codes rely on the contrast between the light & dark sections and have some pretty significant redundancy built in so it doesn’t have to be perfect - that’s why sometimes you see codes with images or things in the center of the code.
Whether you do a Profile or Pocket cut will depend on how small your code is going to be on the material. You probably want to experiment a bit.
I was going to mill a dust boot out of HDPE plastic - but before I did I decided to 3-d print it as a prototype. Turns out the 3-d printed version works great, and I’ve never gotten around to carving out the HDPE version! I put my design up on Thingiverse: OneFinity 4-inch Dust Boot by gopher5 - Thingiverse
Crokinole. Google it, and it reads like a Canadian national sport. Those winter nights must be long and cold —a bit like tabletop curling. Anyhow, I am testing my families ability to continue to say, “oh how wonderful, Dad, another wooden game”.
This is the prototype. All cut on the onefinity, even the mitred boundary (when you have a hammer, the whole world is a nail).


 )
)