I have the same personal reconcilliation challenge, many things can be built by hand that can machined by a cnc and visa versa
I square it away by thinking that comparingthe CNC to a table saw is not too dissimilar to comparing the table saw to hand tools. Also that a large part of the effort is the design and toolpaths which is a skill not many have. The next big effort is the finishing. if you happen to make the design parametrically you have the ability to cut many variants of the drawers…
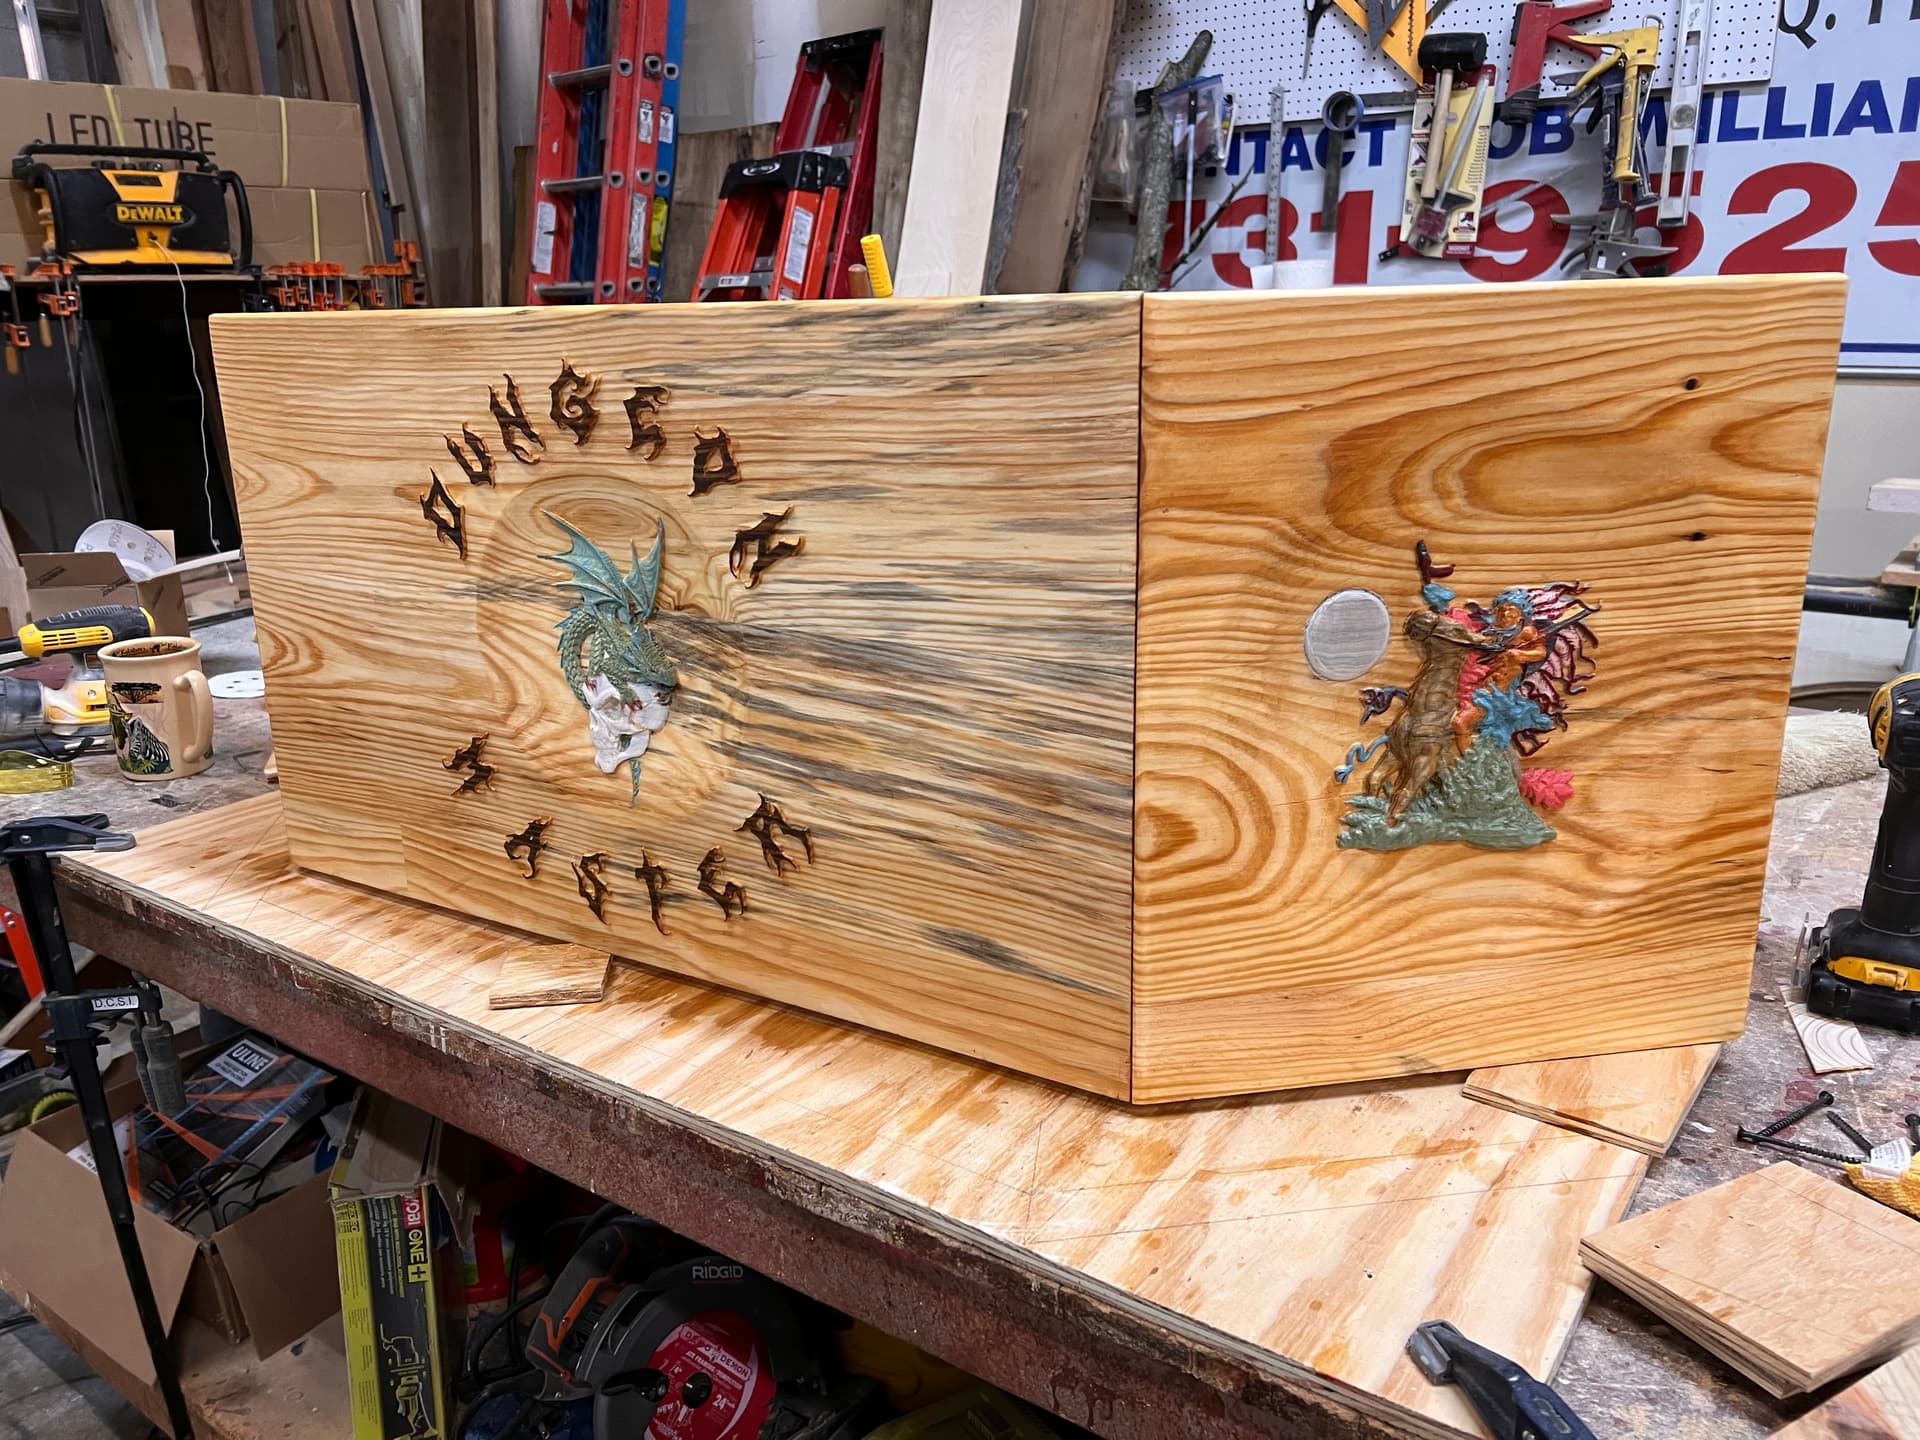
D & D Master Screen that I made for my little brother.
Spalted Kentuky Yellow Pine wood.
Sides are 15" x 17" high, front is 30" x 17"
52" x 17" with sides extended (piano hinges on back so it can fold flat)
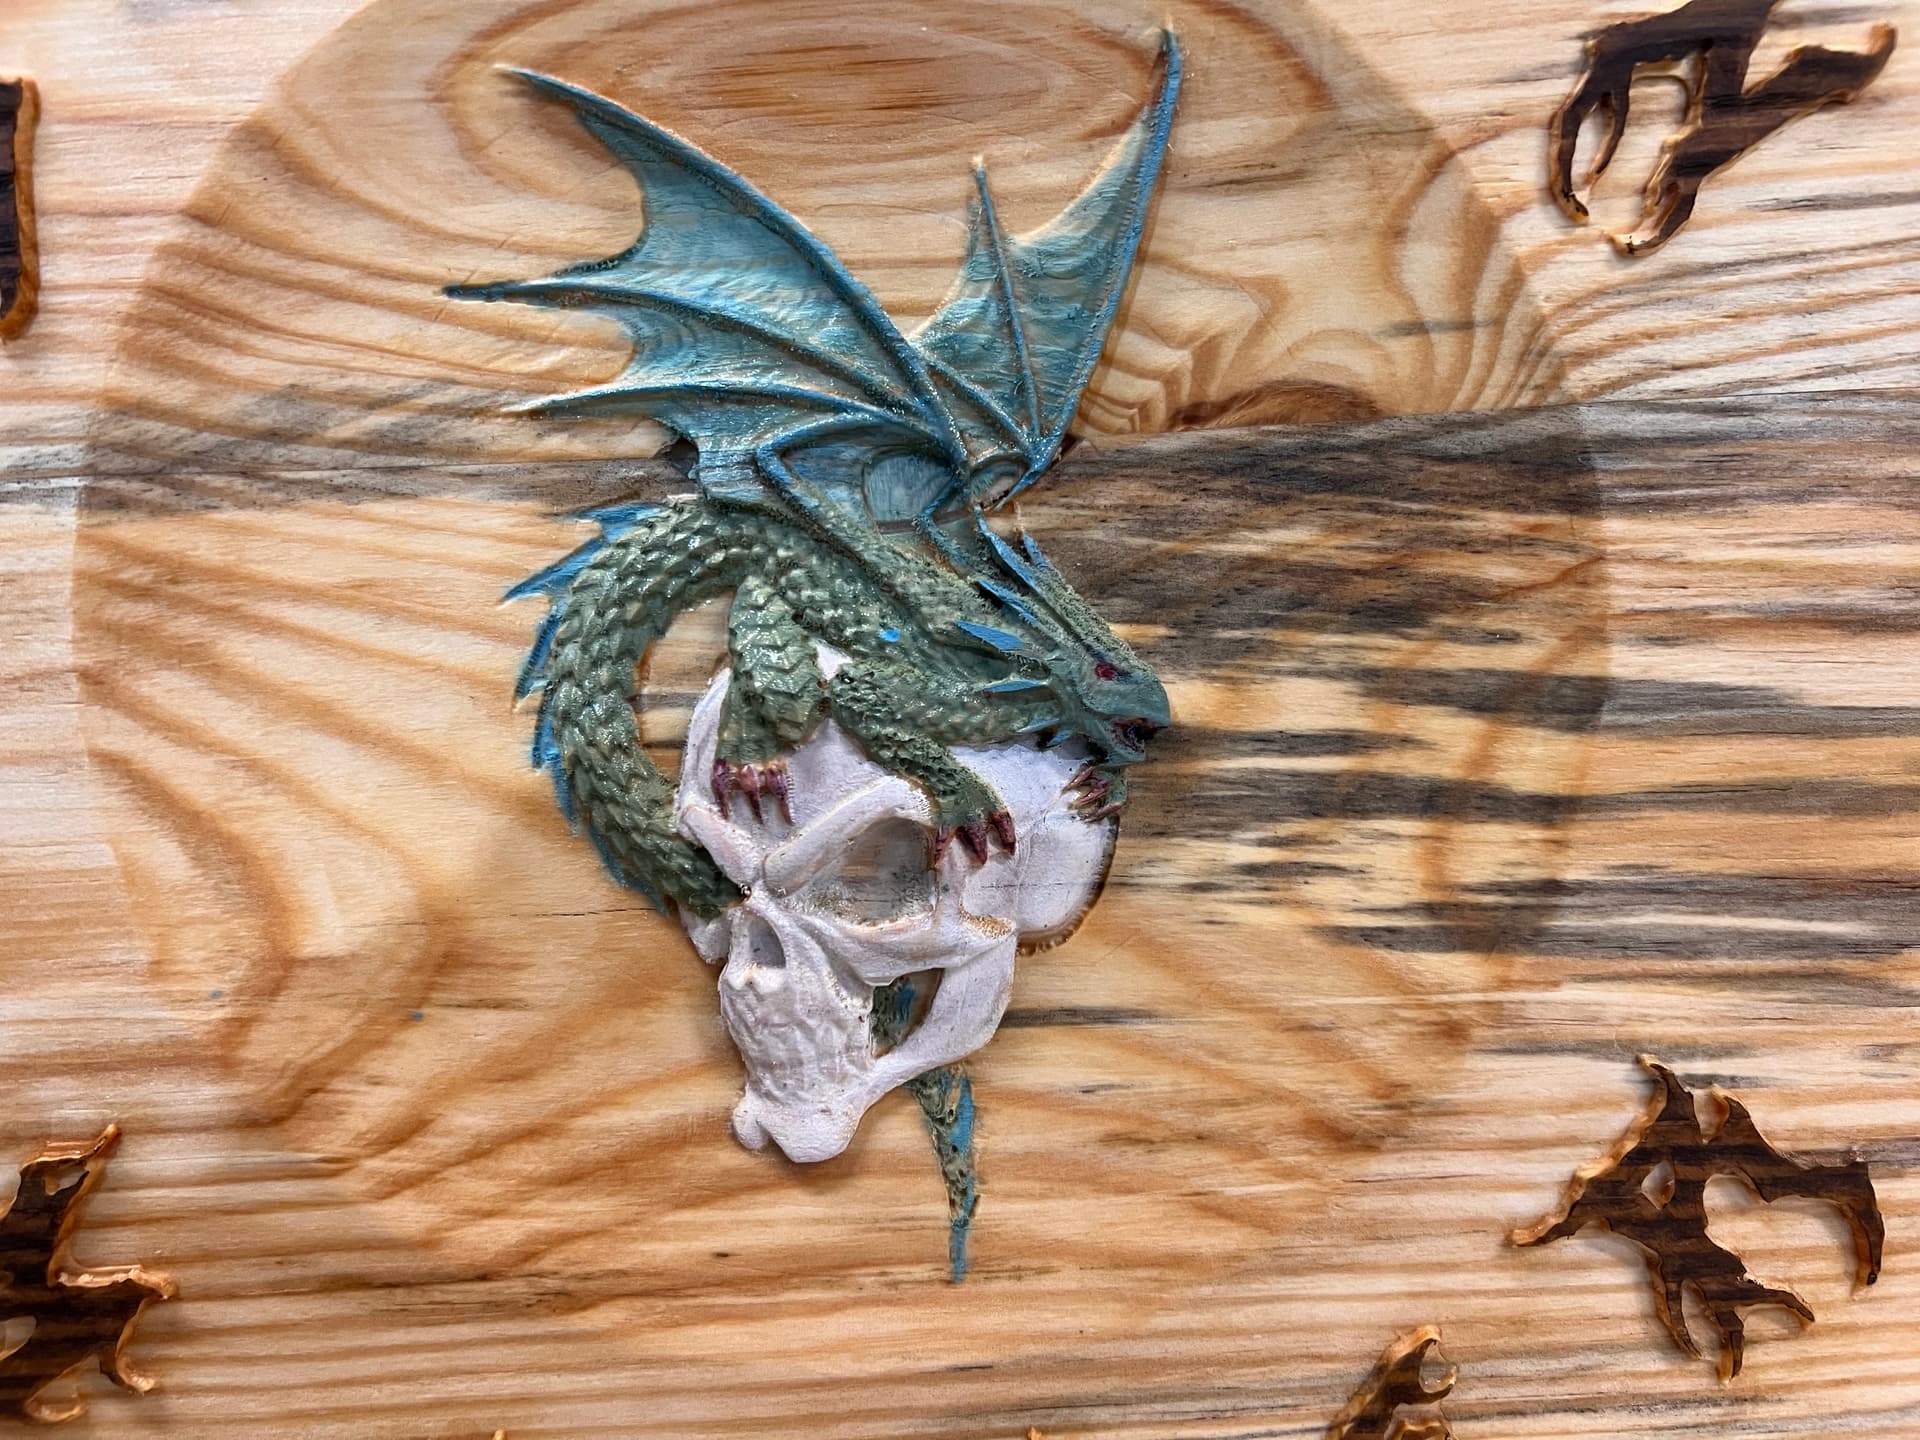
Tinted wood stain (sweated as it got applied, the grain likes to suck it up where it doesn’t belong)
Tung oil on front and sides.
Putting dry-erase paper (clear) on the backside
I wish I knew how 3D models were made, would love to make them myself. Purchased STL files on 3D4All site, scaled them, and set them in bowl that was in Vetrix clip-art. Don’t know why he wanted the Indian Chief but hey, it’s his board.
Font for raised type ‘Dungeon Master’ was found on dafont.com, it’s called ‘Heartless’
it’s a good site, hundreds of fonts, and a lot of their fonts are free
My brother has a 16 year old son he is trying to raise by himself, can’t work because of congestive heart failure, and so he’s pretty house bound, D & D lets him spend time with his boy. His son and he play this once a week or every other with friends that come over or his son drives him to their house. I guess they switch off being Dungeon Master depending on who’s house they are at
I’d never heard of D & D till about a year ago (i must have been living under a mushroom I guess)
He’s shown pictures to his D & D circle and they are all pretty excited to see it. They’ve been using cardboard as a screen.
Getting the dry-erase clear film on Monday and hope to have it to him by Wednesday because this Sunday is a D & D day.
.
I played DND back in the day and still have my Dungeon Master’s Guide. I would have loved to have that screen. Good on you for supporting them and nice work.
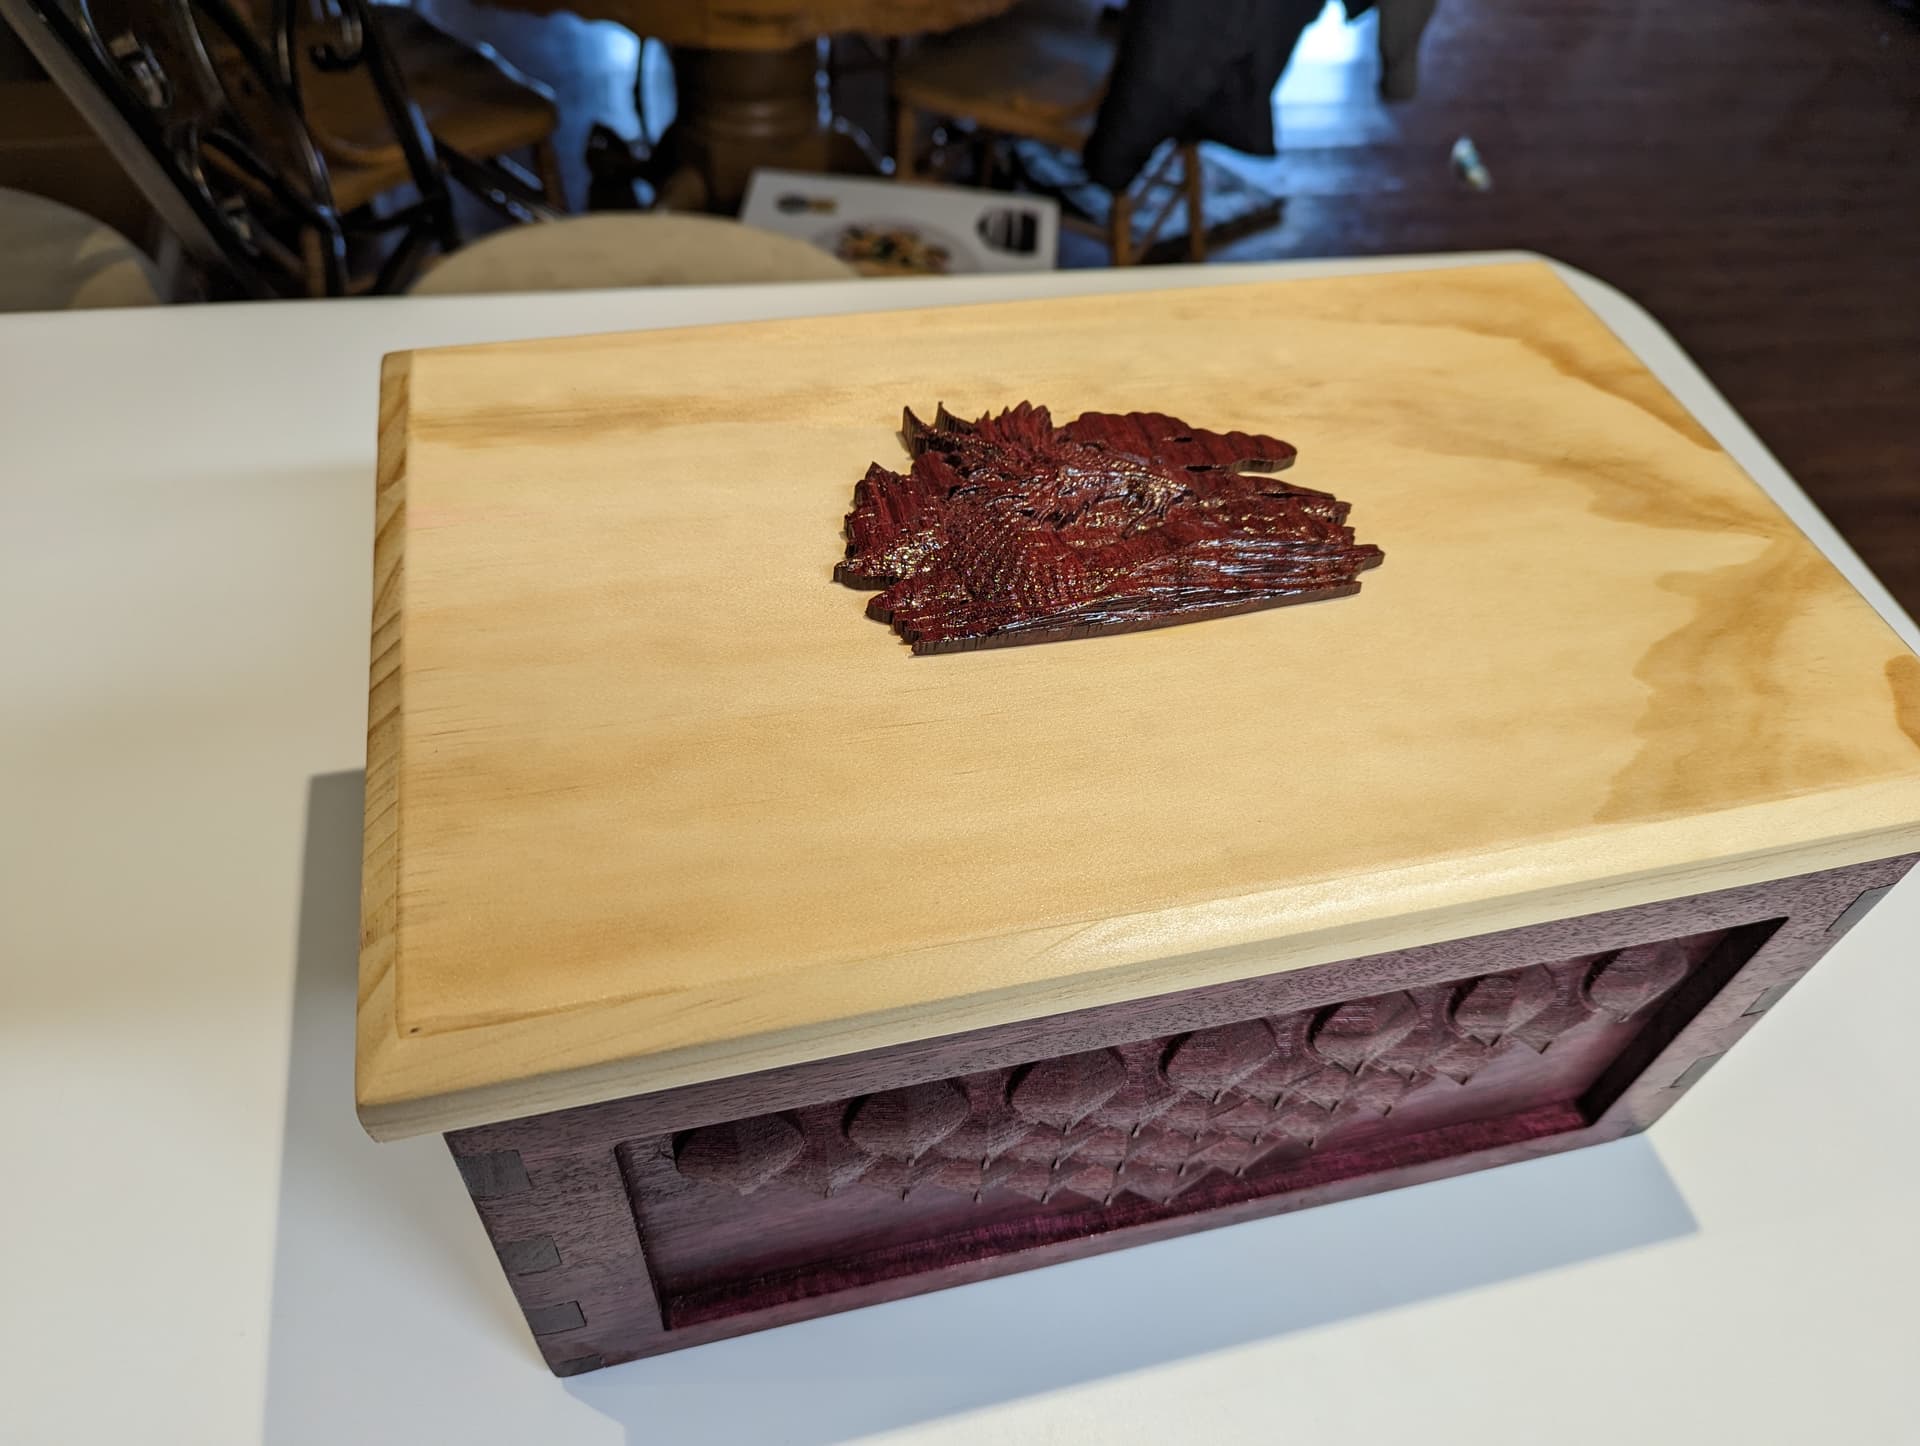
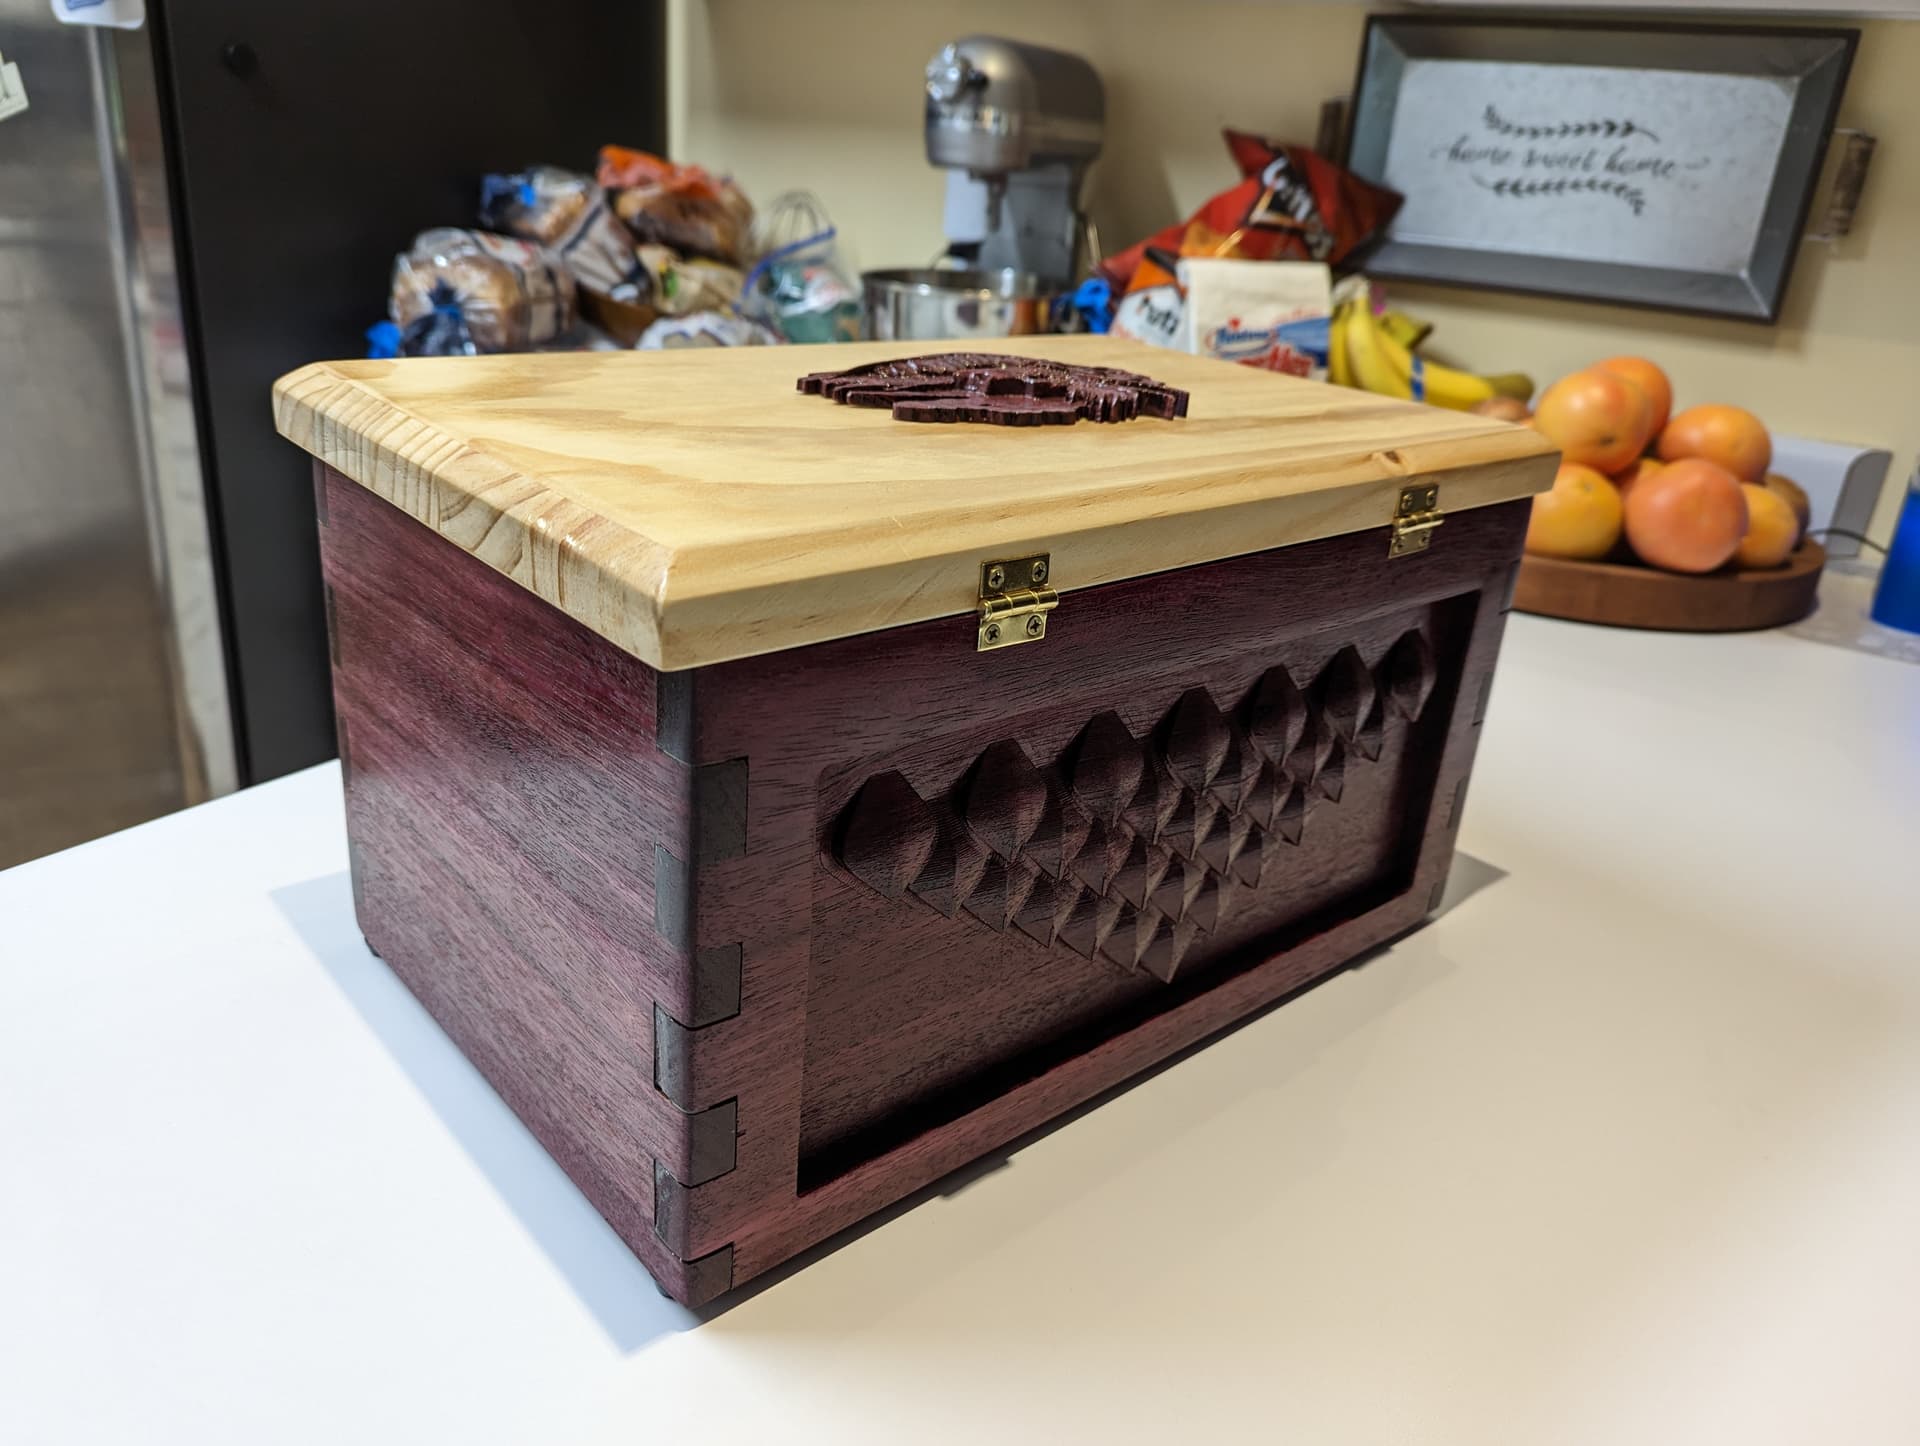
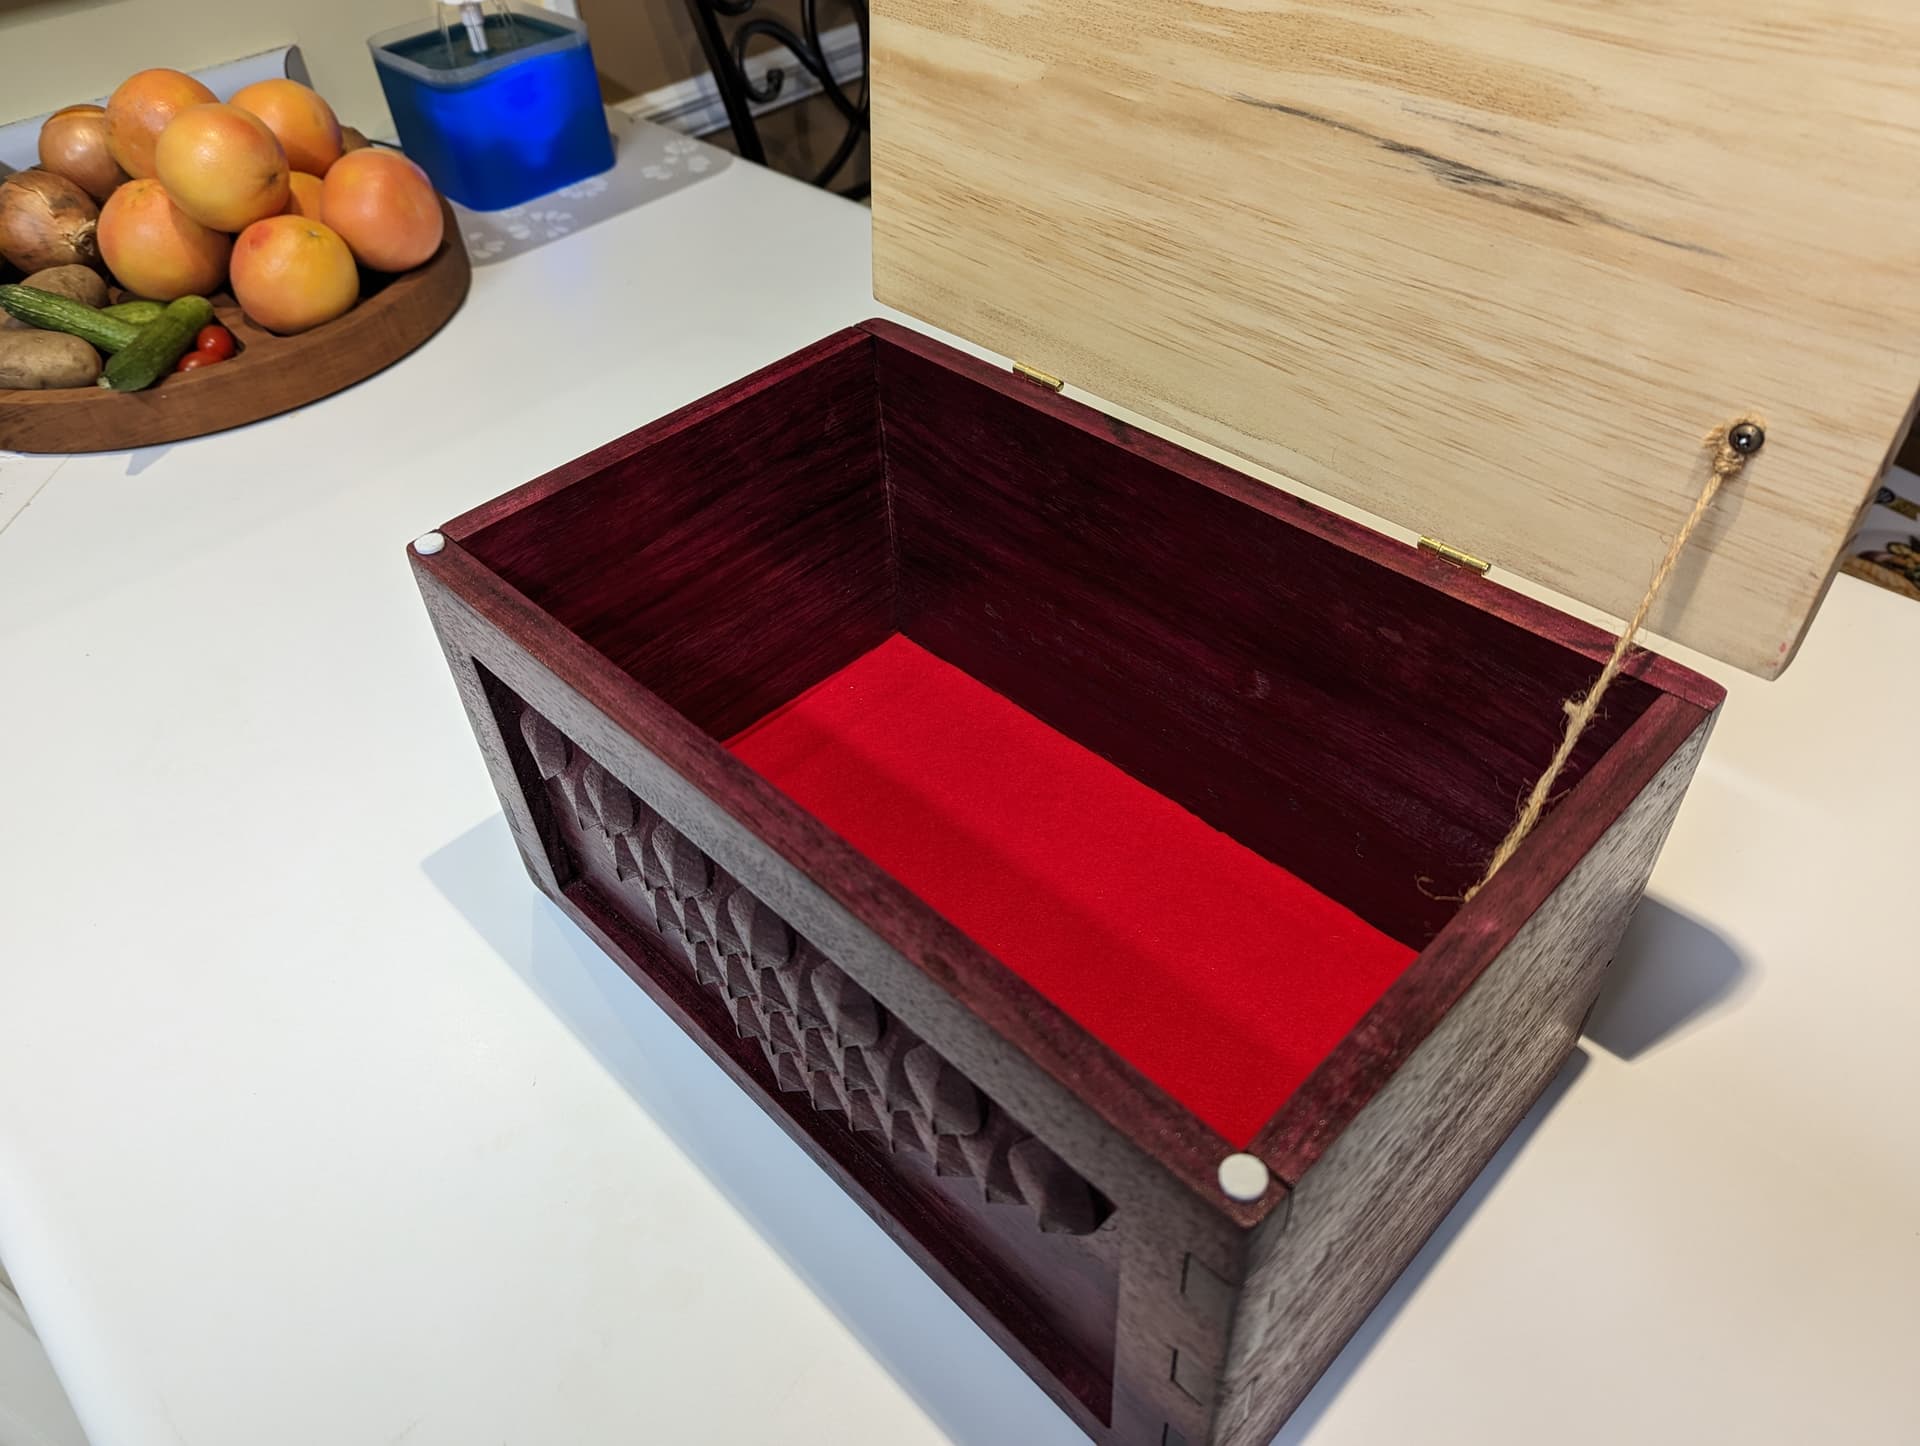
So we had five feet of snow recently. After shoveling I would come in the house and empty my pockets on the kitchen counter, some screws, a broken bit maybe, coins, you know the deal. My wife didn’t appreciate the mess and commented. I thought, I should take some wood out of the scrap box, true and glue it and address her concern. (my apologies if the script offends anyone, I’m just trying to be an acknowledging husband that stays on point) The other project, unfinished, not sure what it is. I started with four thru dovetail sides and went from there. Ziggy influenced the kerfs on the bandsaw. Maybe I will add a convex box below with a wider and deeper drawer…who knows…
Beautiful work Todd! I really like the coloring, gives it a real D&D feel.
I think making games for friends and family is one of the best ways to share our art.
I have it on my list to make some Magic MTD card boxes and some chess sets.
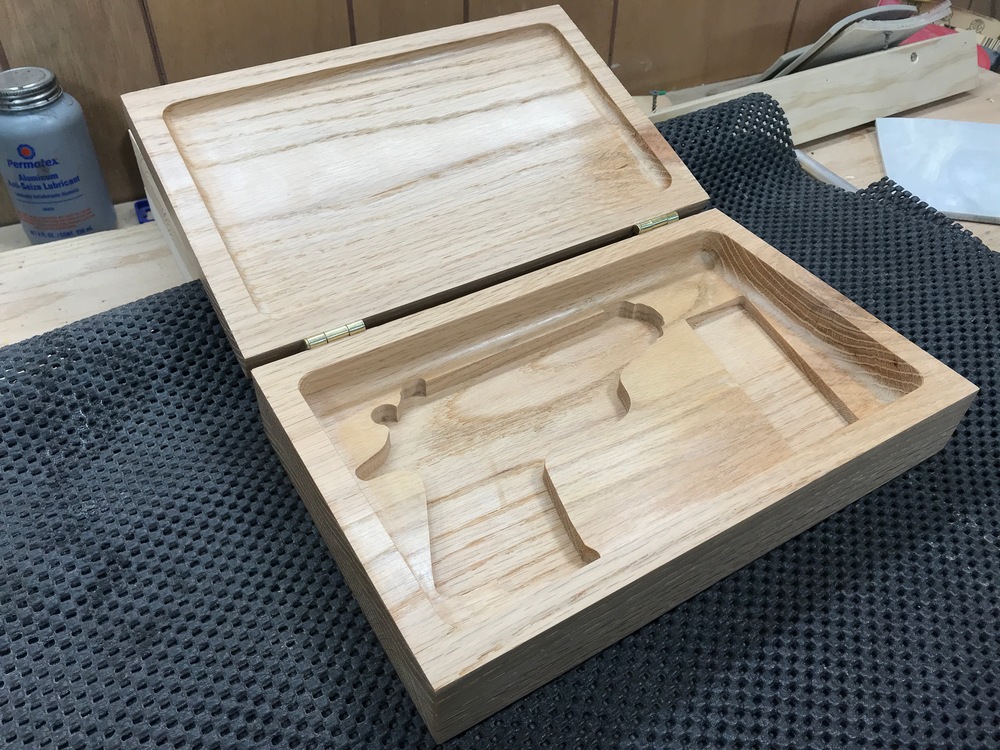
A family member wanted a simple wood box to store a pistol instead of the cheap plastic box and eggshell foam they come in.
An off the shelf piece of Menards oak and about 45 minutes in the machine turned into this. Plain butcher’s wax for the finish.
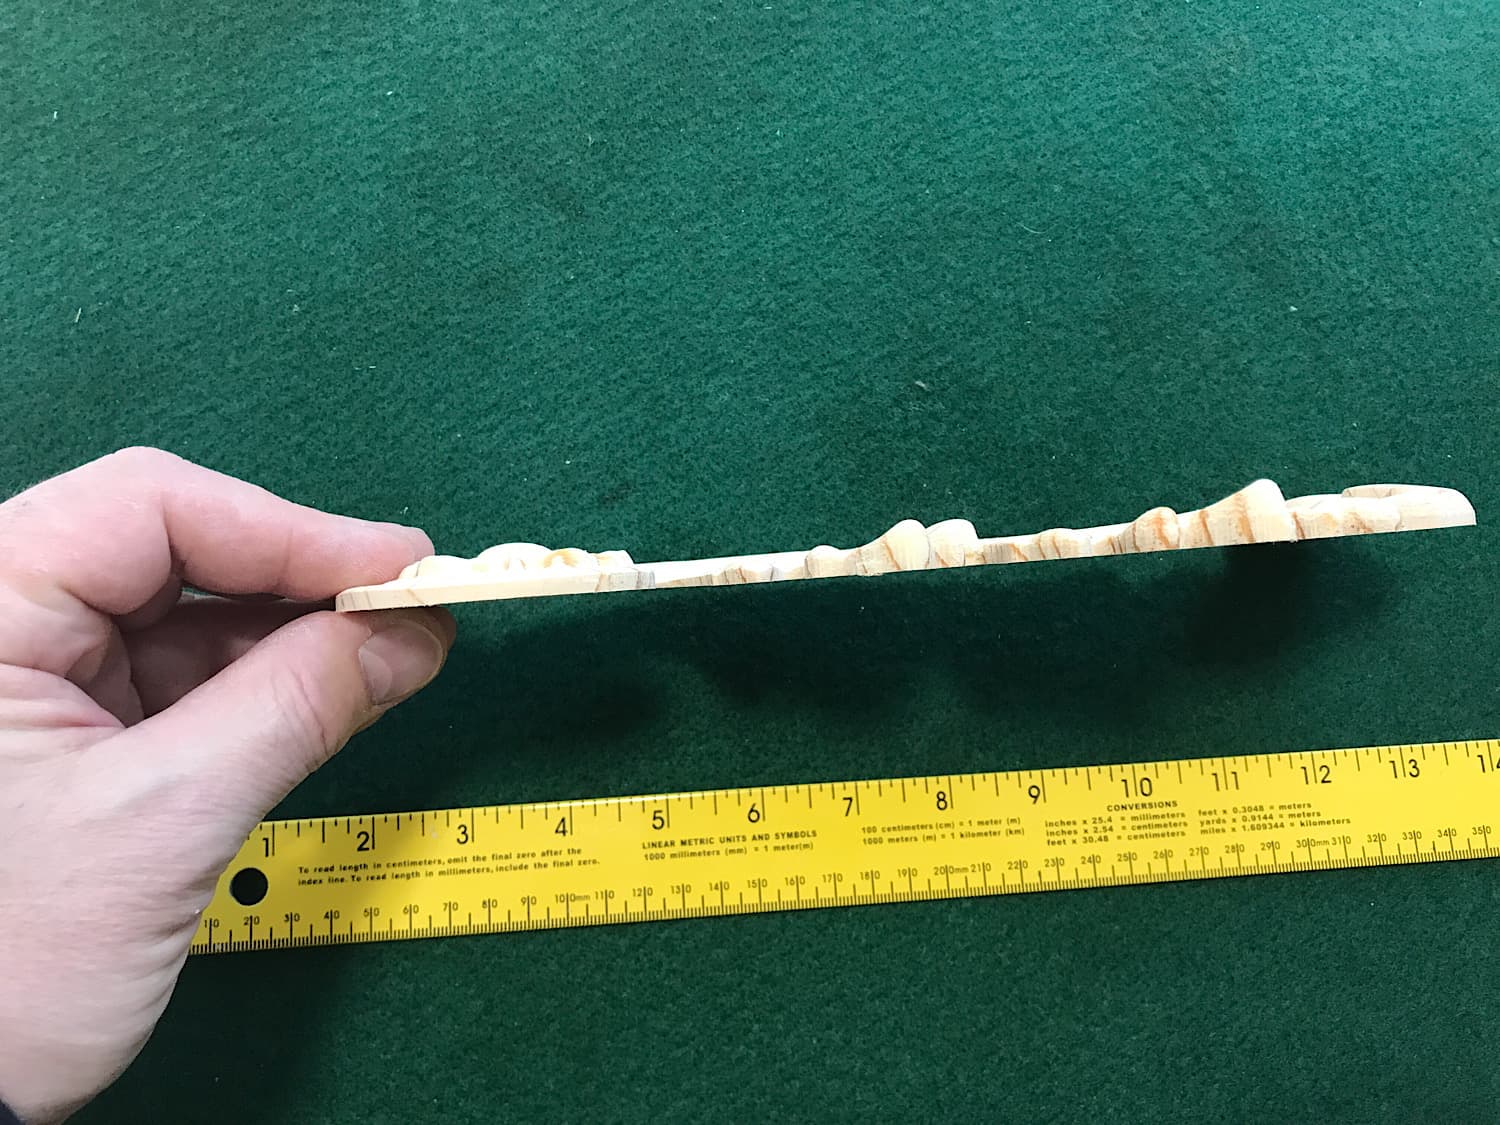
A friend is refurbishing a yard sale find dresser that is in rough shape. He asked if I would be able to make replacement “flourishes” for the broken parts.
VCarve has an add-on pack which I’ll likely purchase, but I wanted a test first. I found a simple example online.
Scrap wood right out of the machine with no finish work. Not too shabby…
The first try at work-holding was a pair of vacuum pads, but there was too much movement; changed to bolts and T-track. Before the change I used a bowl bit to hog out portions far from the 3D section.
I made two vectors around the image, hoping to limit carving time with the 1/4" Ball Nose to the necessary parts. But the “virtual” carve in Vectric left a ridge, so I made concentric vectors for overlap. There has to be a smarter way, what do experienced users do for this?
There was more variation than I expected in the depths of the 1/4" Ball Nose and 1/16" tapered Ball Nose (two smoothing bits). All 4 mills (Bowl, 1/2" Roughing, 1/4" Ball, 1/16" Tapered Ball) were in separate files. I homed before start, Set XY, and Homed for Z before 1st cutter. Repeated XY and Z after changing the work-holding and repeated the Home for Z with each of the next two. Controller was powered for the duration, so XY only changed when I changed work-holding (before rough mill).
I like sanding as much as the next guy, but it’s part of the game. All advice welcome!
I’m not sure Ron, maybe so. If I’m not mistaken I think you can only import 3d files in Vcarve and not have the options to add drafts and shape profiles to the letters. I created modeled this stacked text with Aspire as a true 3d file to eliminate tool marks and having to sand after its finished.