In a pinch, no time to wait for the 3D printer or an Amazon delivery, knocked out a couple corner clamps real quick ![]()

7 Likes


Very unique and beautiful!
I wonder how it would have looked with half rounds of maple on the edges of the plywood…
Pony
The cookie box is 5.3125" wide, 3.25" front to back, and 2" high (external dimensions) Obtained the design from @Kiwiki.
Finish on the cookie box was a blend of mineral oil and beeswax. The same stuff I use to finish end grain cutting boards.

5 Likes
Great idea! I’ll give that a shot downstream. Thanks
Halloween lanterns. Will be hanging outside, hopefully later this evening.
I’ve been looking for an excuse to get rid of some awful, pre-finished plywood that I will never buy again. I knew sanding through the existing finish would lead to uneven staining, but that seemed like a positive feature for this project.

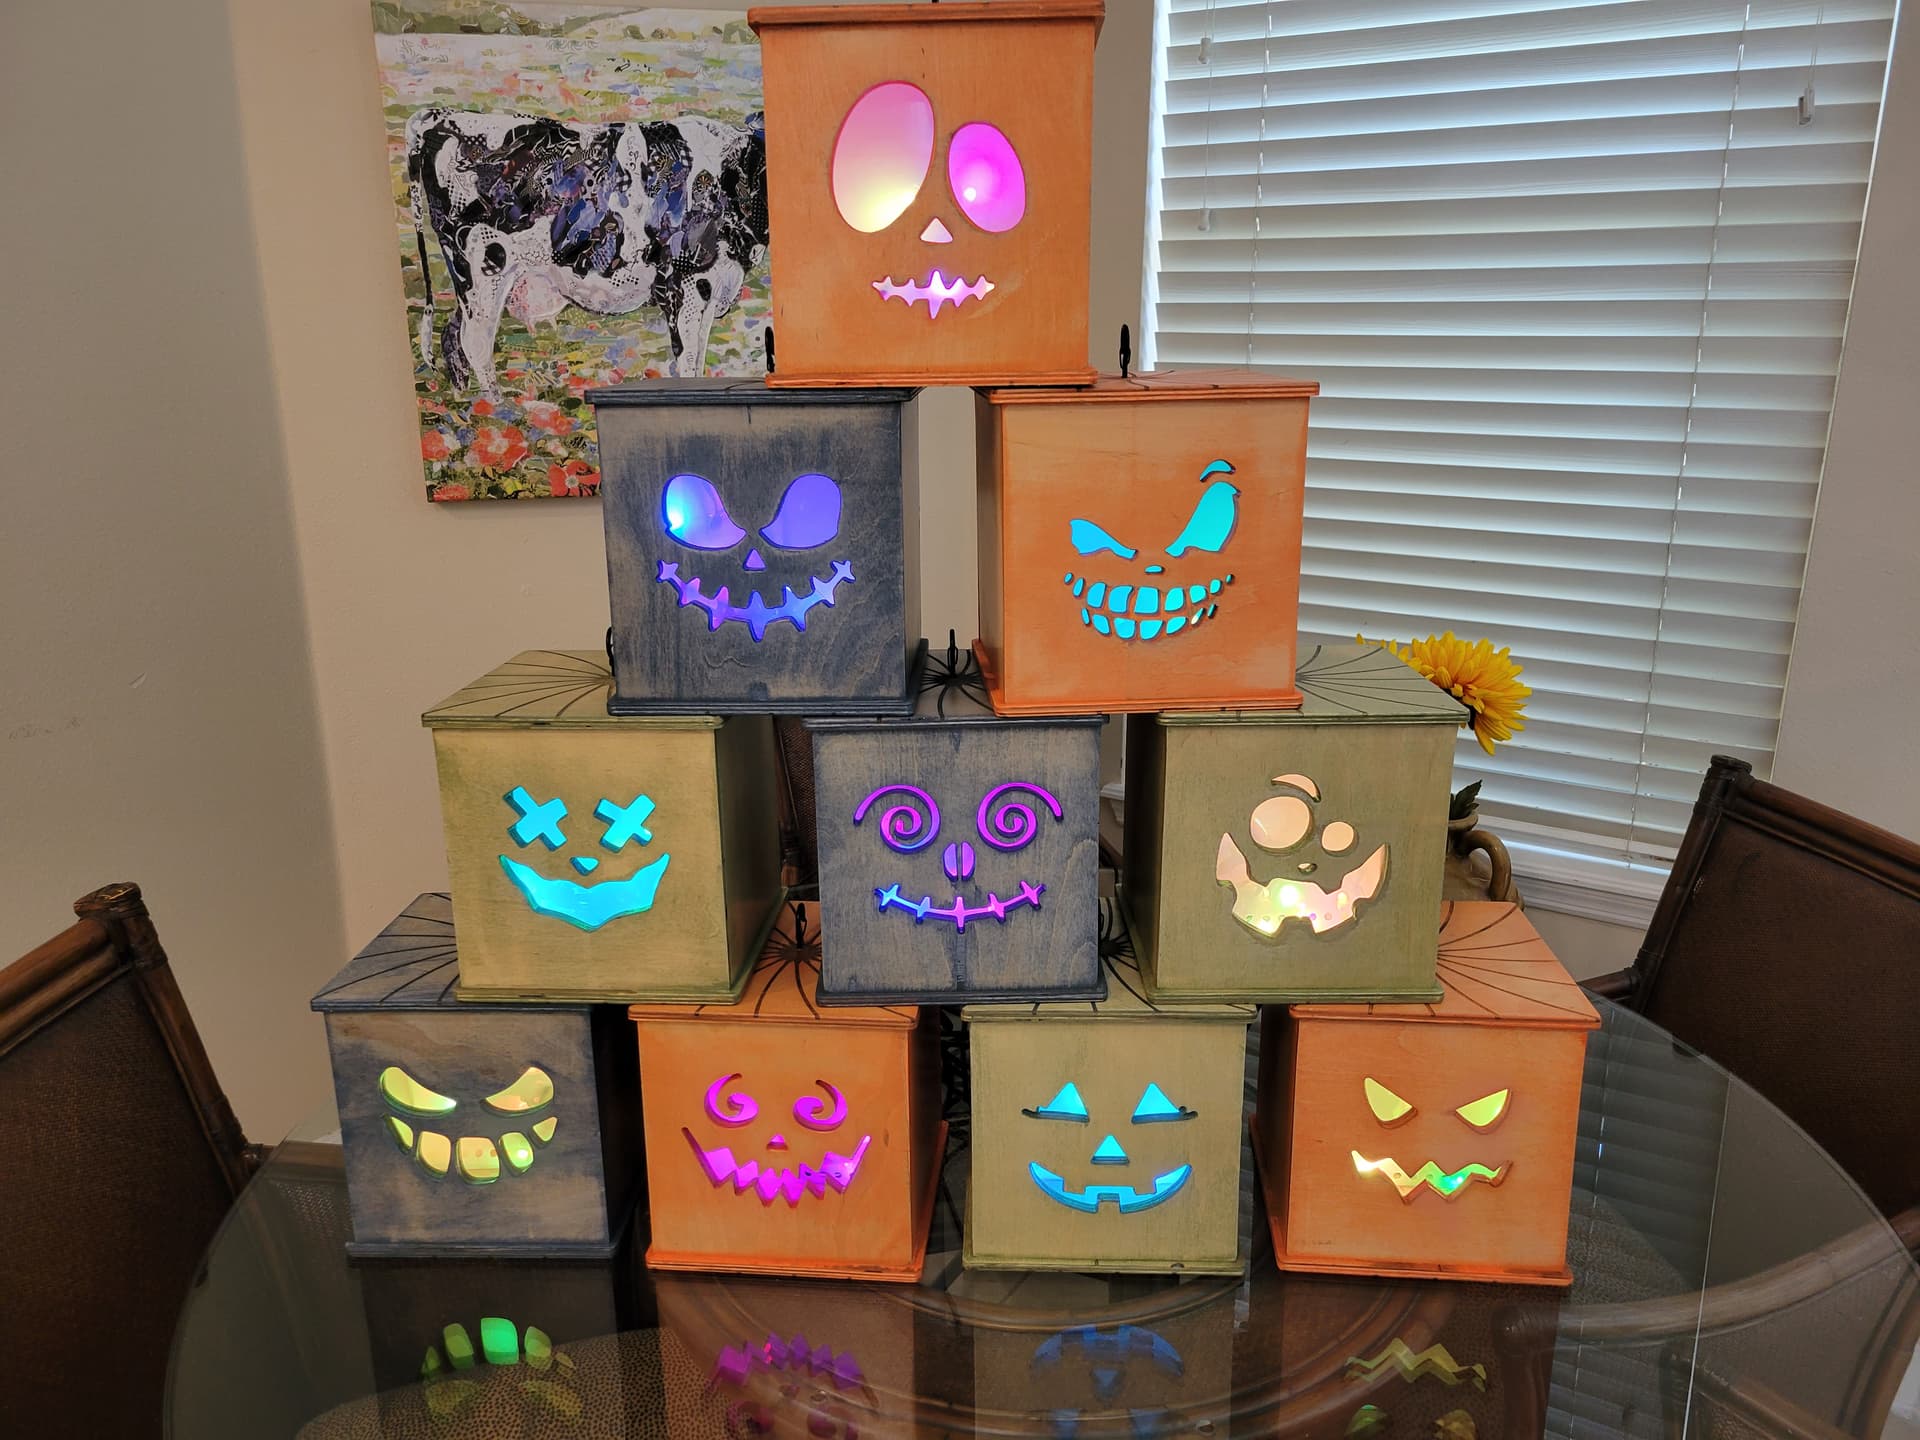

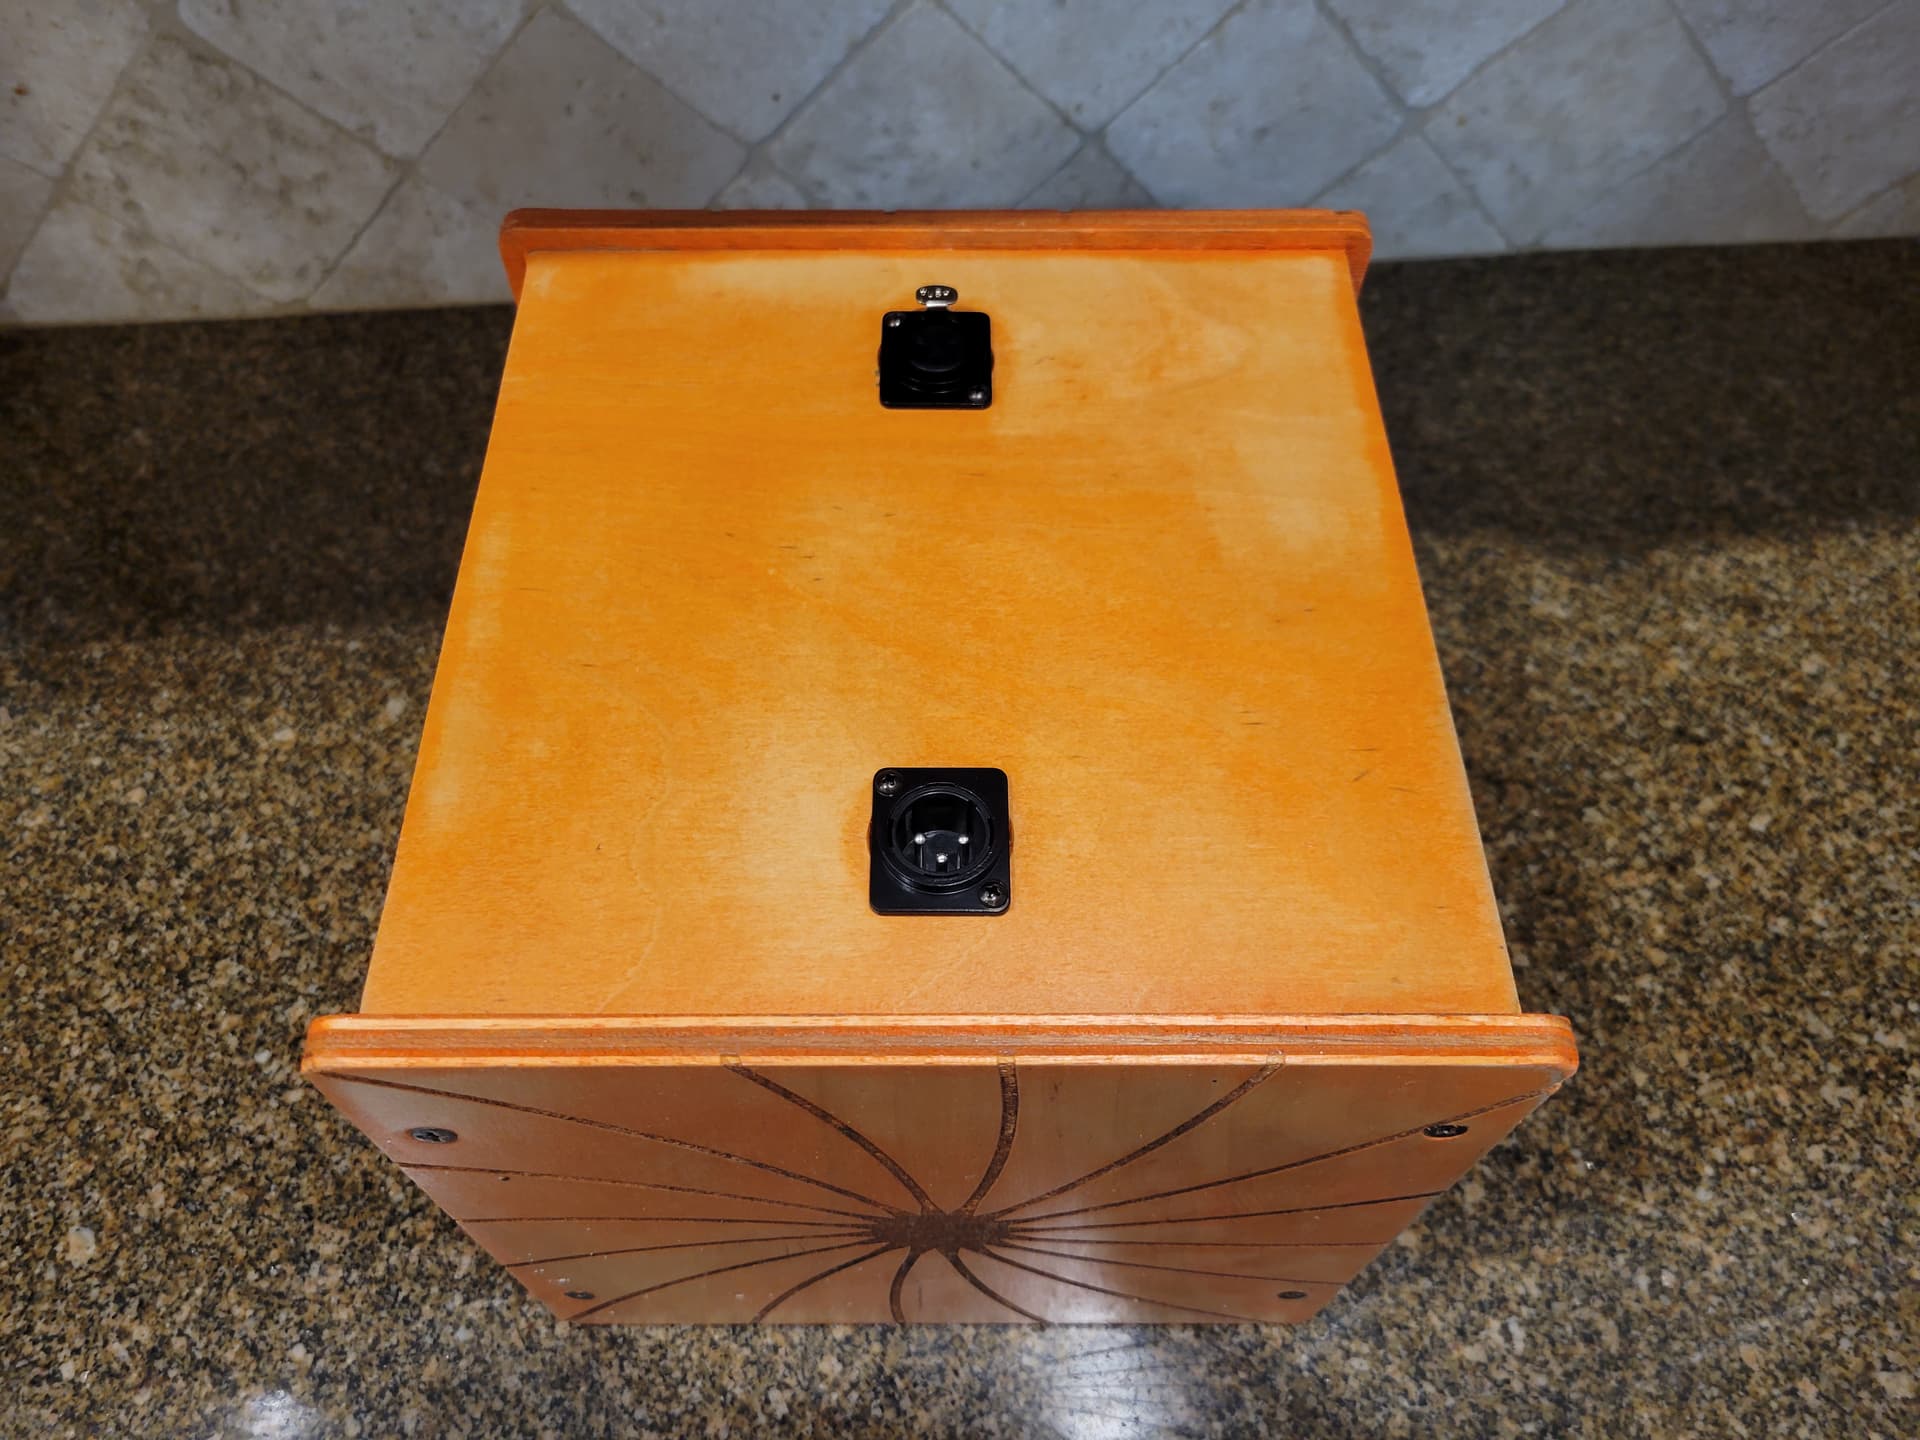
I’m using LED pixels (15 each) behind a laser-cut mylar sheet. I went with XLR connections, simply due to the fact that the mountable plates are readily available and it was much cleaner than having permanently dangling cords. I could not find any Ray-Wu or X-Connect plates for the boxes — they may exist, but this option presented itself and was on my doorstep the next day.
I will be hanging these in the arches over my front patio and wiring them into my Falcon controller for full LED lighting control. But for testing purposes, I just have them on a Bluetooth LED dongle.
8 Likes
Very nicely done. But I do think we need to stop the flag modifications. No black or blue stripes. No logos. Just a flag. But I’m old and curmudgeonly and it’s just my opinion. As a CNC project it’s very well done.
4 Likes

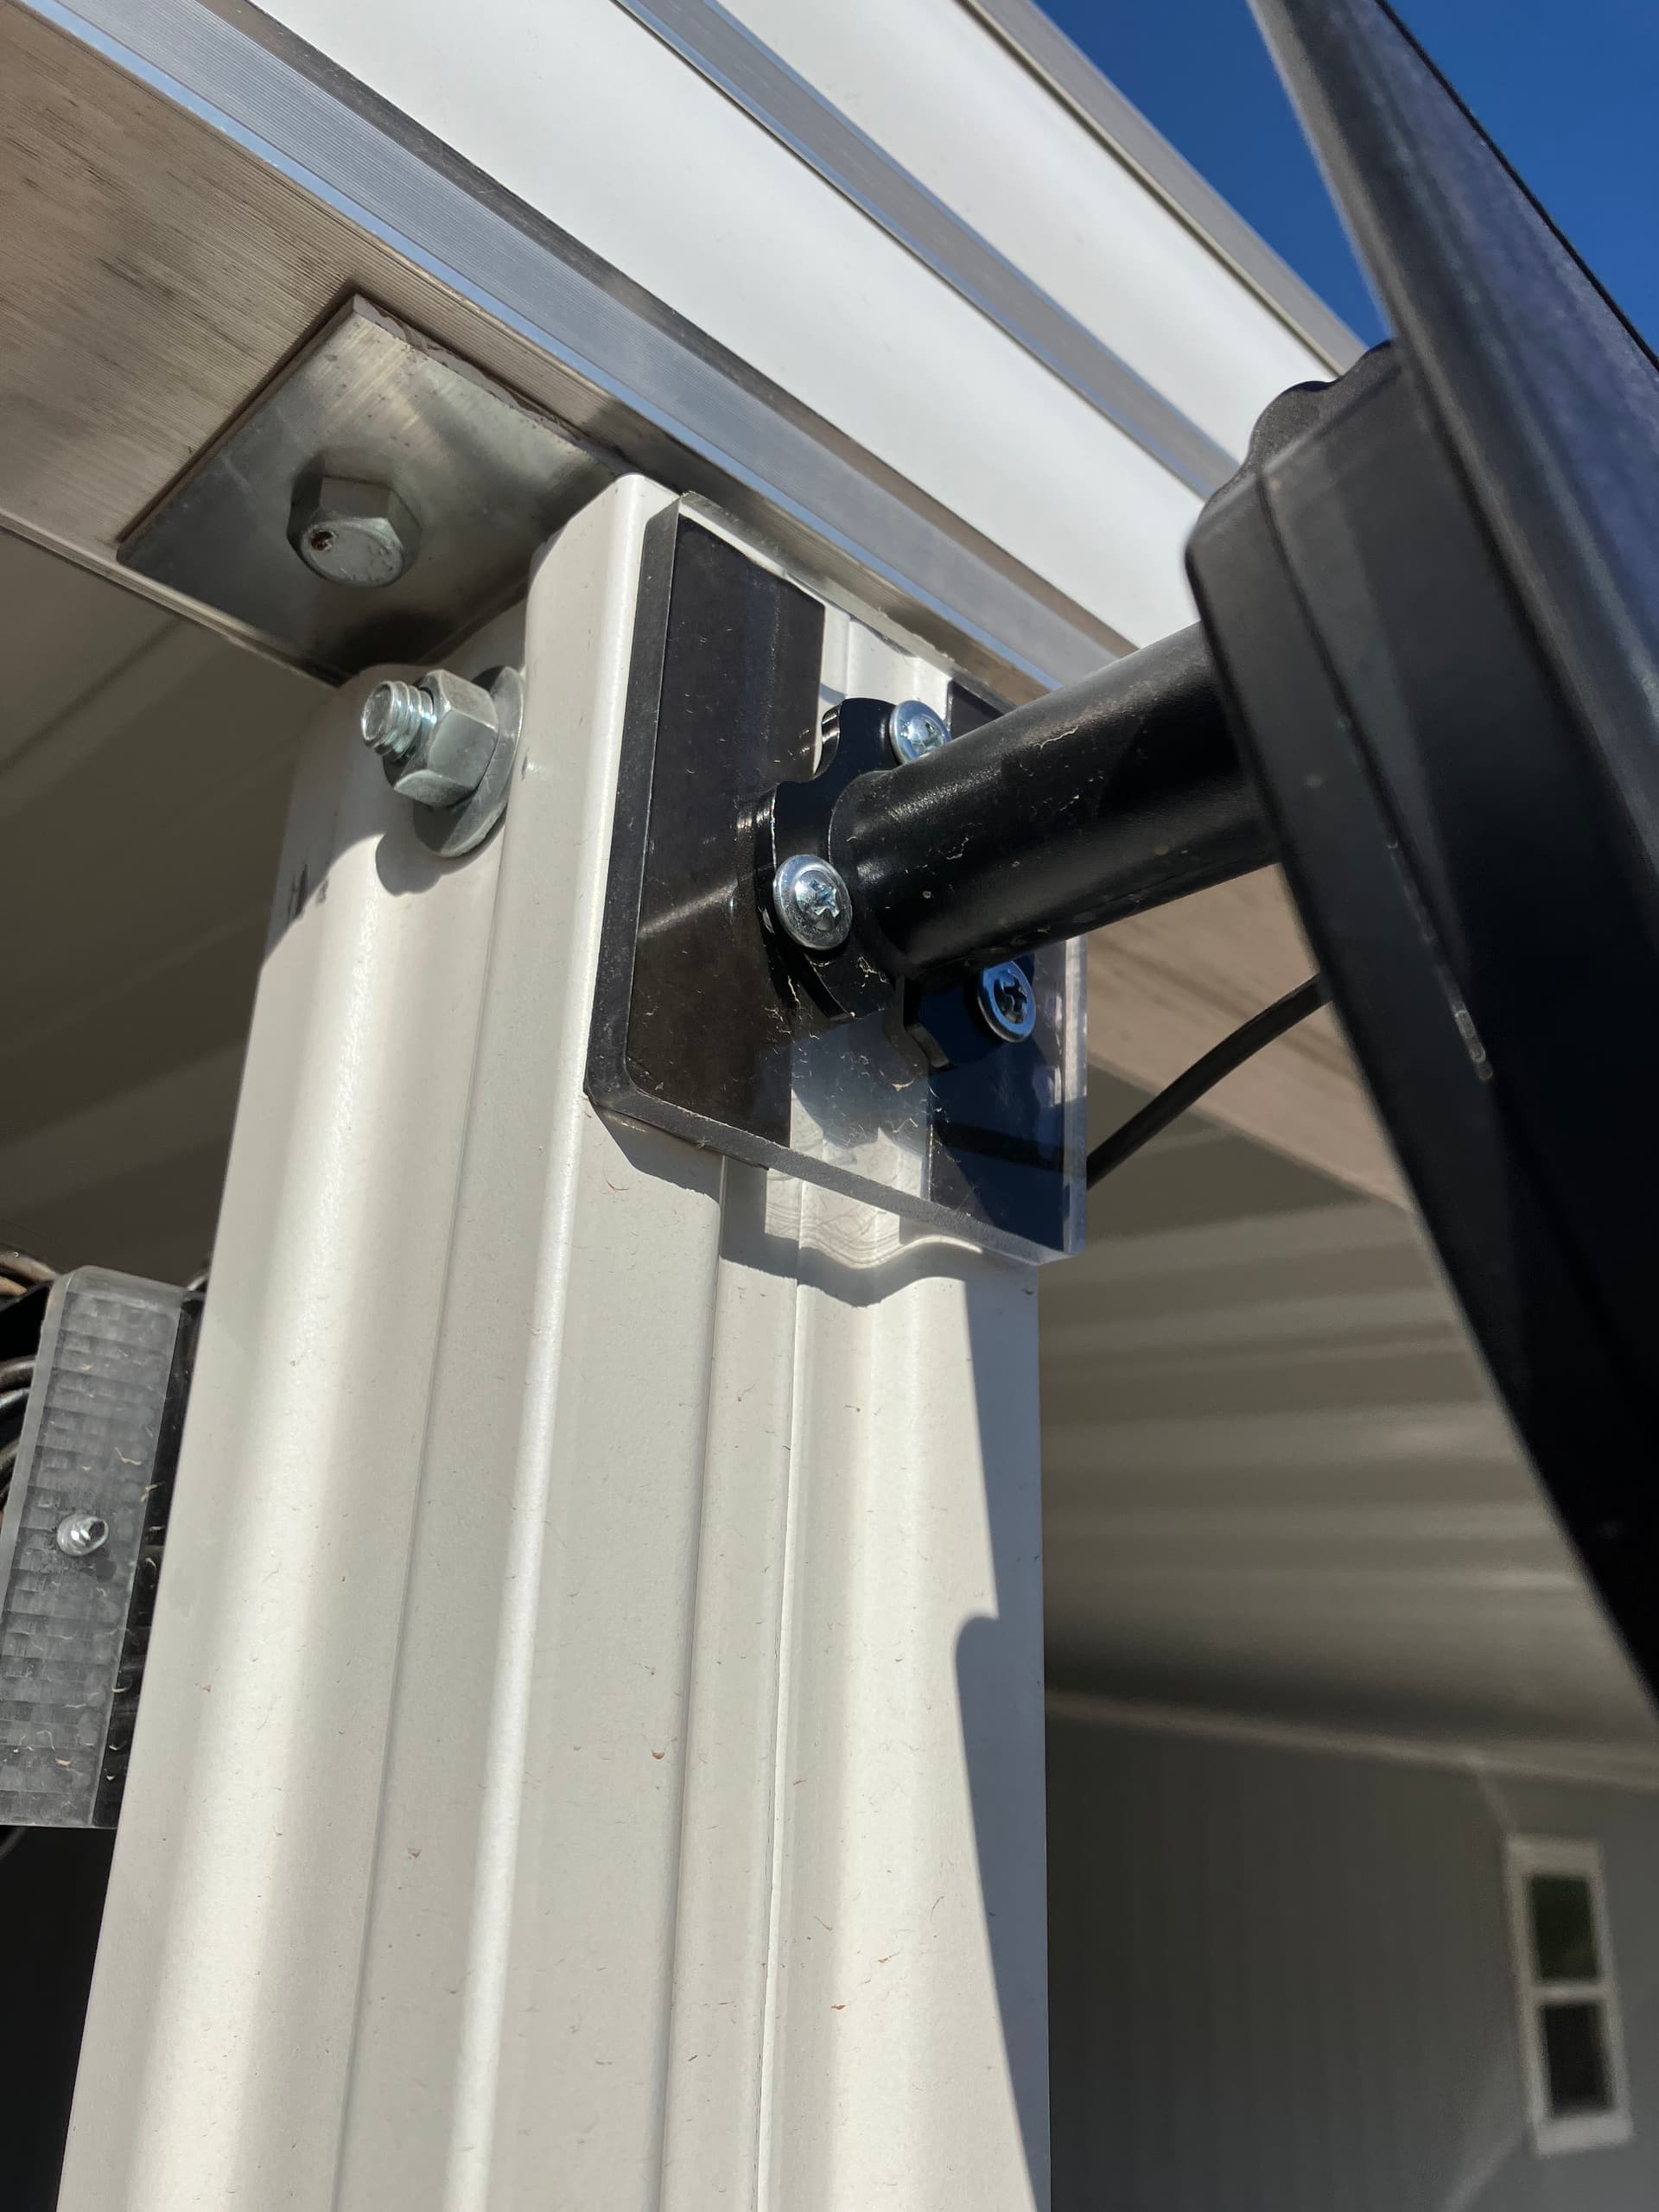
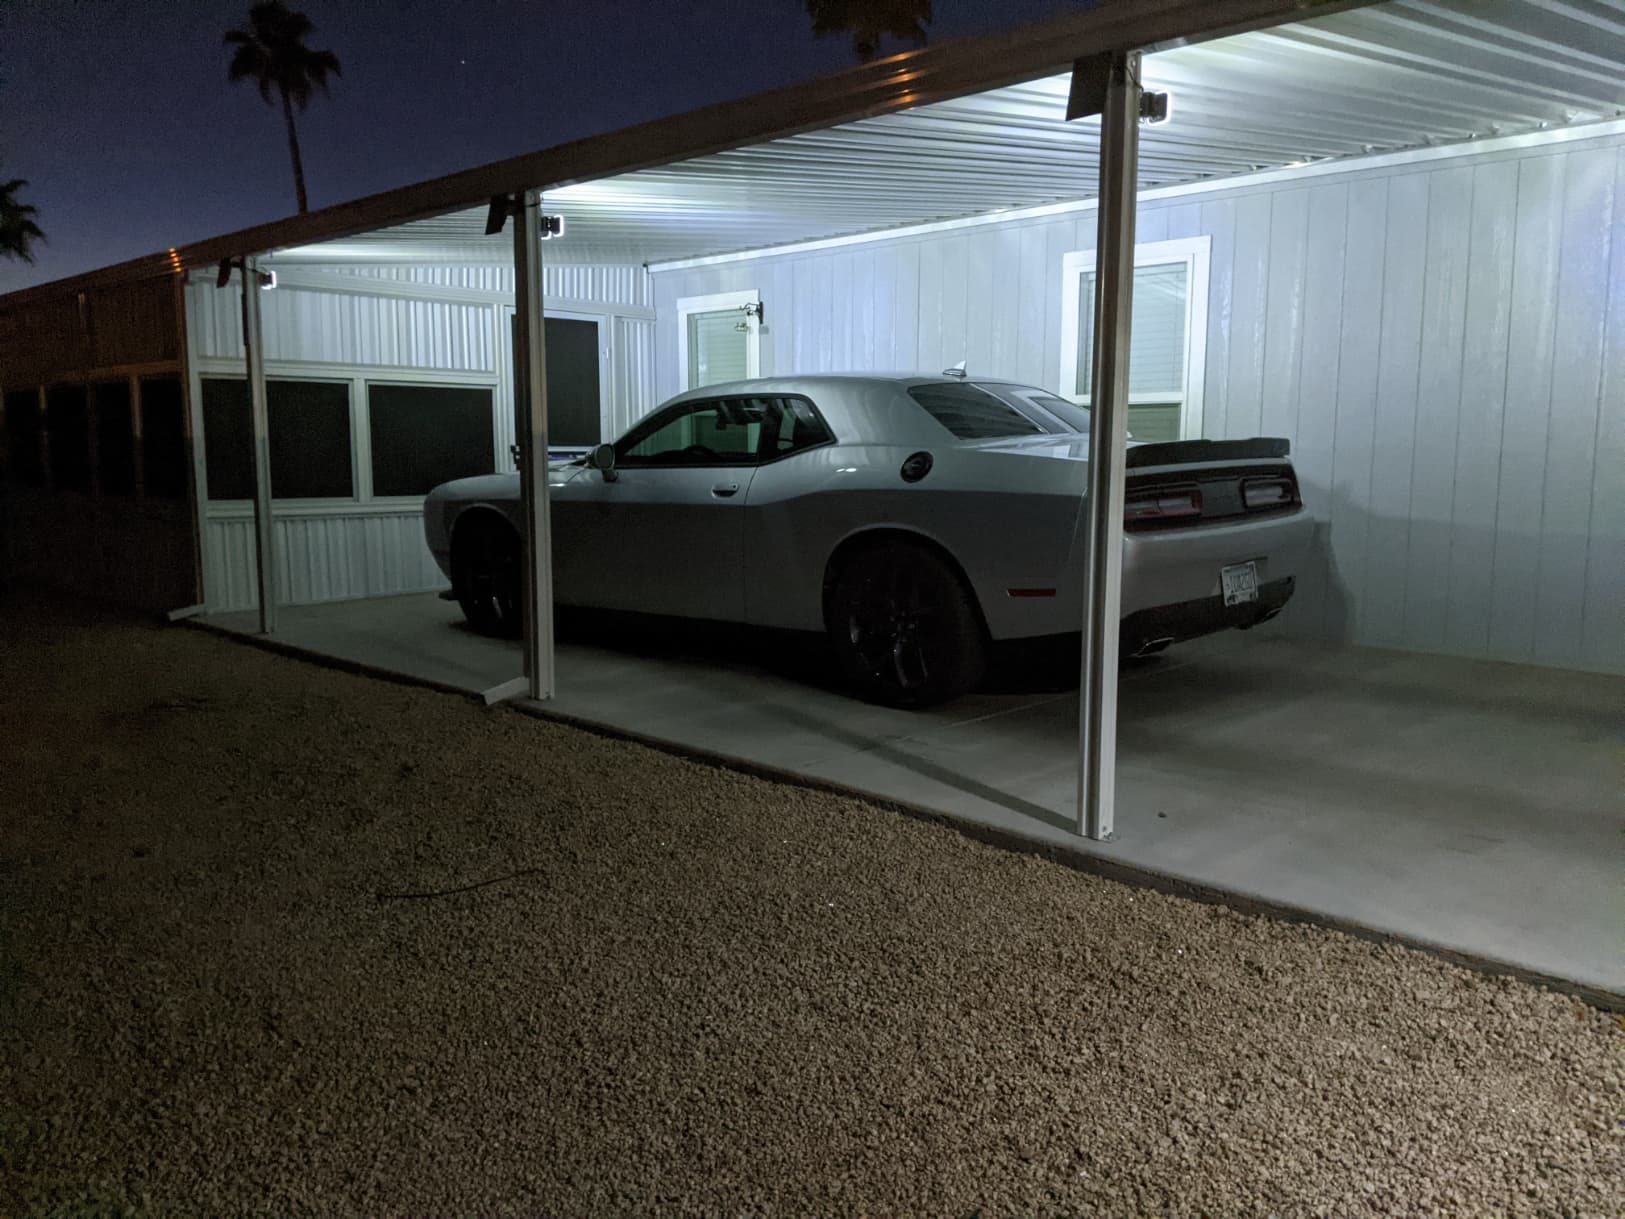
Small project I did using 1/4" polycarbonate to mount these solar lights to the posts in my carport. This is definitely nothing decorative, but functional for sure. Stuck on the posts with Gorilla mounting tape. Sorry, no pics of the bare plates just off the machine. Does a pretty good job of lighting up an otherwise dark carport.

9 Likes
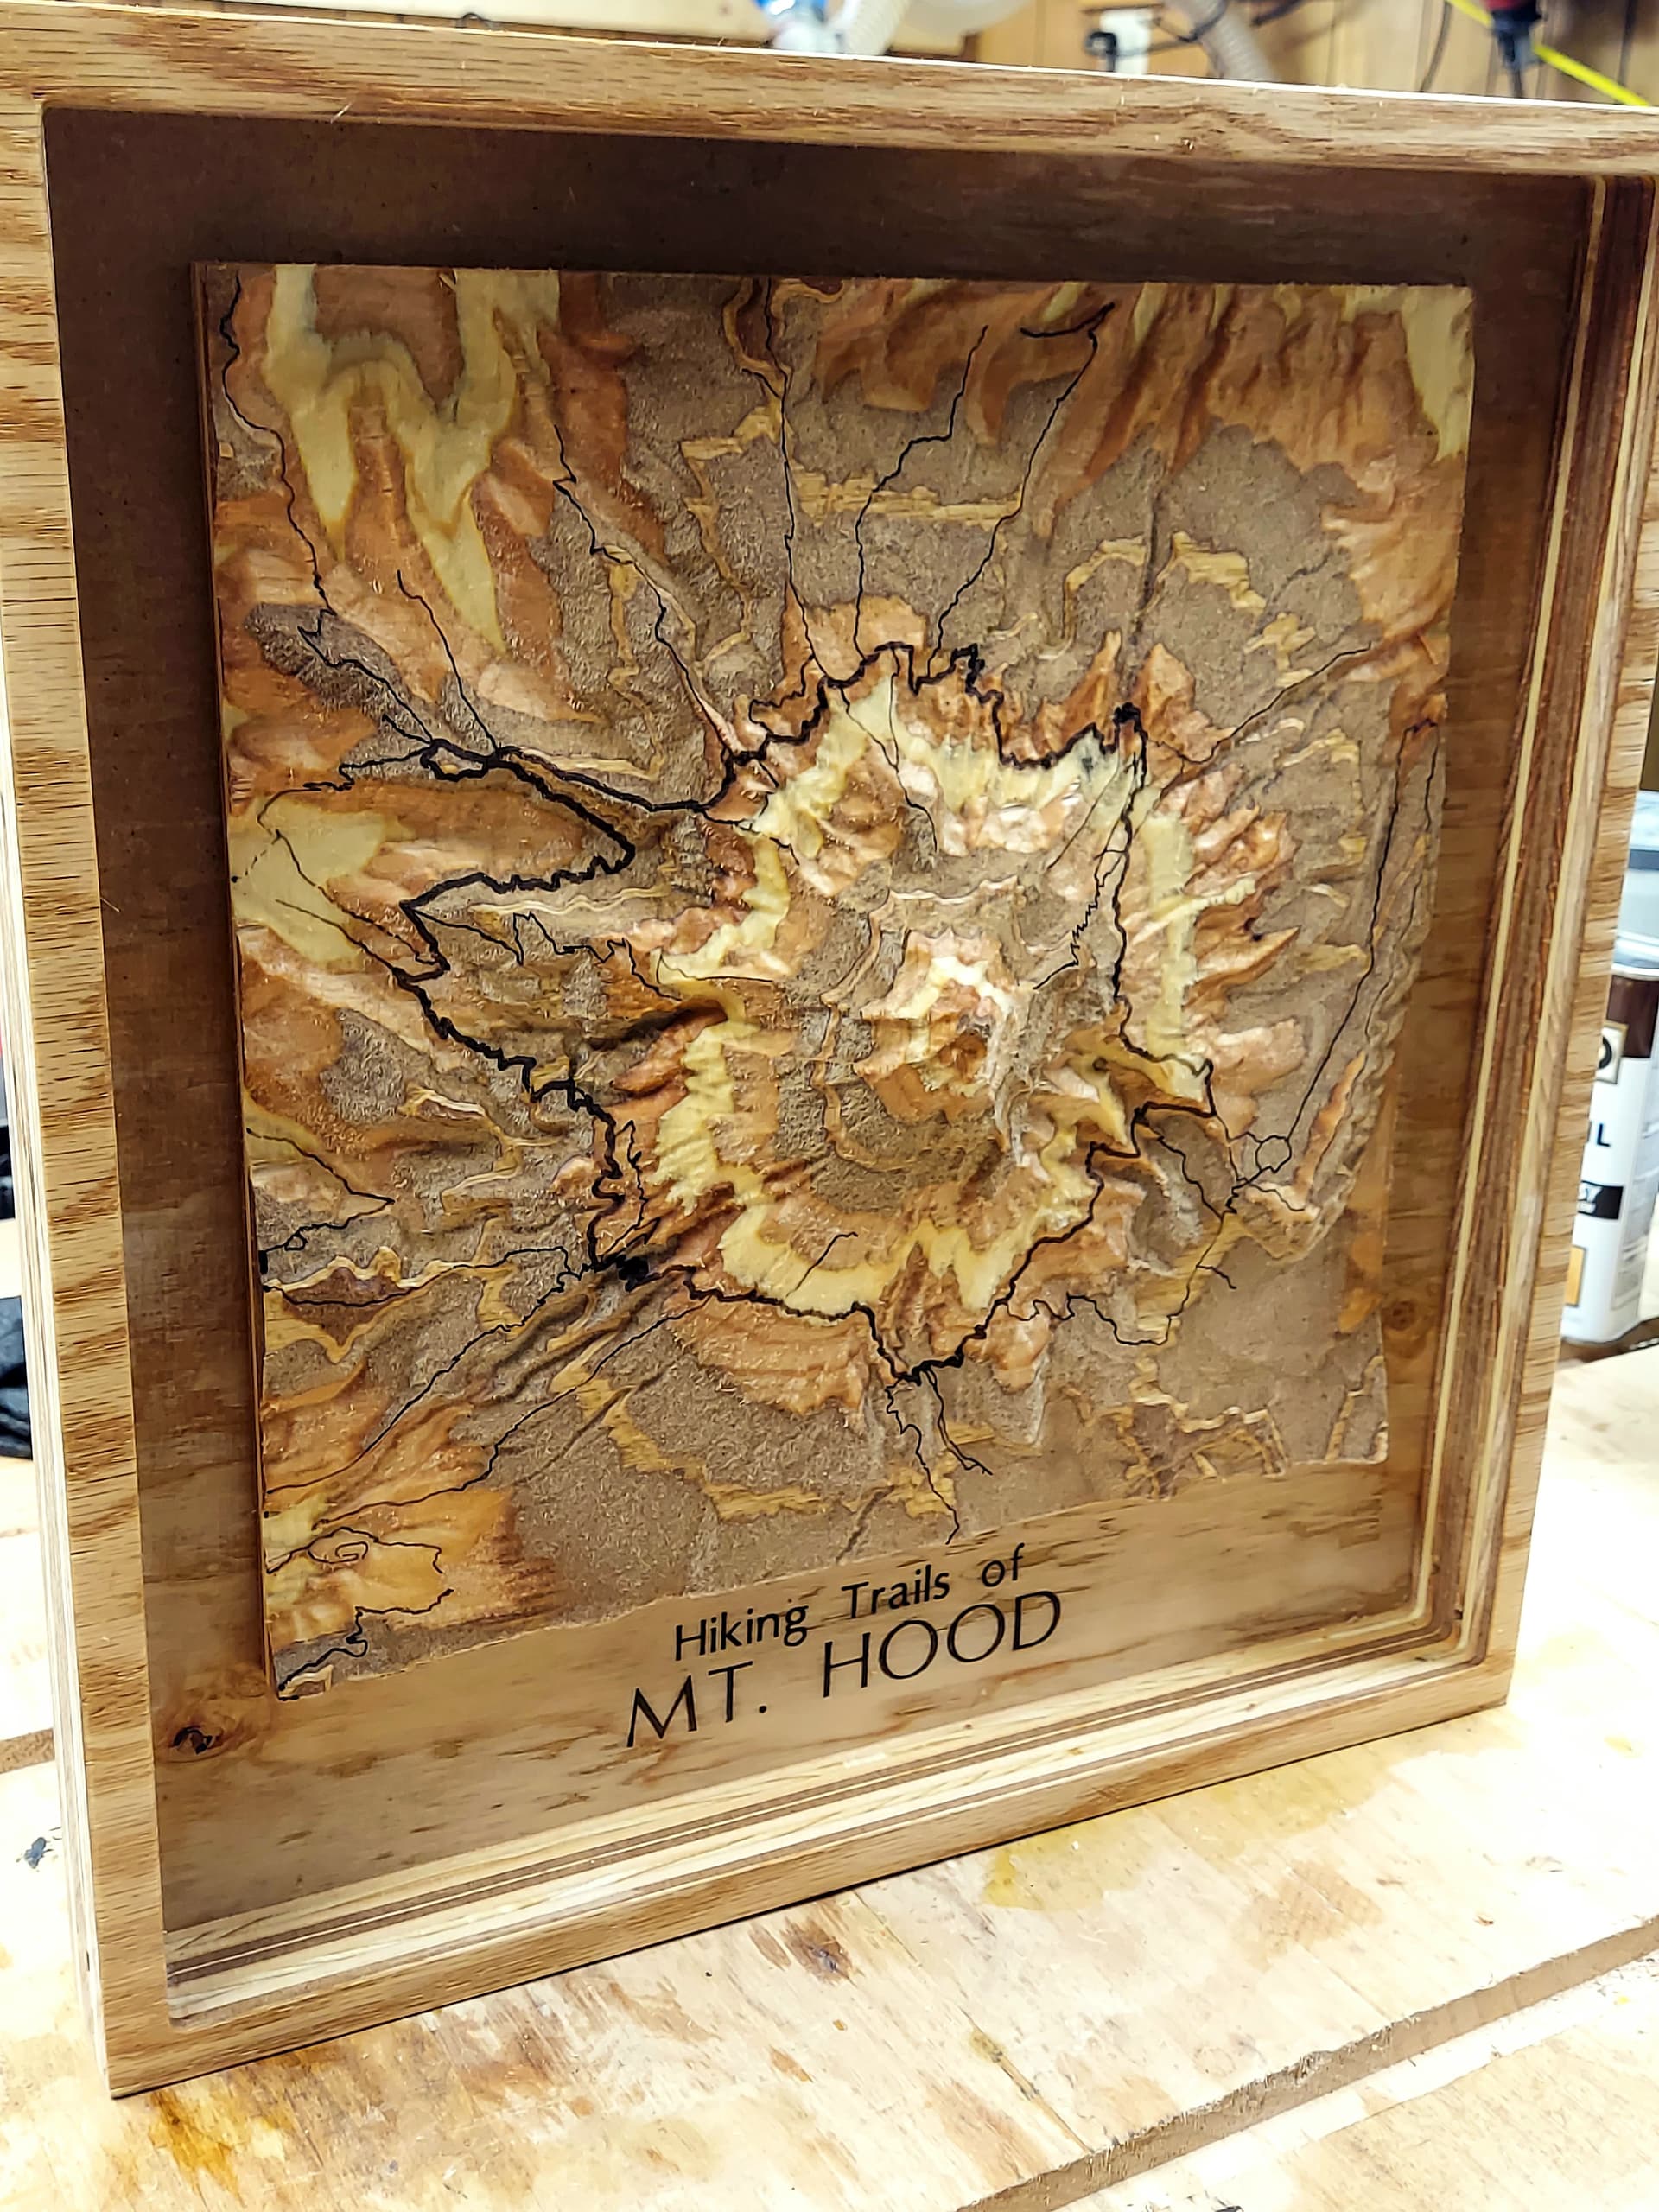
One more topo. First attempt at a Mt. Hood gift. The Cooper Spur hike goes up farther than I realized.

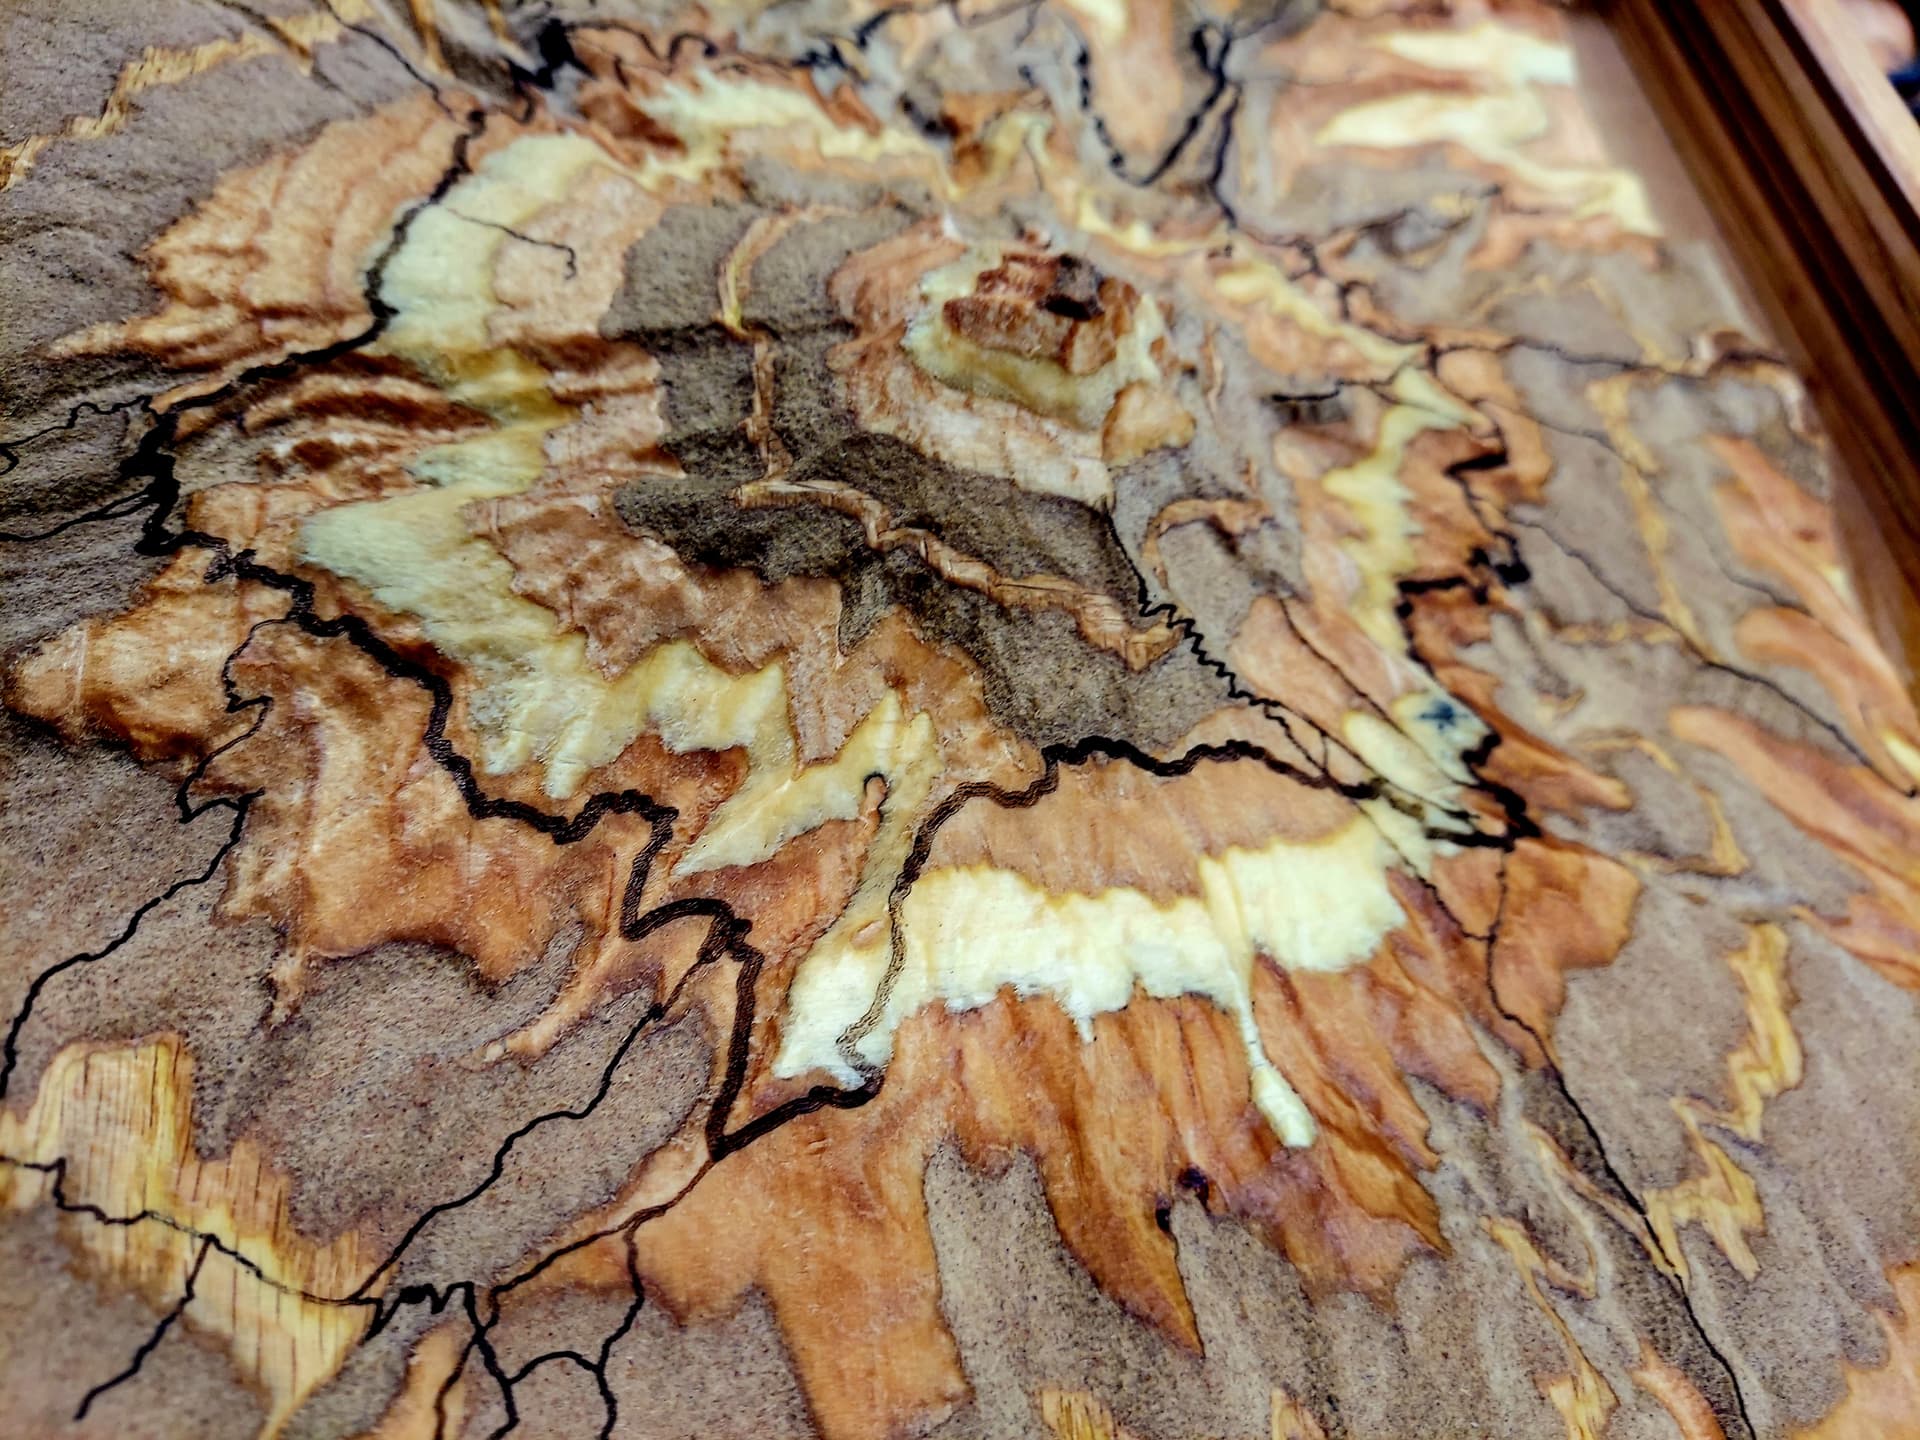
10 Likes
Are the black markings hand drawn?. I ask as i thought if marking reliefs with a pen held in the cnc (aka a 3d pen plotter).
A Walnut Box with foam inlay that has been carved to accept the piece of jewellery. Simple. I thought i would share as I’m surprised by the detail that can be carved into foam.

Next thought is a foam mount that holds the silver art piece but with 2 mm holes drilled behind the gemstones to allow a lighting setup to make the stones stand out for display purposes. Feels like either a load of seed LEDs that need wiring (it will be like a wiring loom in a fighter pilots cockpit) or a strip light or one big light. I’m open to suggestions. The foam is very opaque, which helps.
5 Likes
Hey Bill,
[OT] opportunity to show your car ![]()
![]() (that can be seen
(that can be seen ![]() !)
!)
You showed your car port earlier with the previous car and I of course I like this better. Not the usual SUV or pickup truck that you see all the time on the highways (both in Germany and in the USA)
Why not, if I had a Volvo

or a Tesla

maybe you would see it too on the pics (maybe not that prominently ![]() ).
).
3 Likes
No, they’re laser marked. I don’t think I can get 3d pen marking to work… I wish I could because it would give me a lot more options for notations.
Super carve. Really nice depth and detail! Great wood choice too. It really adds to the visible texture of the topo map.
1 Like


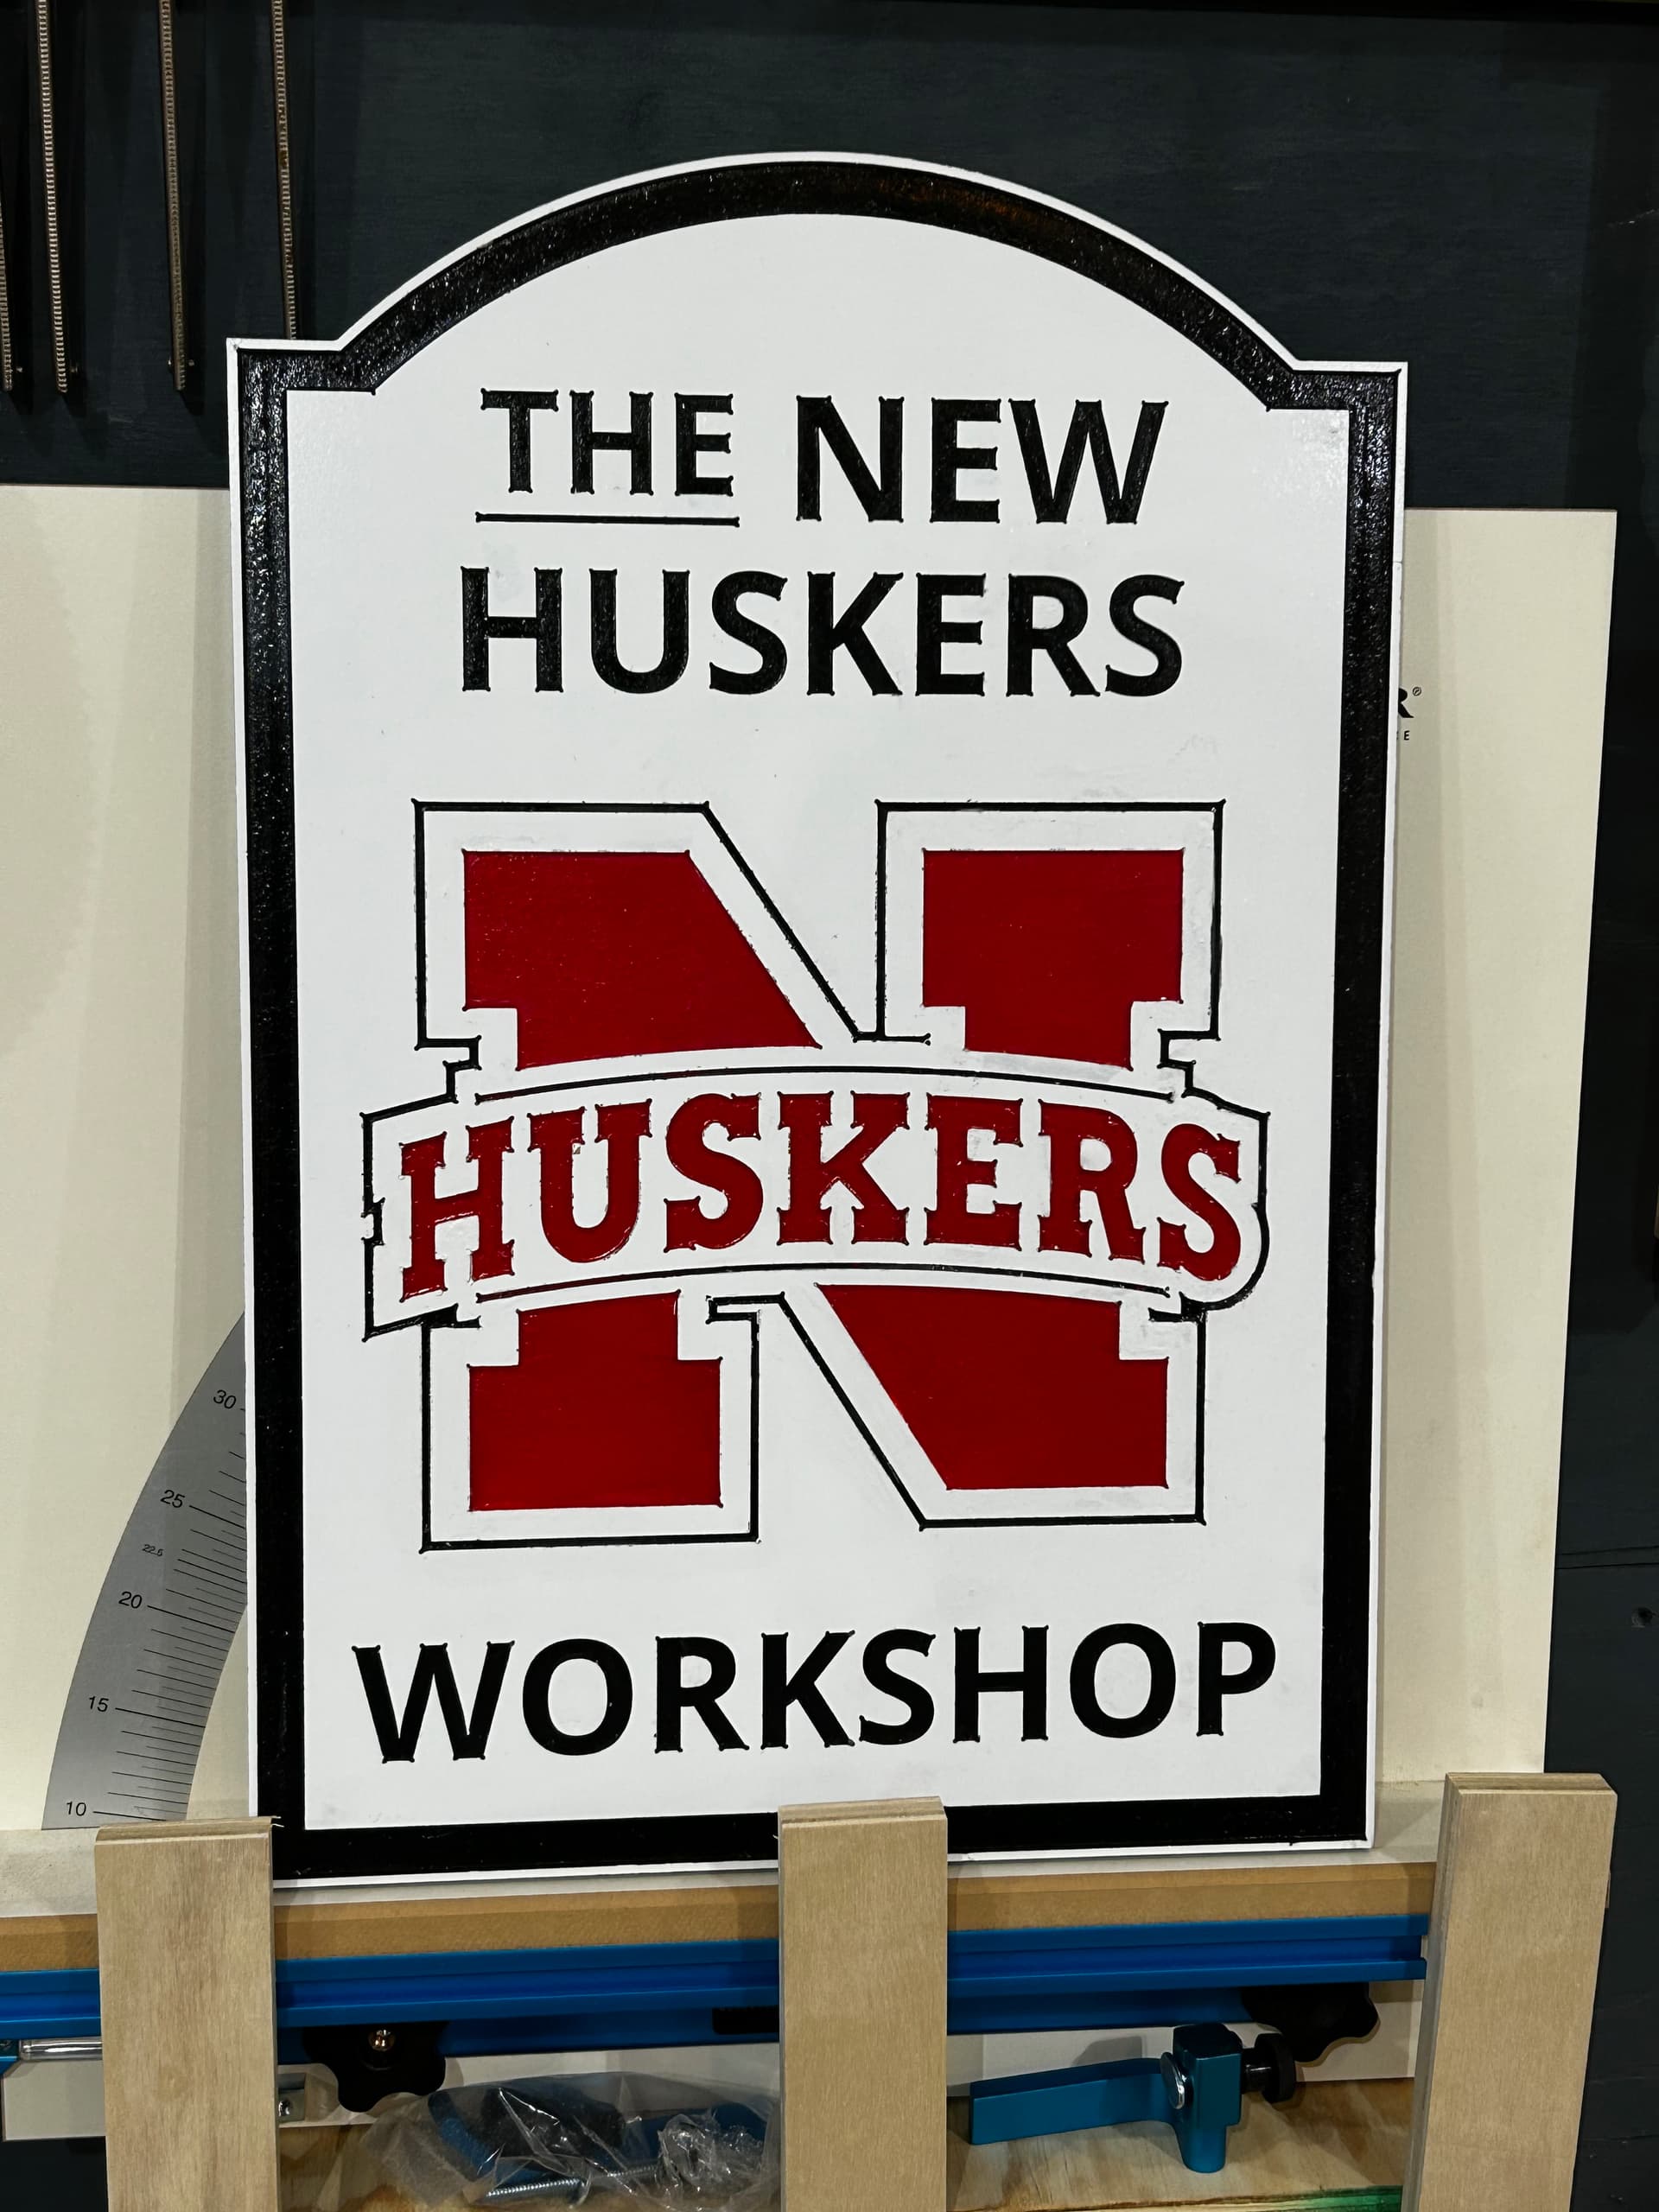
Painting masks to make painted high school sign for this year’s band auction. Passes 5 foot rule, but definitely still has some over spray.
Paint blue. Then center black. Then first pass white, second pass white. (Two white stencils to prevent them from being too delicate). Then gray. Finally black.
3 Likes
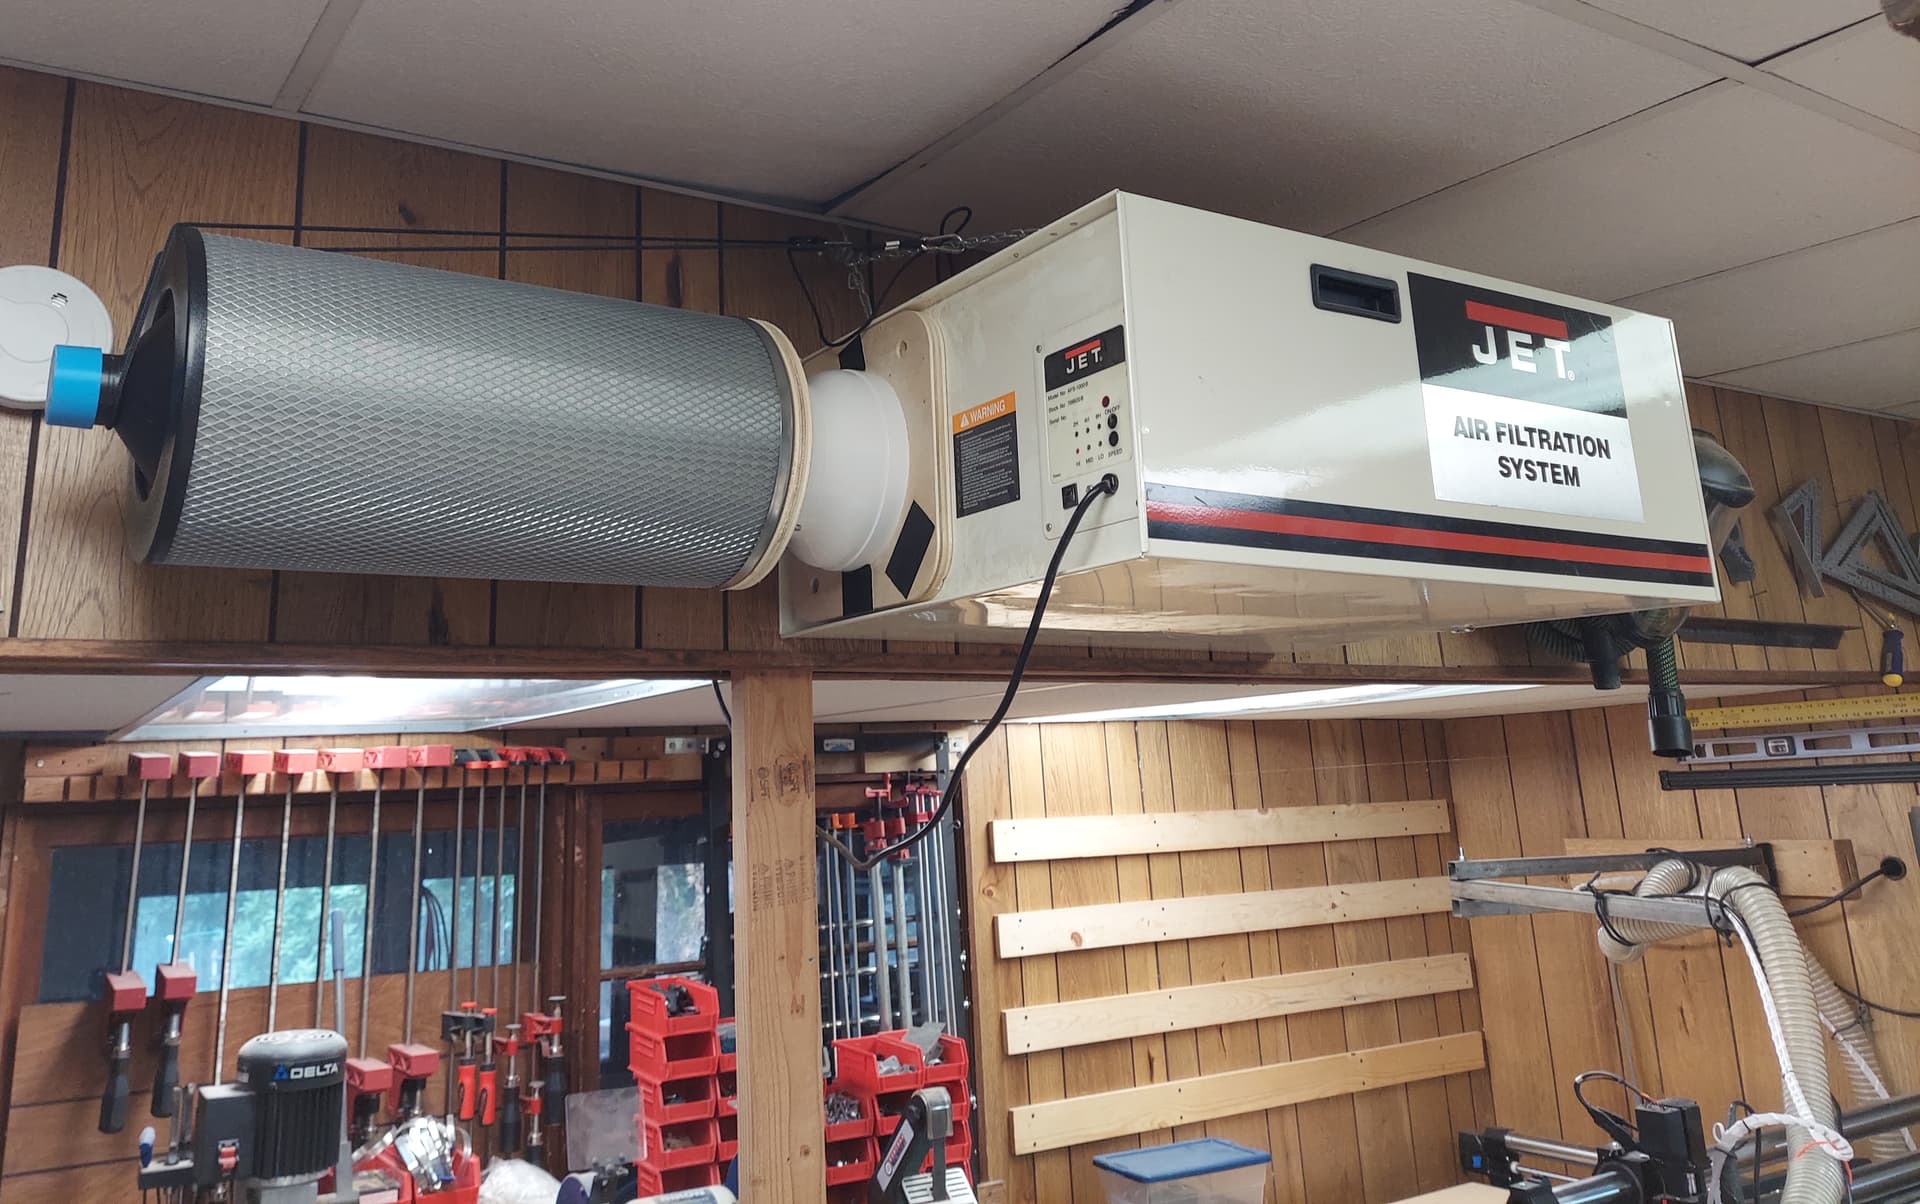
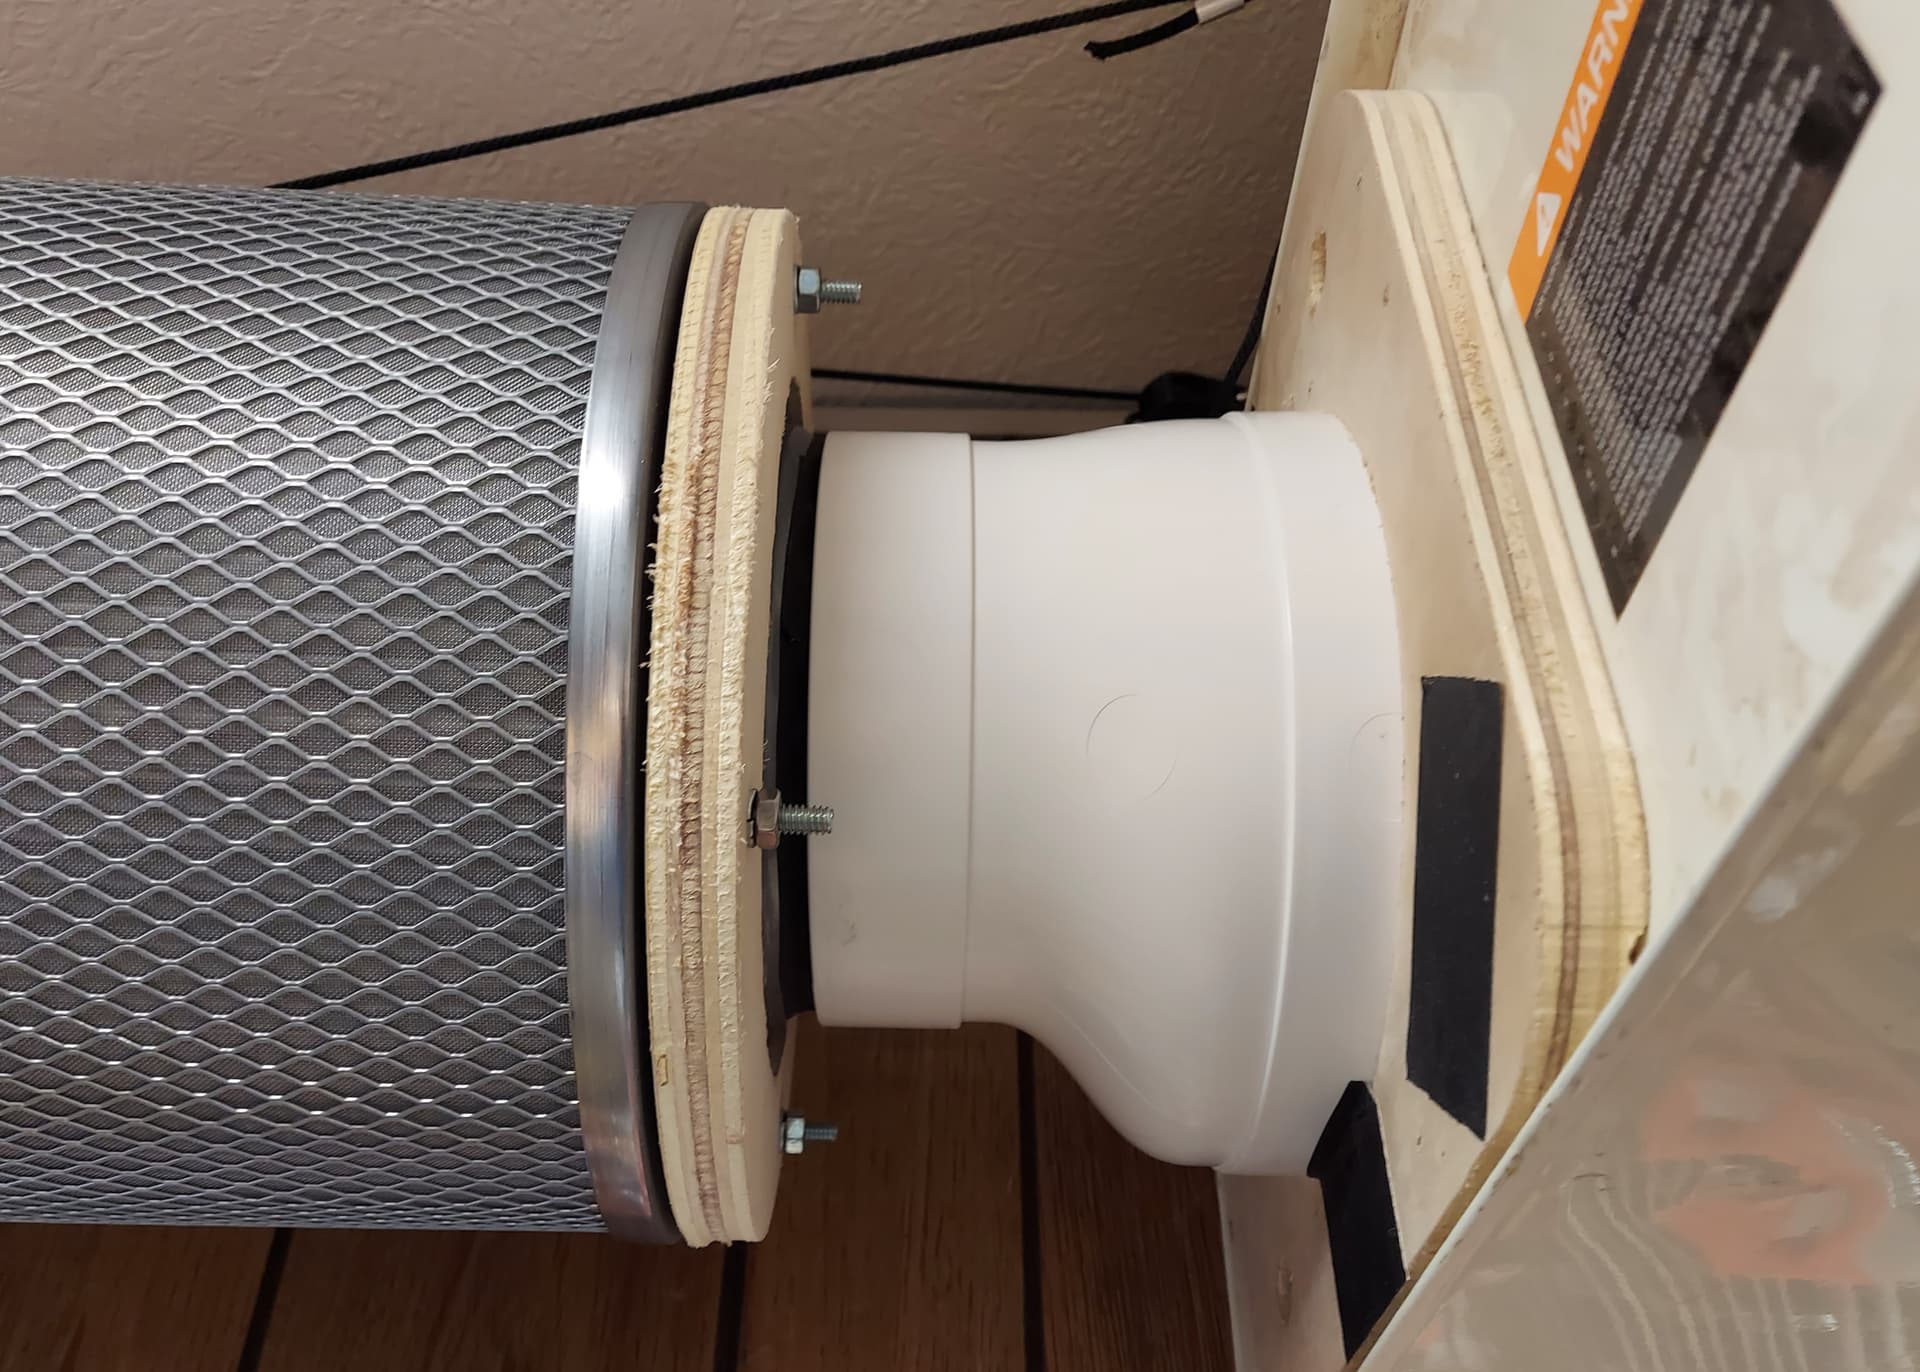
@Machinist’s post inspired me to share more of the utility of cnc’s. I love having a cnc to also make useful things.
After watching stumpy nubs’ video of upgrading air filtration, I decided to try it out. Bought a couple ducting pieces and cnc’d 2 adapter plates to add a hepa drum filter (better filtration and cleanable) to my air filter. Couldn’t be happier… highly recommend it.
11 Likes