
I wanted to do something for the 250th anniversary. I found this file on Etsy and decided to cut it out on a piece of mahogany. I think it turned out great!
Built a sanding jig! … Kindof a poor-man’s vacuum pod setup. Been using it for about a week and it works great for locking in akward shapes… especially the shapes that come off a CNC. The sliding pins are very low profile, allowing a sander to reach all sides of thin material without messing around with clamps.
I don’t have a vacuum pod system, but if I did I would likely reach for this more often. It’s just dead simple and quick to setup.


I like it,well done!
Slick! I assume that the square pieces/nuts slide in grooves on the underside of the fixture?


amazing work! Hope to be there soon.
Amazing work, and we also love hummingbirds.
Thanks. My wife lives watching hummingbirds coming to her flowers but there seem to be fewer this year.
I used my machine to make this canoe paddle!
I made a thread here on the forum talking about the process, and posted the files on my Etsy page and CNCFiles.com


Long time since I’ve posted anything. This is the epoxy inlay for our RVs new dinette table.
Some of my plans are now available at cncfiles.com. I’ll be posting more and more of my original work there.

This weekend I spent some hours with my 20-year-old cousin and god-daughter to help her with a project to memorialize their family dog, Josie. This was a good opportunity to introduce her to our family’s legacy of woodworking on a timeless project to honor her pet’s memory. We made this pretty picture frame that has a secret compartment to seal a small memento or Josie’s ashes in the frame. This was some great family time getting to know her better.


This project plan is available on my cncfiles.com storefront.
Before you made this, were you up a creek without a paddle?
Another big thanks to 1F, everything came out just perfect. I was tasked with Master Chief Moreno’s retirement chest and they gave me free range of creativity. The chest itself was given to me, but it was ugly. I stripped it down and re-veneered the outside with cedar. The lid was replaced with all cedar and made it deeper so I can add the carvings. It’s hard to see in picture, but on the inside was a custom built “shadow box” tray. The tray is elevated so he can add some of his uniforms underneath and the cedar inside should keep his uniforms protected for years to come.
My biggest challenge was the mounting of the rudis sword. What I came up was a simple buckle that was made on 1F. Took about 5 minutes to design and it came out perfect (both stylish and functional).


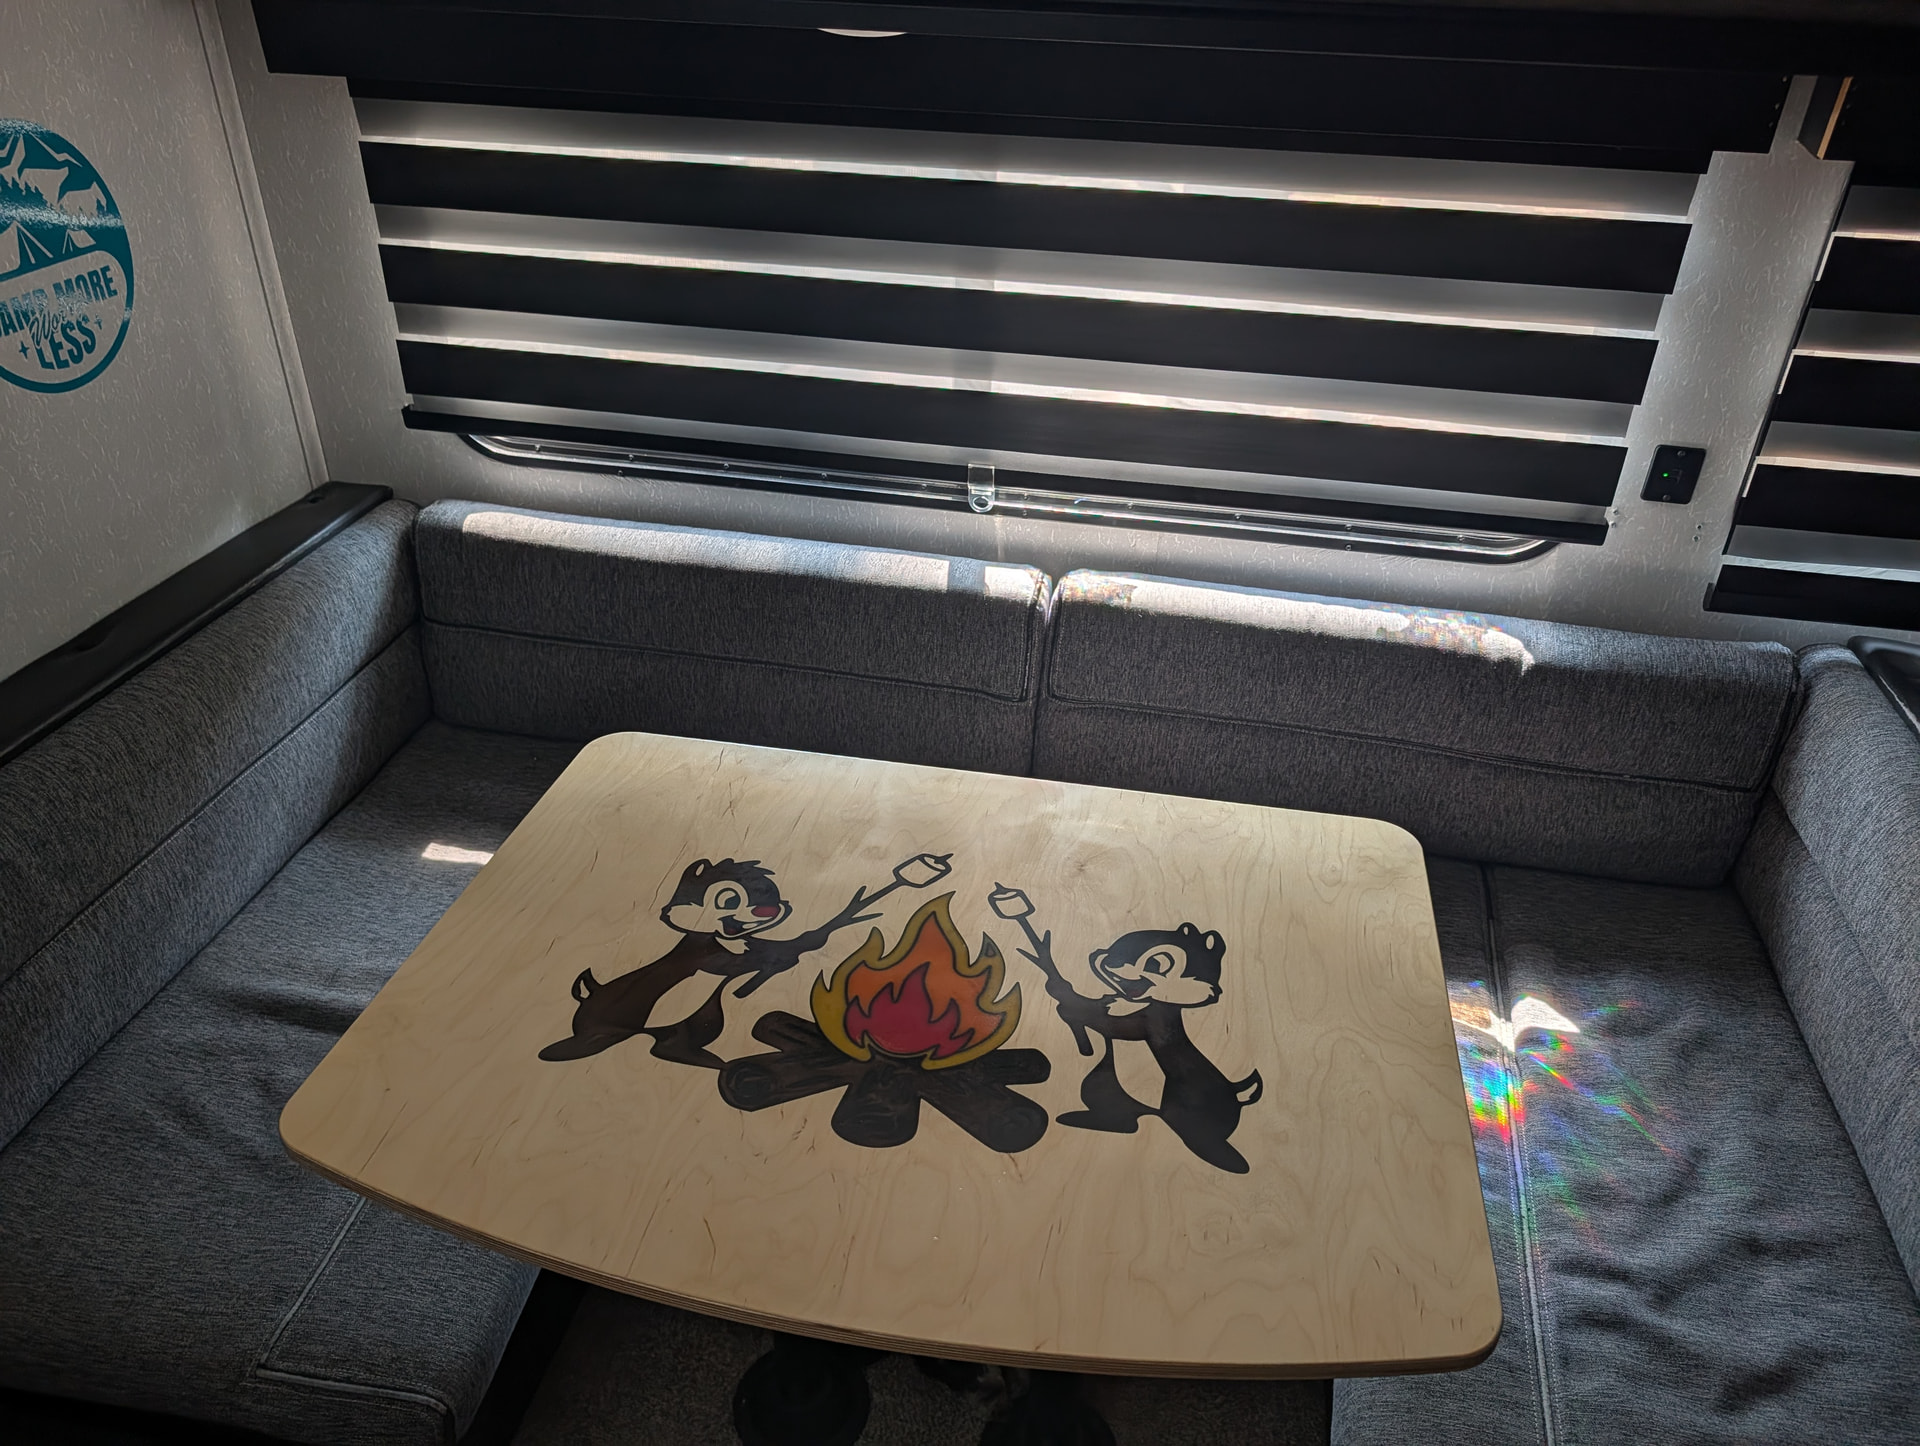
Awesome work! Epoxy fill?
Yeah. About .090 deep inlay
Awesome idea, fantastic solutin

