Are there actual benefits to the tabletop being one piece of plywood or MDF?
As I’m planning for the delivery of OF, I have hit a logistics problem. To cut a long story short, it will be difficult to carry a large 4x5 panel to where I’d like to setup the OF. It is possible but using half-sized panels and joining them on-site would be a lot easier. So I’m considering that option but I have not found any references to whether it is a viable option.
Apart from the extra work in joining the panels, are there any technical constraints that I should consider? If using two panels, how would you orient the machine X and Y axis to the split?
I’ll see a bit of problem making your table from multiple Parts the only thing is you’ll need to run a flattening routine on the entire available cutting area after joining. Something that you want to do anyway.
A split table top can create “flex” in either side of your machine if the framework underneath is not well constructed. If the table top is not well supported underneath it can create flexing issues. When you are doing fine detail work, surfacing, or need exact dimensions you will run into problems. This potential problem can be easily eliminated by constructing a solid frame for the table top to lay on. If you must do this here are a couple suggestions:
Reinforce framework under the table top in the opposite direction you place the two halves.
Additional measure of support/sturdiness:
Good framework and
2 layer table top (4 sections) - 1 layer run east/west, second layer run north/south
Attached is a quick sketch for the first suggestion:
Hi Ben! I had a similar issue as you are facing, so I also went the split top and joined them together. I used biscuits to keep them aligned and pocket screws to pull the halves together and glue. I reenforced the joint with some 2” square heavy gauge aluminum fence posts that I had left over from a project. On top of that I layered a 4 foot long piece of 3/4” MDF, then installed another layer of MDF with T tracks as the spoilboard. I haven’t noticed any flex or other I’ll effects so far.
I am mostly using the front of the work area for projects doing through cuts and some small engravings, but will soon be using the whole area. I will make a quick spoilboard surfacing pass prior to that project to make sure it is still nice and flat.
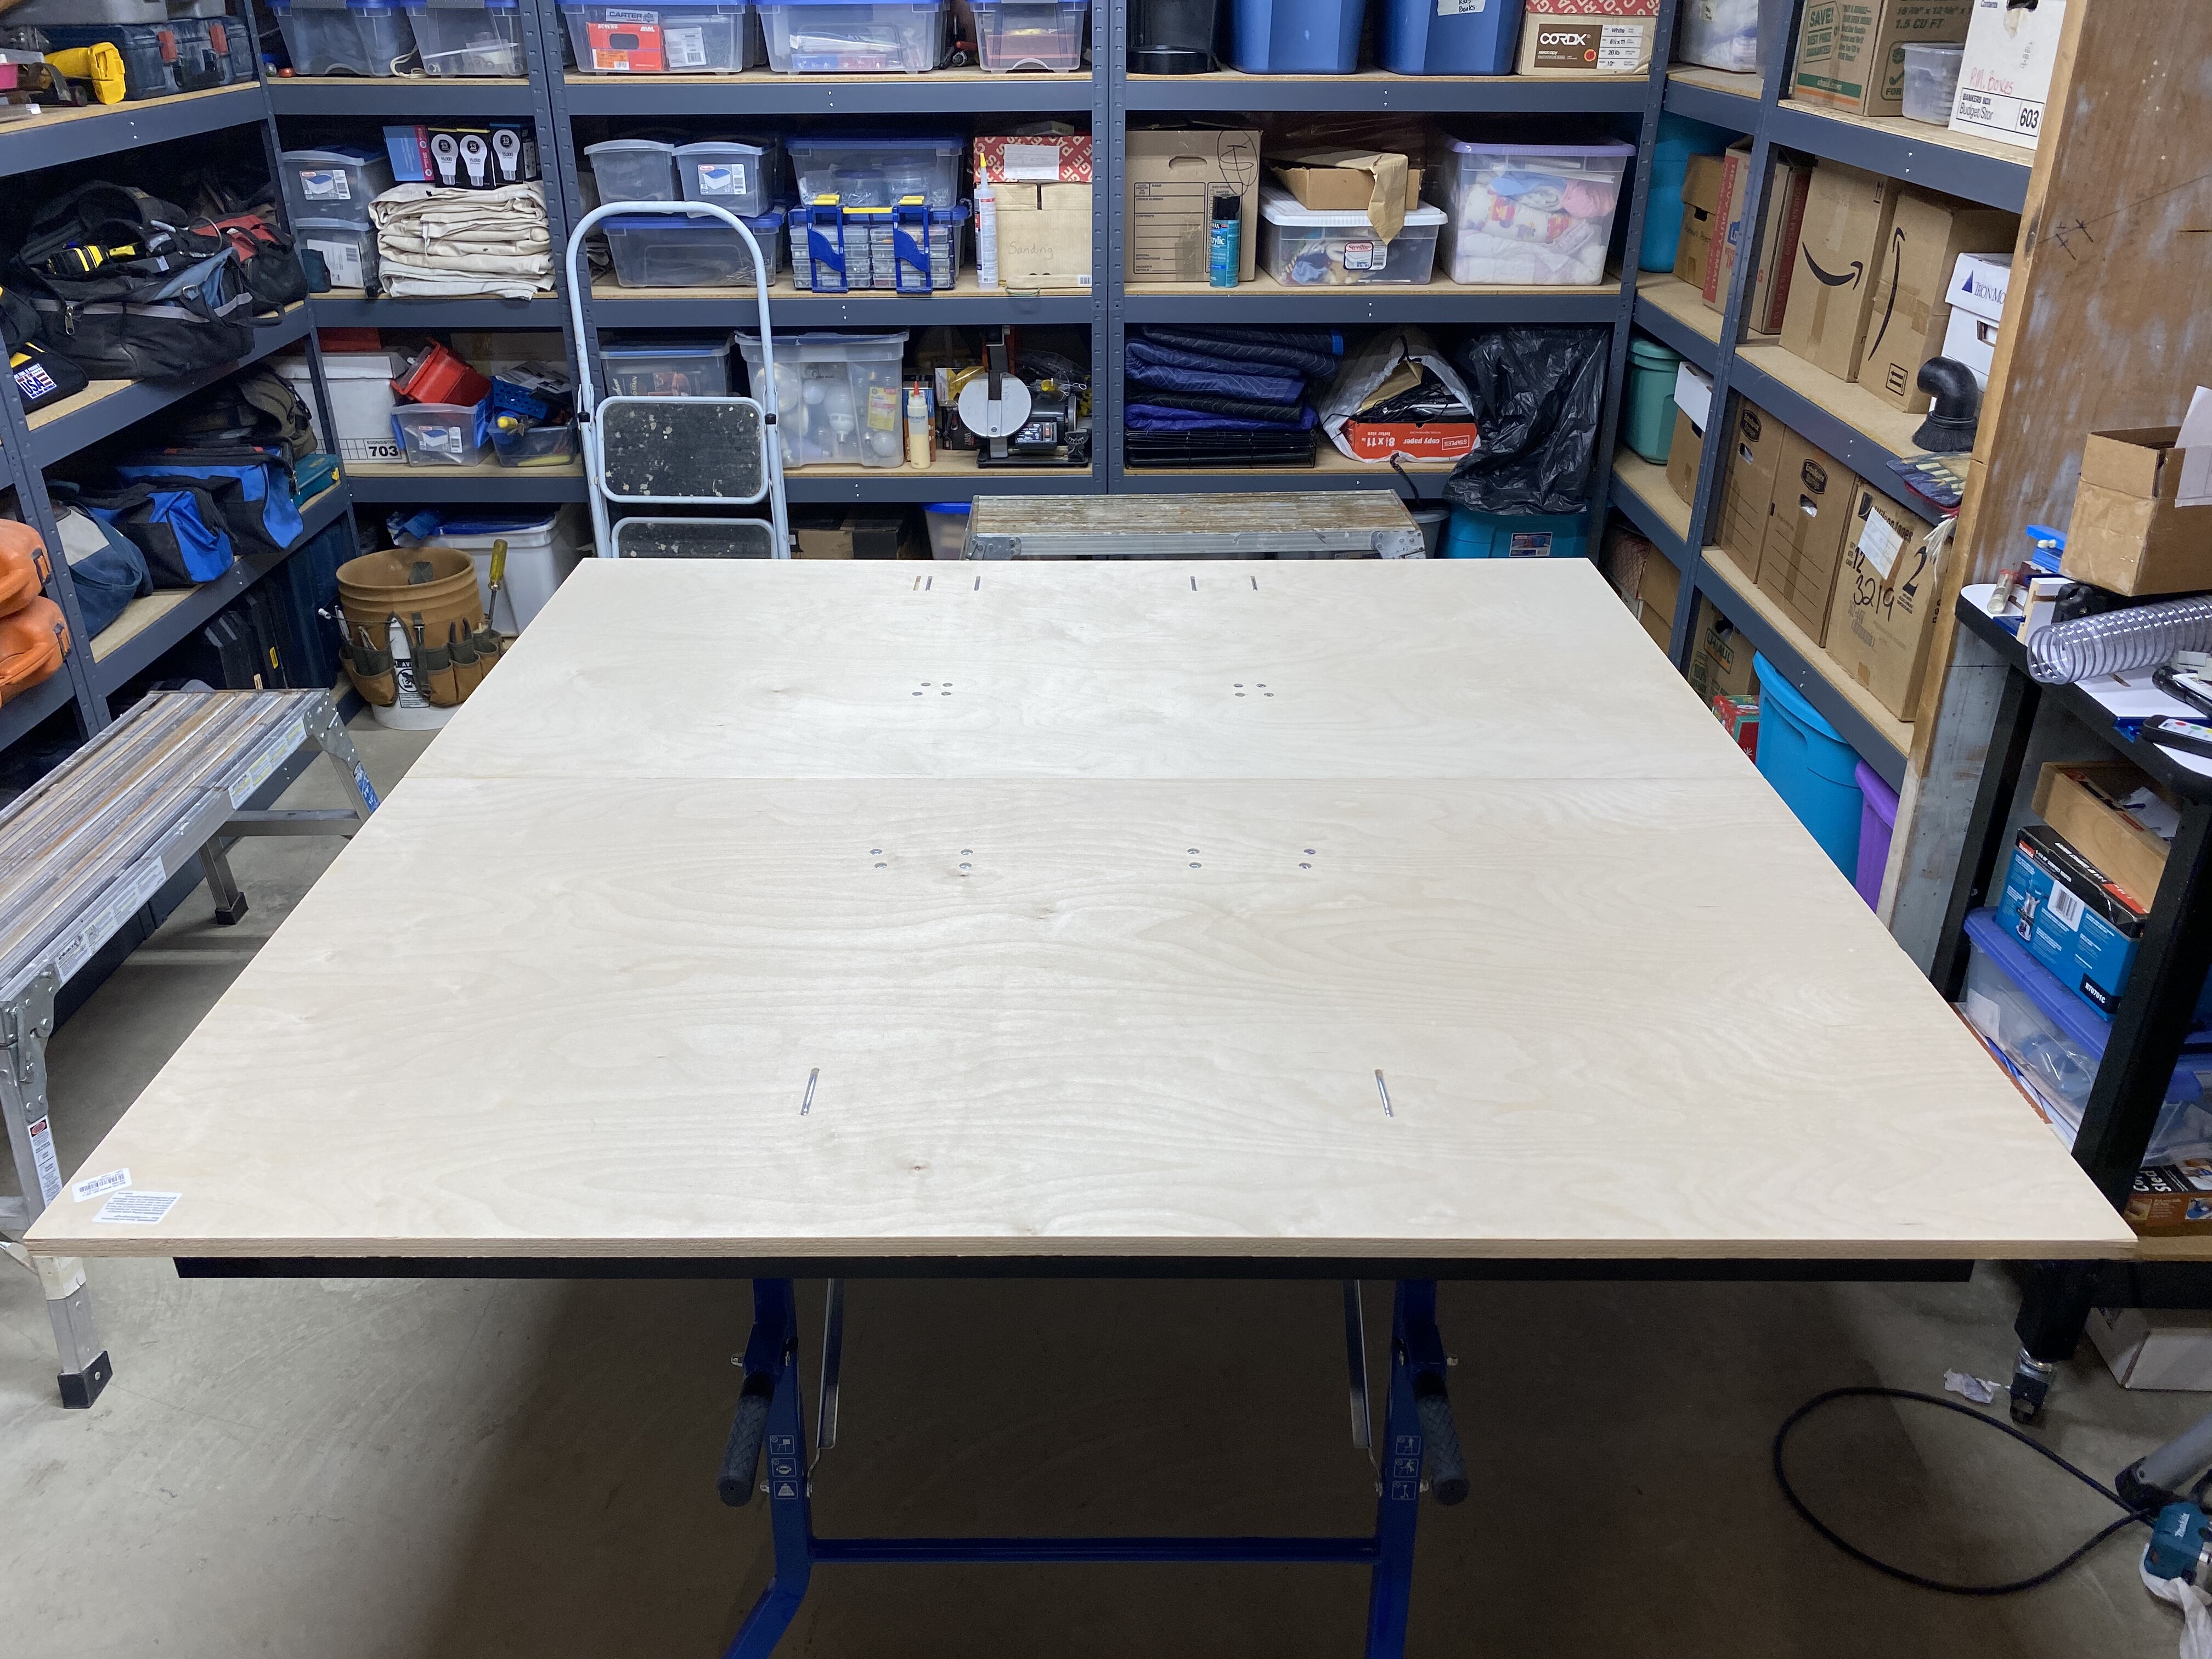
Here’s a picture of the underside and the top surface under construction
Thank you for these insightful answers and the detailed pictures.
I now understand the challenge with rigidity as well as possible workarounds. It also helps me understand the references I have found, in forum posts, to torsion boxes
A related question. The instructions state that 4x5 is the minimum tabletop but, from the diagram, the rails appear to fit in a 4x4. I think I now understand that the extra feet on the side is to support the controller (and, I assume, various other bits and pieces?).
Is my understanding correct that the portion where rigidity is crucial is therefore 4x4? And I could attach a 4x1 or even 4x2 on the side for the controller and other parts? Sorry if this seems obvious but I don’t have the machine yet…
I wanted a little extra working space to layout tools, supplies, etc., while working, so I went 5 feet deep and I trimmed the sides to have a couple inches of overhang. I mounted the controller under the table.
I made sure to place the supports just inside the line where the Y axis would mount. I figured that since they only mounted at the points of contact with the table, the support would be more useful under the cutable area. If I had another piece of the fence post, I would run it down the middle to provide more support.
With the amount of overhang I have allowed, I can install an enclosure in the future. I won’t have to figure out how to get more area to mount it to if I have extra now.