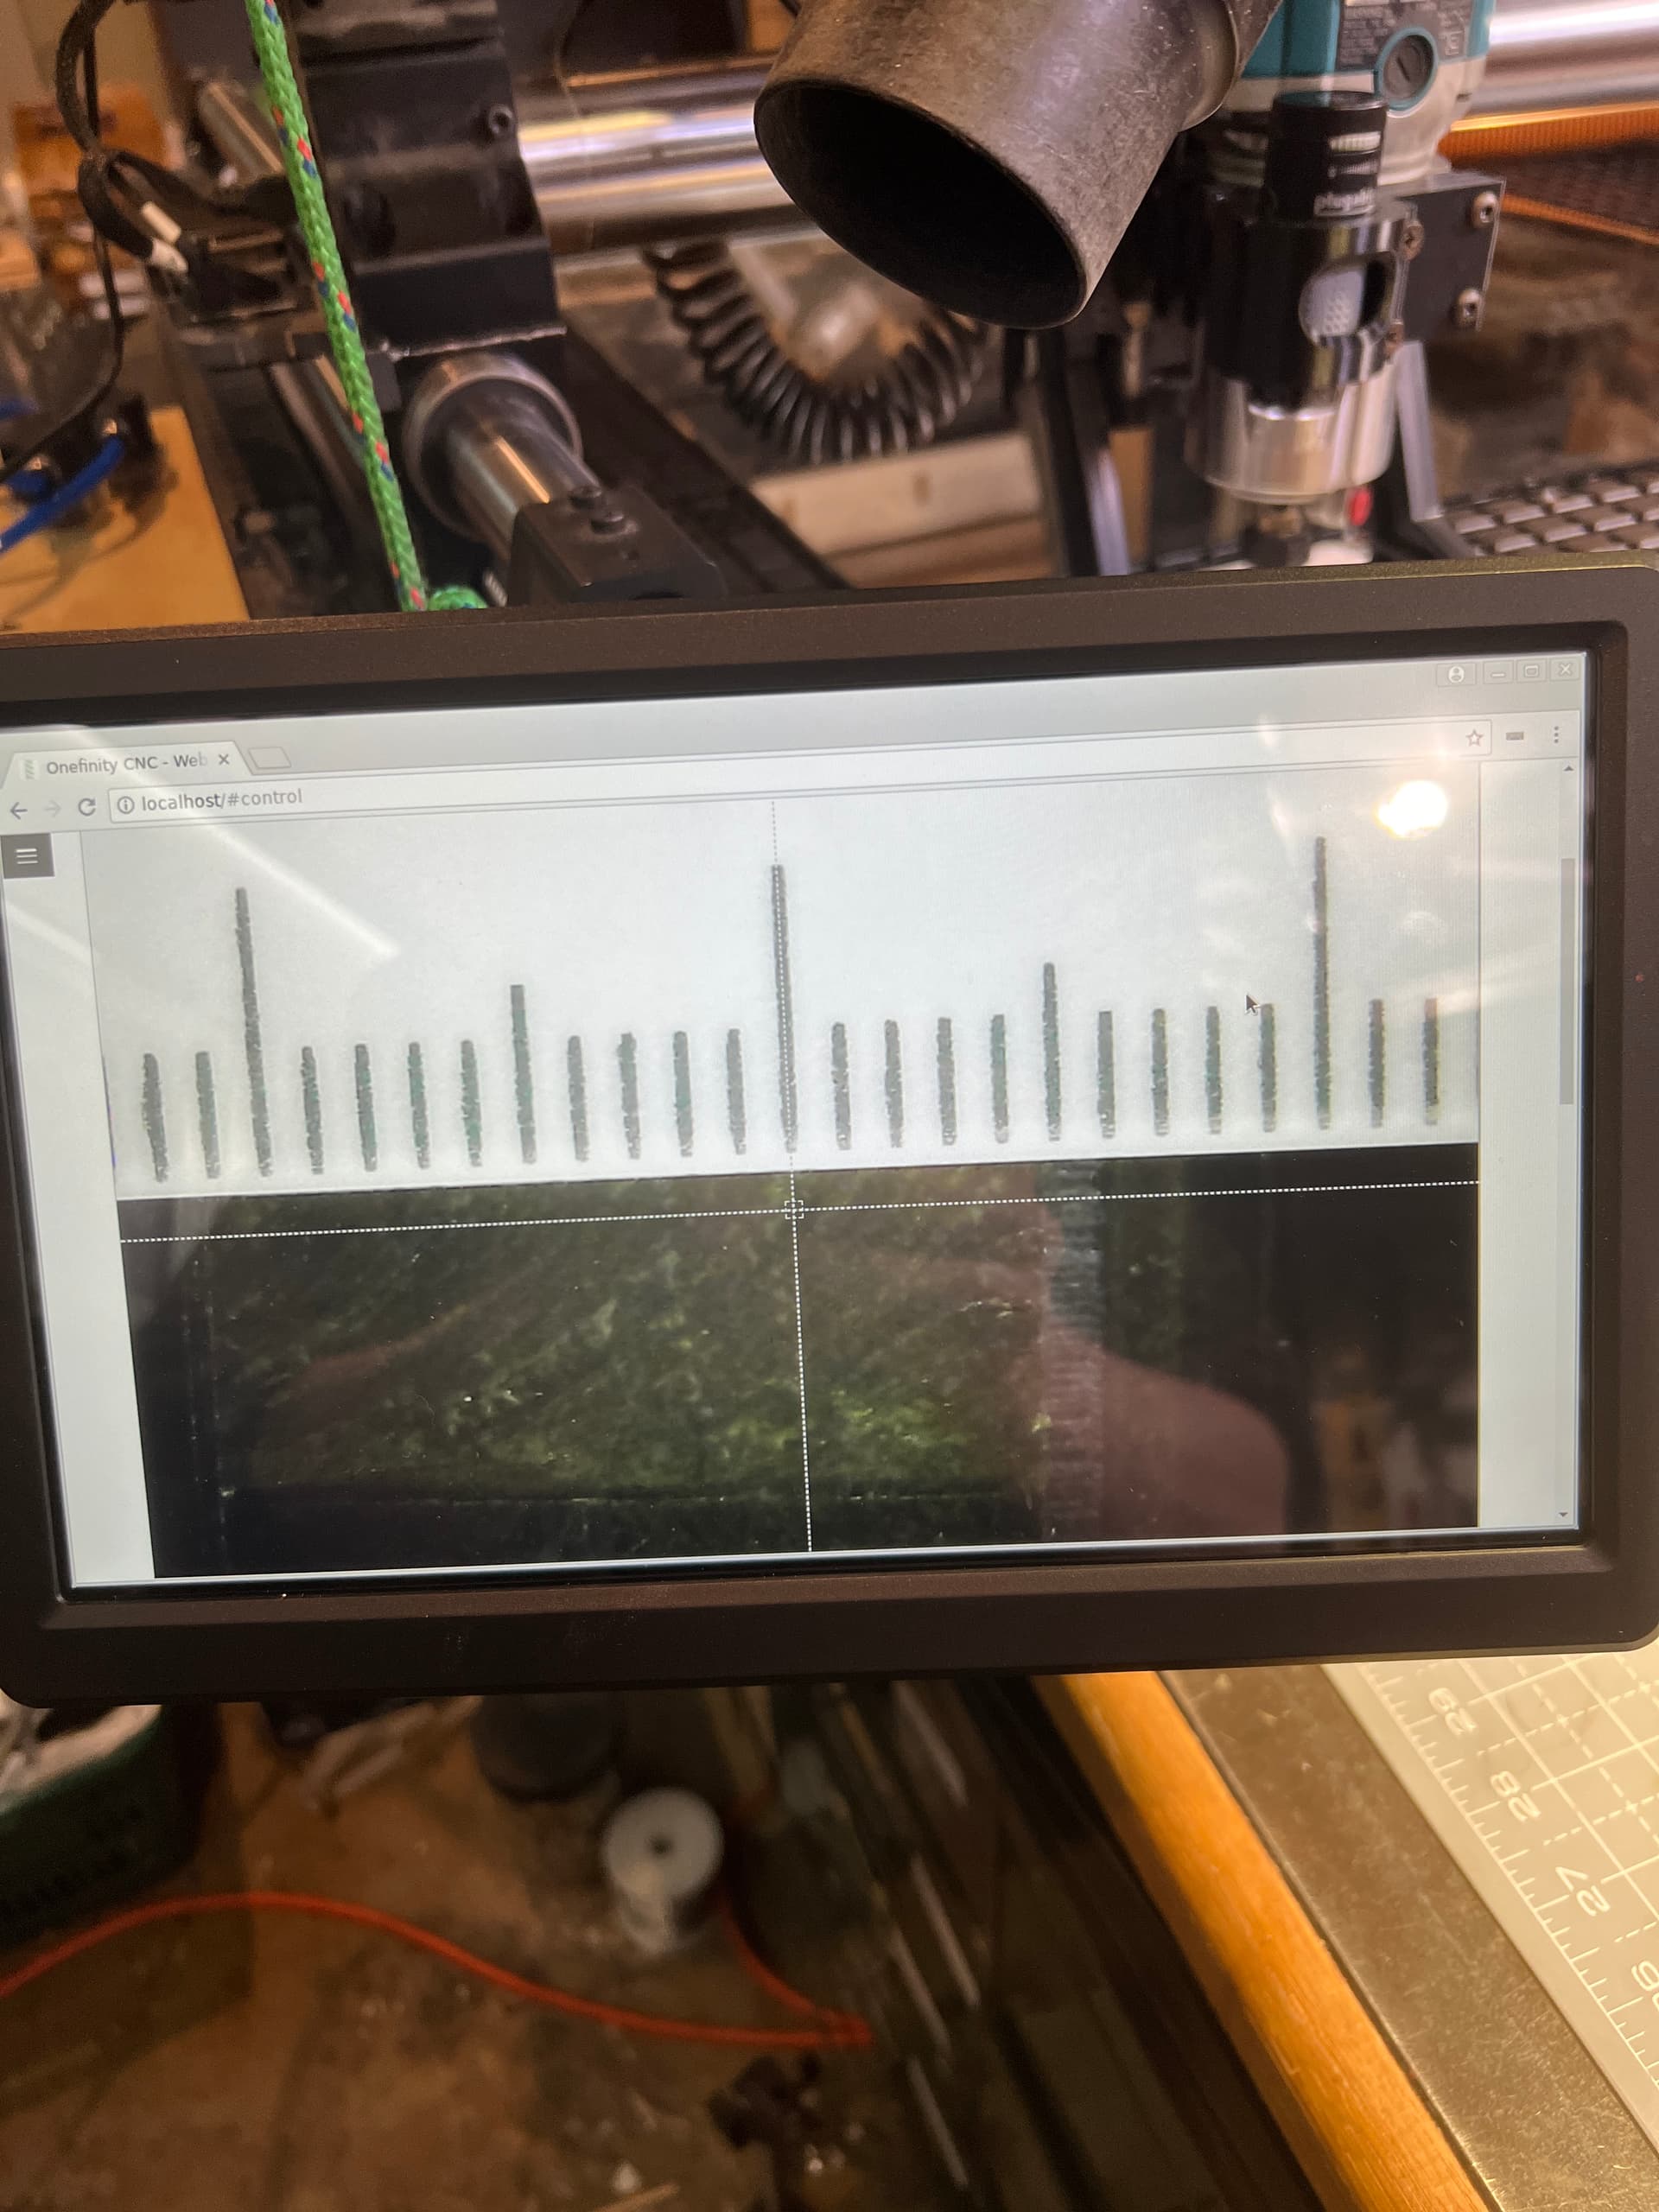
I’m using the Buildbotics controller that Onefinity provided with their original Journeyman CNC. I recently added a USB microscope to help with zeroing on visual features, and I was pleasantly surprised to see that it worked right out of the box! It showed up in my interface and even included a crosshair overlay — great job on that, and thank you!
I had expected I’d need to reroute the feed through separate software with an overlay feature and then send it back as a virtual camera, but the plug-and-play functionality was exactly what I needed.
I do have a couple of questions I’m hoping someone can advise me on:
Automatic Offset Compensation: Is there an existing feature — or an easy way to add one — that allows for automatic offset compensation for the camera’s position when setting part placement offsets?
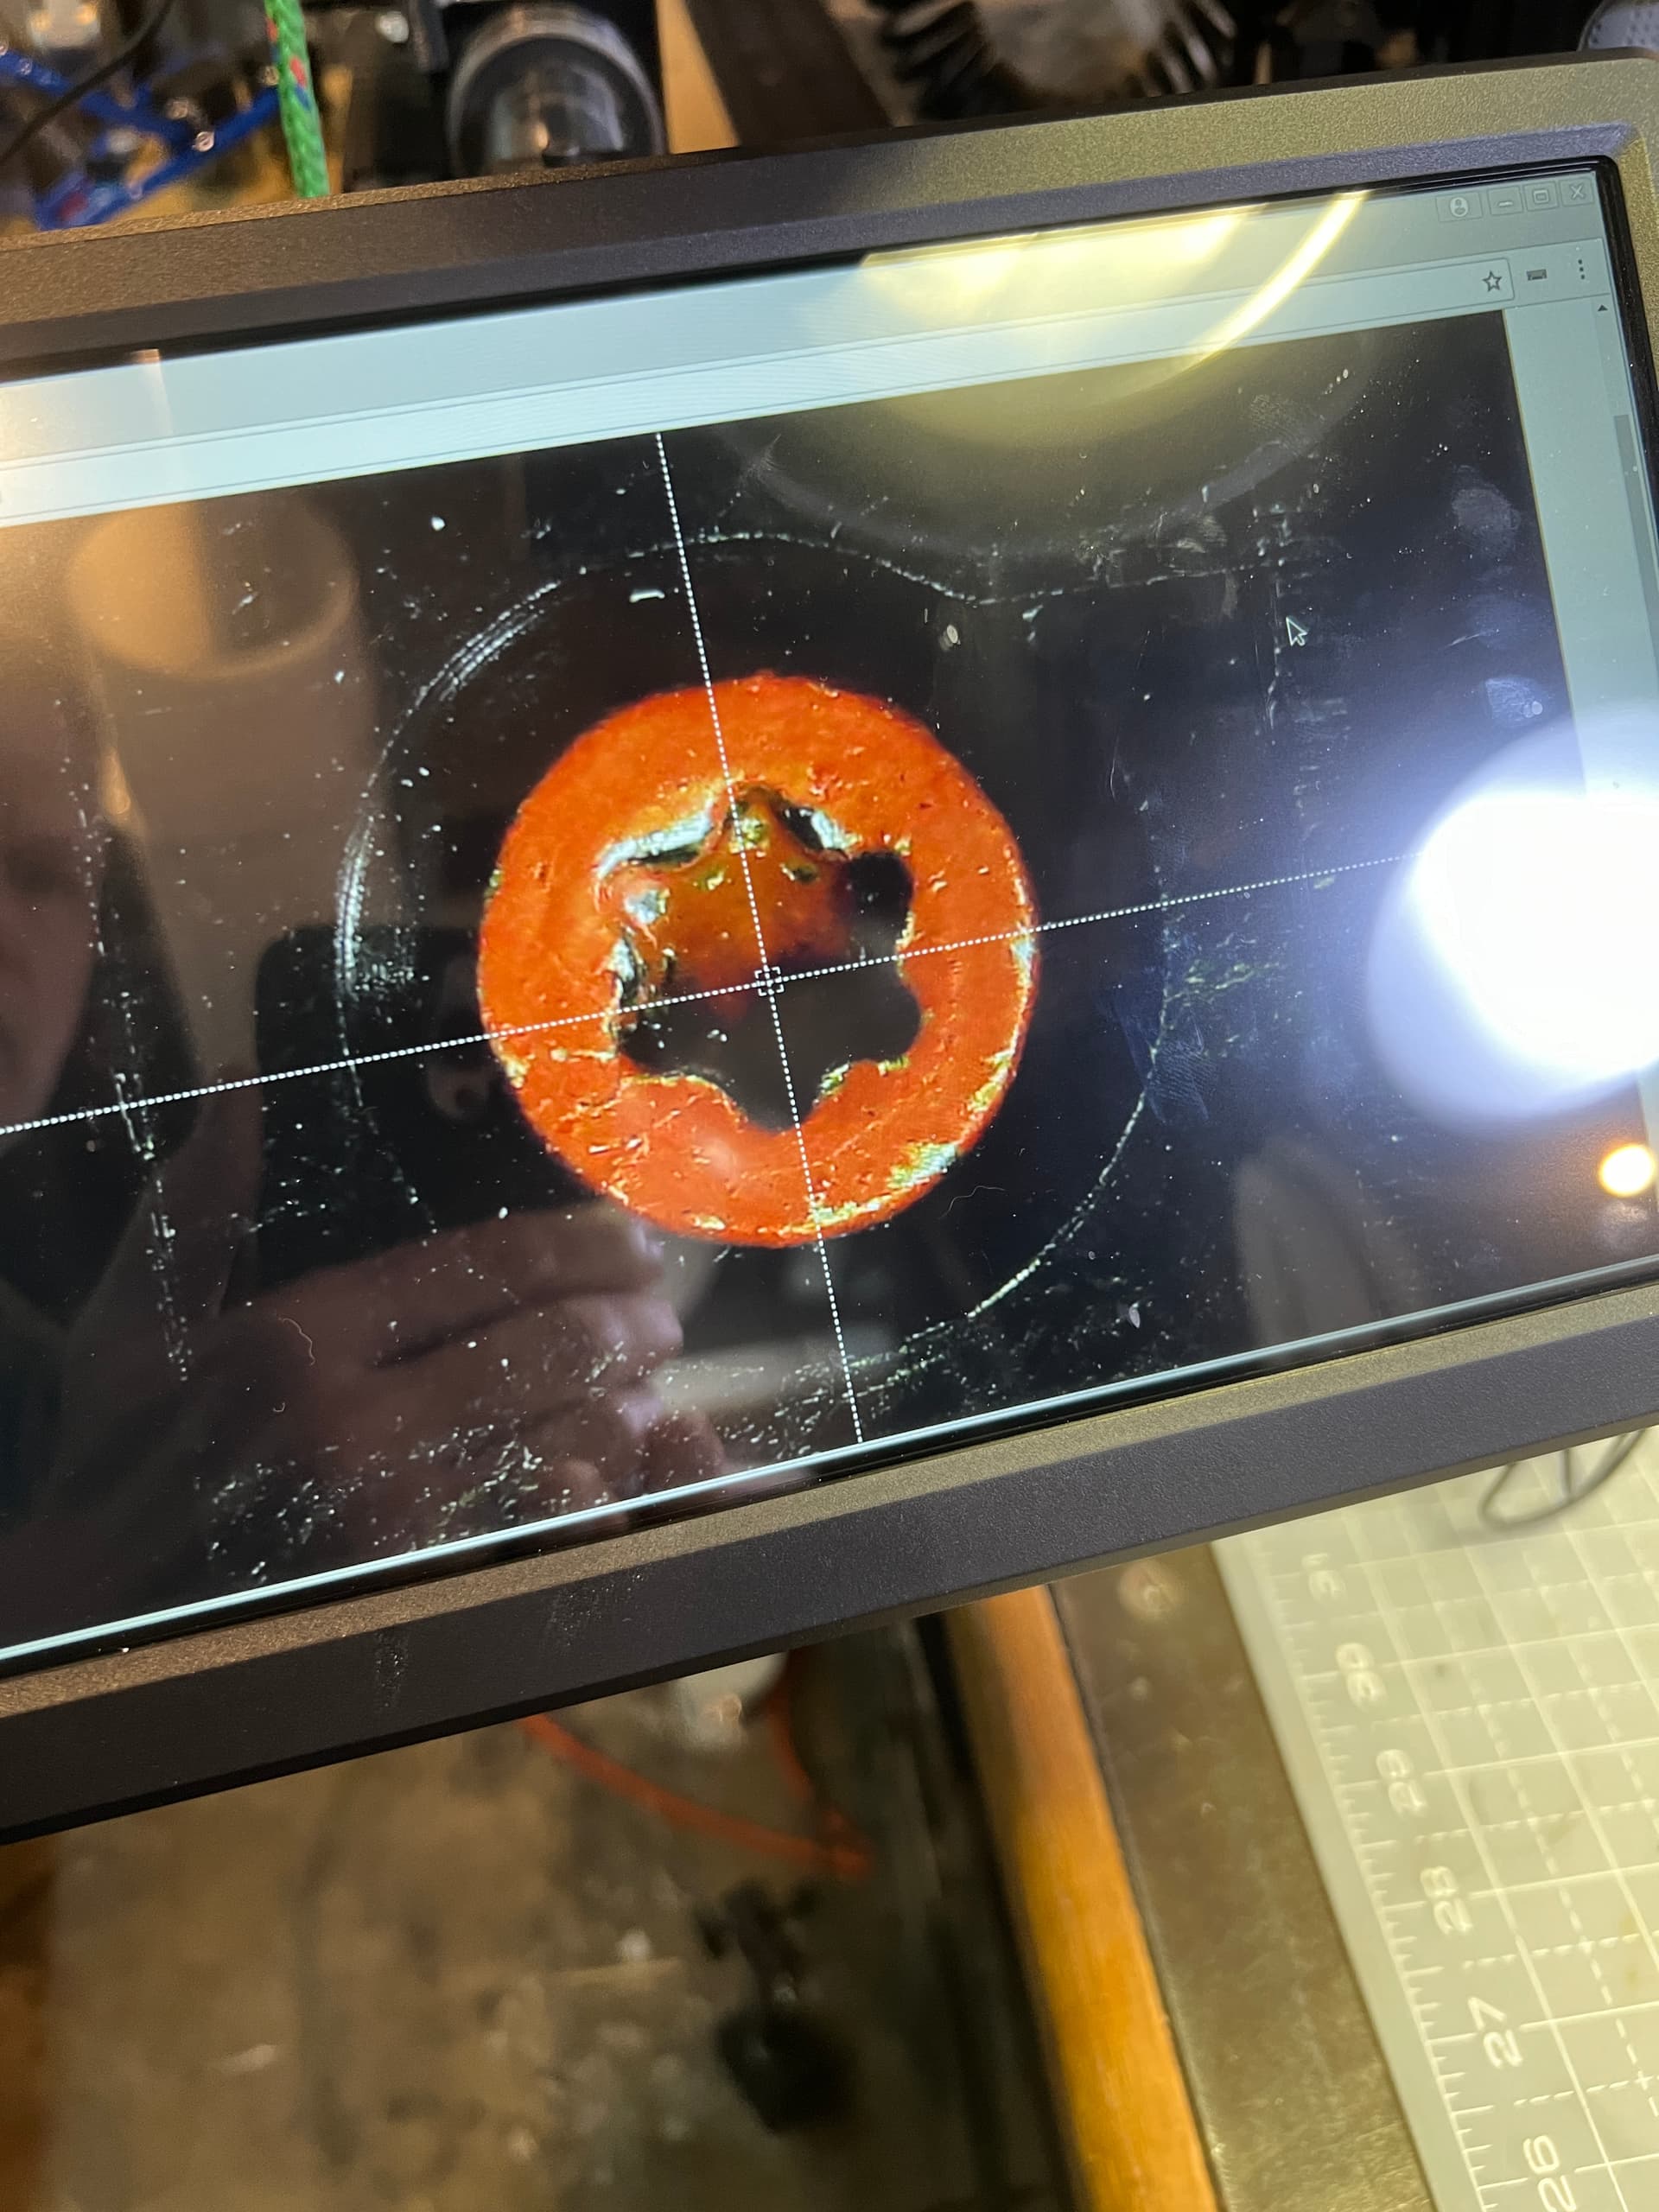
Circle Overlay for Hole Finding: Since the crosshair overlay is already available, is there a simple way to replace that with (or add) a small circle overlay for improved accuracy when locating holes?
I’m hoping these features are either already accessible or achievable with a few lines of code. Here are a few pics of the USB Microscope in the printed mount and the feed with crosshairs, Thanks for any help!
I’m sure this is basic code for many of you but If anyone else didnt know and was curious, you can input a a G92 value for a temporary offset or a G10 for a more permanent one. Works very well so far. I am hitting my target within 1 or 2 thousandths which is good enough for me.
my camera is offset by 39.56 mm on the X and 56.55 mm on the Y, so I line my camera target up and enter
G92 X39.56 Y56.55
G0 X0 Y0
Now the center of my cutter has moved to that position and the offset values are zeroed
I believe if I used G10 instead of G92 then my offsets would always match my camera positions. I am using G92 so when I use my edge finding probe it will still be correct.
That looks a great setup which I would really like to add to my machine for production work
Could you please post a link to the microscope?
How is it connected? into the screen or into the BB controller?
I can see no end of uses for this
I plugged it into the usb port on the controller box, and it just worked. Hold down on the image for a second or right click to get the crosshairs.
Caveats, there is some lag because of the large image size, but for targeting its ok, real time feedback would be better, and its manual focus so it takes a bit to align for the z travel. I have been targeting from approximately the same z height so I dont have to mess with focusing and possibly tweaking the alignment.
Here is the mount I printed, there is some slop to pivot for alignment along the x axis, and I tightened the screws harder on the top or bottom for alignment on the y axis. Using a mirror on the table you can center the lens in the crosshairs from the lowest to the highest to get the z parallel to travel. The support for the focus hole is built into the print as a single wall that can be cut out after its printed.
You might also consider using a pair of macros to quickly jump between the camera and router offsets. I shared my laser/router macros recently, they might be a good starting point for that.
I like your idea of having a circle in the crosshair too. I see the crosshair is overlayed on the camera ui using CSS in bbctrl/http/index.html , so probably not too big a change if the devs decide to do it. (a little frontend hacking changes the existing square into a circle with a little more contrast…
nice, I looked into the code to generate the circle but was a little worried about re-compiling the Onefinity branded firmware and somehow breaking it. Do I need something else installed to access the html or is that a dev section I can get to pop up? I dont have a keyboard plugged in so I probably need one for the function buttons.
My screenshot is just a temporary hack to the current page css using Chrome Dev Tools. It could be useful if you need it occasionally but not convenient… I wouldn’t recompile anything either…
Amazing idea, I have been thinking about doing the same thing only pointing up at the cutter to perfectly establish zero. Add the z tool setter and bam.