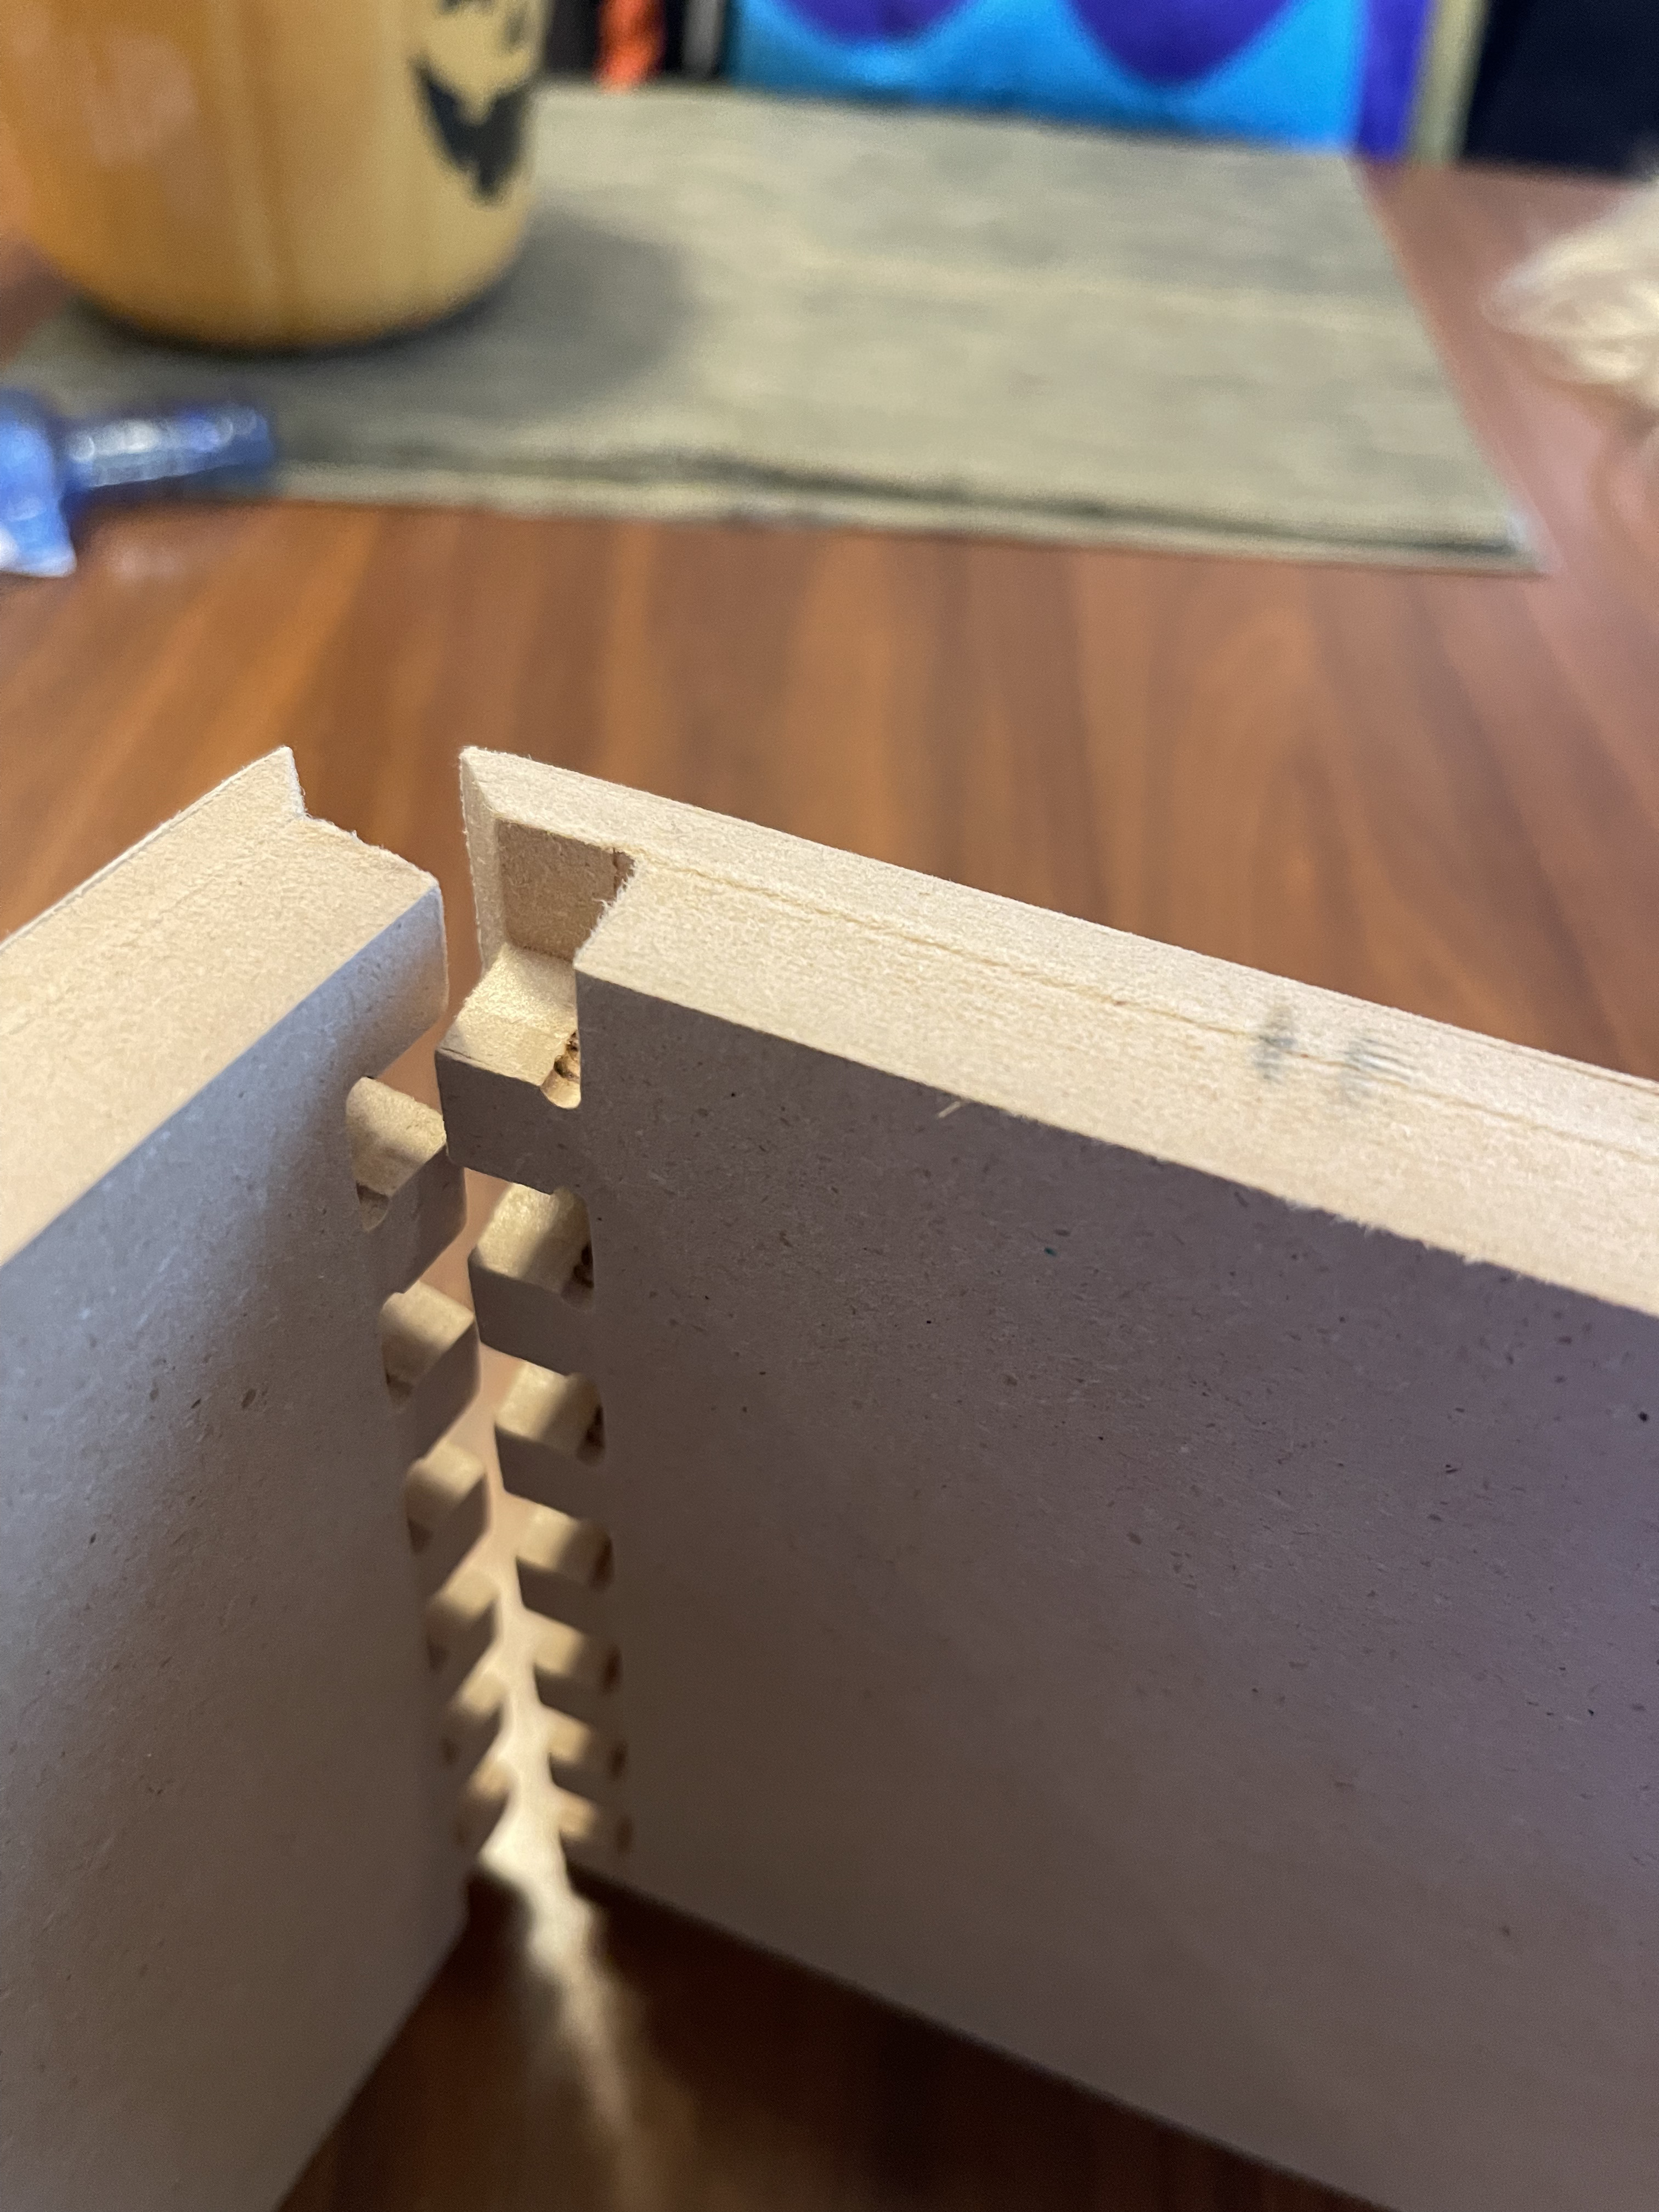
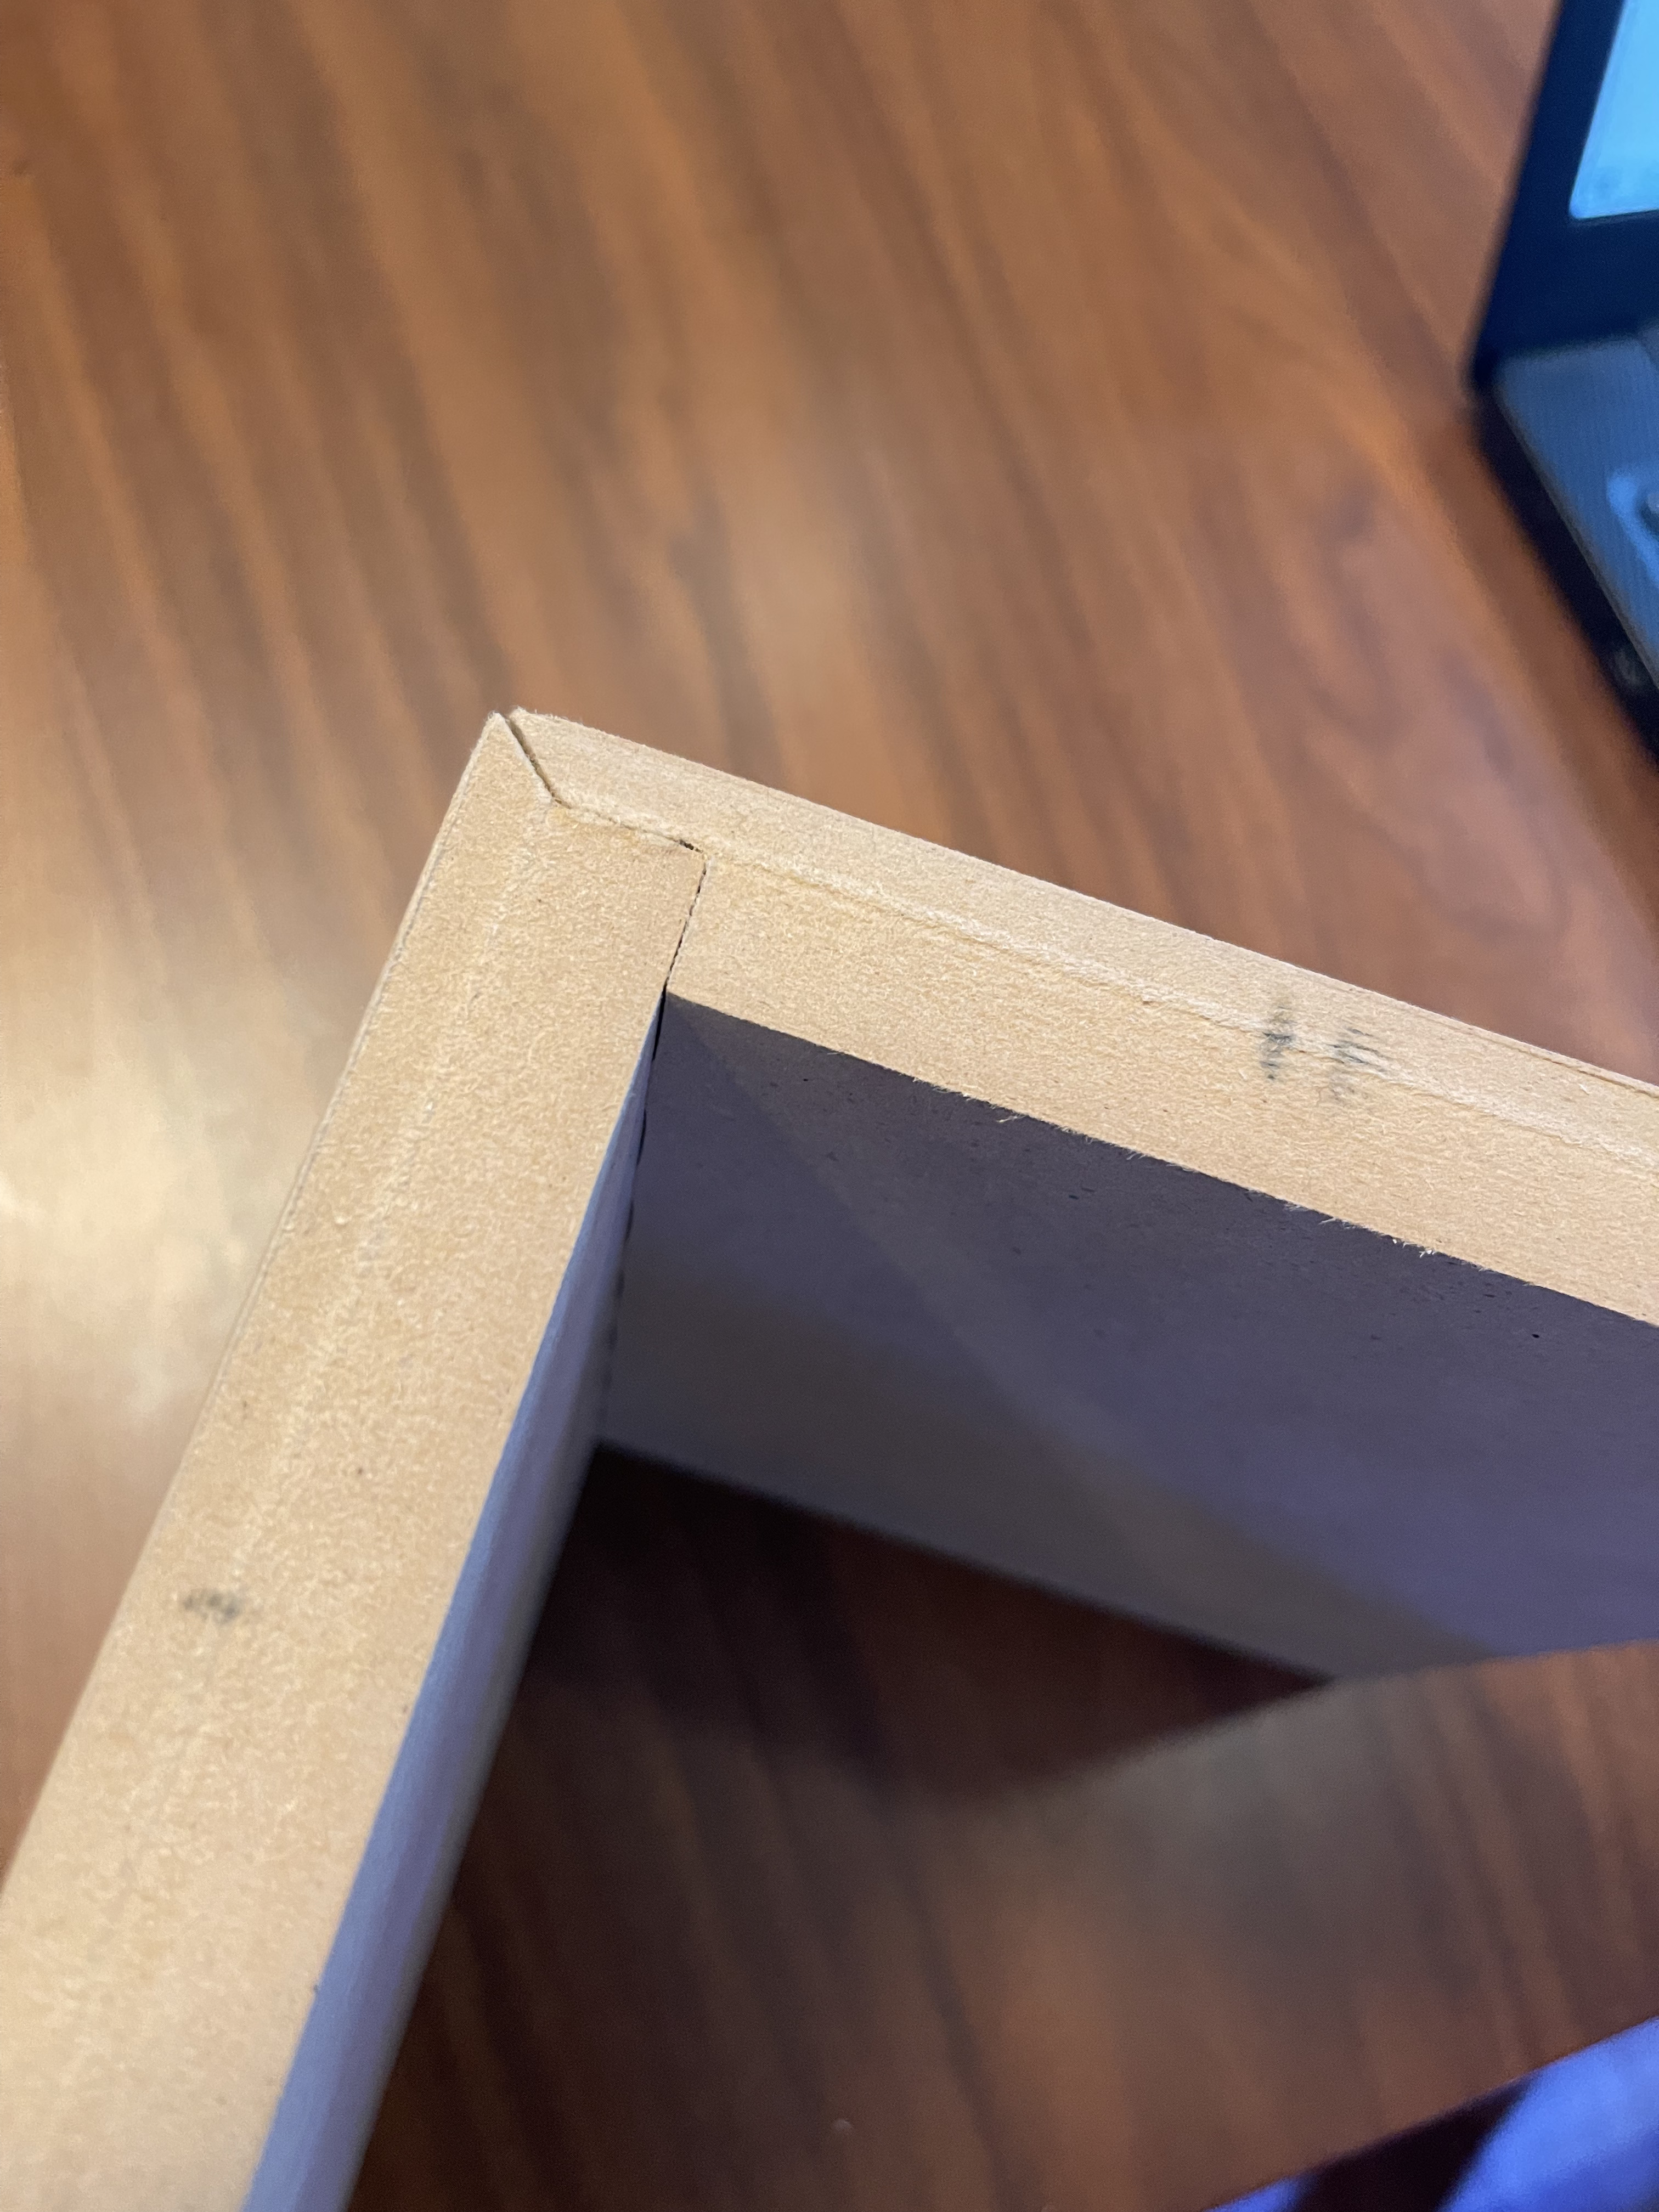
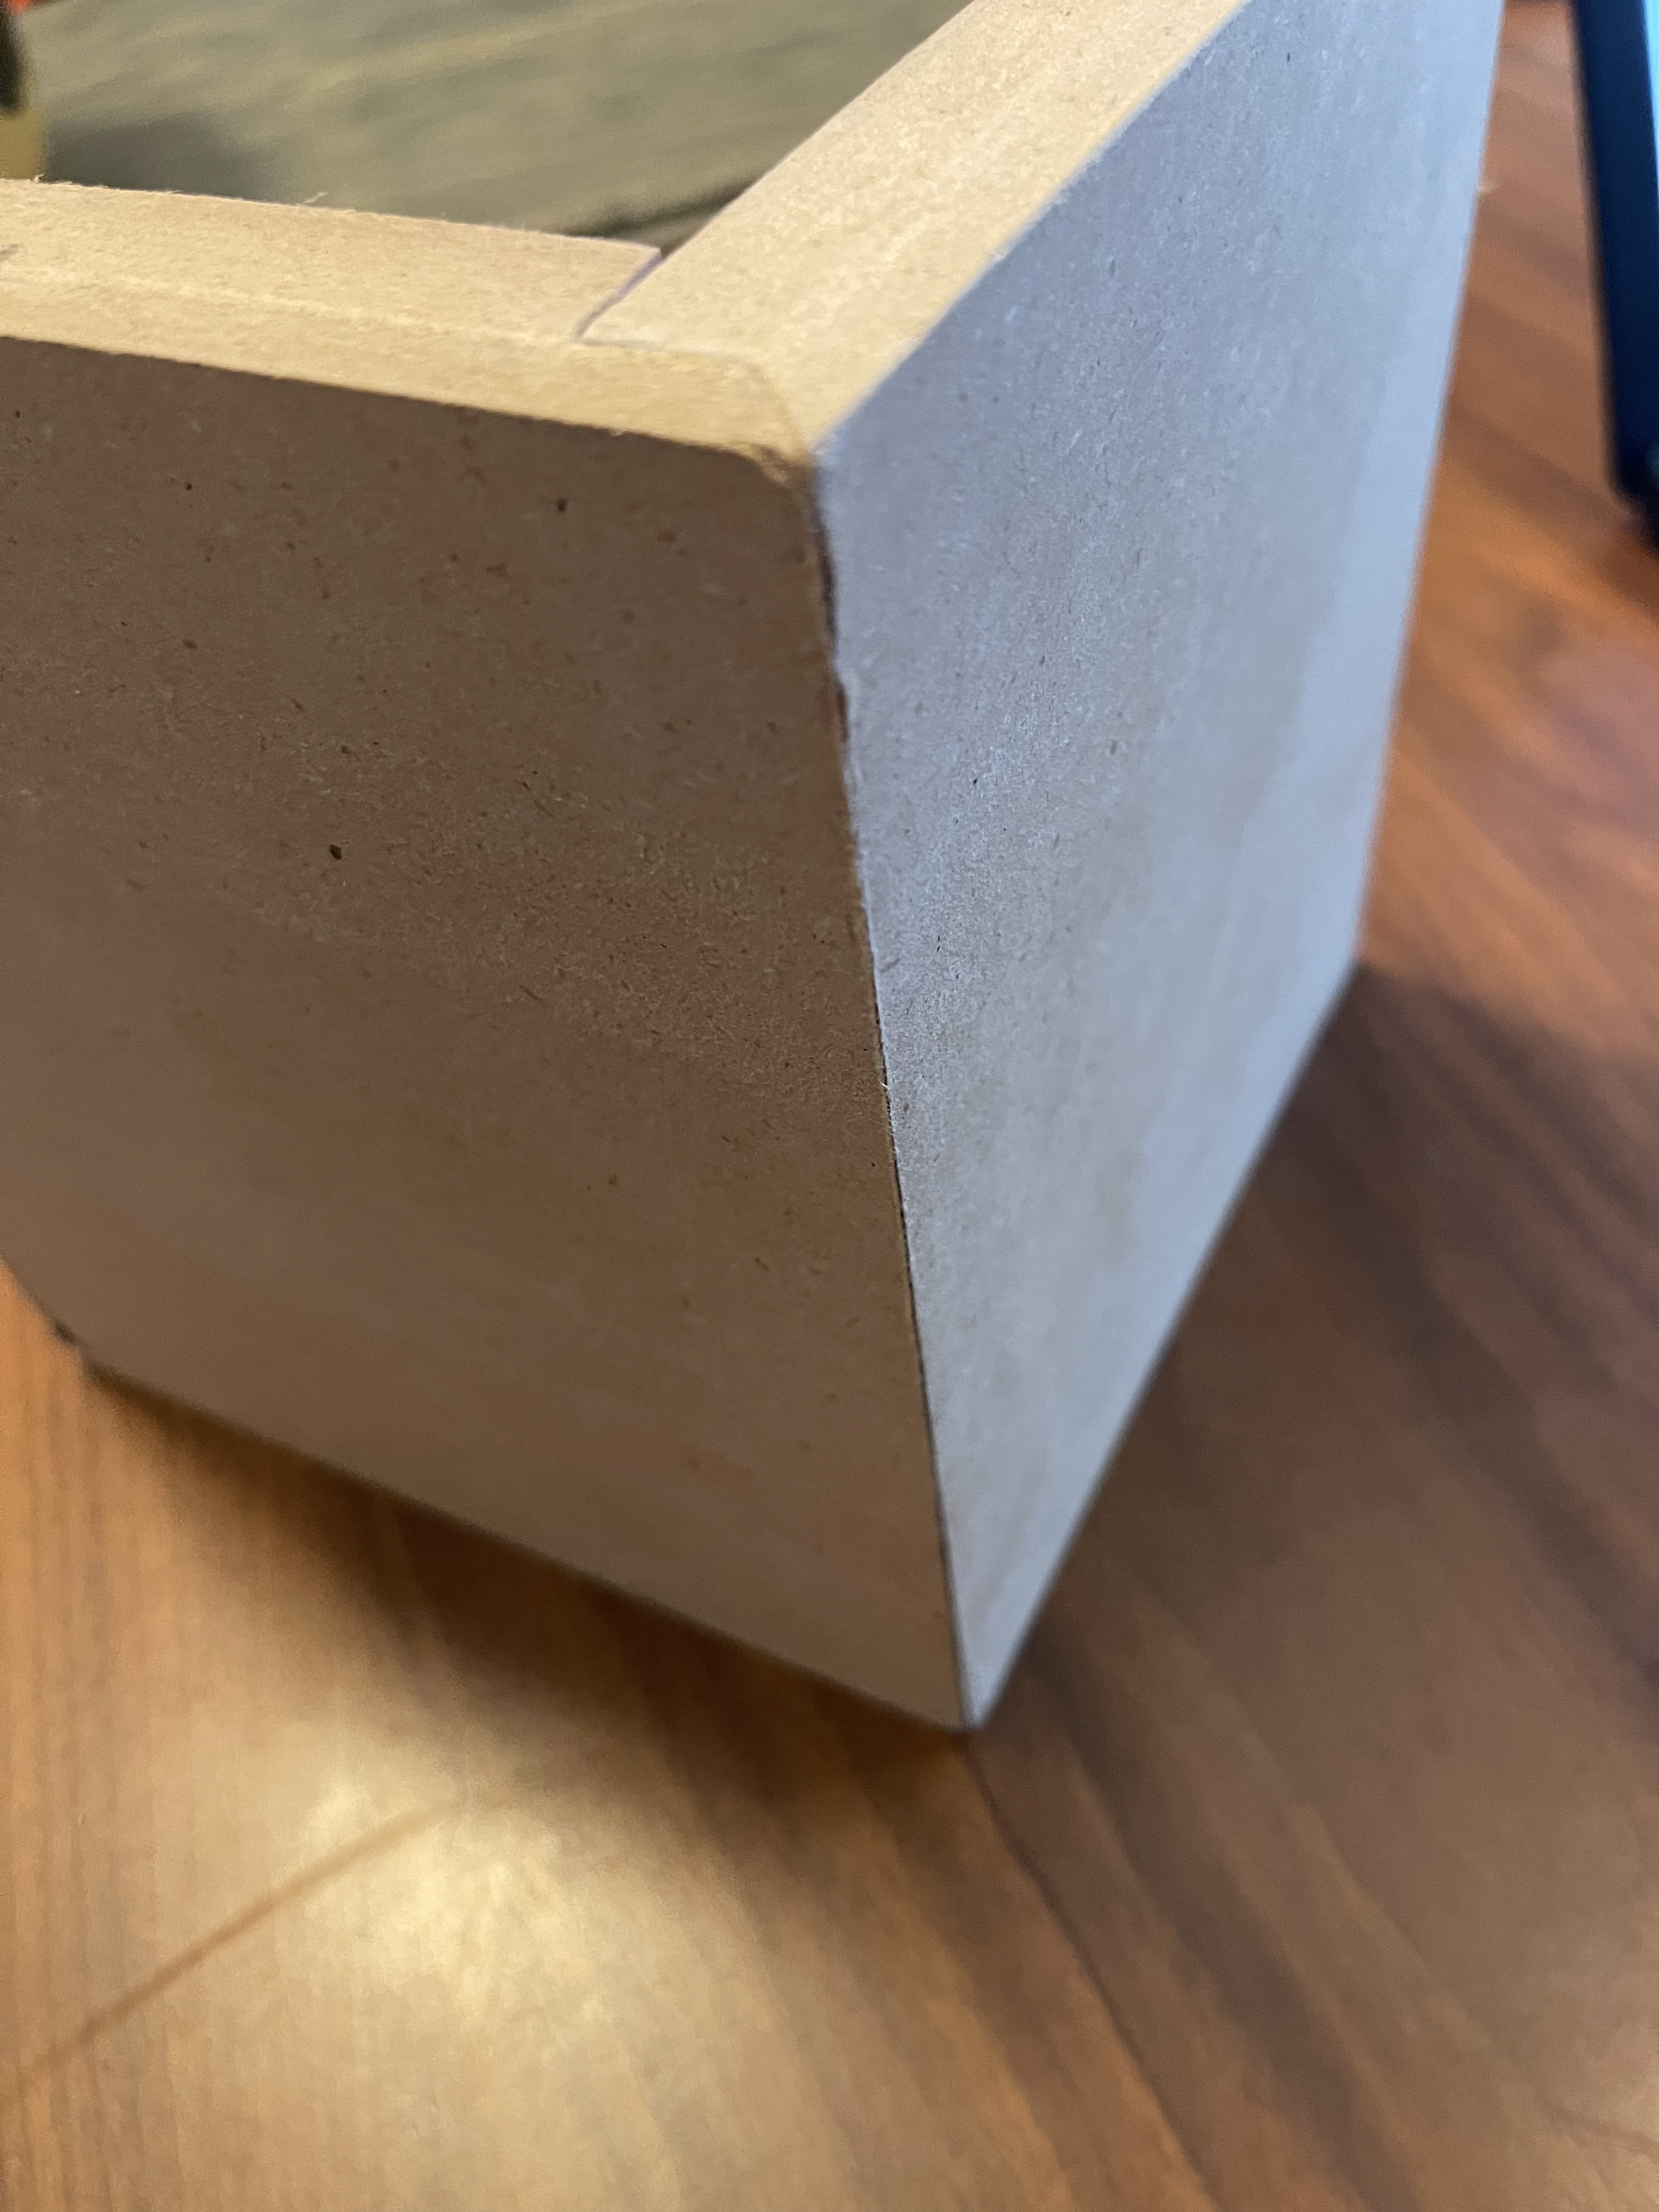
I used Carvco with a 1/8" end mill, 1/4" end mill and a 45 degree V-bit to create this blind box joint into 3/4" MDF. This is a test joint for a couple of pieces I have coming up.
Wow that what I wanted to do. Will you accept to share your design?
Justin, That is awesome work! I would love to hear more about the design as well.
Mike
Justin, that is a really strong looking joint! Can you share more of how you created the miter in front of the pins/tails? Great work!
Thanks for the Kuddos guys. I can outline how I did it but this is my first time explaining my madness so give me some grace. I can attach a DWG file if you guys want more clarity. the material is 3/4", the tail pocket cuts are 1/2" deep and the miter is the remaining 1/4". There are three important tricks I found to pulling this off:
-
locating the top corner of the 45 degree bit at the base of the tails. Carveco looks like it has specific toolpaths for this but I am new to the software so I did it manually with a profile cut. The bit I used, Amana #RC-45711, has a cutting height of 21/64" based on manufactures data. After drawing a profile diagram in Autocad I determined the center of the V-cut to be 5/16" from the face of the tails and set my depth in carveco to 1/16" below the spoil board would place the top edge of the v-bit at the base of the tails. You can see in the pictures that the bit rubbed against the front of the tails a little, next time I will set the offset 3/8" for a little more room. it’s a tradeoff, you want the to be as close as you can to face of the tails without rubbing against it.
-
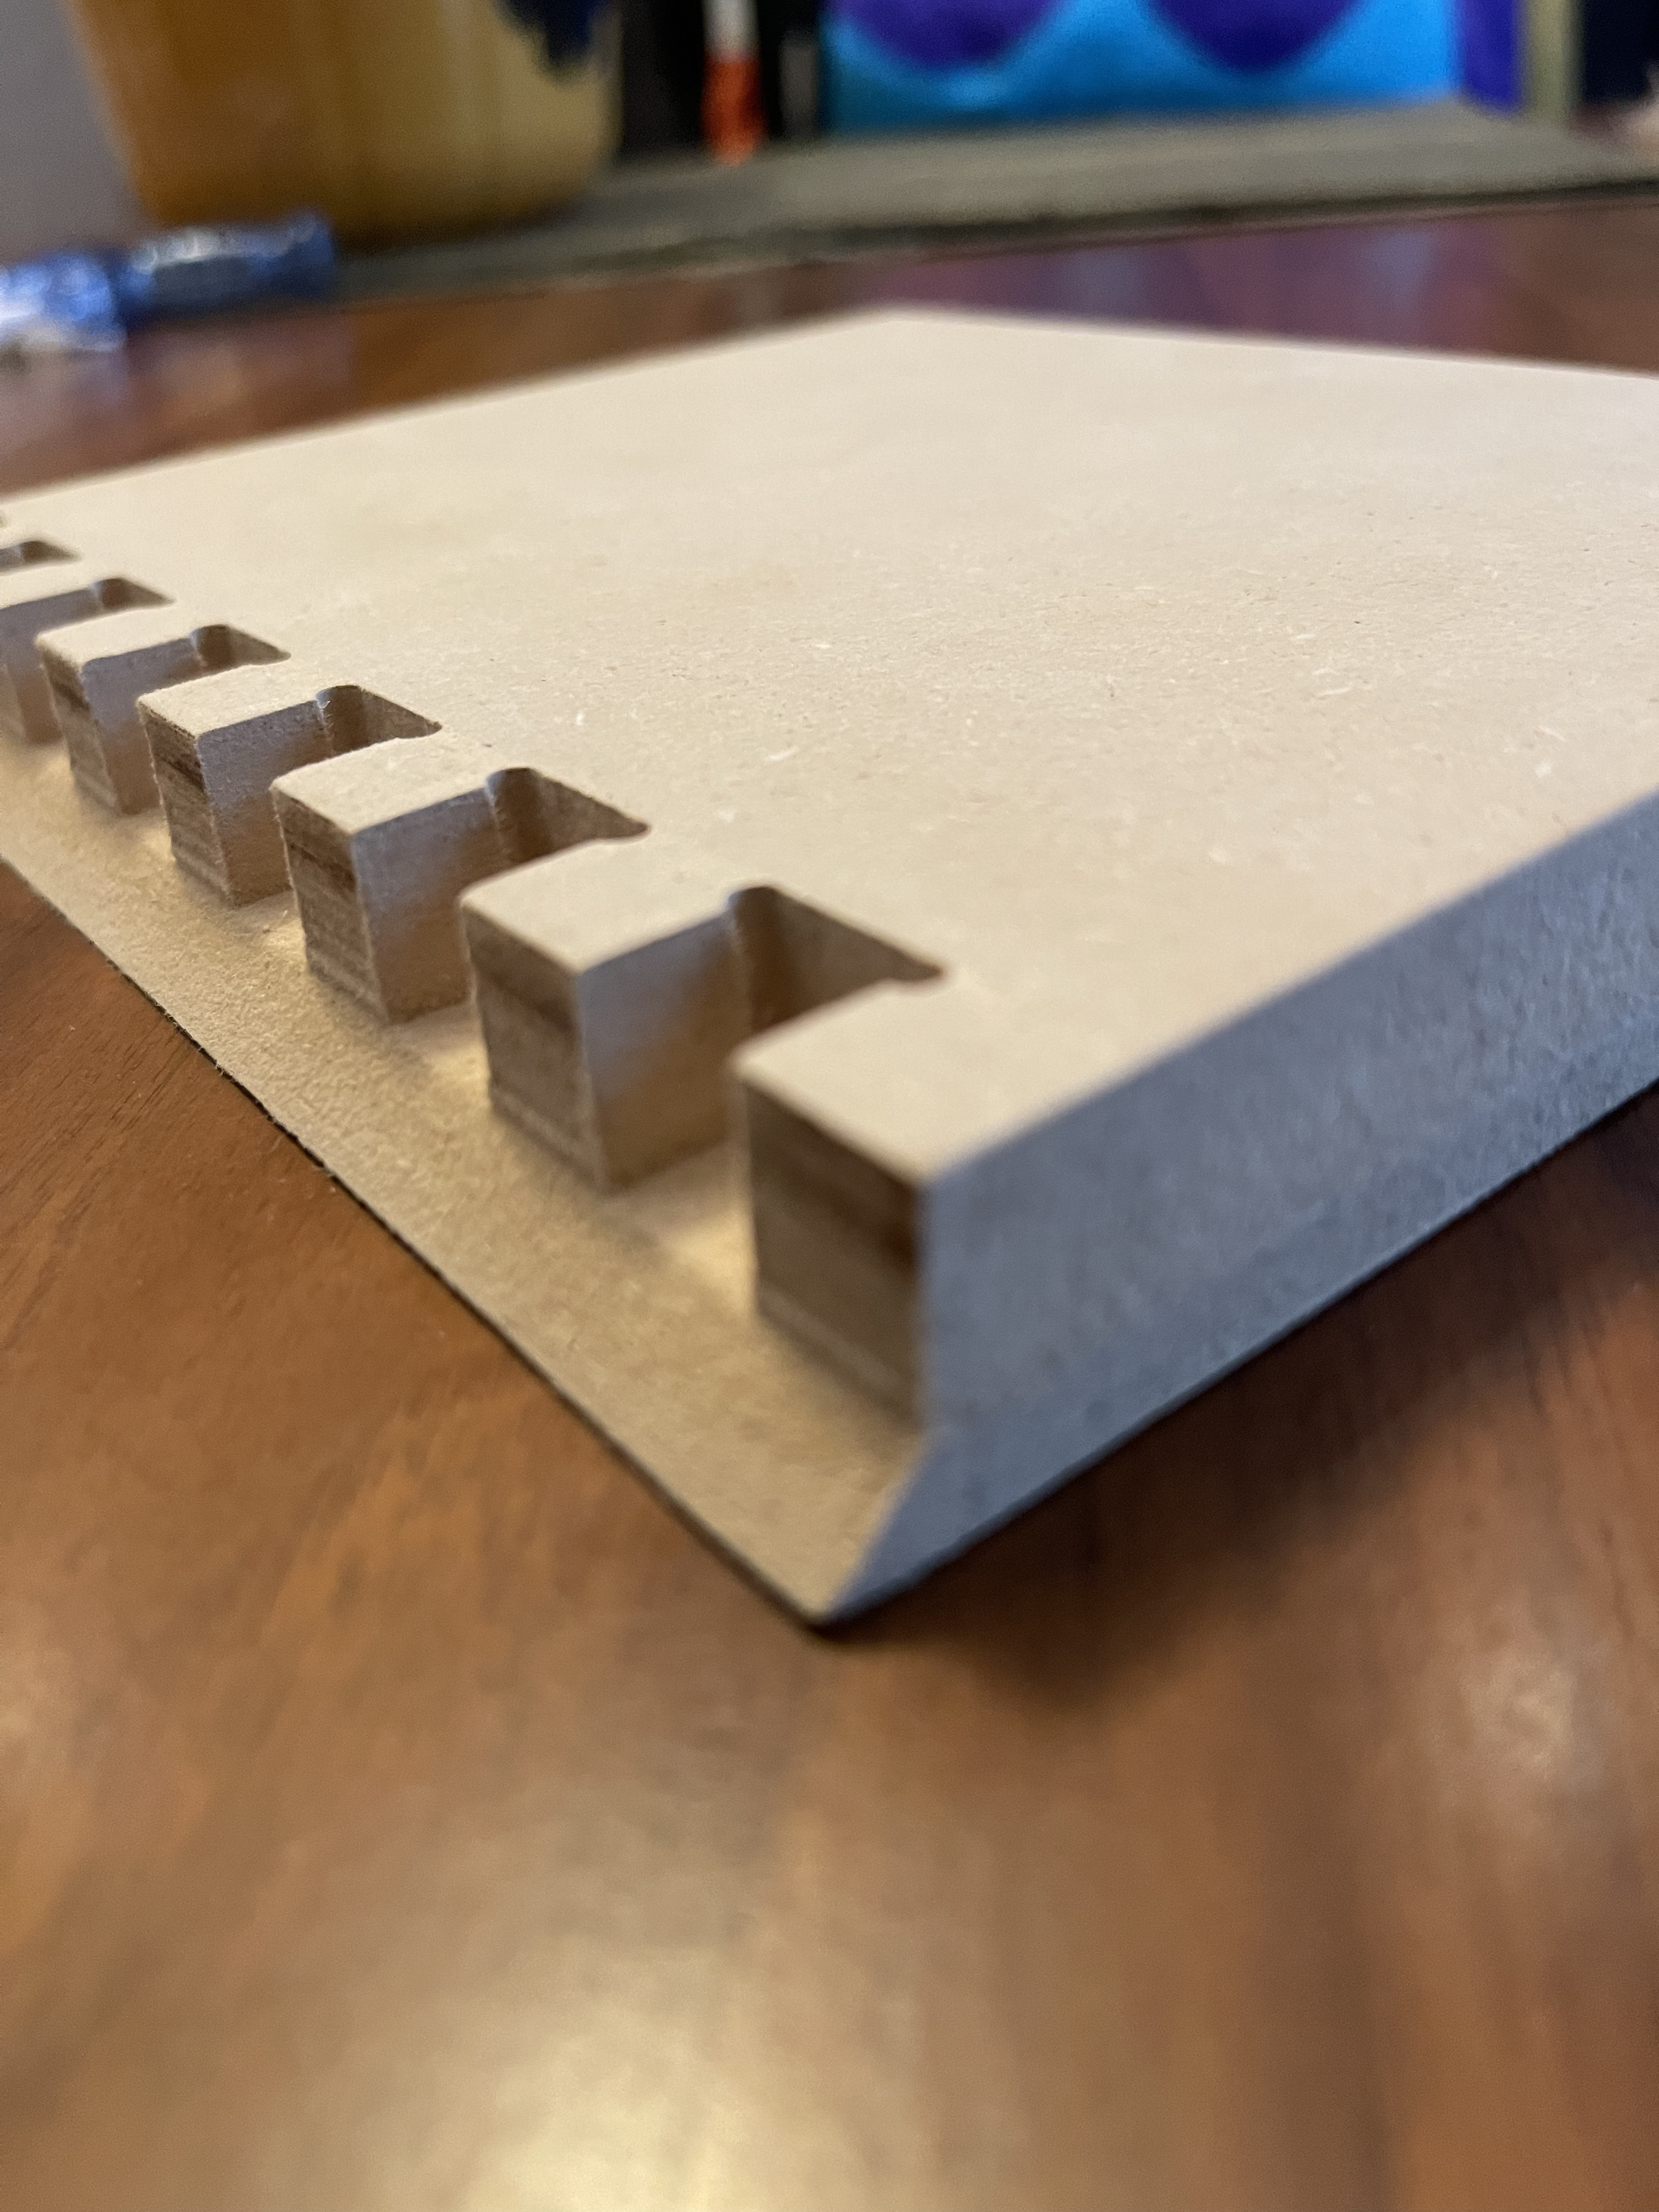
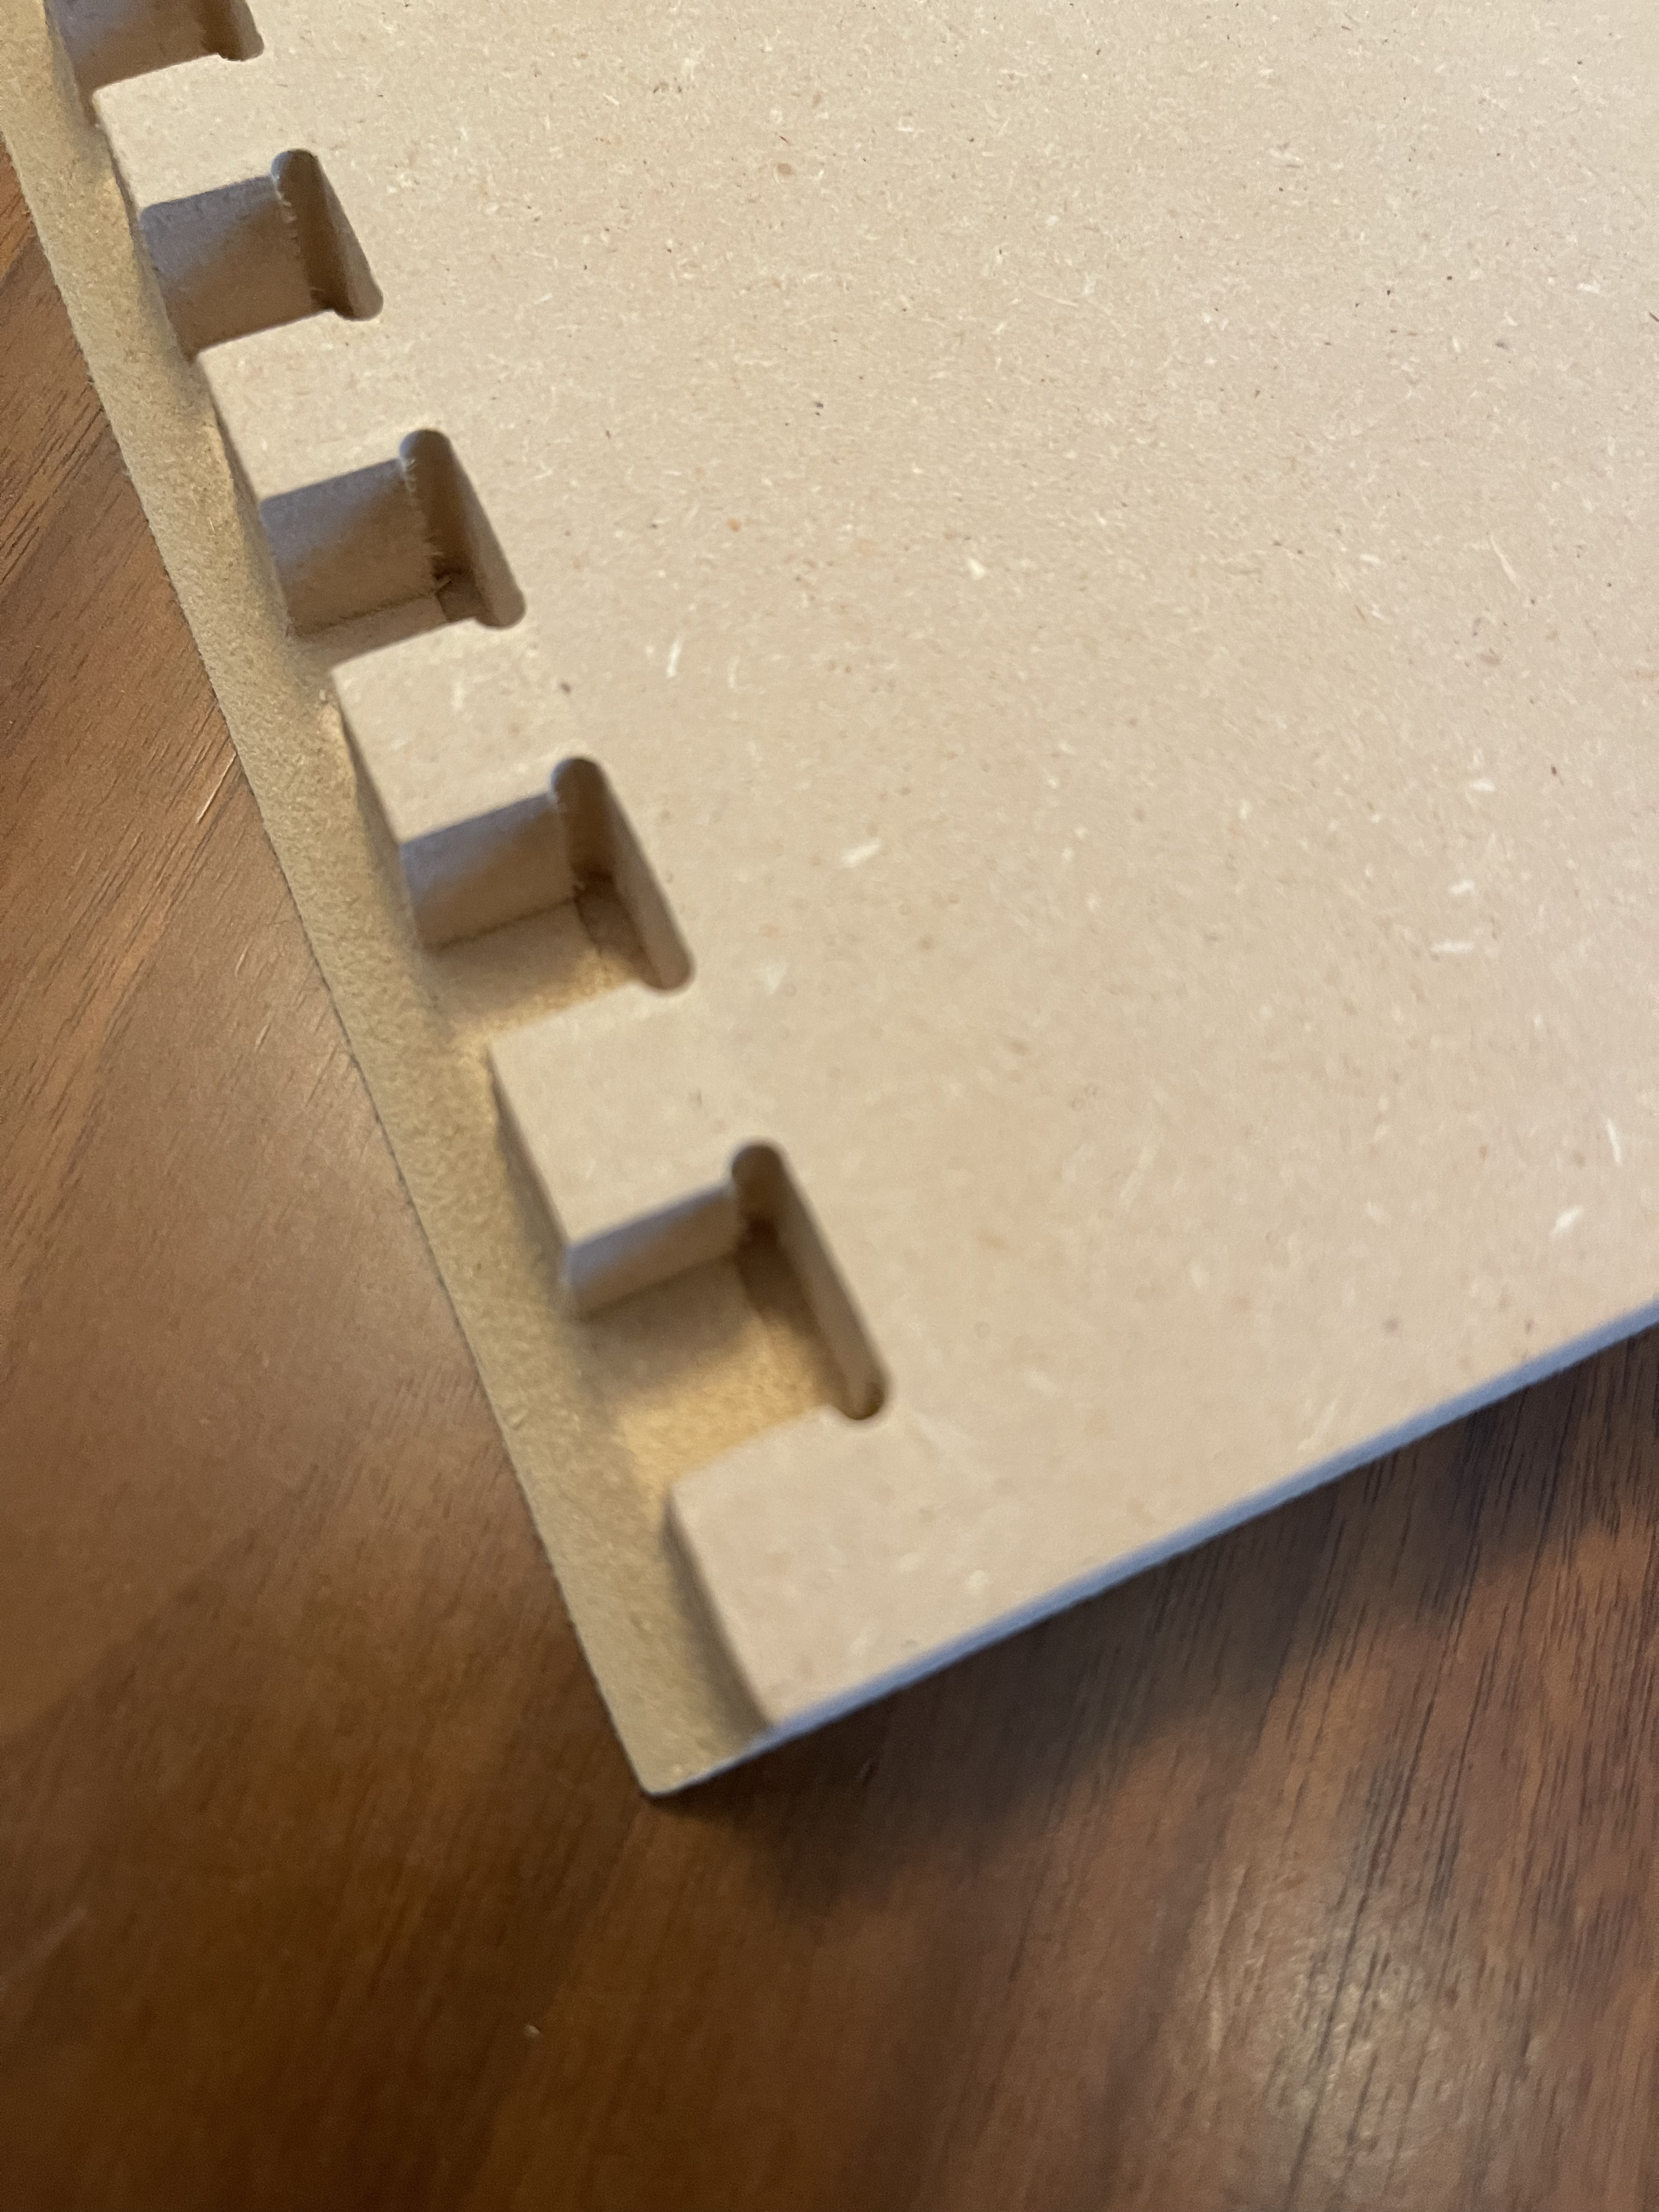
Clearing out enough material so the side of the v-bit wont rub against the remaining material. I offset the 1/2" deep pocket cut out 3/8" from the center of the v-bit cut.
-
setting the allowance of the tail pocket cut to -0.004 for a snug fit. This was a little too snug for MDF but its is intended for plywood so I think it will be perfect.