I wanted to create some small mice drawings or prints that I could be attach to the outside of a Christmas gift for my daughter (she has loved mice since she was a child). I started watching YouTube videos on the block printing process and decided to give it a try.
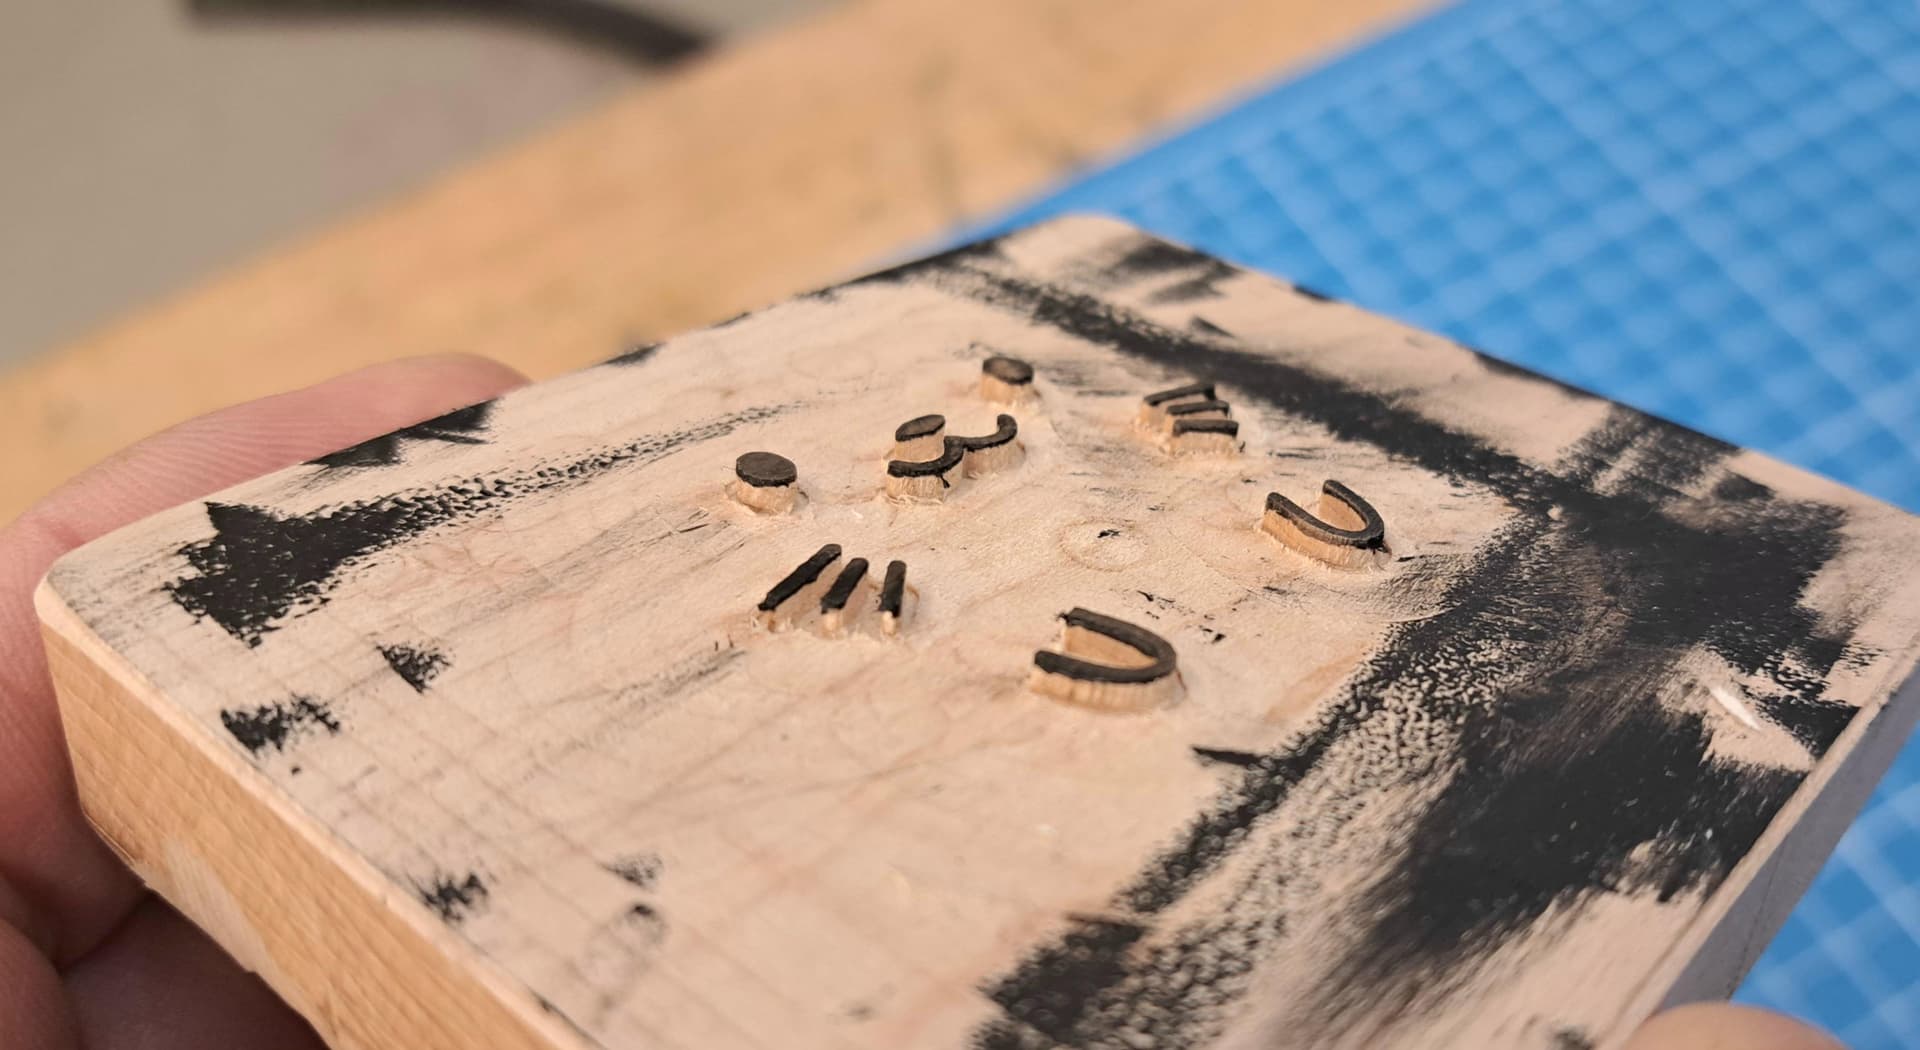
Instead of hand carving the printing blocks which is the more typical approach, I used pocketing toolpaths on the CNC to create the three different blocks (one for each color). I started with 1/8" thick linoleum made specifically for block printing. It worked fine on the less intricate carves (the body and ear blocks) where I could use larger diameter end mills, but not so good when details were really fine, as was the case with the bock for the eyes/nose. The linoleum was soft enough that it tended not to shear/cut cleanly when using really small diameter end mills (1/16" and 1/32"). Ultimately for the more detailed block, I switched to maple, which seemed to print just as good as the linoleum.
The external dimensions on all three blocks were identical so I could register/align them using a cardboard guide that I pocketed on the CNC.
I pocketed/removed the background (non-printing area) on the linoleum blocks to 0.050" below the surface and the maple to 0.100". I went shallower on the linoleum only because it was thin, at around 0.125" overall thickness. However, both pocket depths seemed to print okay. Downside to the linoleum, besides its tendency not to cut cleanly with small end mills, is that it needs to be mounted to a rigid backer. For this I used wood blocks cut on the CNC and a 3M 77 spray contact adhesive.
Speedball is a company that sells a bunch of block printing supplies including the inks and the roller I used. For the ink, I initially purchased ones for fabric and paper, not noticing that they were oil based. They were going to take way too long to dry, so I switched to their water soluble version.
A rubber roller (called a brayer) is used to thinly spread the inks on a glass (or similar) surface and then apply it to the blocks. Amazon link to the one I used is below.
If the design you are printing has multi colors and requires accurate registration, I would suggest using something other than cardboard like I used for the registration guide. It has a bit too much flex. MDF or plywood would be a better choice.
Thanks for the info! How much open time do you have with that water based ink?
I ask because I was involved in flexographic printing using photopolymer plates and water based ink for many many years. Once transferred to the corrugated board, it was dry in milliseconds but we were dealing with a layer of ink measured in microns which is not what you are doing.
Also did drawings (over 30K) and ran a cnc during that time and now in retirement have a tiny cnc (32" x 32") and enjoy it very much. I may give your block printing a try.
For registration, add 2 snug holes to your drawings at opposite corners which will hold plastic bushings (picture), and add 2 screw in metal dowels to the cutout that would hold your printed article. The screw in metal dowels from a router table (for free routing) would work perfectly. They would screw into threaded bushings. These would allow you to achieve perfect registration.
Pony
Great idea on the use of bushings for registration!
The inks behave a lot like artist acrylic paints. They are a bit thicker, about like toothpaste, and are very tacky as well. Open time on my mixing board (in a 50 degree shop) was at least 30 minutes, probably more. Once printed, they would dry enough in a few hours for me to apply the next color.
Thanks for the info.
Helps to have been a master printer/die cutter/plate mounter and have a good imagination!
Here’s a Xmas gift I just got done with for my BIL. Cut on my cnc, locks into a Workmate to extend the work surface. Has holes for tools, Allen wrenches, gardening shovels. Colors are 1 hue row of Sherwin Williams samples.
Replying to an older post about block printing—your project sounds fantastic. I’ve also worked with linoleum for printing and ran into similar issues with fine details. Switching to maple for those intricate parts was a smart move; it really helps achieve cleaner results.
If you’re interested in exploring more tools, Lino printing kit might be worth checking out. They offer some useful supplies that could make your printing process smoother. It’s kinda cool to see creative solutions for such personalized projects.
Great project. Using CNC for block printing is a smart idea. I’ve also had trouble with fine details in linoleum. Switching to maple was a good choice for cleaner prints. Your cardboard guide is interesting, but MDF or plywood would be more stable. I’d love to try something like this.