Mine is the journeyman.
Im still working out what i want to do. I am leaning towards a narrow cutout on the far left side the goes up the table vs across it with a makeshift moxon vise.
Not there yet.
Mine is the journeyman.
Im still working out what i want to do. I am leaning towards a narrow cutout on the far left side the goes up the table vs across it with a makeshift moxon vise.
Not there yet.
Yes!! Yes!!
This vertical clamping seems to be the way to go as an addition
Thanks
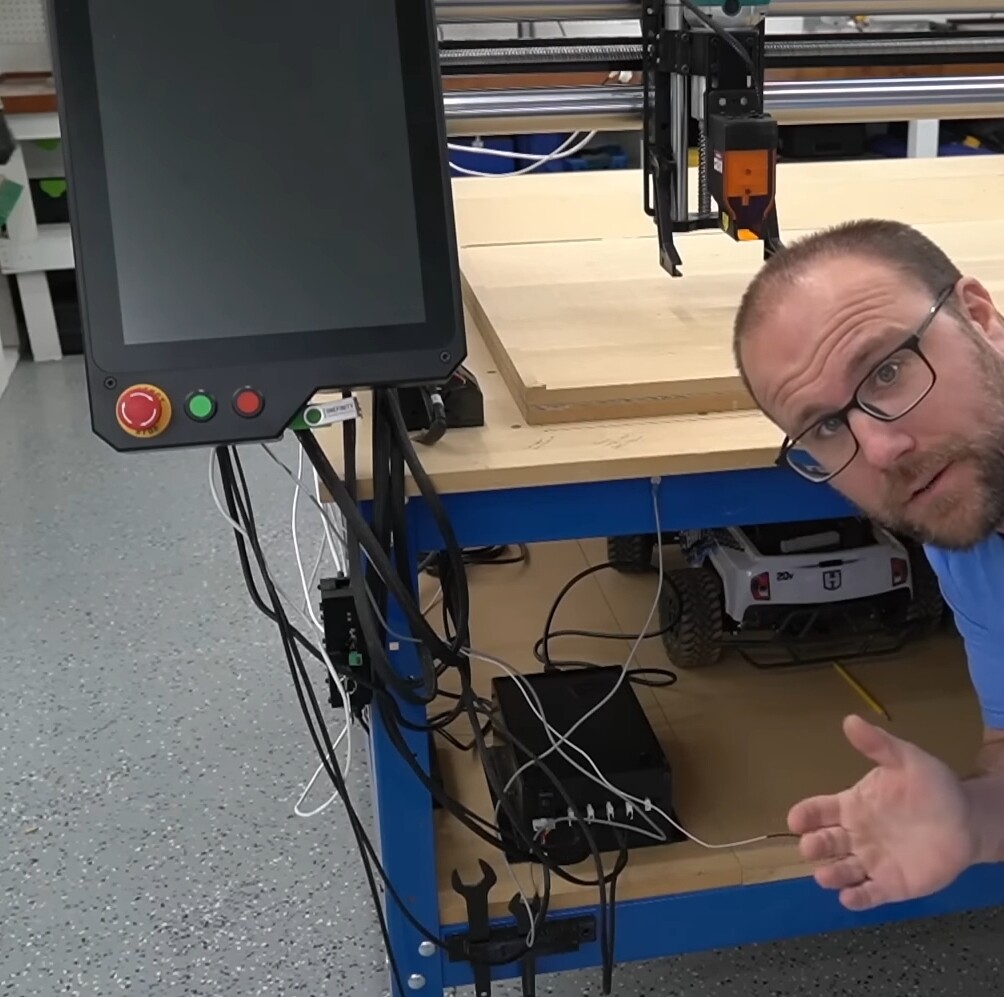
Hi. Do you know if it is possible to relocate the controller so that it would be outside an enclosure for an Elite Journeyman? And if so, are the cables already long enough? Thanks.
I am hoping there are either extention cable options or the cables are already long enough to do this. I plan on moving my controller to the side.
I guess we will find out once it arrives.
There was mention of this in the first look video, from the setup it looks like there is not much extra cable but it is a pre production model.

So after watching the setup video, I’m concerned about the wires that route across the front of the machine causing an issue with my vertical clamping. I’ve heard that some have mounted their x-50 series with wires to the back. I hope this is an option for the Elite series.
i plan on flipping both my x and y rails to put the wires on the back and on the right vs left/front
i would think there would be an options to flip the x/y in the software
Things that may cause us a problem are the drag chain mount and the co troller mount. Cant say until its sitting in front of me though.
the drag chain is something i was also thinking may pose a problem - the controller mount i was planning on making a custom one that set on the cart i built to the right of the table so wasn’t too concerned with that, but yeah…the drag chain…
also noticed when reading the manual that came out today that the journeyman width is a little over 64" with the motor, my table is going to be just wide enough to squeeze everything in… probably should have made it at least another inch wide. too late now and hope for the best. ![]()
I have a question about the infared homing ports will not dust affect them/
I anticipate that is a particular point to clean frequently. I think they’re easily accessible.
Infrared is pretty common so this isn’t an unusual experiment.
I have IR proximity switches on my current cnc instead of mechanical. No maintenance required, making sure it’s in the right position, sure, but no upkeep to speak of
Good to know. I thought they might need a shot of compressed air every few jobs.
Wouldn’t hurt. I know based on my past life FLIR had problems cutting thru a dust storm, but could see thru clouds without issue…
I don’t plan on having that much dust caked onto the system as a whole for it to be a problem.
They really should have gone inductive (magnetic) though, and I dont know why they didn’t
@RockingMallet are you going to be selling the plans when they are complete? I will hopefully be purchasing my elite table soon and would love to build your table for mine. Working in a two car garage is tight and that would be handy.
@forrestkrhoads i have no intension of selling the plans, even though they are custom for my needs, my plans were heavily based on a couple other plans around, but mainly from fishers shop
i purchased Drew’s plans when i started, but then modified a majority of it to what i wanted. they are good plans and easy to follow and i believe are only 10 bucks which is reasonable for a well put together how-to as well as a good video.
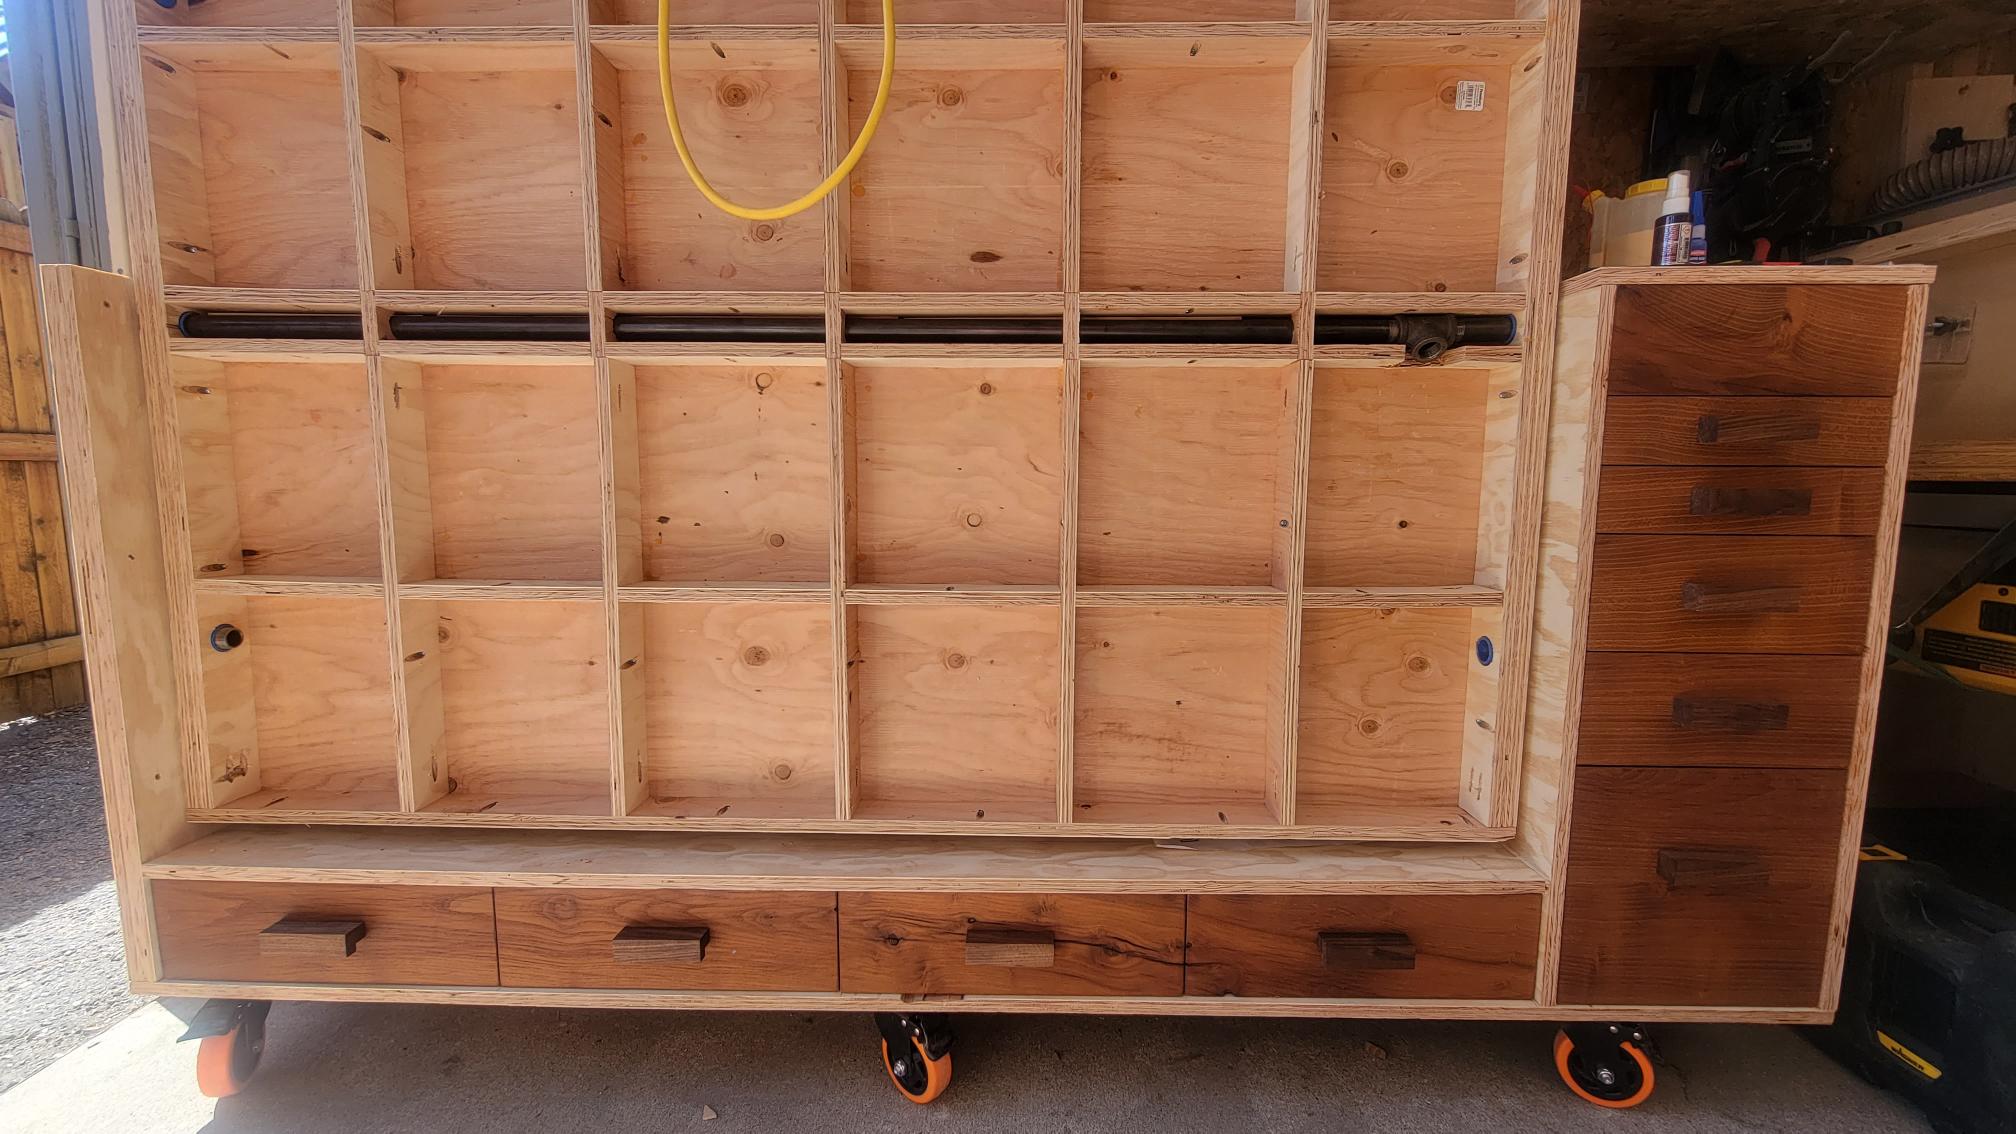
i changed the side of the cabinet, the number/construction of the drawers, the pivot location and no table legs with a different way of locking the table into position - no legs needed (at least until i see how she performs with the cnc running… TBD on those) i also made it deeper. and added 4 drawers to the bottom.
i really like the offset i did on the pivot point which allows for 2 ‘upgrades’ to Drews plans.
the thing is i don’t know if the size it correct yet, i think it will be, but will be close. if you do plan on using Drews i would make the flip table more like 66+ inches.
here is an updated photo with the drawers. still waiting on the cnc to arrive before putting on the bottom side.
good luck with yours
Hey Joshua,
I really like your project/variation of the Fisher’s table
I would be very interested to know how this will turn out.
How deep is the base? This is what will be crucial for the stability when the machine moves (especially when also using a heavy spindle). I would have assumed that for getting rid of the foldable legs (which I would consider as an advantage since you will get rid of twisting because of uneven ground), you would need a much deeper base.
you and me both!
i was going to make it 30" but ended up backing it back to 24". i believe Drew had his plans at 22" - so not much but figured a couple extra inches would add the weight, give me a bit more storage in my drawers and provide additional protection to the gantry/spindle when folder/stored.
i have tried tipping it over when its locked in and put a couple hundred pounds of wood on the edge and it didn’t budge, so hoping for the best. I more worried about it just rocking than tipping, but the base is a beast.
and thanks. i am happy how it has turned out. as long as the thing fits on the table!
Hey Joshua,
Didn’t you check the information on the dimensions?