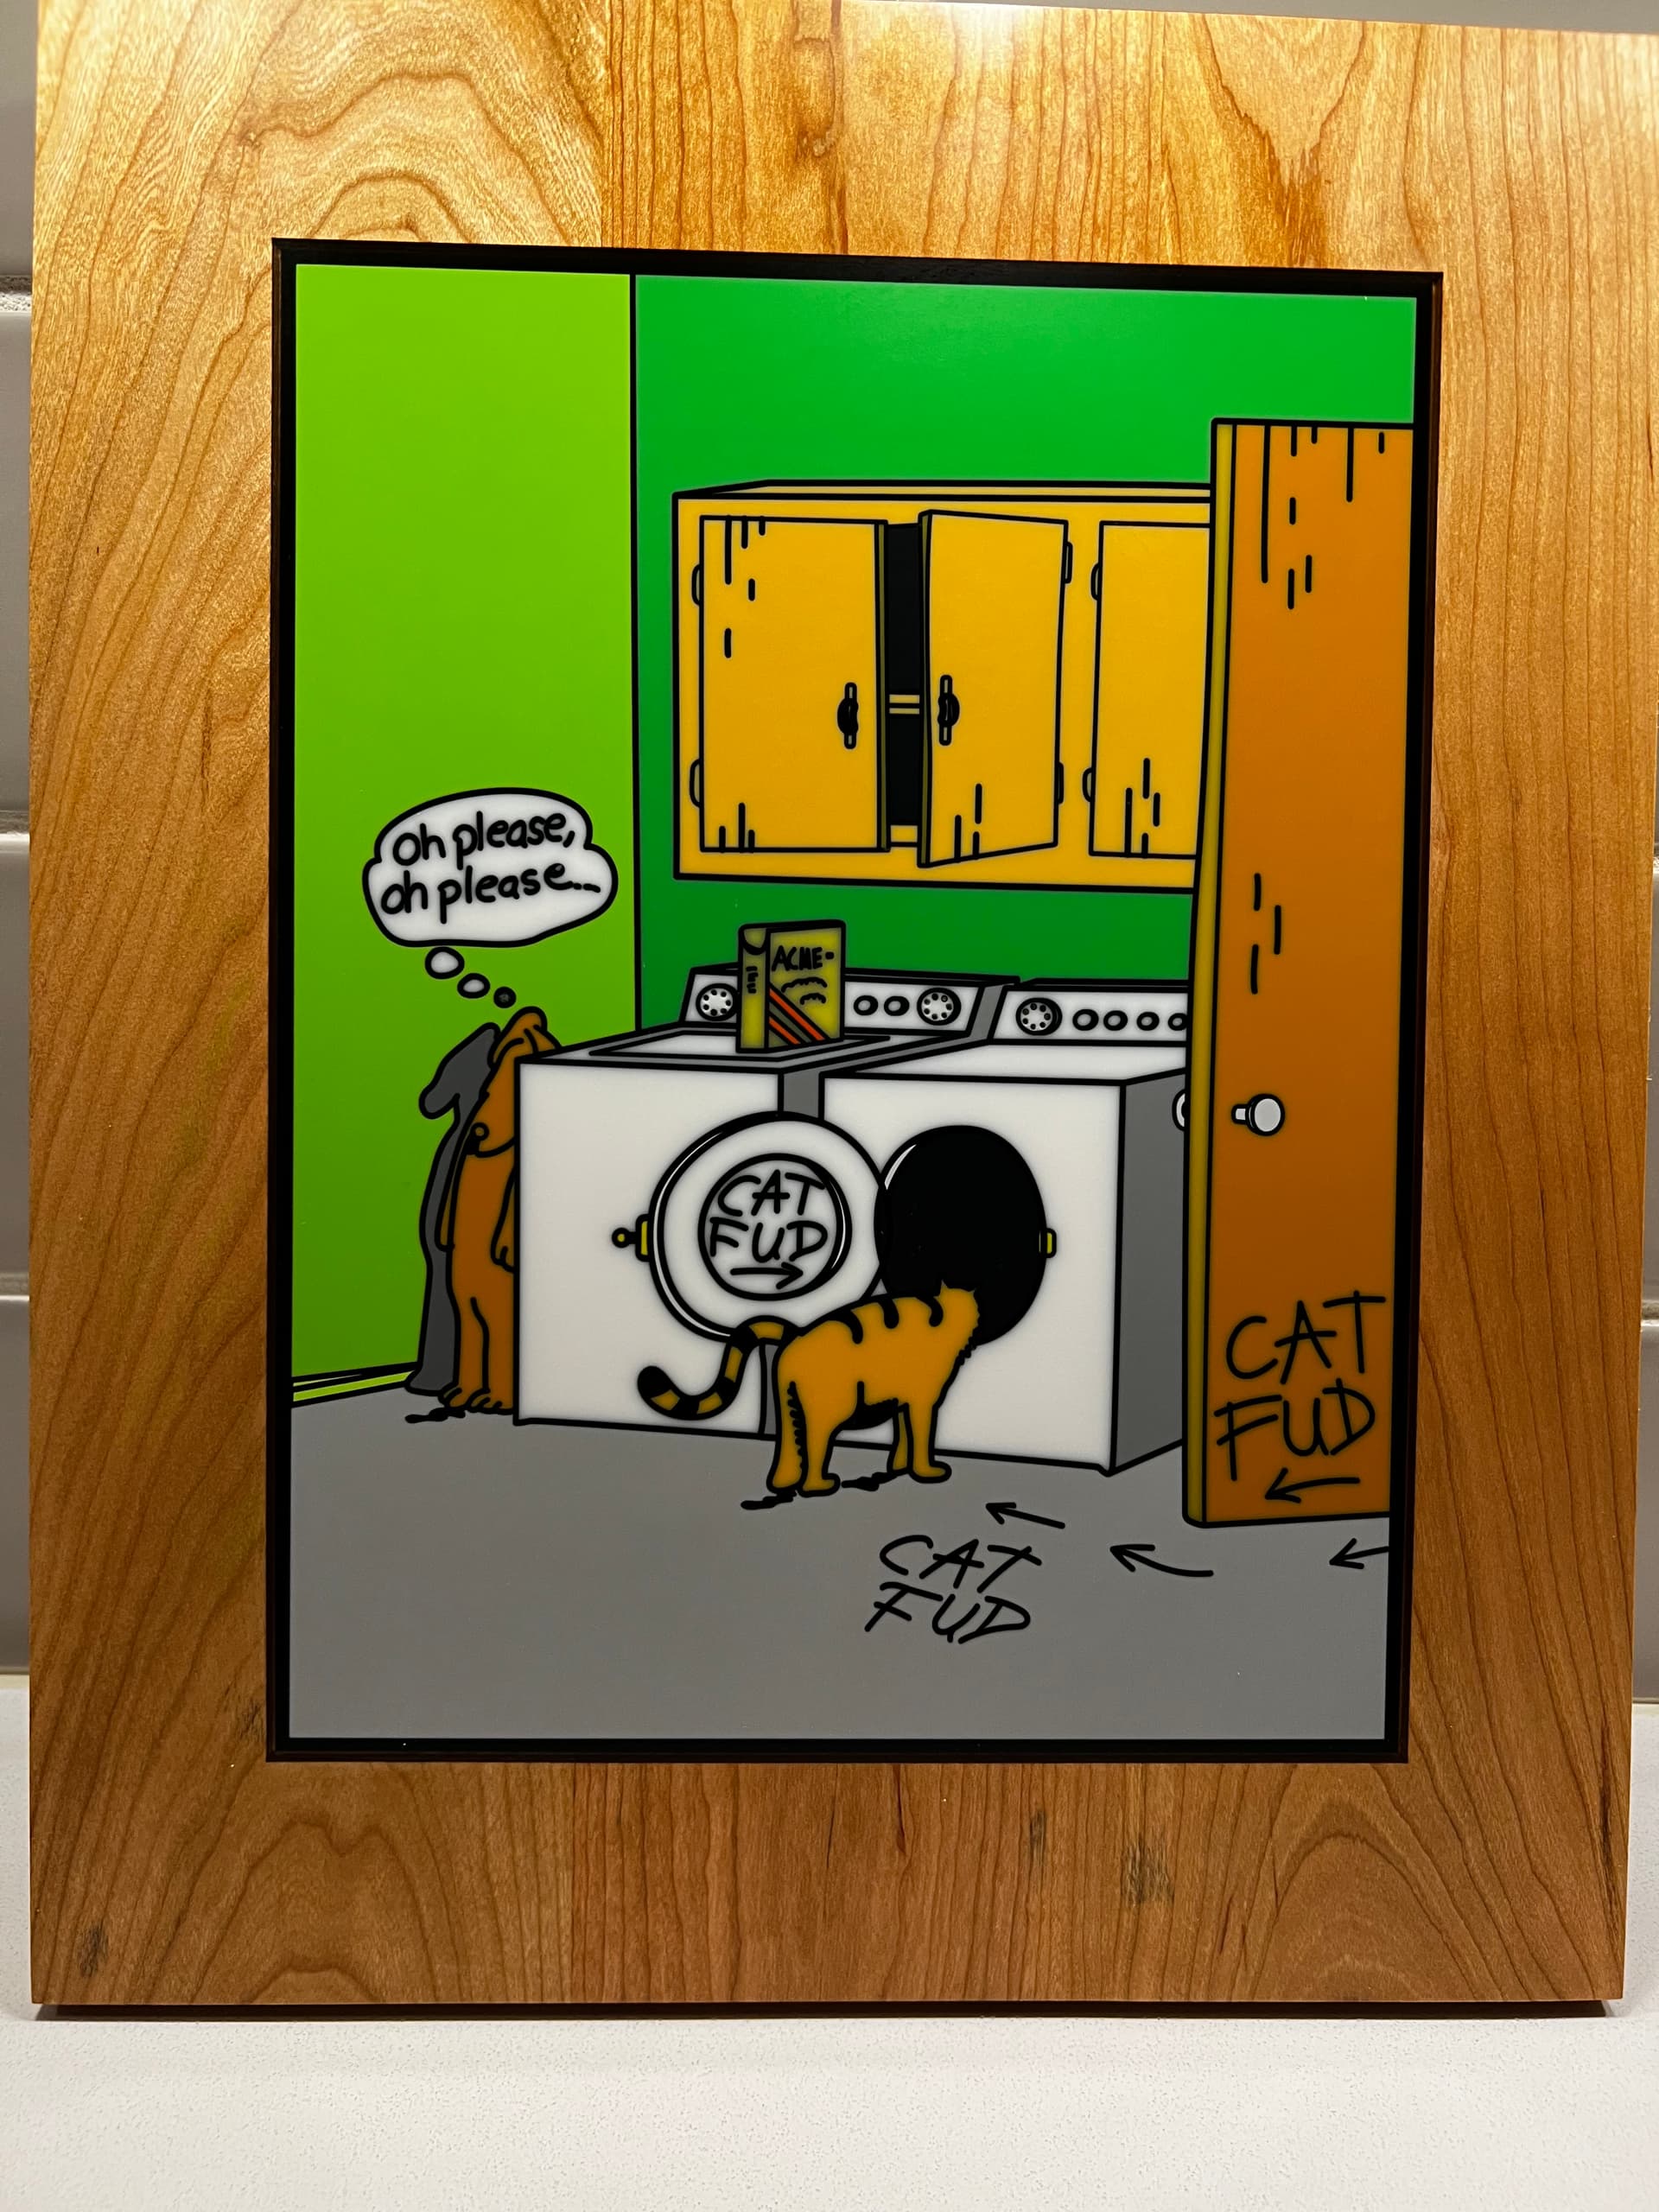
Finished a pair of epoxy projects as a gift for the wifey. These are arguably her two favorite Farside comics. Making frames for them as well.

22 Likes
Beautiful. So did you start off with a black surface, mask that with tape/orimask and then hog out everything that’s not black, then epoxy each pocket and sand? How hard was it to get the epoxy where you wanted without spilling over to the next area?
1 Like
Hi Ken, I start by cutting a .125 pocket for the entire fill area and pour clear table top epoxy in that pocket. Then I proceed to cut each color 1 or 2 at a time to a DOC of .11 and fill with lv epoxy tinted with mixol tints. I do this until I am left with the black “pen strokes” and carve those last. Once all pours are complete, I surface with a .25EM to just above the material surface, then finish with a random orbital sander, up to 10K grit wet sand. No oramask on these. Here is what it looks like along the way…

6 Likes
Super; I appreciate the details. What bit are you using to clear the black pen strokes? Are you pouring right there on your cnc, waiting to dry, then cutting and pouring the next? (Wondering how you maintain your x/y/z) I want to try this out on a project I’m thinking about.
On the CatFud, I used a 15deg vbit from RIP Precision Tools, on the Tutored I used a 30deg vbit from Precision Machining (I can get you part numbers and links). The 15deg was definitely a better result. I mount the workpiece, set my zero and leave it on the spoilboard for the entire project. I take a picture of my offsets in the beginning, and then run a command to set my zero back to the same place when I turn it on the next day in the MDI ( for example: G01 x10.008 y6.094 ). This worked very well for me, and was a tip another OF member gave me in this forum.
1 Like
I hope you don’t mind all the questions; I really like your project and you’ve done it in a way that I haven’t considered before, but is making a lot of sense.
You initially hog out the entire fill area. So all your engraving from then on is in the epoxy and not in whatever base layer you are using; wood, mdf. Do you do this because of how well epoxy holds up to machining? So when all done you sand, cut the wood down to size and the wood base layer is your frame?
I’d appreciate the part numbers for those bits; especially the 15deg V.
(My wife is also a HUGE Farside fan.)
Don’t mind the questions at all, this is why we join a forum. Here are the vbits I use:
RIP 15Deg VBit
Precise Bits 30Deg VBit
I do the vbit paths first, then use either .25 or .125 end mill to clear out the majority of the epoxy.
Correct, all my pockets get cut out from the clear, leaving clear under them. This is important because if you have darker colors underneath, it can mess up the color you pour on top of it. Epoxy machines very nicely if you set the right speeds and feeds, no chip out like you get with wood. I documented the Cat Fud one on Instagram if you want to see my process. My IG is berner_57 (don’t laugh at my horrible IG skills ![]() )
)
2 Likes
Thanks Bern, I’ll check out your IG. ![]()
Do you recommend any epoxy in particular?
I use MAS Table Top for the clear, and MAS LV (low viscosity) with either the Slow or Medium Hardener. I use Mixol color tints.
2 Likes
How long do you let the epoxy set before you machine it?
On the table top epoxy, about 24 hours. On the lv with slow hardener, I can carve into it in about 6-8 hours. I think the medium hardner can have you cutting again in 5, but I have not tried that. Either way, the true test is to press a finger nail into the epoxy, if it leaves an indent, you need to wait. Also…just fyi… if you pour on your spoilboard, make sure your OF is perfectly level (ask me how I know ![]() )
)
1 Like
Haha, I can imagine the potential mess from an uneven table. How much of the LV epoxy did you end up using for those 2? That stuff is $$$ and wondering if I should get a half gallon or a gallon. It’s so much cheaper in quantity I’ll probably get a gallon as I expect to do more projects in the future.
Seriously, this is amazing work! It’s like modern day stained glass art but with chemistry and much higher precision. Or cloisonne jewelry but on a grander scale. My congratulations! I may have to try this, but would have MUCH to learn. Thank you.
I buy it by the gallon, there is so much waste in this process. I have found that it is best to work with no less than 3 ounces of epoxy, and that adds up quick on the smaller pours (like door knobs and that soap box). Adding color tints and powders can change the chemistry and cure times, so I never work with less than that. On each piece I had 500ml of wasted epoxy (i pour my excess into a large cup and then give to a friend to use on his lathe). More experienced people can mix down to the teaspoon… but I never had success at that.
2 Likes
Spectacular results. I’ve not done any work with epoxy but I think I’m going to have start. Thanks for sharing.
1 Like

I also tried working with two part epoxy on the CNC. This is my first, and might be my last at working with a project with this material. It is not the material but the time involved. Also, learned a lot during this project and if I do another, it will be better and probably faster. As you can see, my dye in the epoxy wept into the unfinished wood. Your process would stop most if not all of this issue. Thank you so much for sharing your project, it taught me some tricks that will help if I try this again. Larry
2 Likes
Shoot a little lacquer before pouring, that will stop the bleeding.
Pony
3 Likes
Thanks so much for the reply and help. I will try that next time.
Larry
I had to look twice before I realized that was a thumb.
6 Likes
Hi Bern,
So I started a test run of my first epoxy project and have a few questions.
Do you zero the axis on your 15* v-bit using the probe? Worried I may break a tip.
I mixed 4 ounces of epoxy and put 6 drops of red Mixol tint and my color is translucent. Any tricks for getting a good solid color?
When running my 15* v-bit it leaves behind a bunch of white caked dust that I have to scrape out with a toothpick. Wondering if you’ve encountered that at all. I’m going to try to increase my run speed thinking maybe I’m going too slow and it’s causing too much heat.
Ken