Are you using vacuum work holding in that fixture?
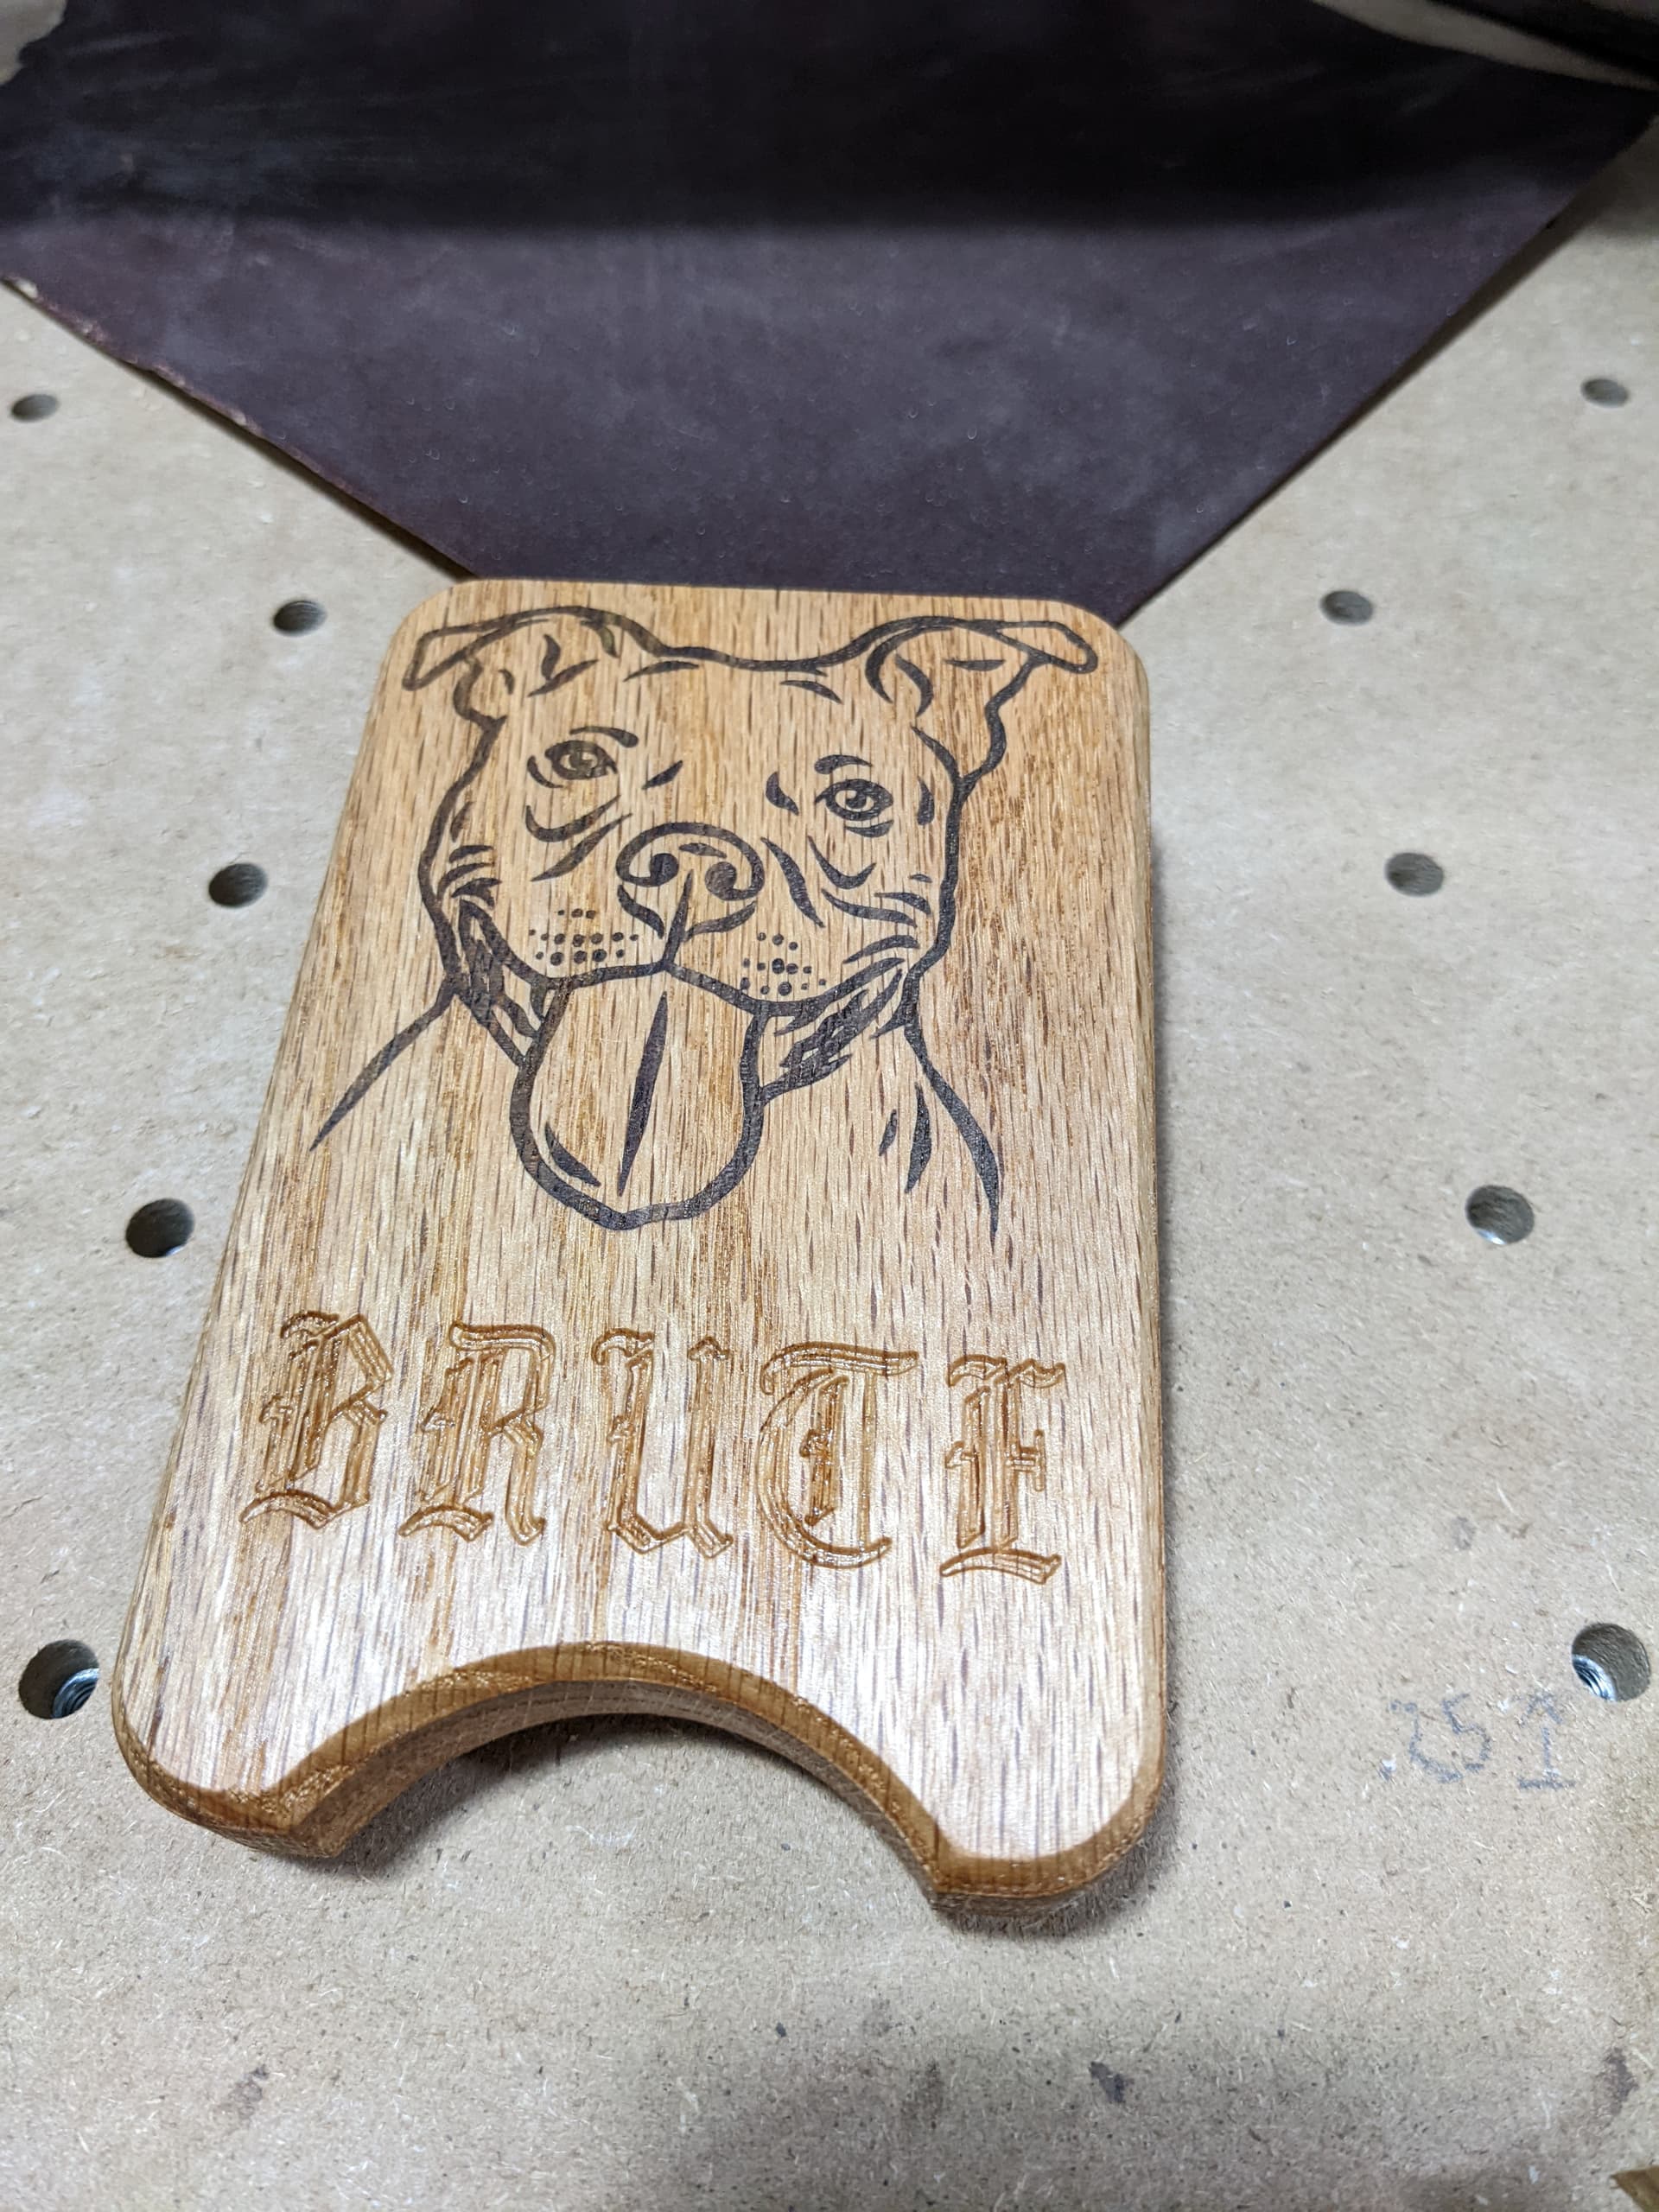
The base is 2 layers of mdf that the top layer is cut by the CNC so that the Information could be used in fusion360 as a fixture. It holds each of the squares with the blue tape and superglue trick. I was going to use it for multiple projects so I figured this was the most effective way. It will bang out 28 items. And the engraving under allows me to align it for the laser runs after. It worked better than I had hoped.
1 Like
My first Vcarve inlay. Oak with walnut. I was definitely not expecting it to come out so well, some of the smallest dots are less that 1/32" diameter!
Edit: here’s the finished product.

5 Likes
Todd, this is a neat looking game. Can you tell me what it’s called?
2 Likes
There are other tabletop sliding games shown on the website.
2 Likes
Thanks Matt! ![]() (extra text to get a 25 count)
(extra text to get a 25 count) ![]()
Try this.
But their are many more sites/videos with content.
2 Likes
I’ll just leave this here.
Probably should have done something more appropriate, like a Taco Bell logo. ![]()

8 Likes
YES! The "fire"bird ain’t bad either.
1 Like
Always like those engraved heart projects. Well done.
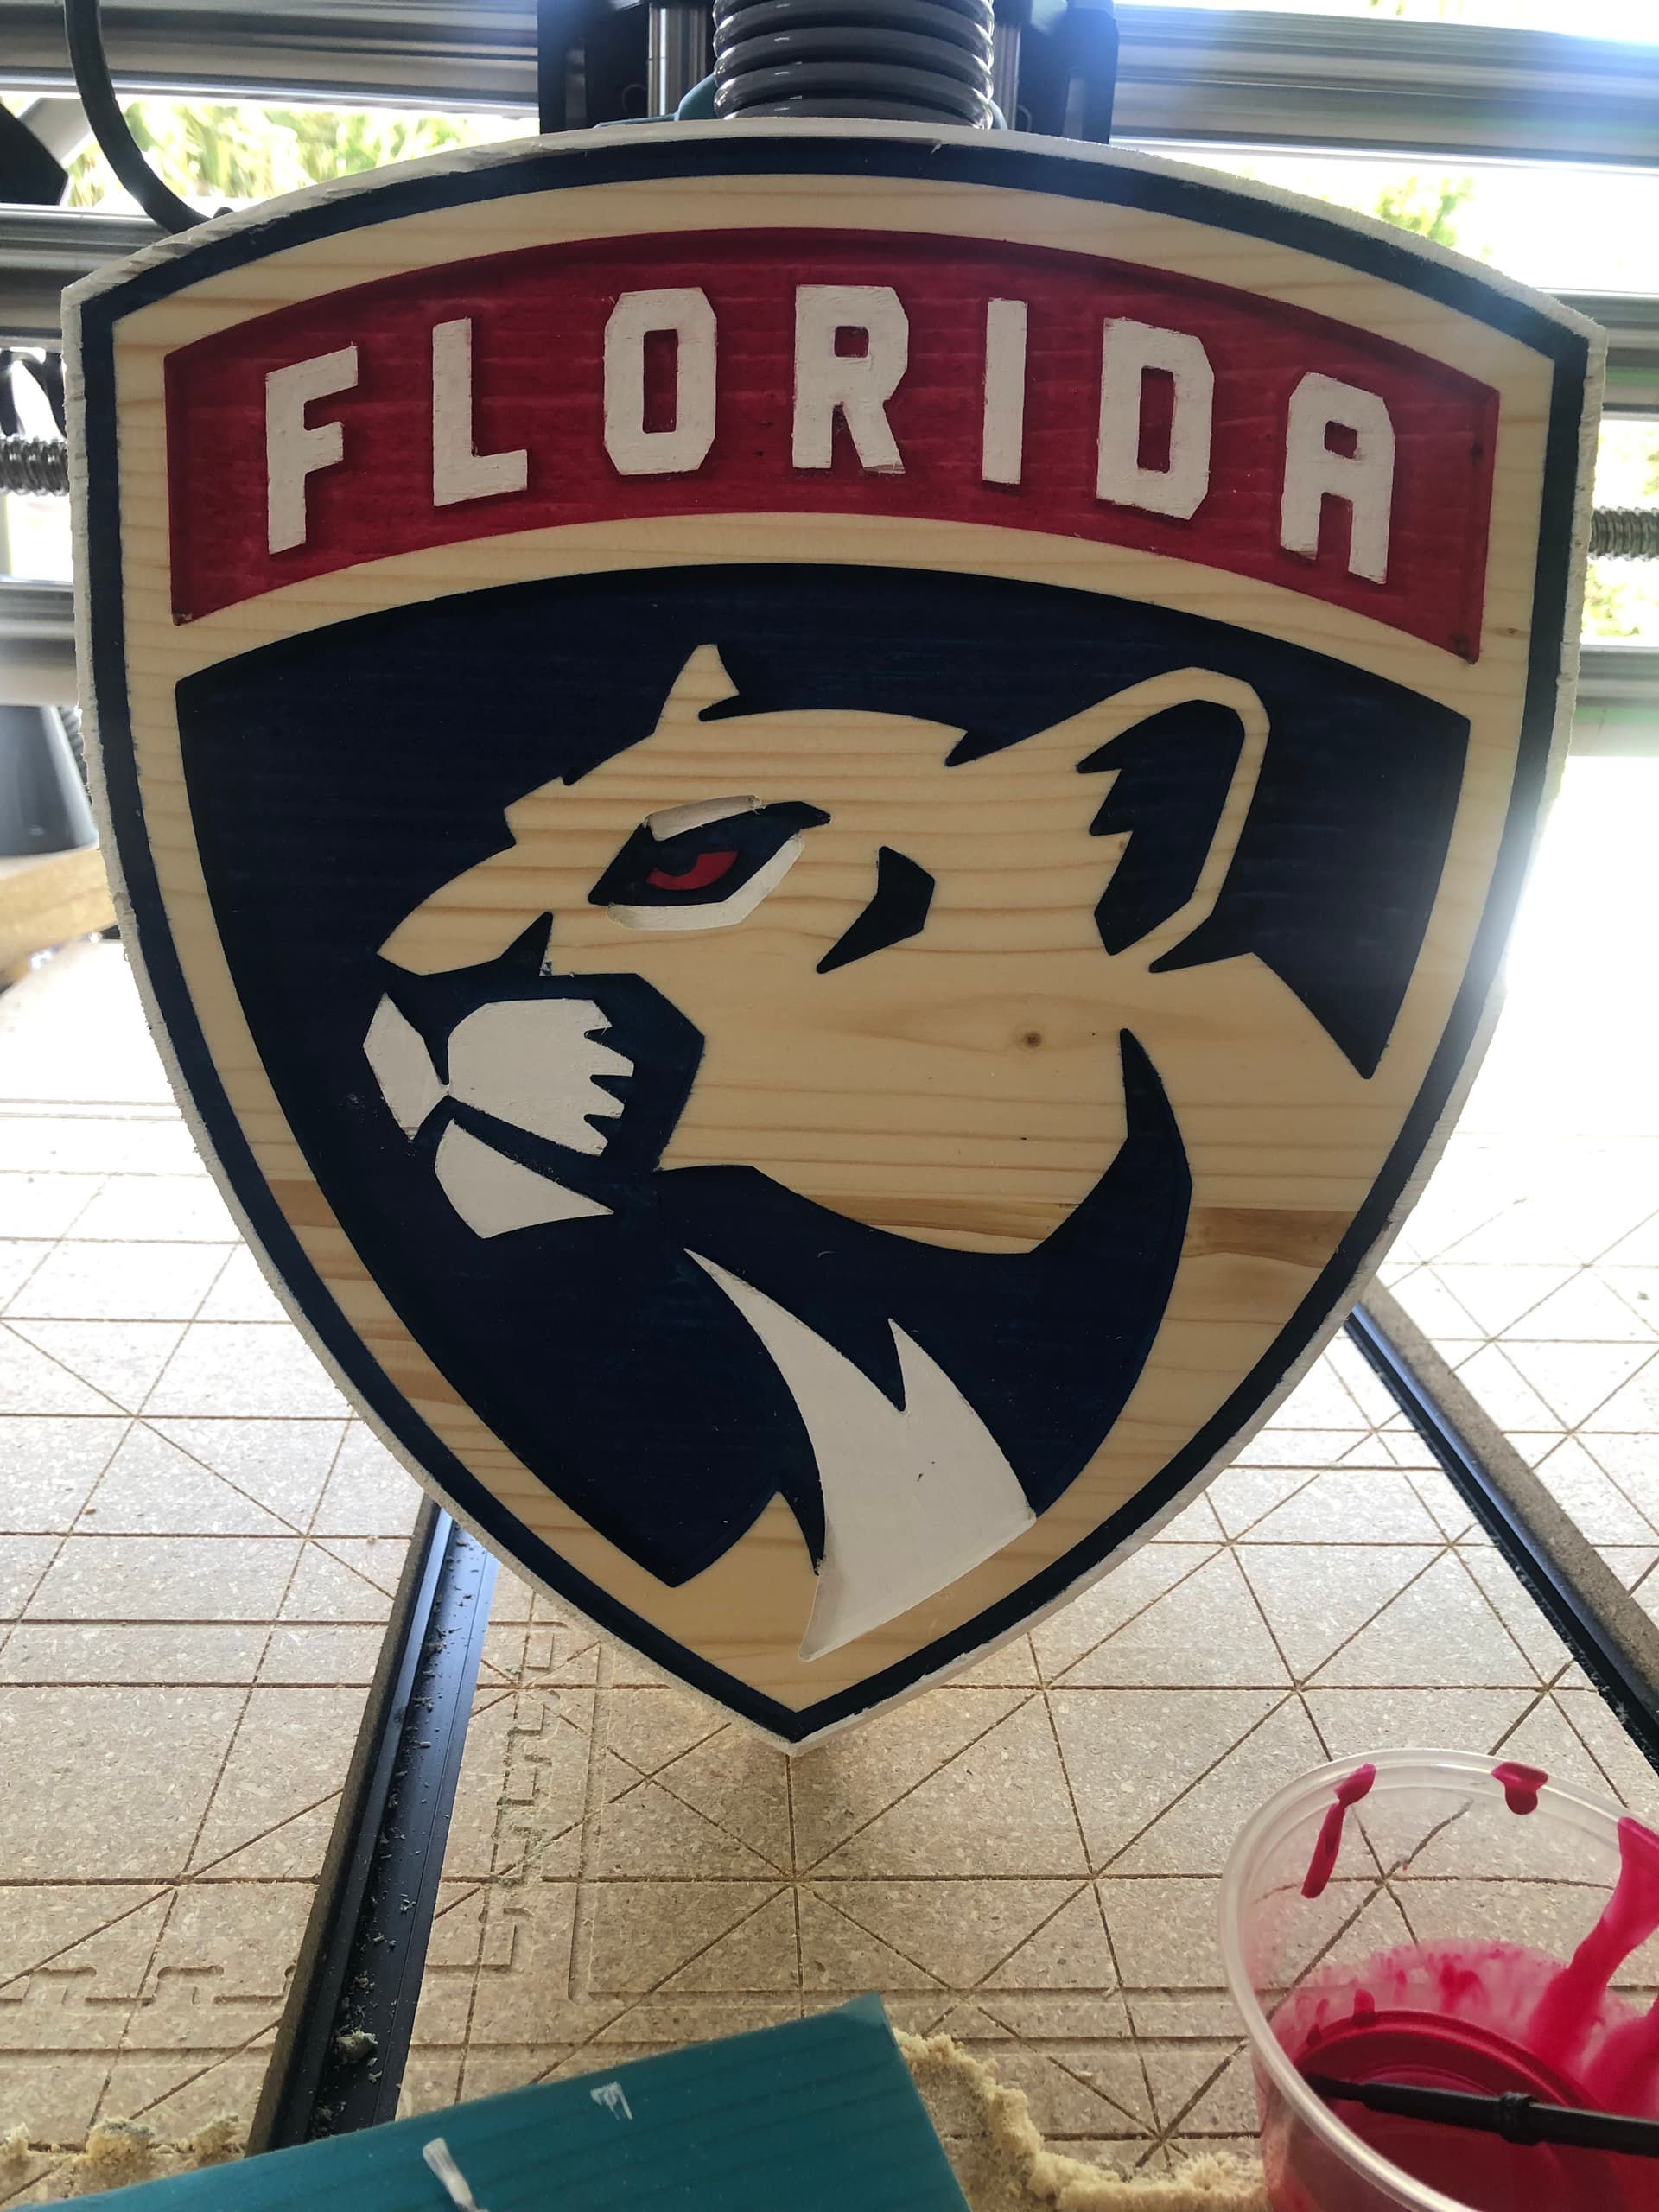
This weekend I wanted to toy around with oramask and sign making. Since the Florida Panthers NHL team is on a hot streak, I thought I would give that a shot. It is not perfect, but after I showed this to a few people I ended up getting requests for 10 of these! Not sure how that happened, but I accepted the challenge as a way to figure out how to make them faster, better, and cheaper. I will follow this up with my progress as I learn from my mistakes. Better get busy before they get eliminated in the first round!
6 Likes
Do you have any tips on how to make these? How did you mount the wood, carve each site then the top and bottom?
Crokinole. It was devised in the great white north, likely in the middle of the long dark winter, as a way to get together, drink beer, and not expend a lot of energy (made that up but it is from Canada and deductive reasoning tells me its a way to play curling without having to put your beer down)
I sent one to my 92 year old mother up in Canada for her and her 98 year old hubby to kept them occupied. It’s helping to keep their minds active and gives them eye/hand coordination exercises while sitting at a table.
3 Likes
A lot of the challenge is making sure the dimensions line up. Meaning the height, length and width of the images are proportionate and that they are entered exactly to match in the setup of each side. then make sure the block dimensions match exactly. Then I double sided tape it to the table with blocks on each side, it will move otherwise. I carve the top first, then sides, then front and back. I leave the bottom block and left block in place and leave X,Y zeros alone. Re-zero Z. To carve the front and back I cut a hole in my table top to mount it vertically.
1 Like
Crokinole Board Cut File Updated -25 pegs With Demensions 2 CTR XYZ.crv (248 KB)
This is my pattern, drawn in Vetrix Pro, that has everything except the cut files. Hopefully you have a program that can open a CRV file. If so you could either use this as a guide to creating your own pattern or set cut files to it keeping in mind that it was created by me in Vetrix Pro so my mistakes are likely evident and it was cut on my Onefinity using every square inch of usable space save 1/8" around (which can be frustrating. the outer ring can be narrowed a bit to give you more breathing room but the field, from what i discerned in research, is regulation size.
4 Likes
I used the following - just for reference mind you
numbers and lines on face (not the 20) – 60 deg V carve .0468 deep
Outer pocket — 3/4 BN - .375 deep
peg holes - 1/4" EM — .375 deep
Center pocket rough (the 20 is raised) 1/4" EM – .25 deep
Center pocket number clear - 1/4" EM - .375 deep
Center pocket number finish - 1/6" TBN 3.58 degree - .375 deep
Profile - 1/4" EM - depth of material + .005
if the material is too thin itll either crack and split up or curl up once you cut the outer pocket.
4 Likes
Good info Todd, thank you for that!

Totally forgot that vcarve would only go where the bit could fit but that outside cuts would still be complete so took sim extra cleanup and tweaking to assemble all the bits.
Mini jenny did awesome in 3/4" walnut, cherry and maple. Was my first run of it so I only did 66ipm,0.25 doc.

7 Likes
That is very creative. So the pieces are loose, and it could be used like a puzzle? Besides being a great work of art that could be mounted as is.
1 Like
Yeah it could be a puzzle but the pieces are glued together in this case. Process is called intarsia.
3 Likes