VERY NICE!
That took a lot of thought to bring the entire game together!
Pony
Thought I’d try my hand at the V-inlay end-grain stuff. It’s a bit tricky in Fusion, did quite a few test pieces before I was comfortable with my approach. The trig is pretty straightforward, but how to translate the numbers into what Fusion is doing with tool paths was a bit counterintuitive.
For instance, if you do a Contour operation with a straight bit, if justifies the bit off to one side or the other. Same operation and geometry with a V-bit and it seems to center the bit; I had to offset some new linework based off the depth of cut and taper of bit.
This will be auctioned off at a trade show our company is attending this week.


Oak and Ash for the board. Walnut, maple, and cherry for the inlay.
That is very nice, I have made several cutting boards for family and it is a lot of work, if this is your first go, congrats really is nice.
Pat

Decided to design my own utensil holder for my Elite Foreman. Spring loaded to apply proper pressure.
The file and complete kit can be found on my etsy page.
https://www.etsy.com/listing/1871867586/onefinity-cnc-utensil-holder-3d-file
https://www.etsy.com/listing/1885838109/onefinity-cnc-utensil-holder-complete?ref=cart


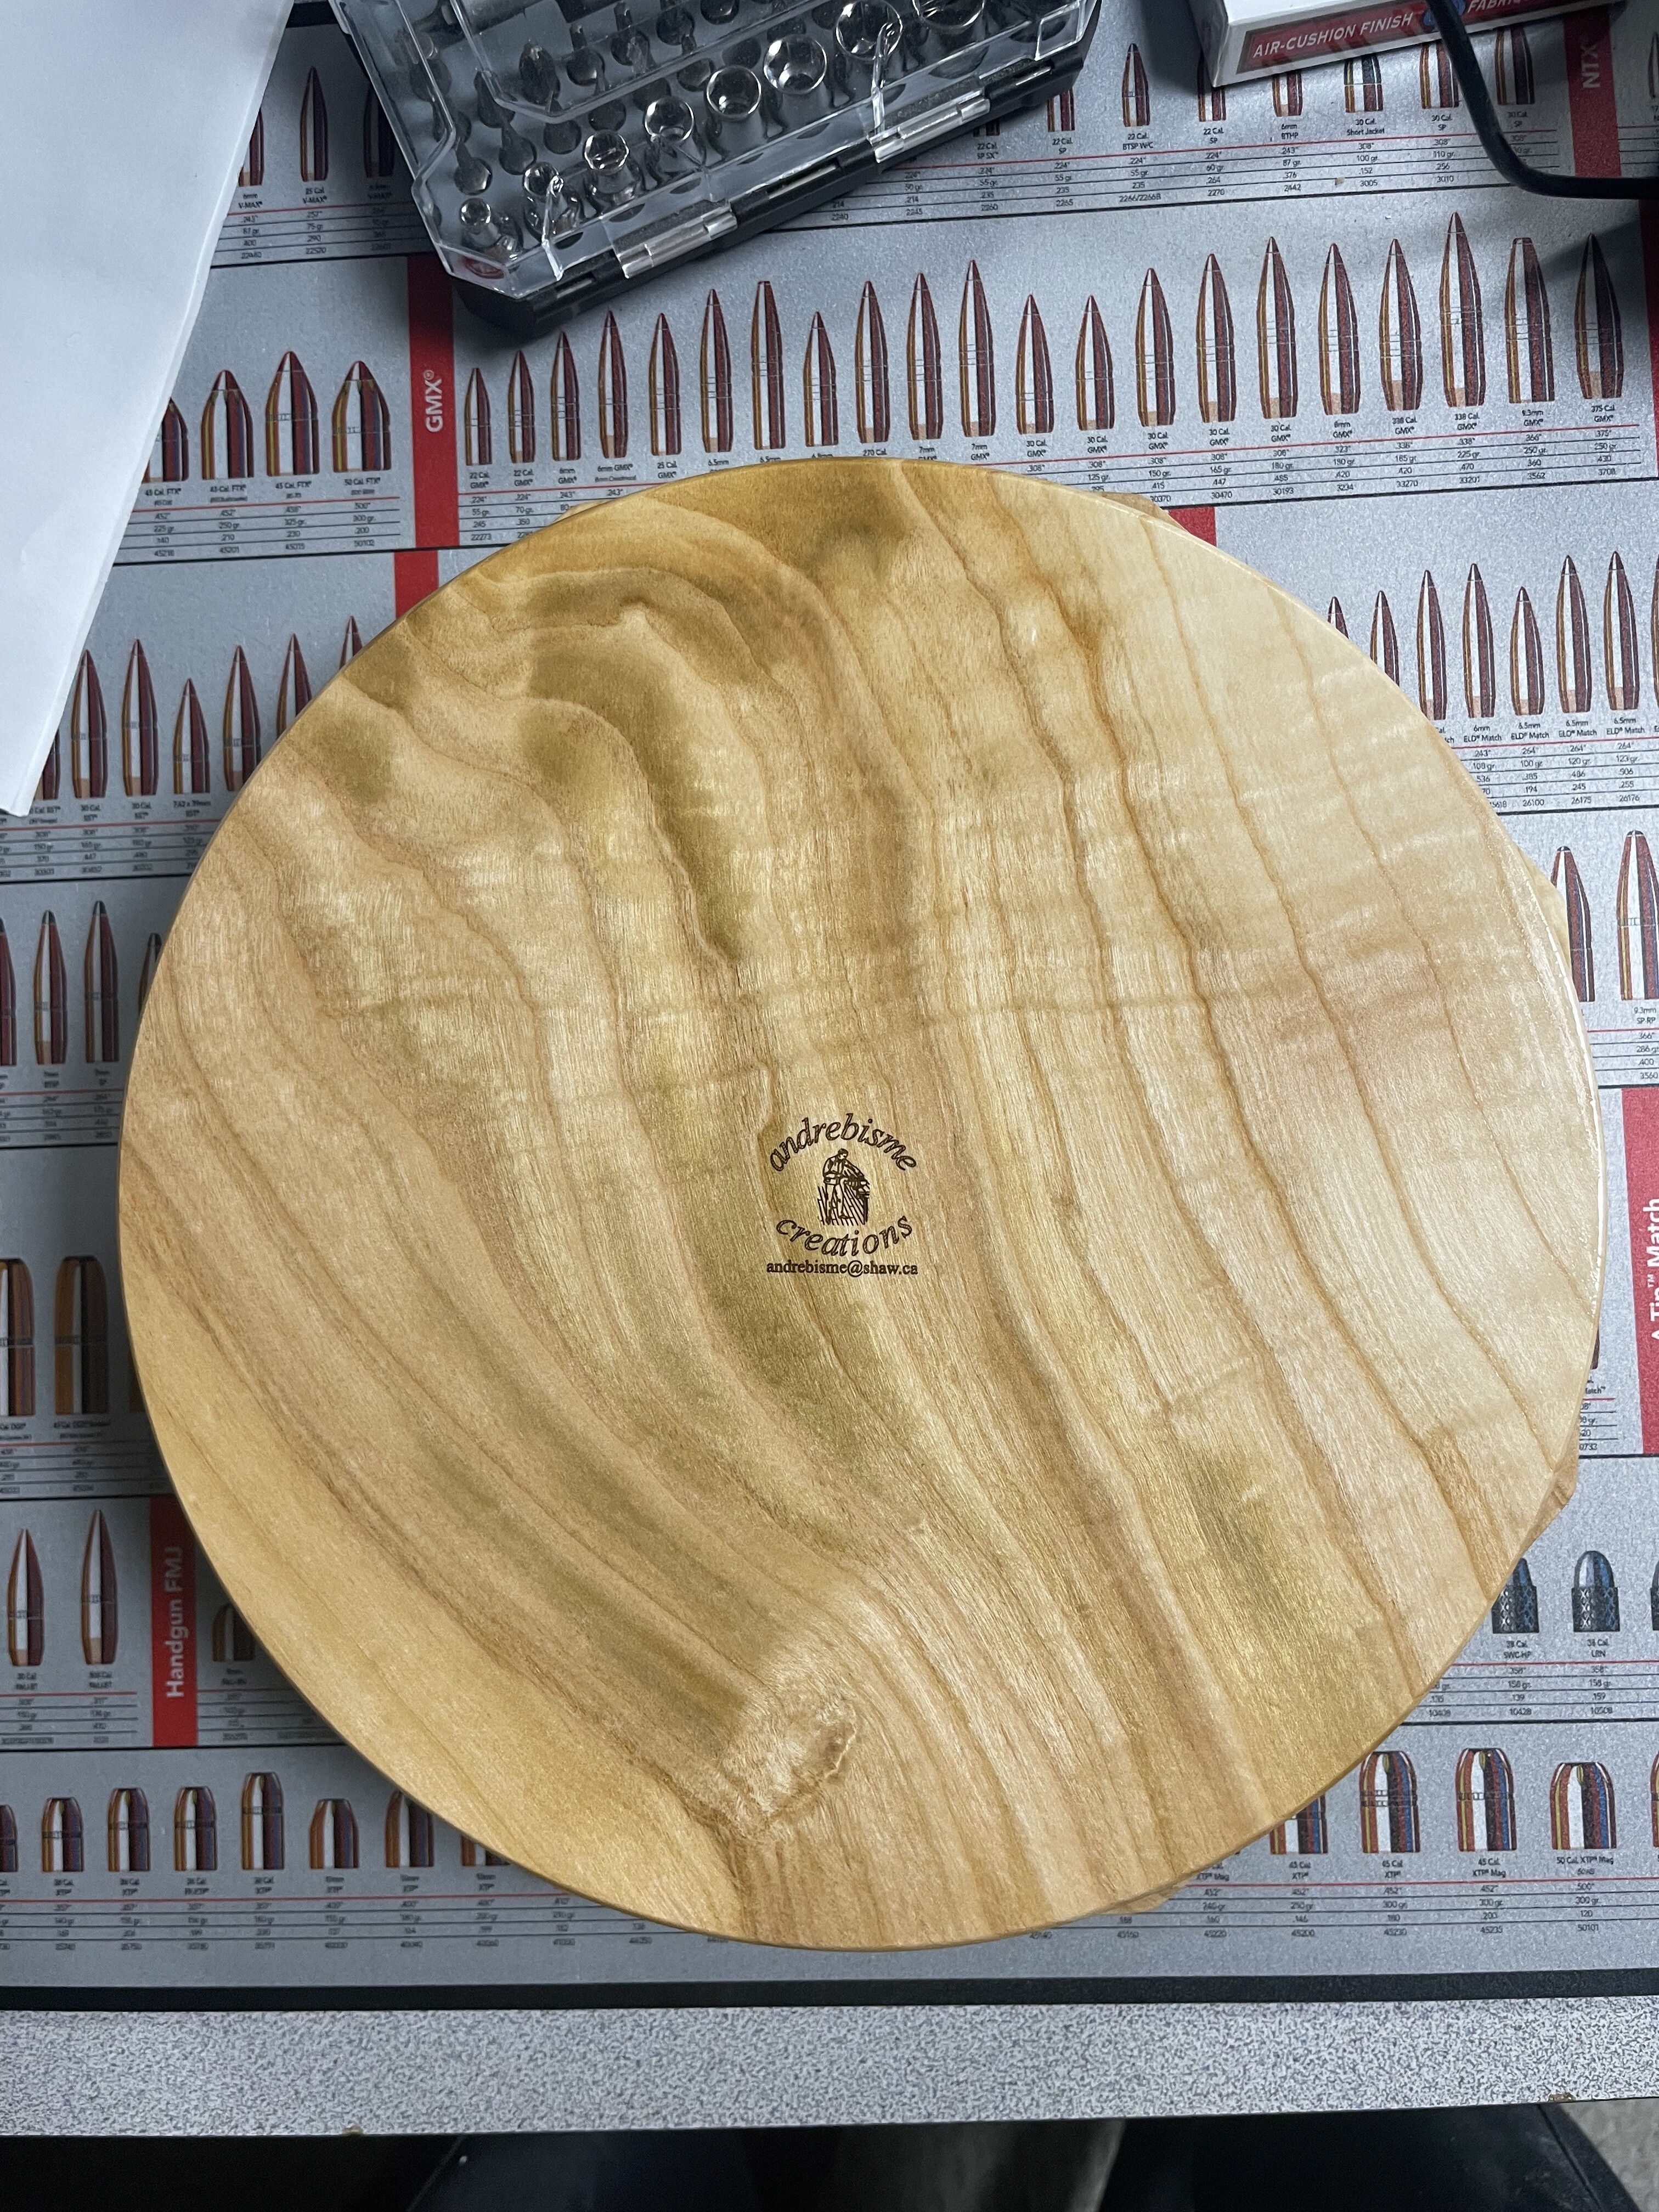
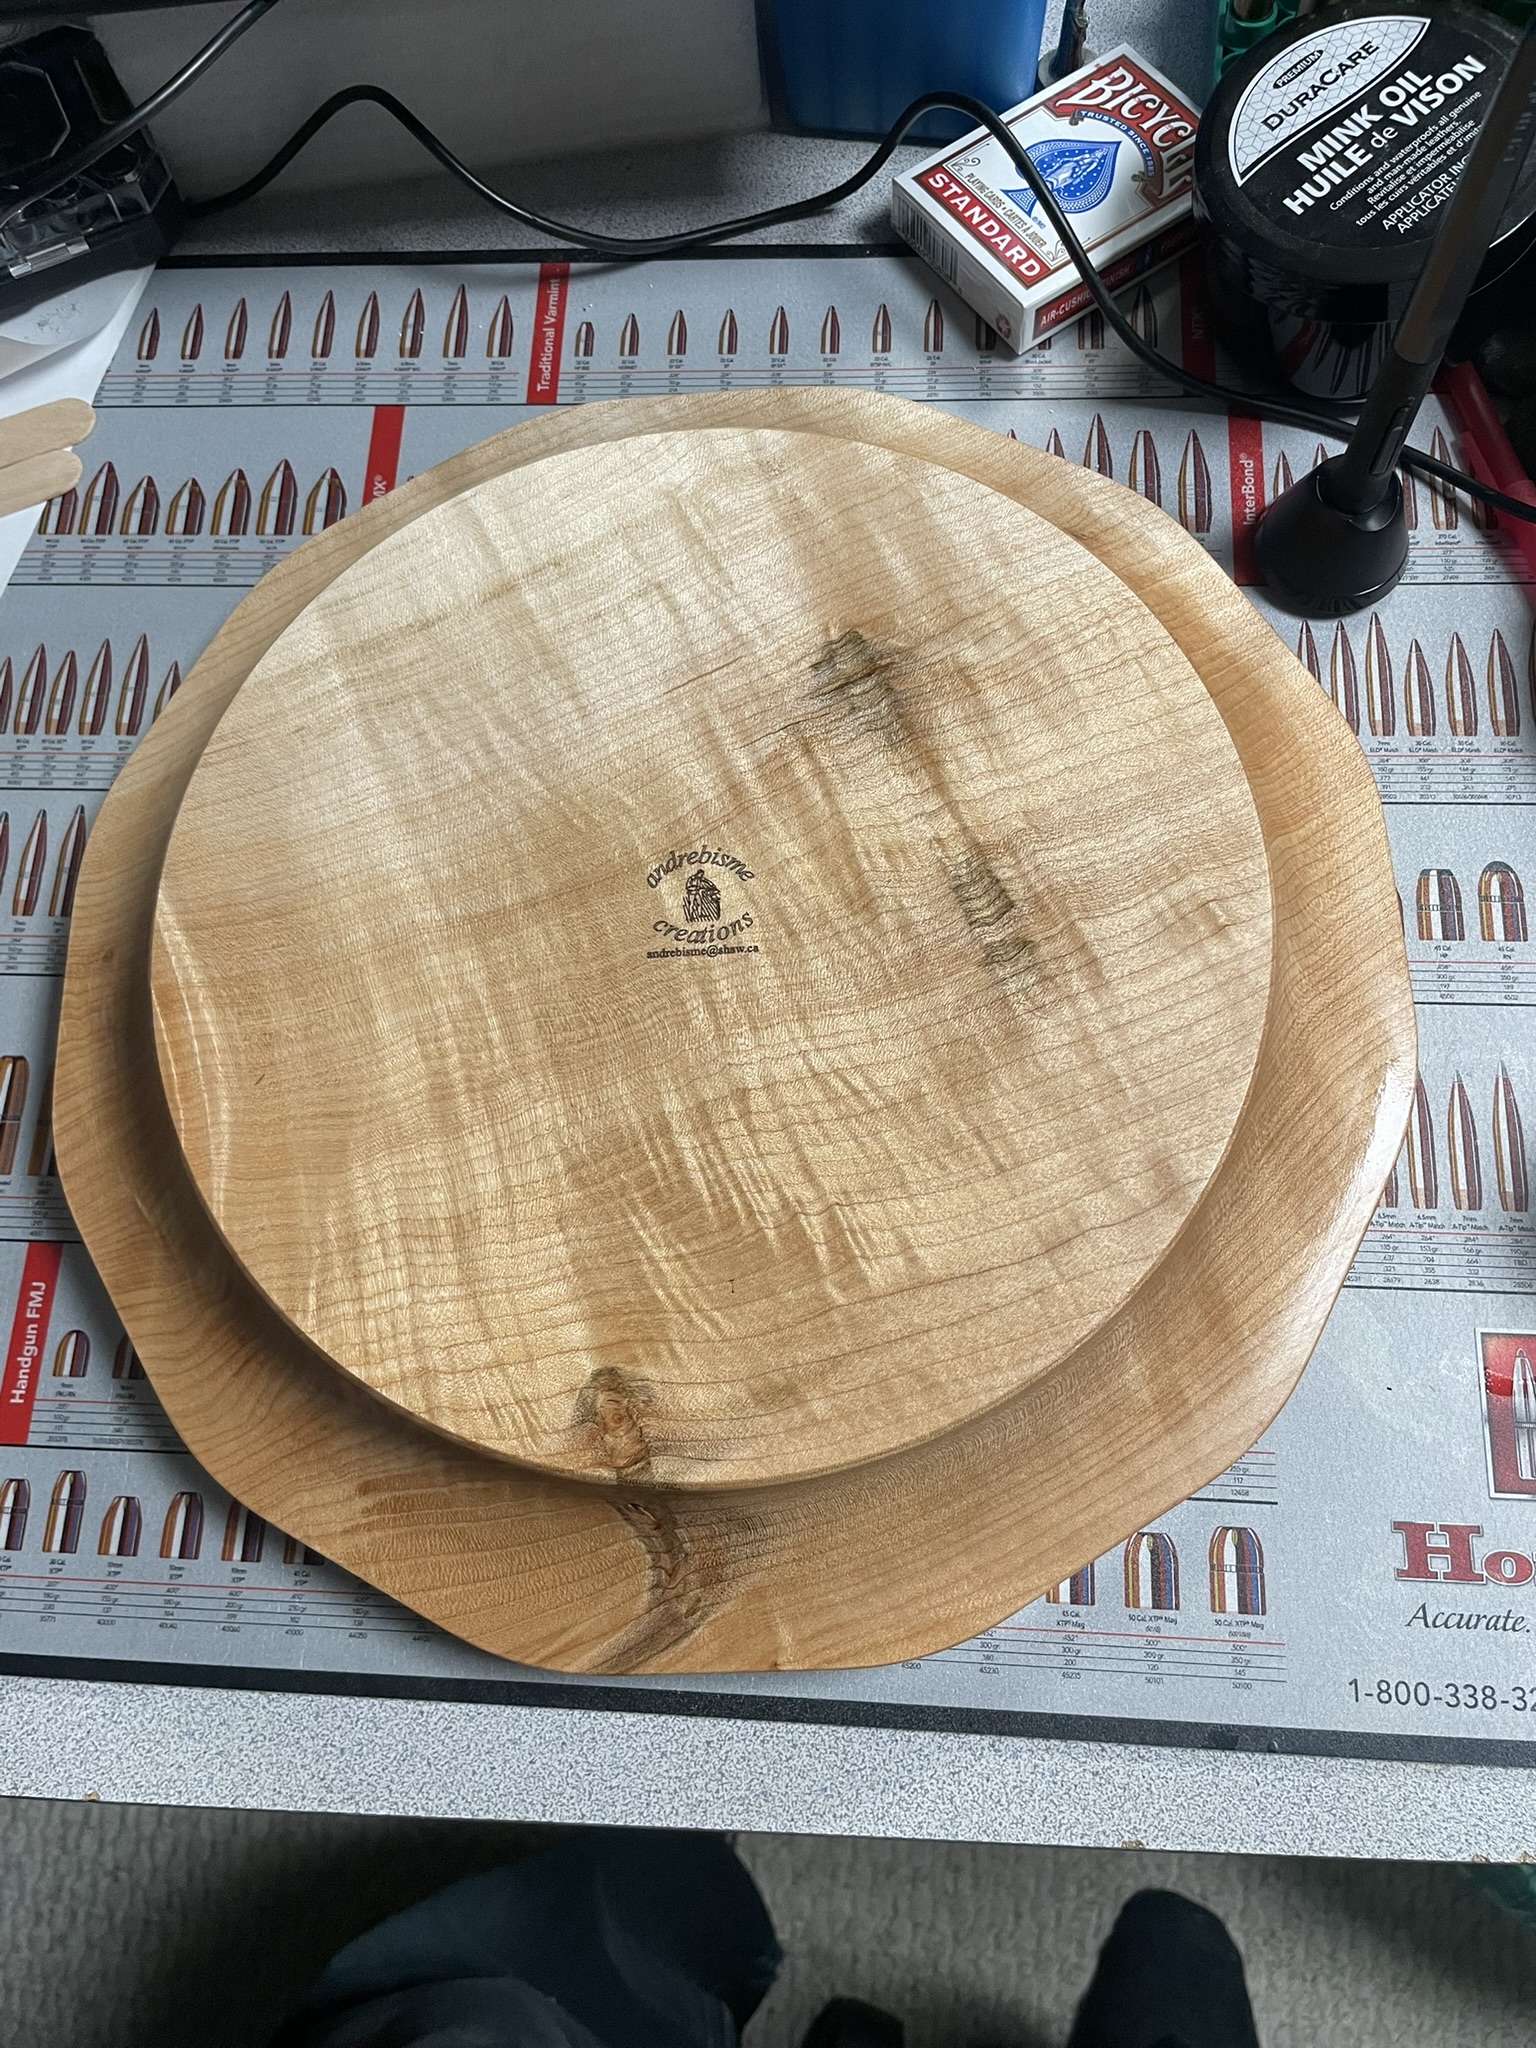
Very nice! What kind of wood is that and how did you finish it?
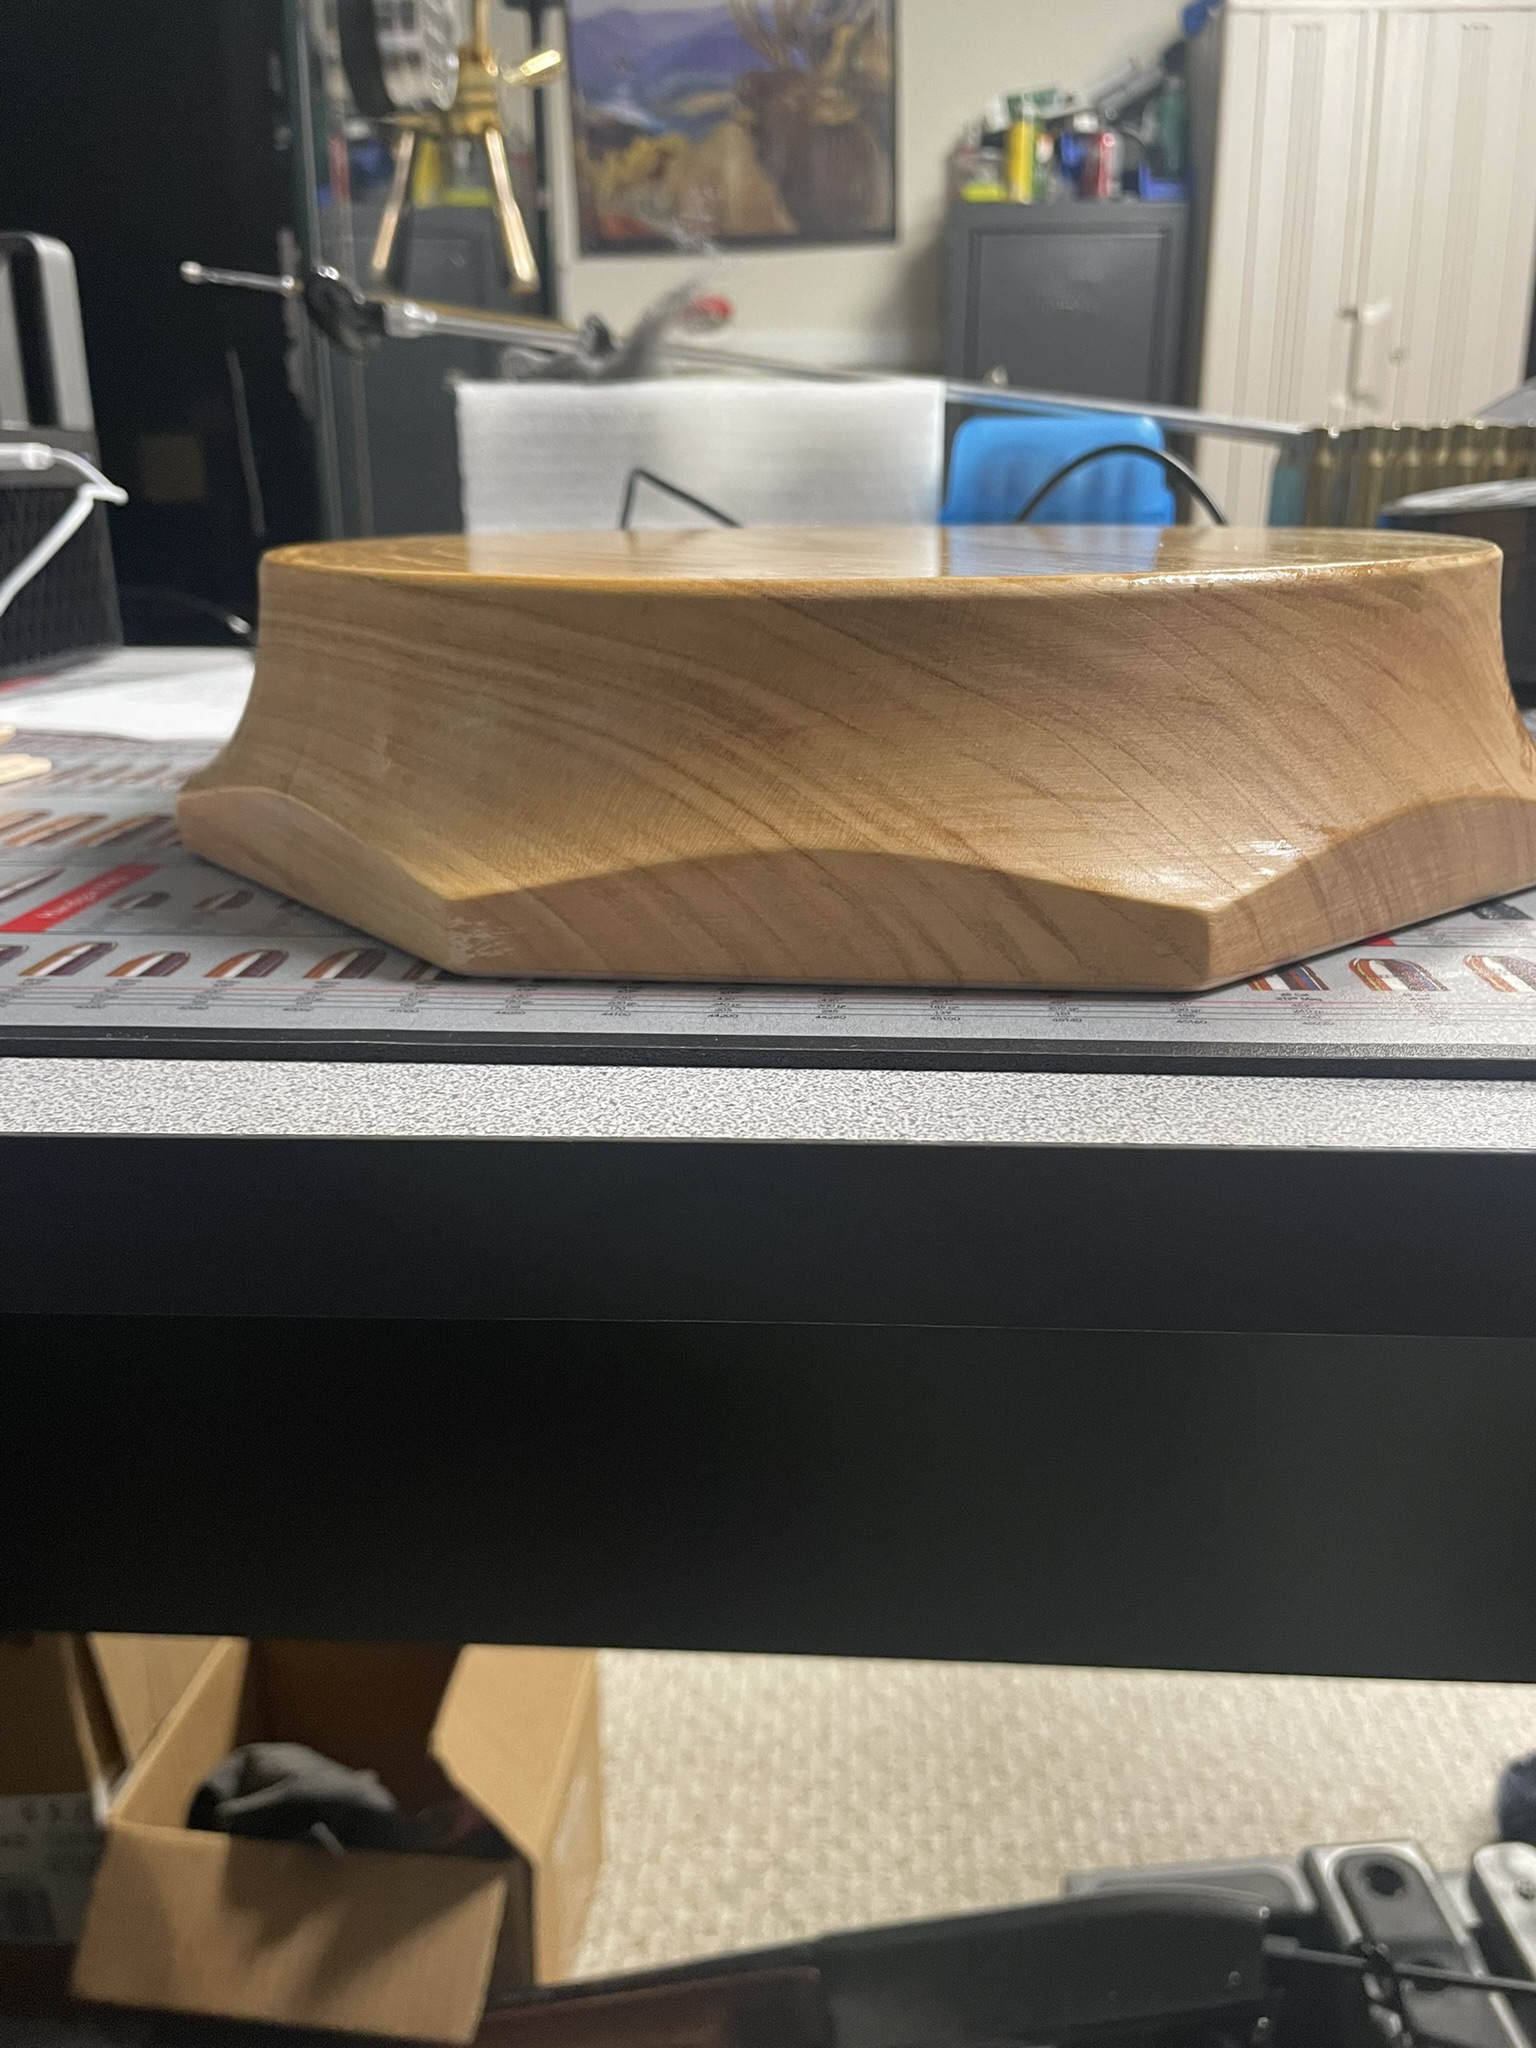
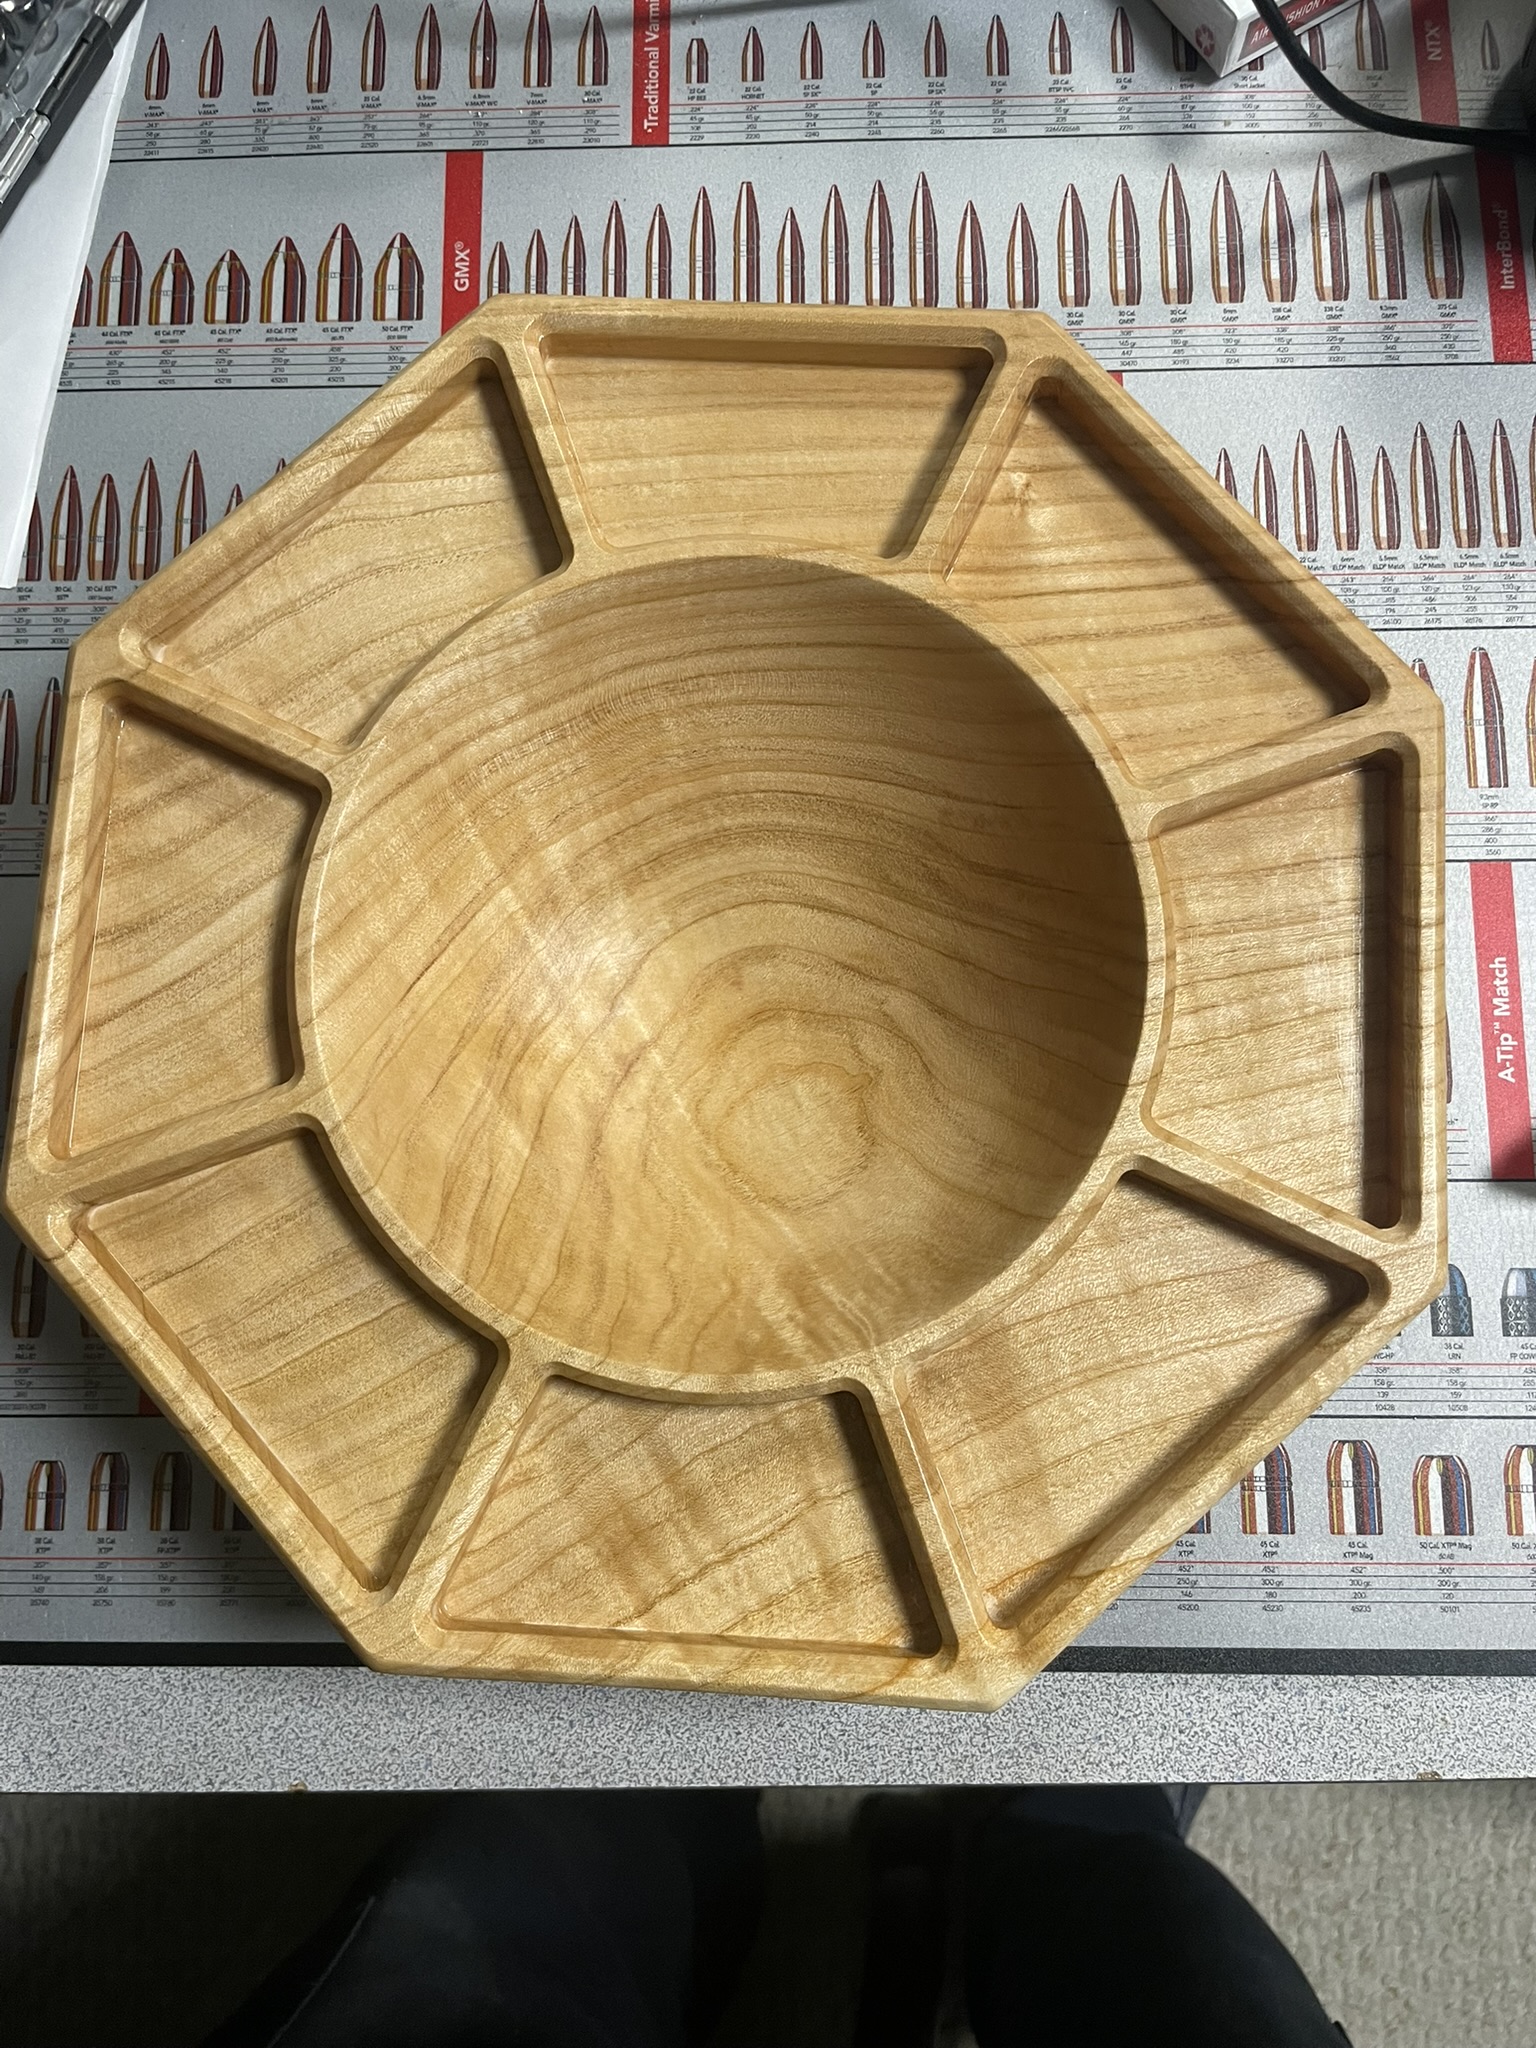
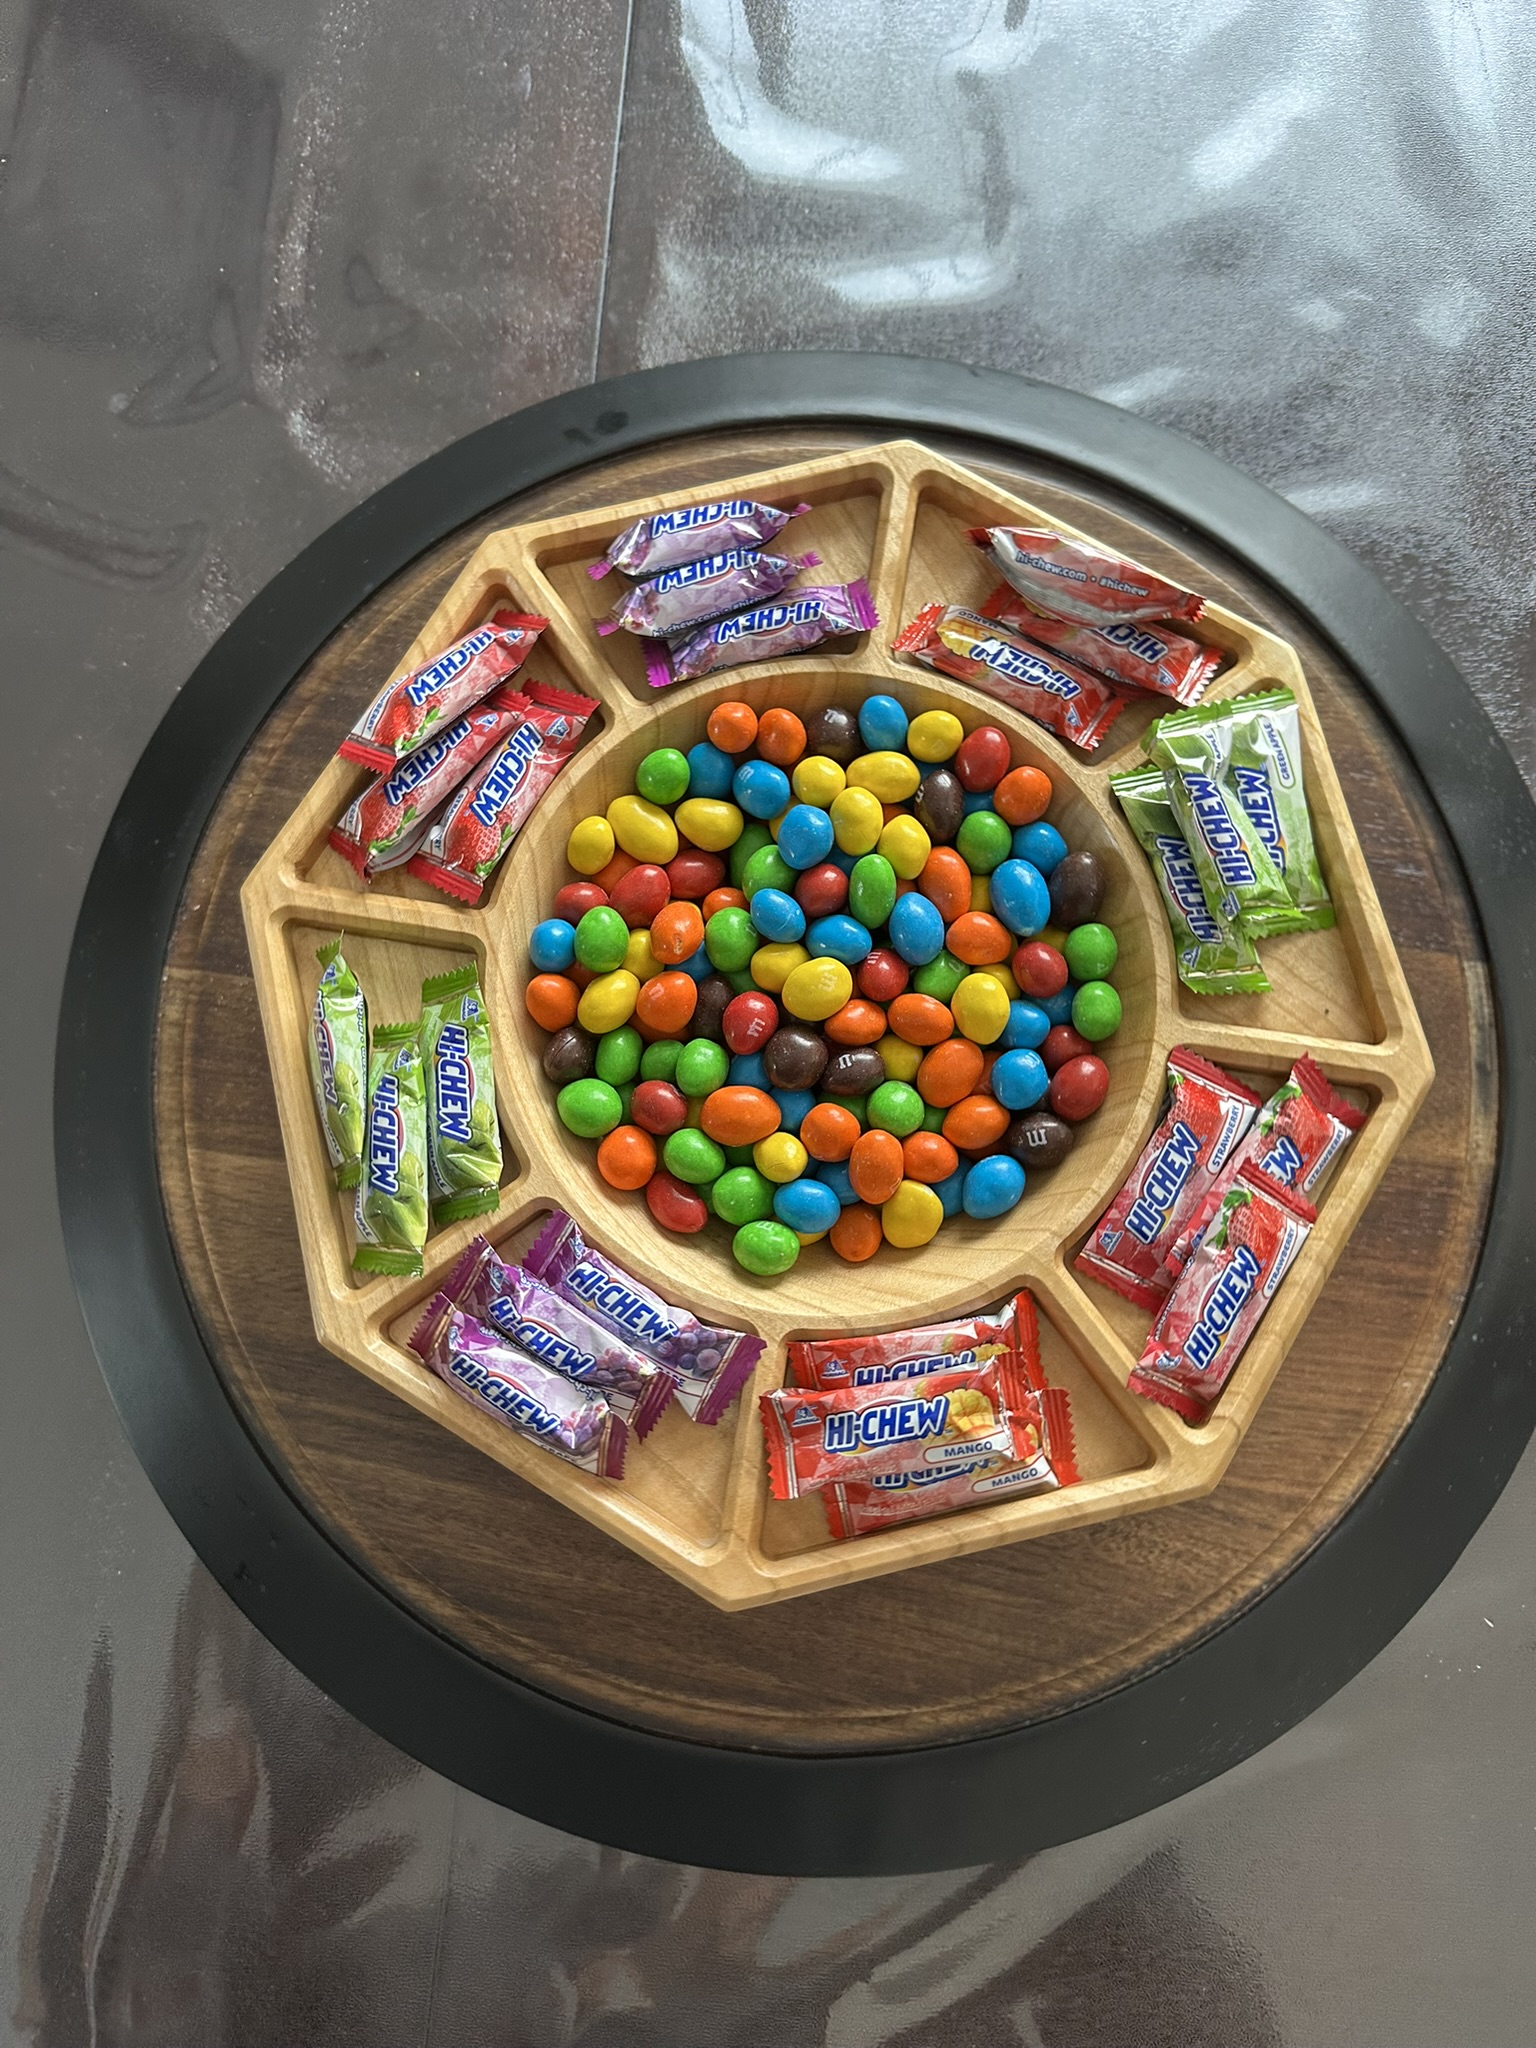
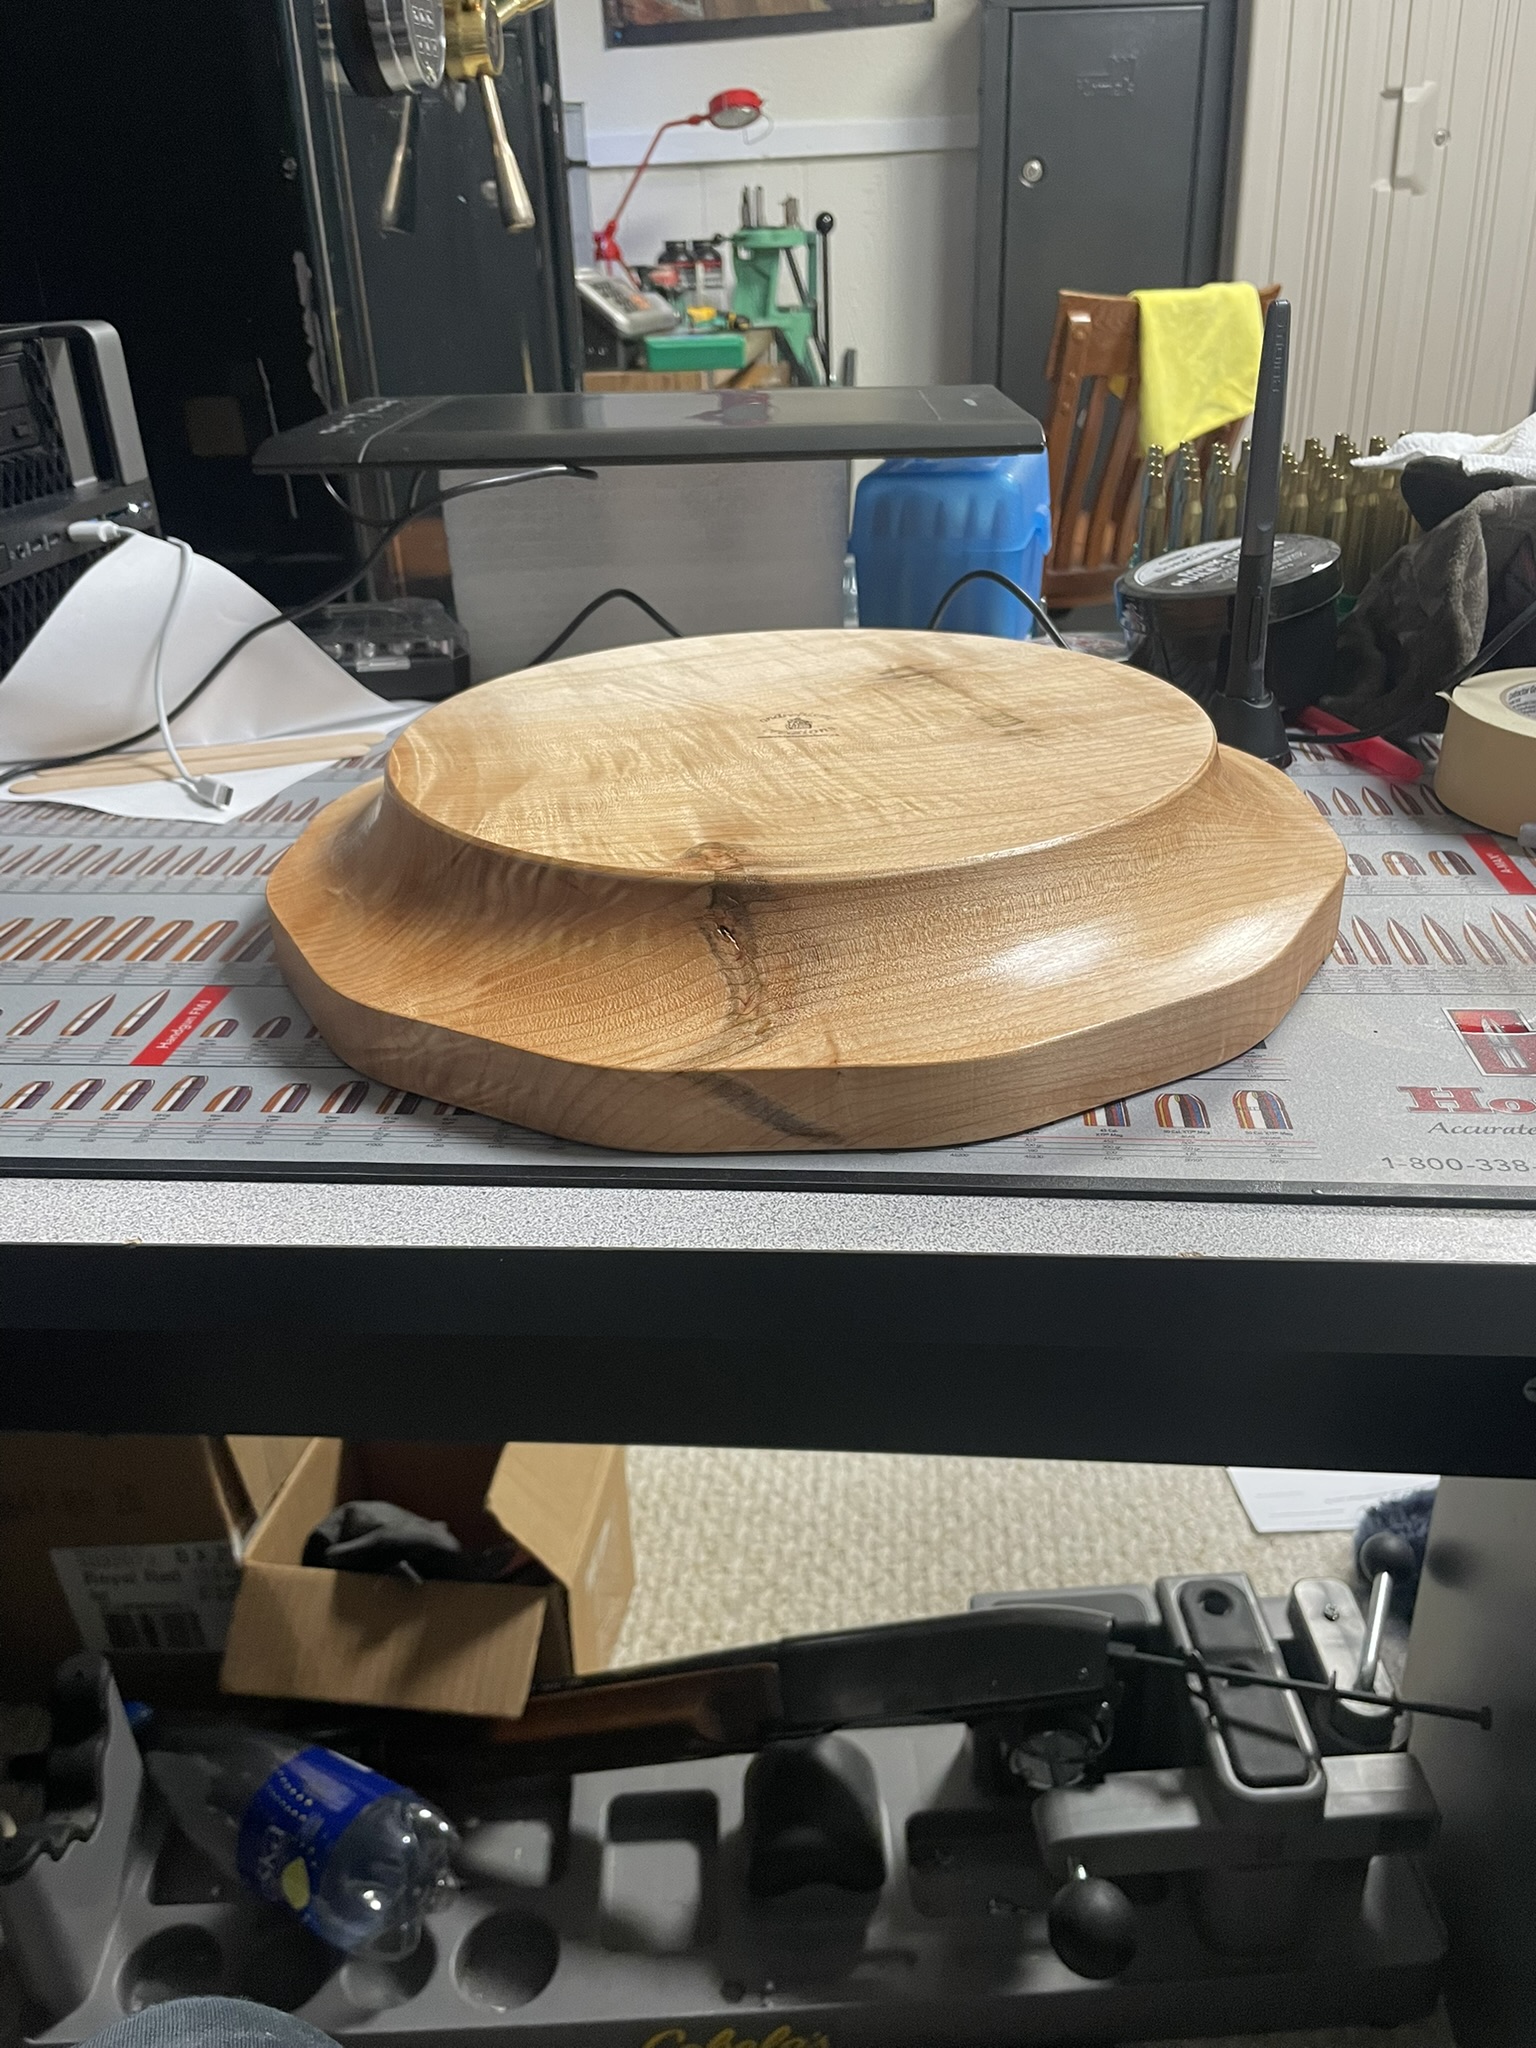
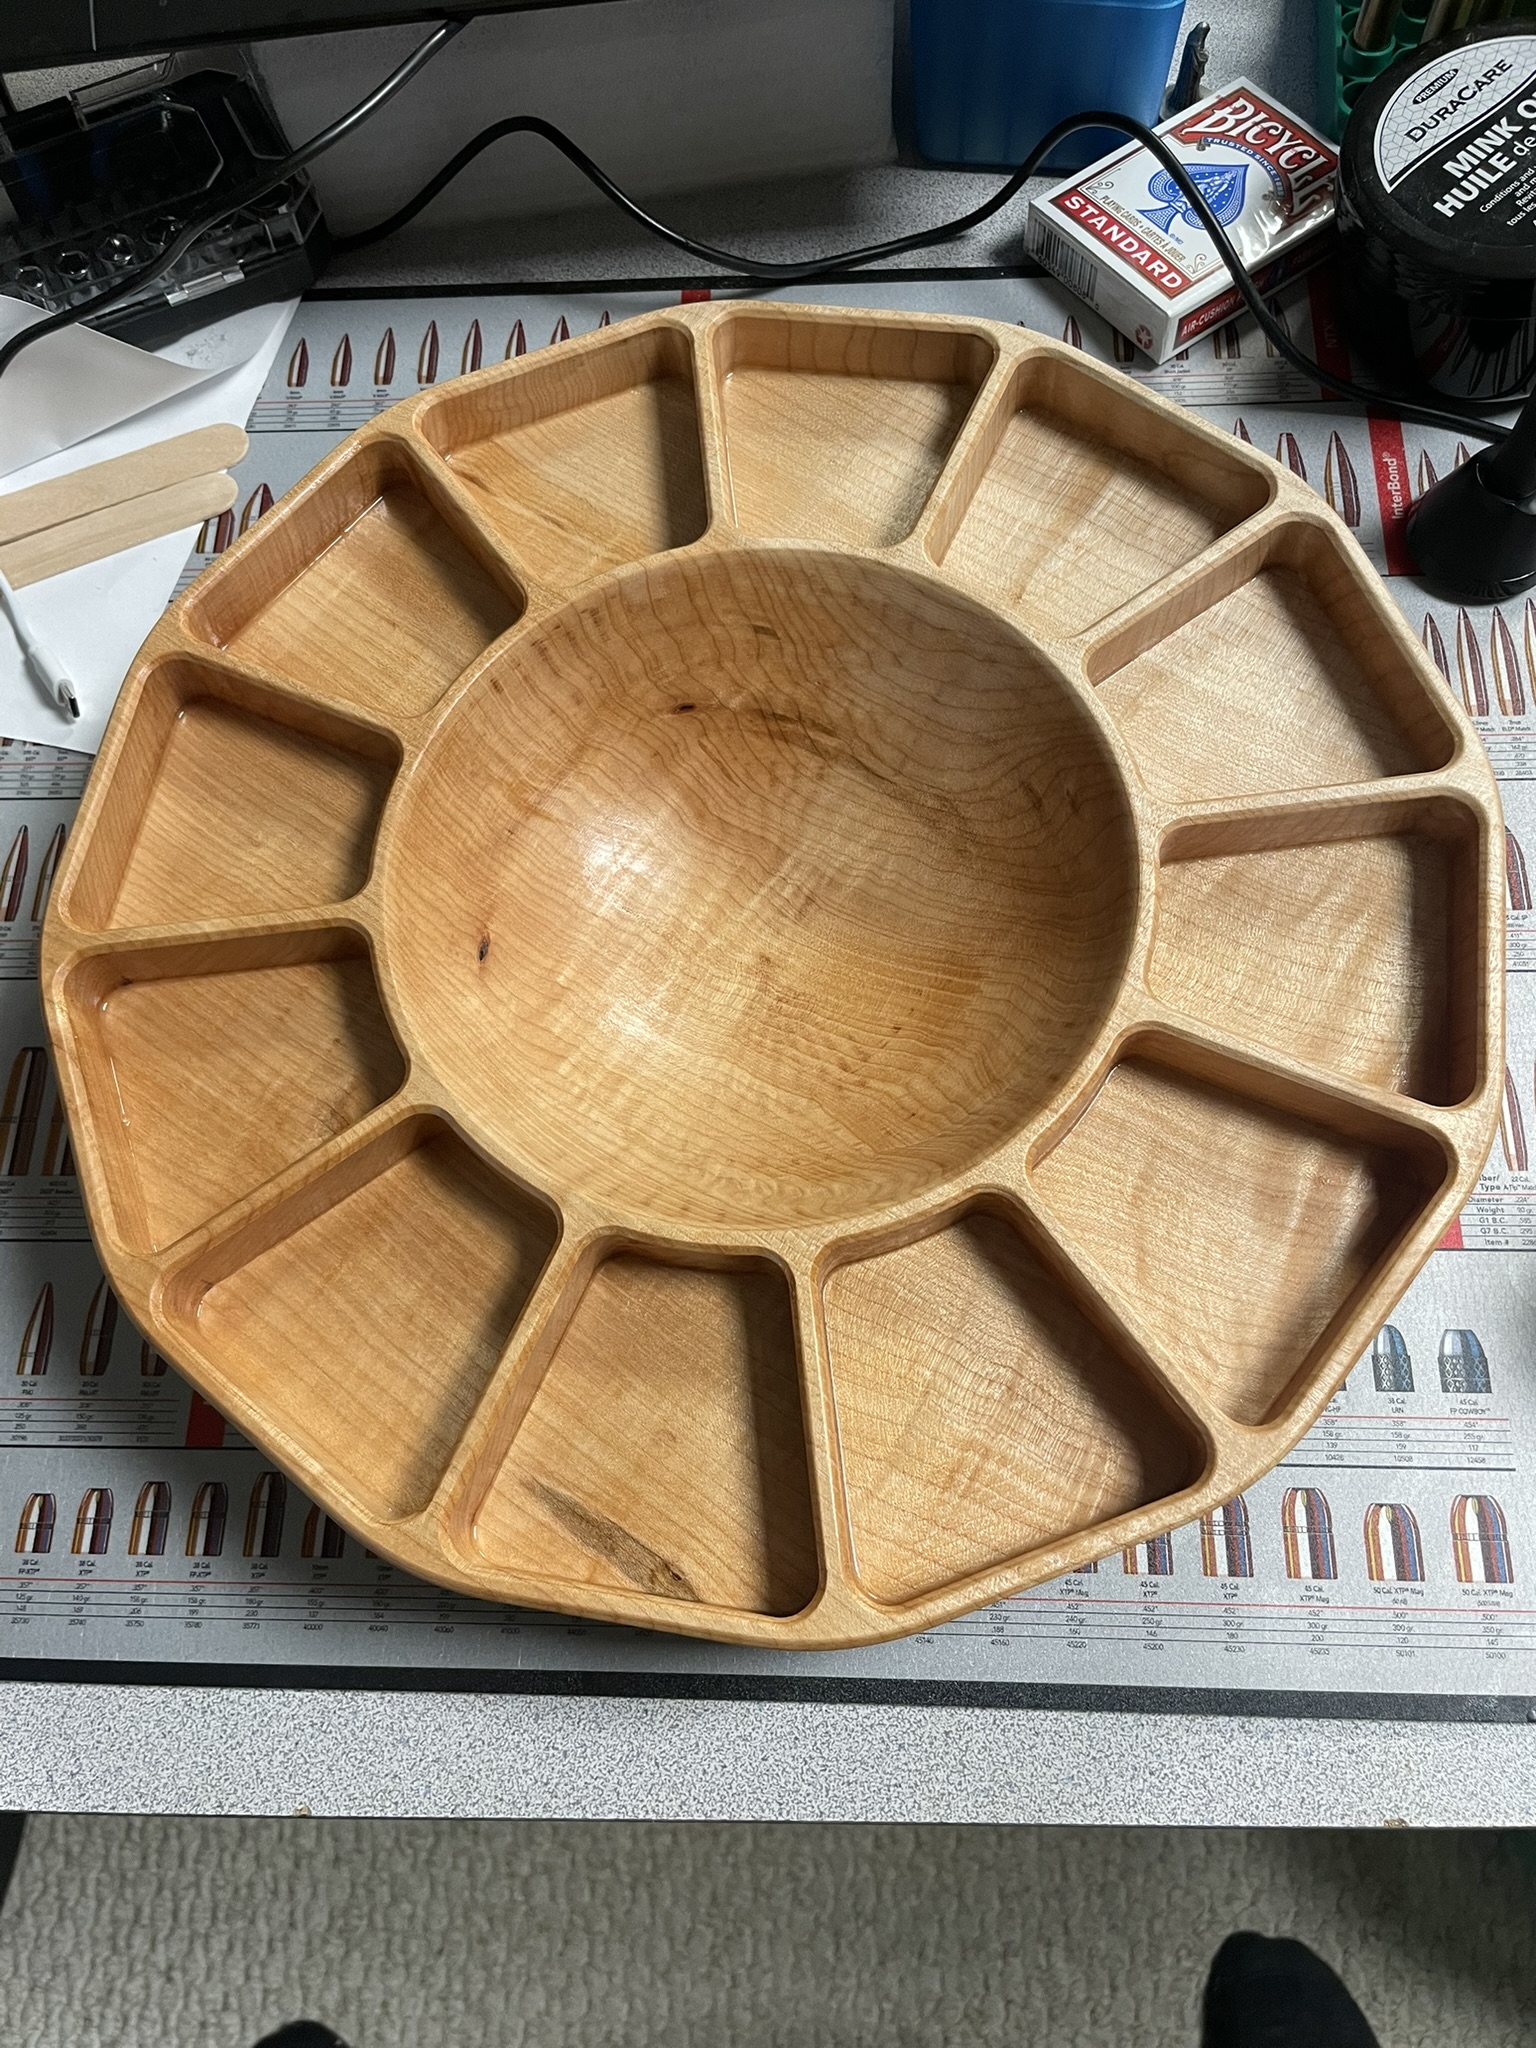
The 8 sided bowl was made out of Cherry and is 12in outside diameter. The 12 sided bowl was made out of Maple and is 14in outside diameter. Both were finished with Osmo 3043 matte finish.
Beautiful. The finish is outstanding. Sanding the pockets must have been fun ![]()
Sanding the pockets was a challenge for sure
A little bit over a Year ago I started my journey into the CNC world. I decided to treat myself with an anniversary gift ![]()
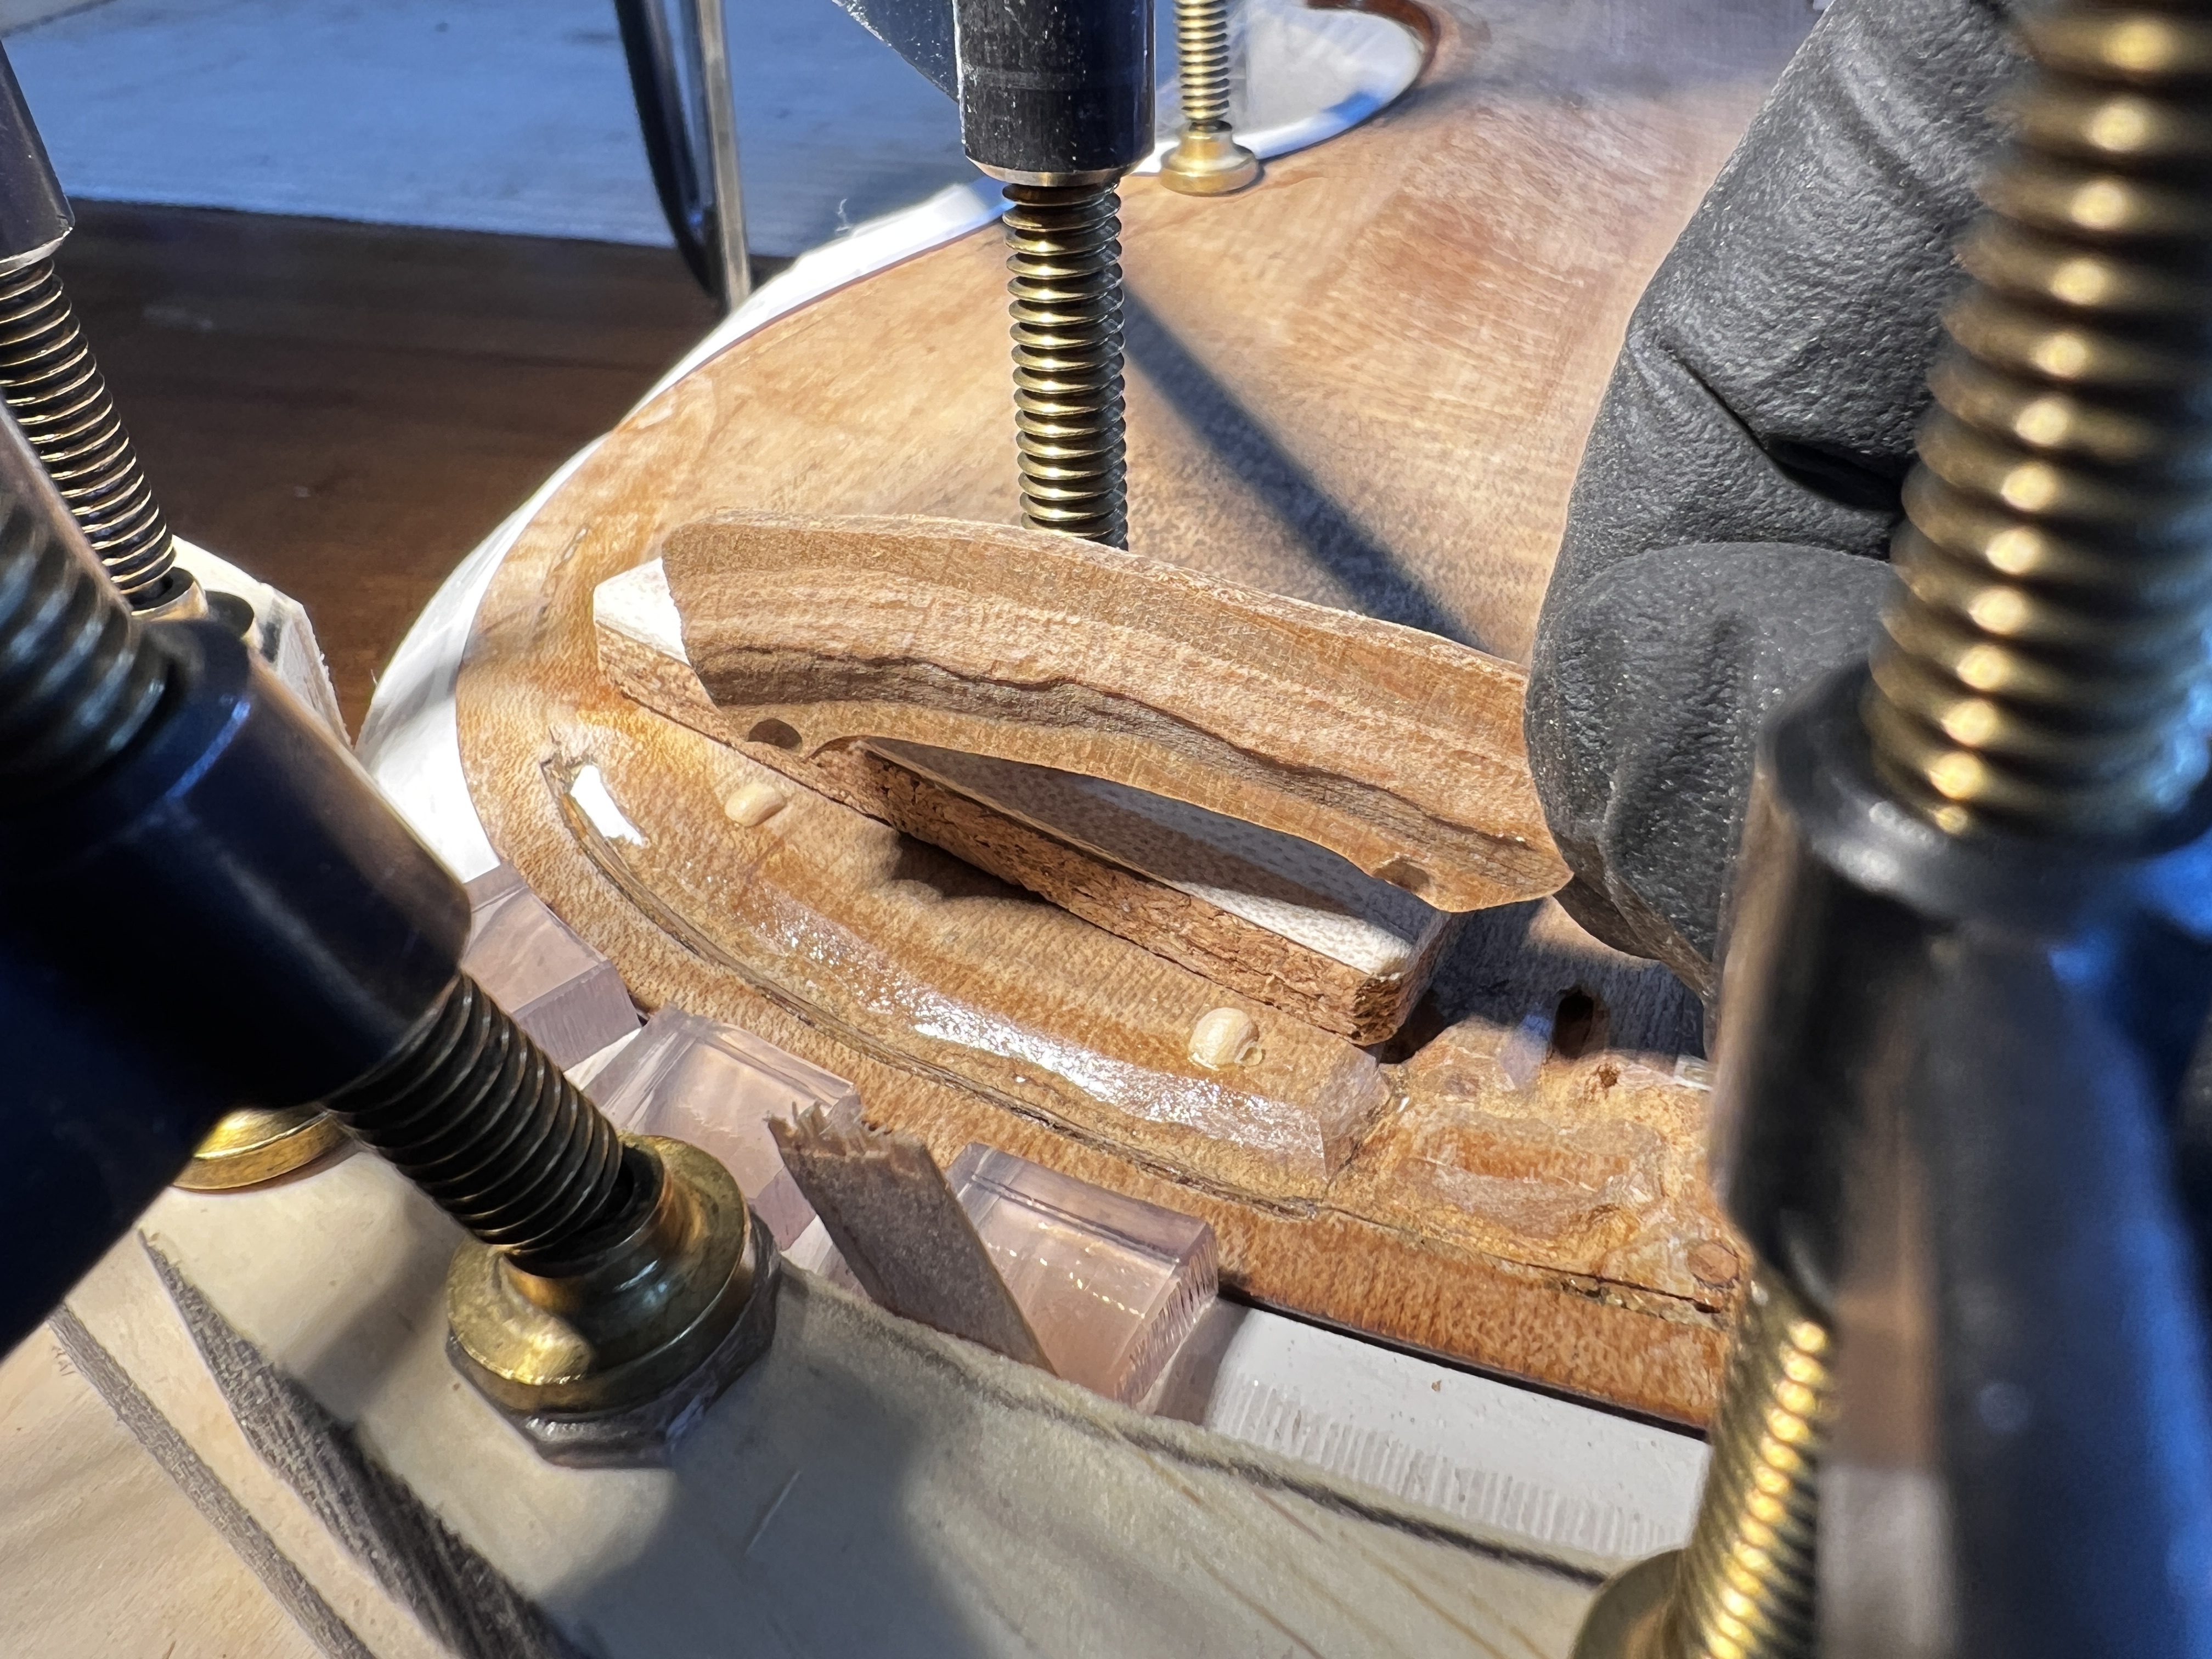
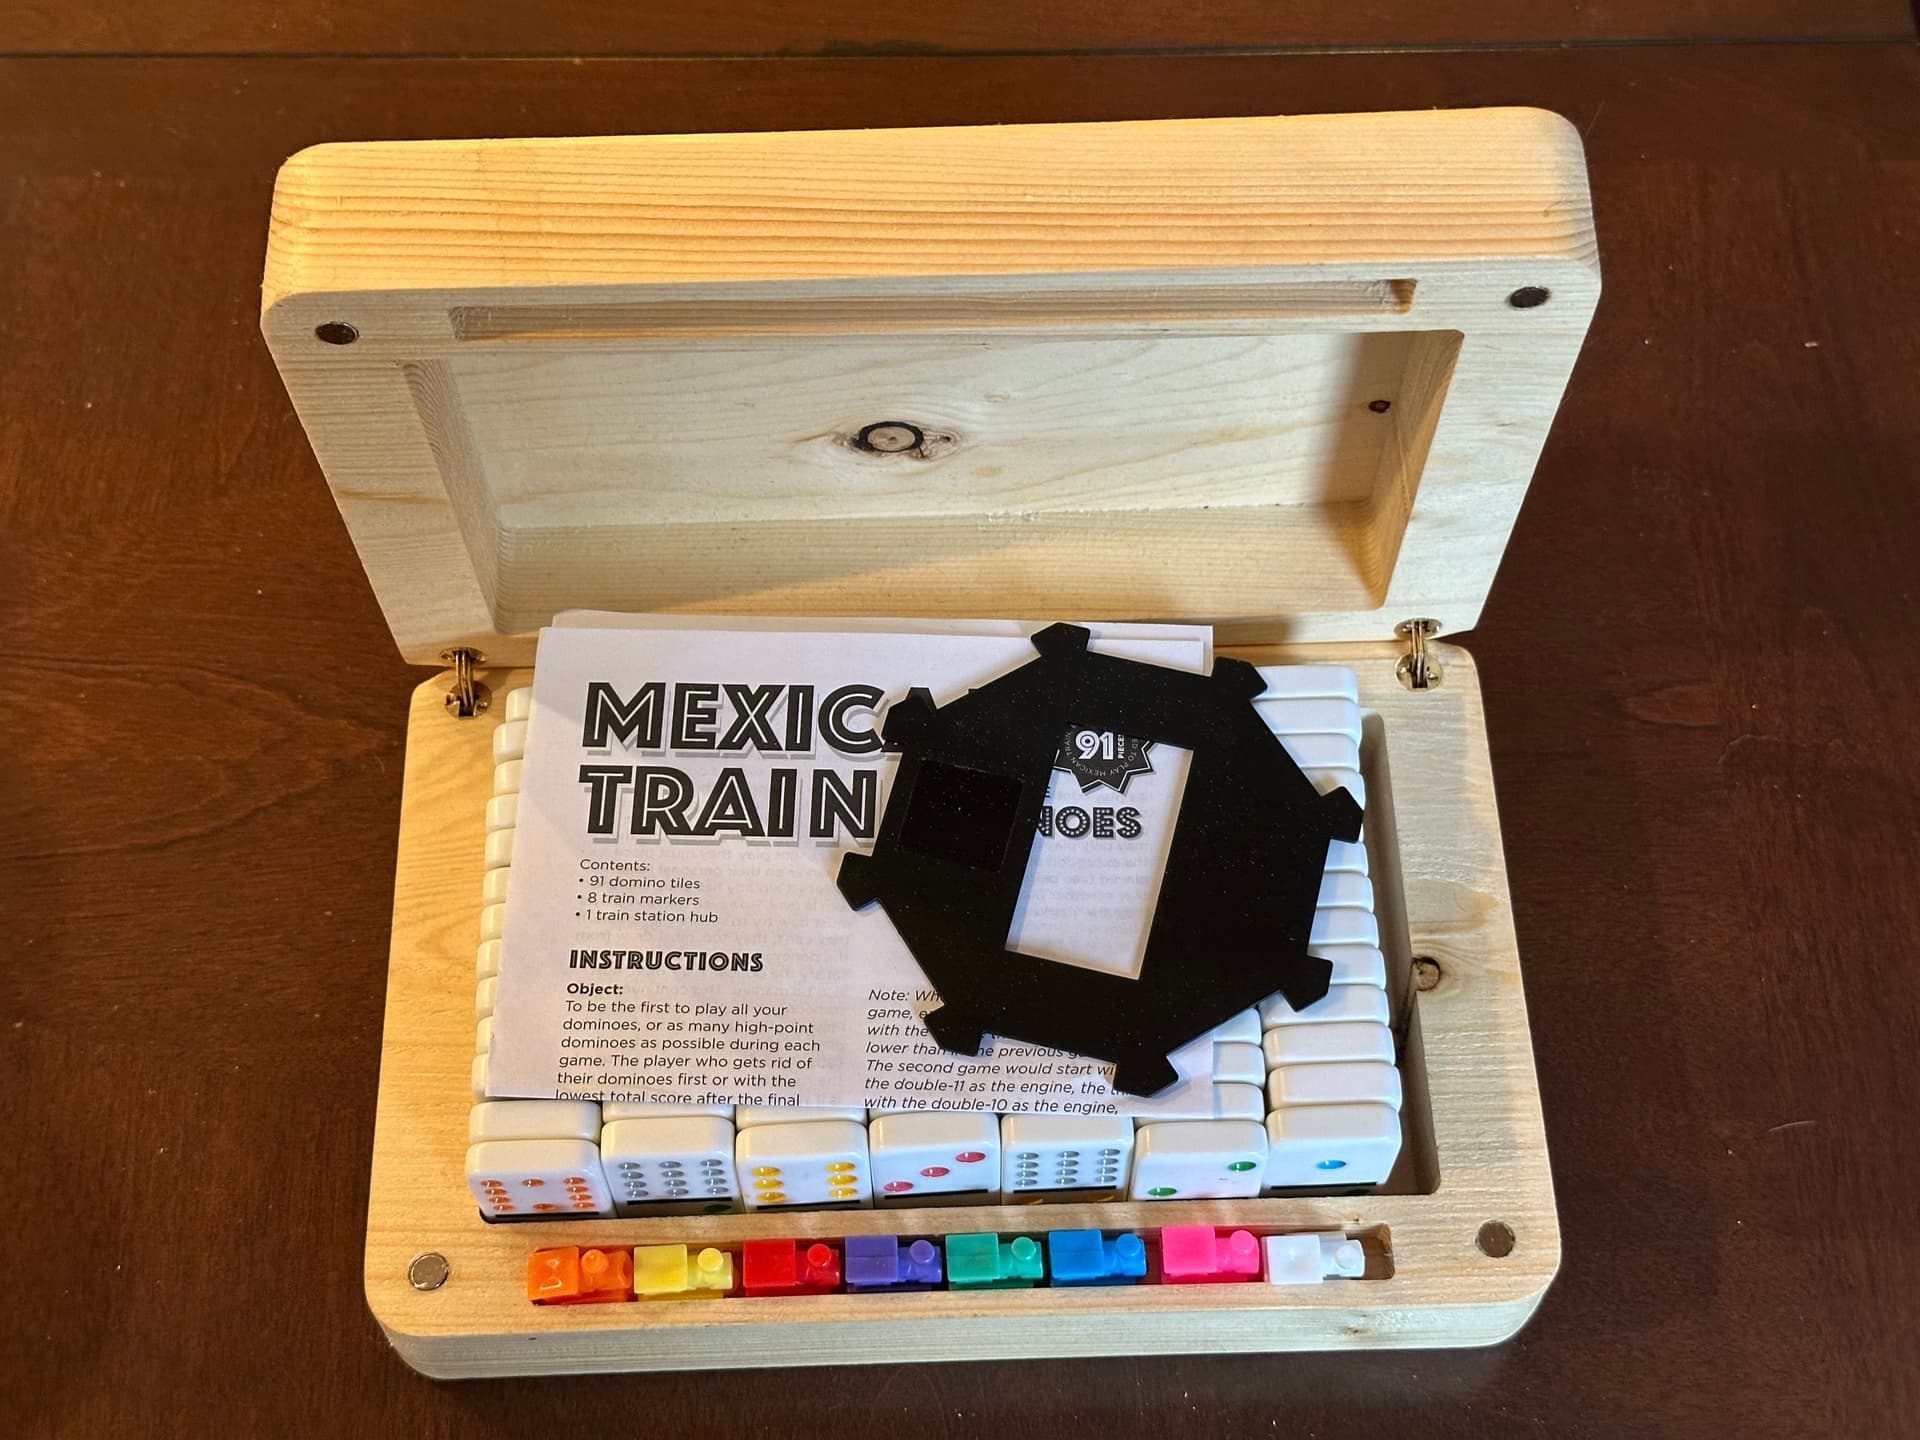
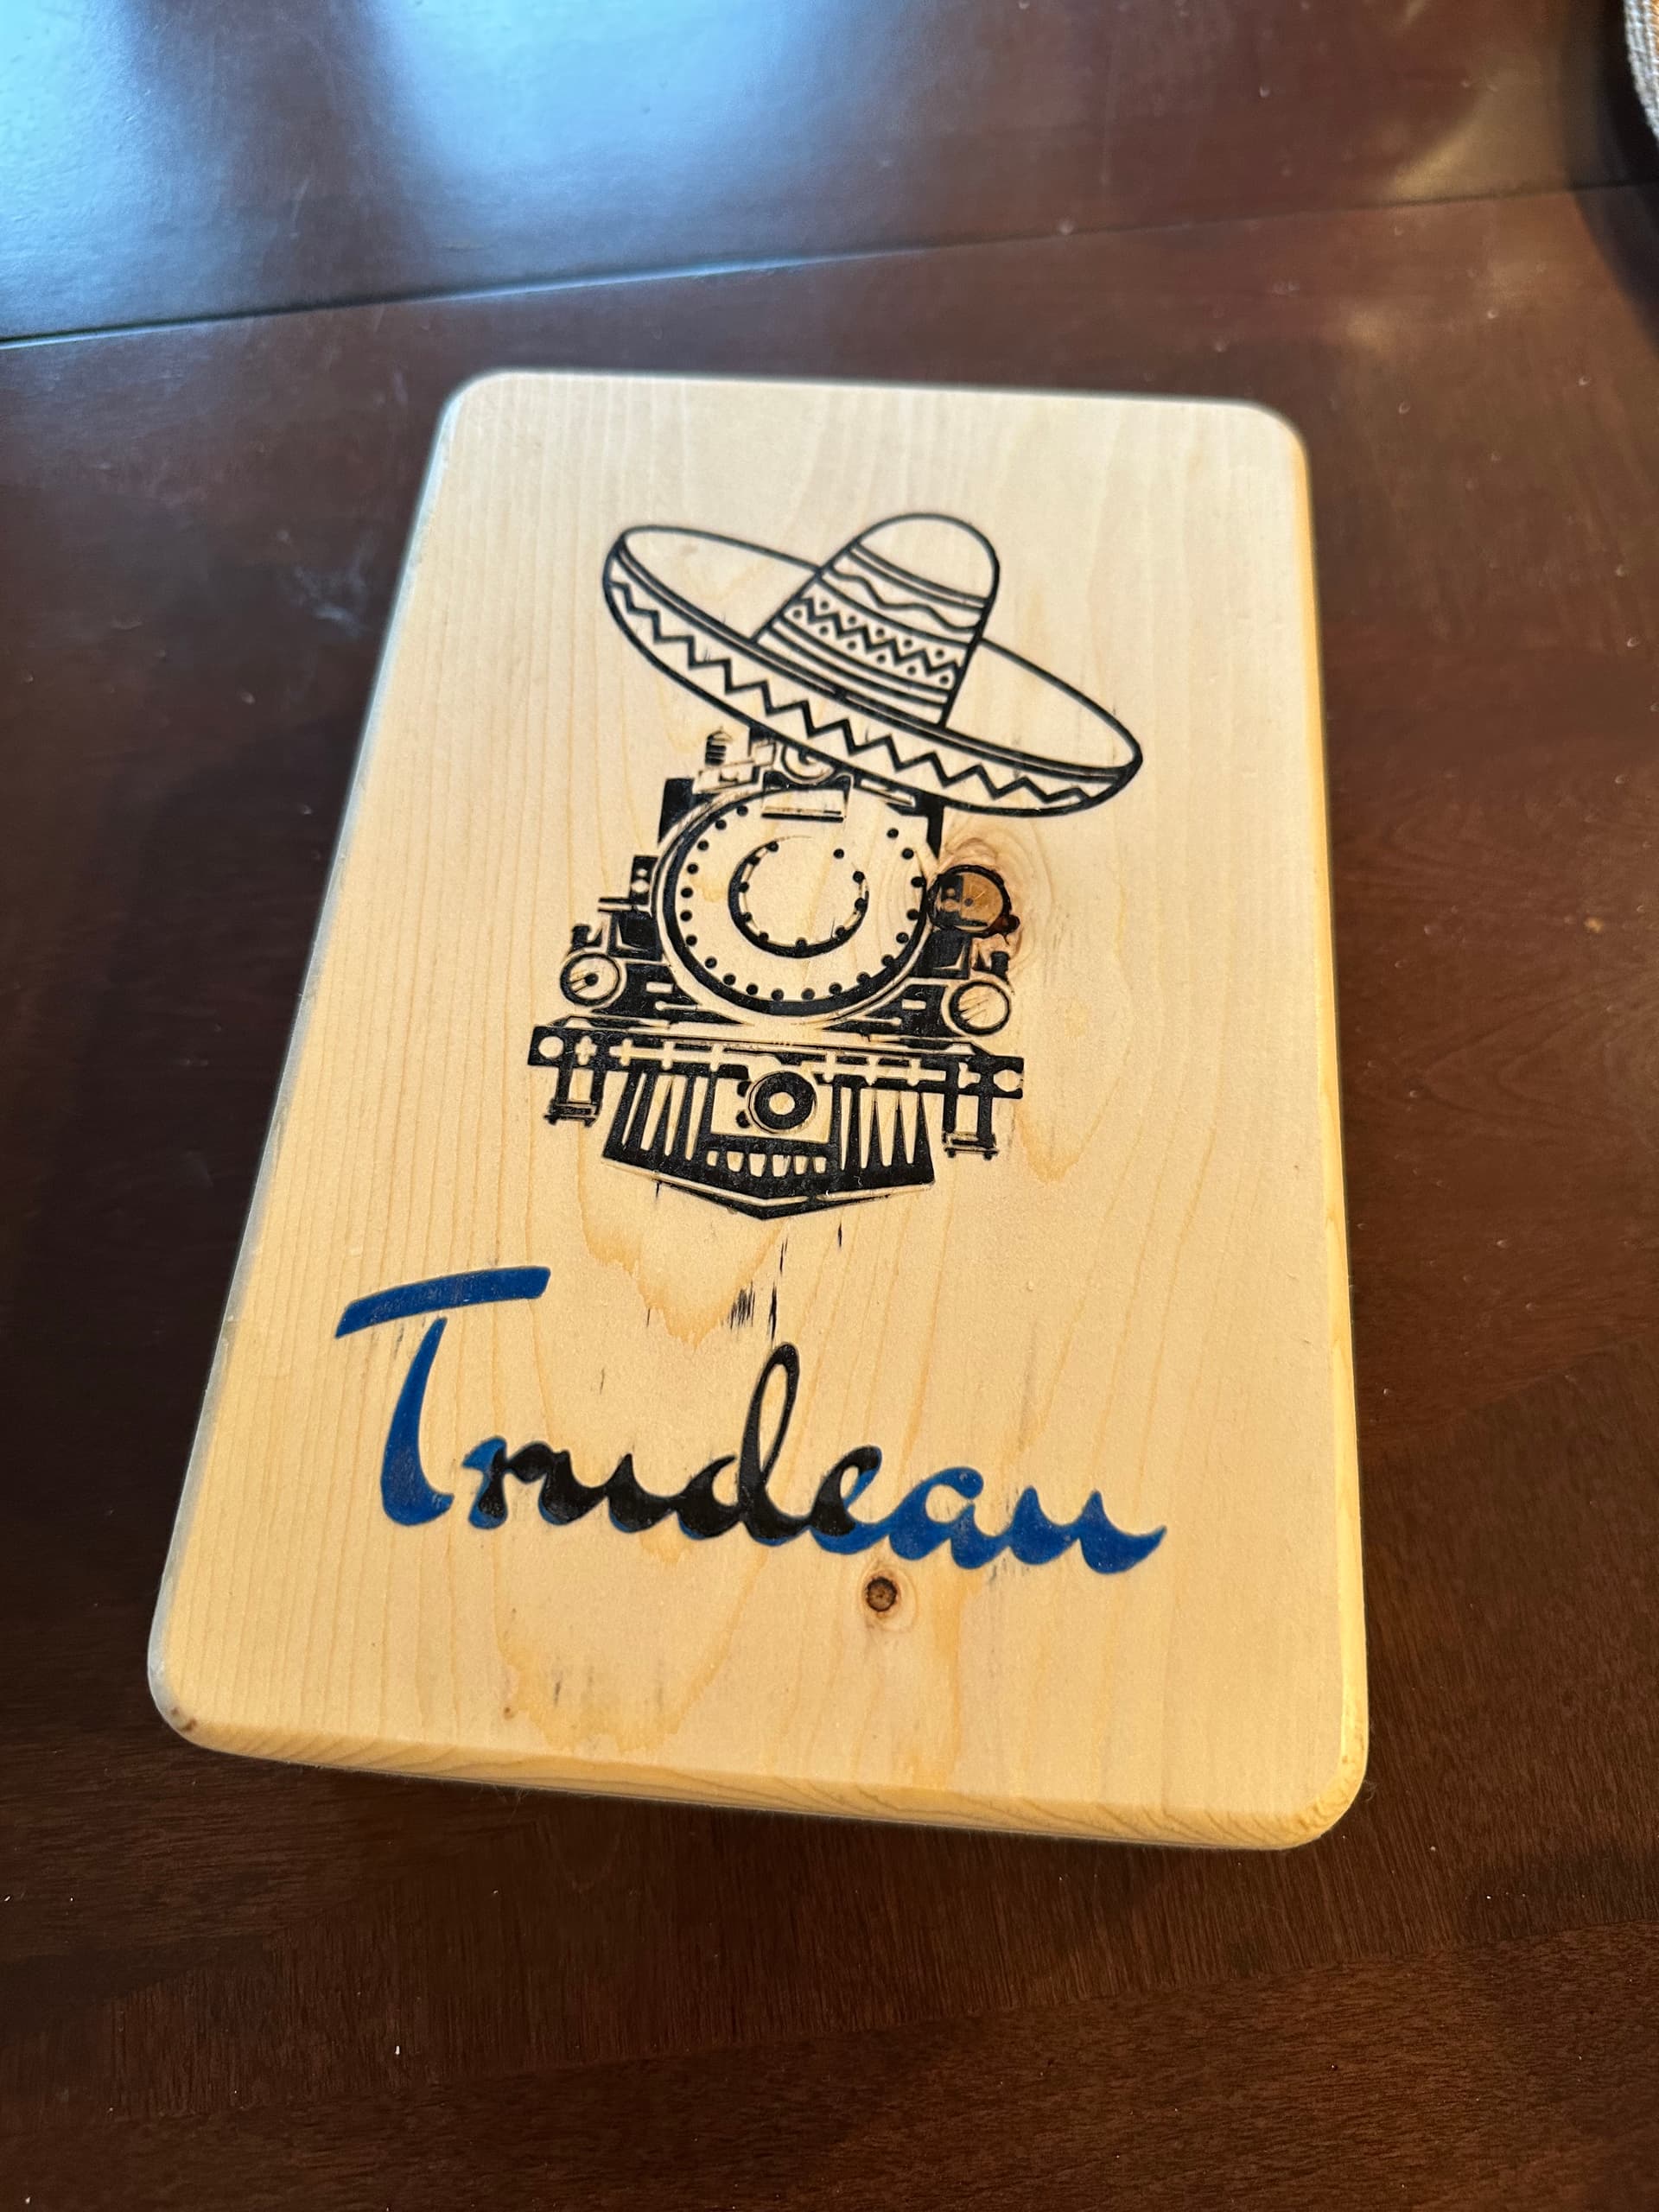
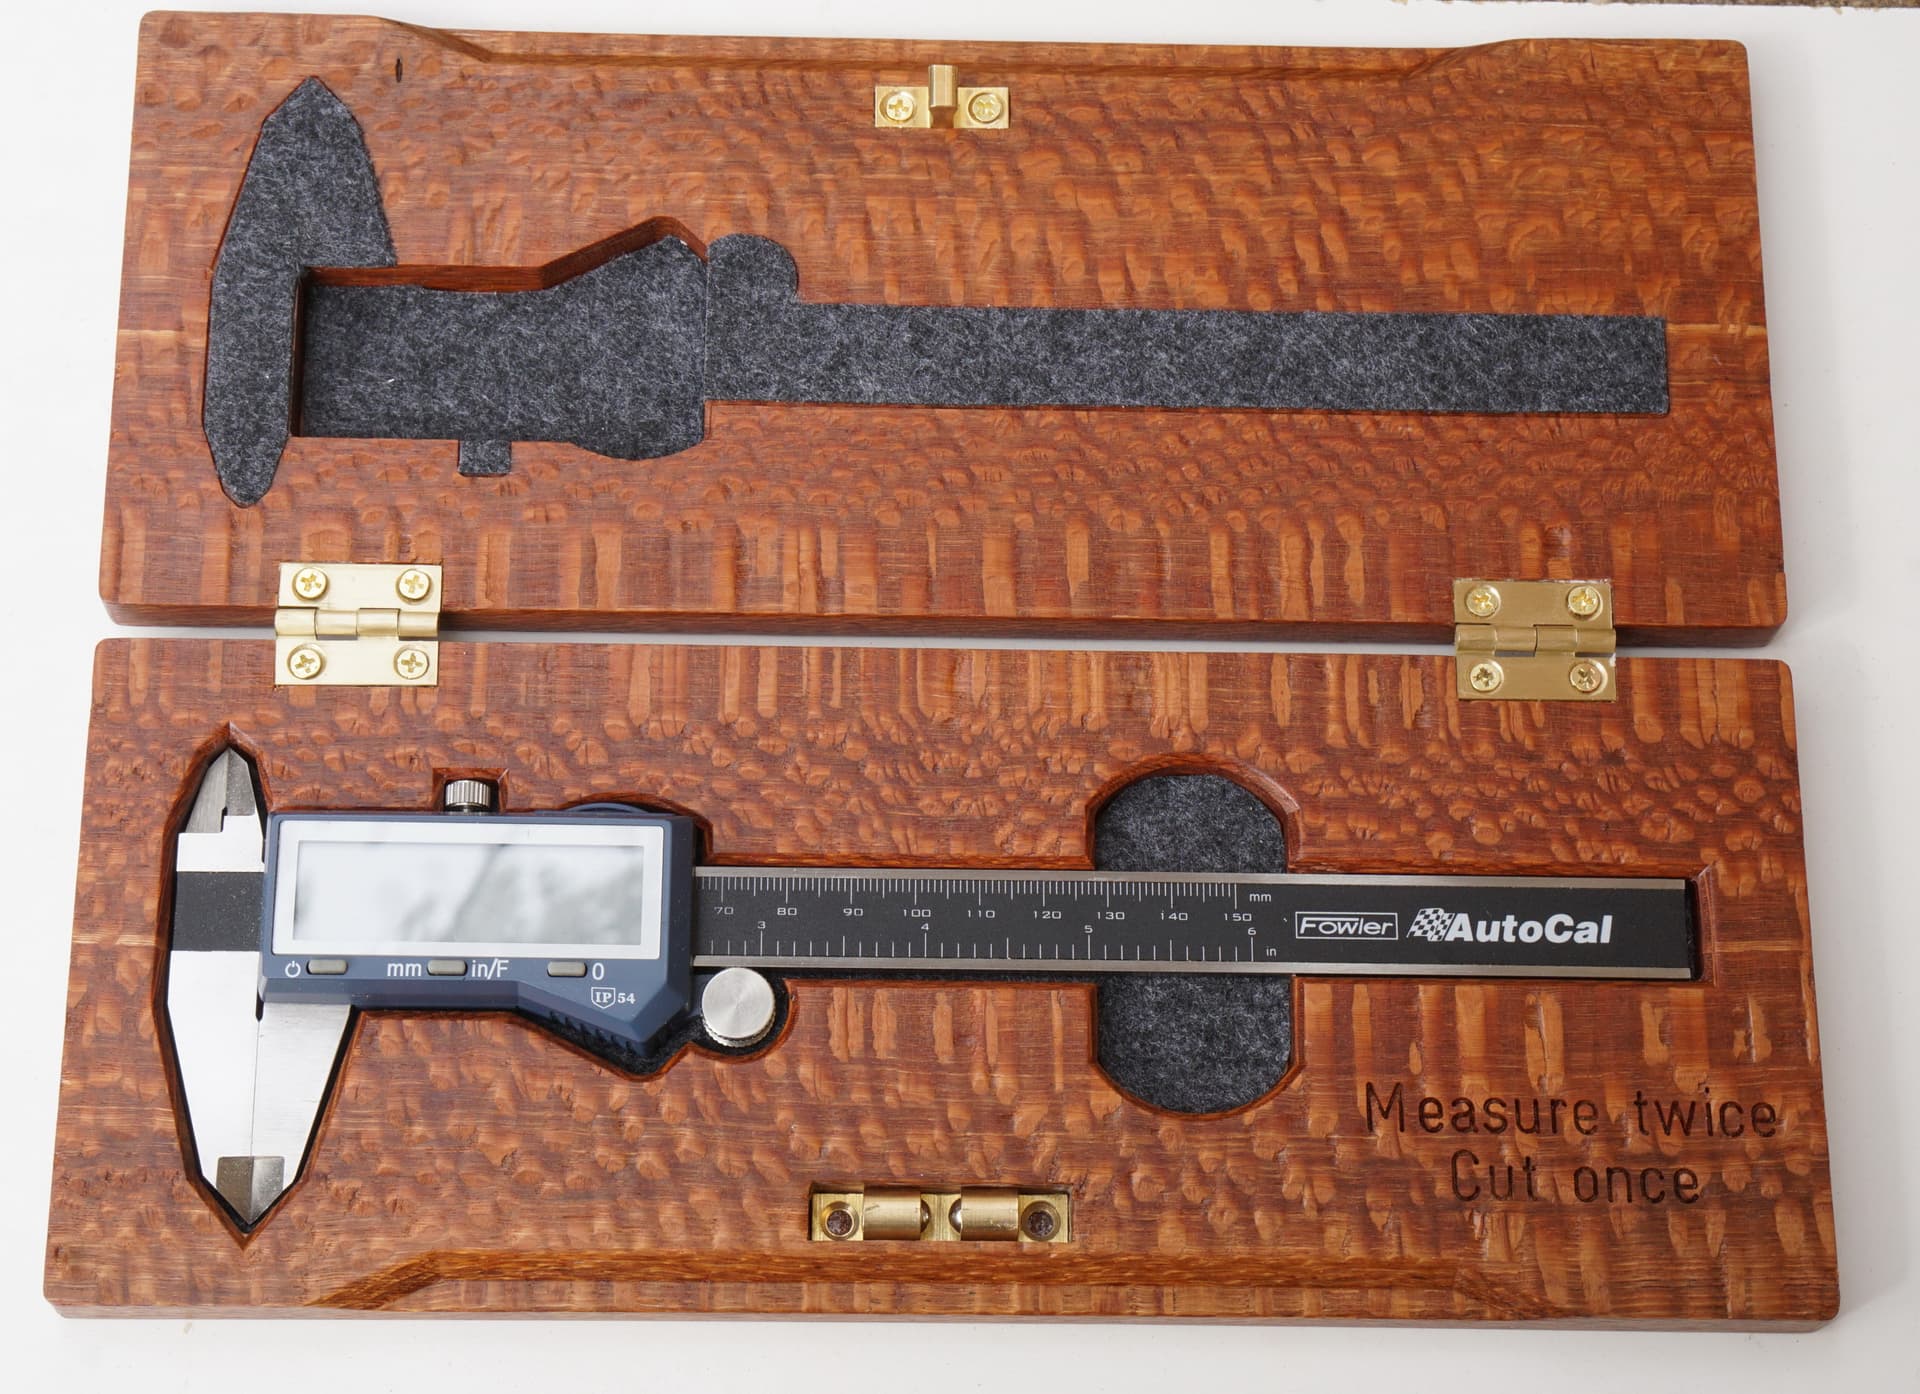
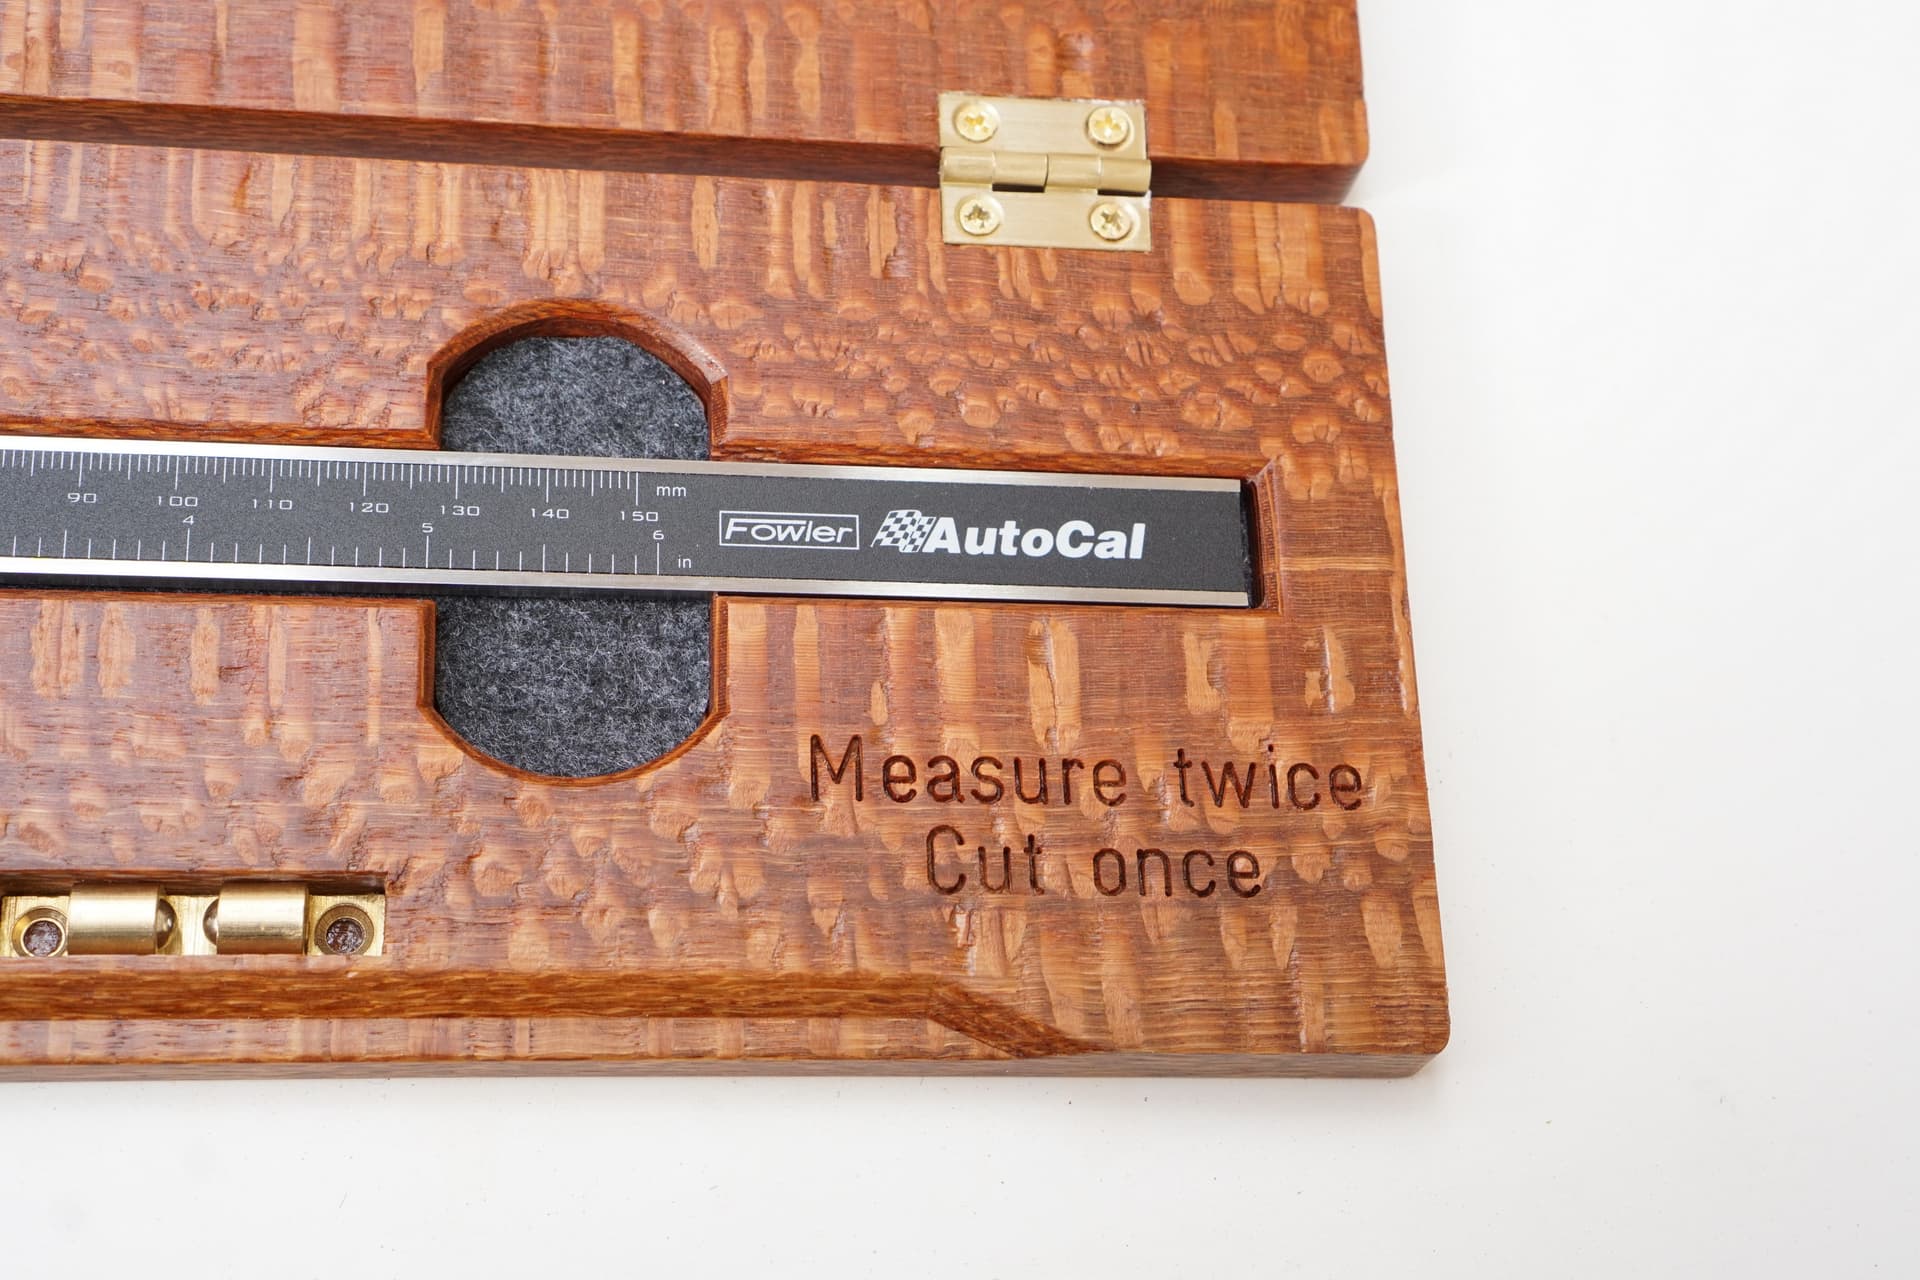
Finally finished my weeks long caliper’s case project ![]() countless trial and error attempts on cedar, until I put that leopardwood on my spoilboard. I knew leopardwood is hard as hell but didn’t expect to break two 1/16 bits. Had to stick with 1/8ths as finals. Finished with General Arm N Seal. Felt would probably redo it later on.
countless trial and error attempts on cedar, until I put that leopardwood on my spoilboard. I knew leopardwood is hard as hell but didn’t expect to break two 1/16 bits. Had to stick with 1/8ths as finals. Finished with General Arm N Seal. Felt would probably redo it later on.
Inspired by: https://www.youtube.com/watch?v=yqyEGGGIiCU


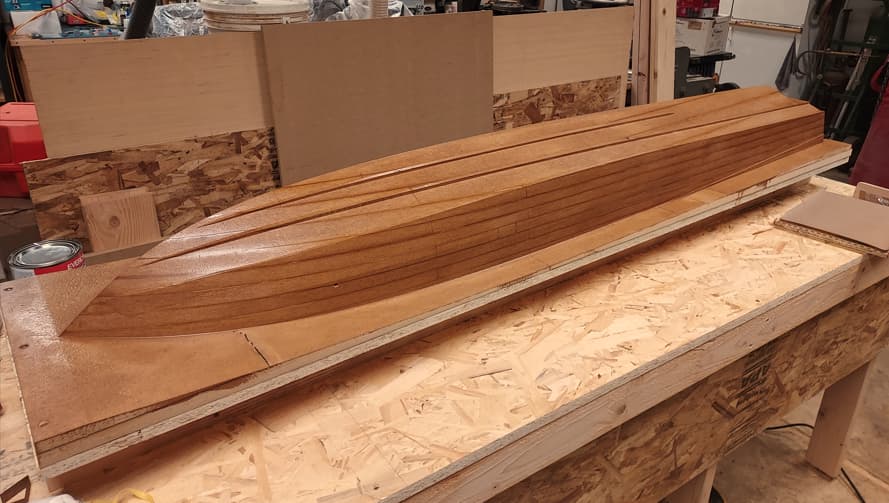
Gorgeous shop project. It would fit in the living room even ![]()
Thank you Jim ![]() I will consider that!
I will consider that!
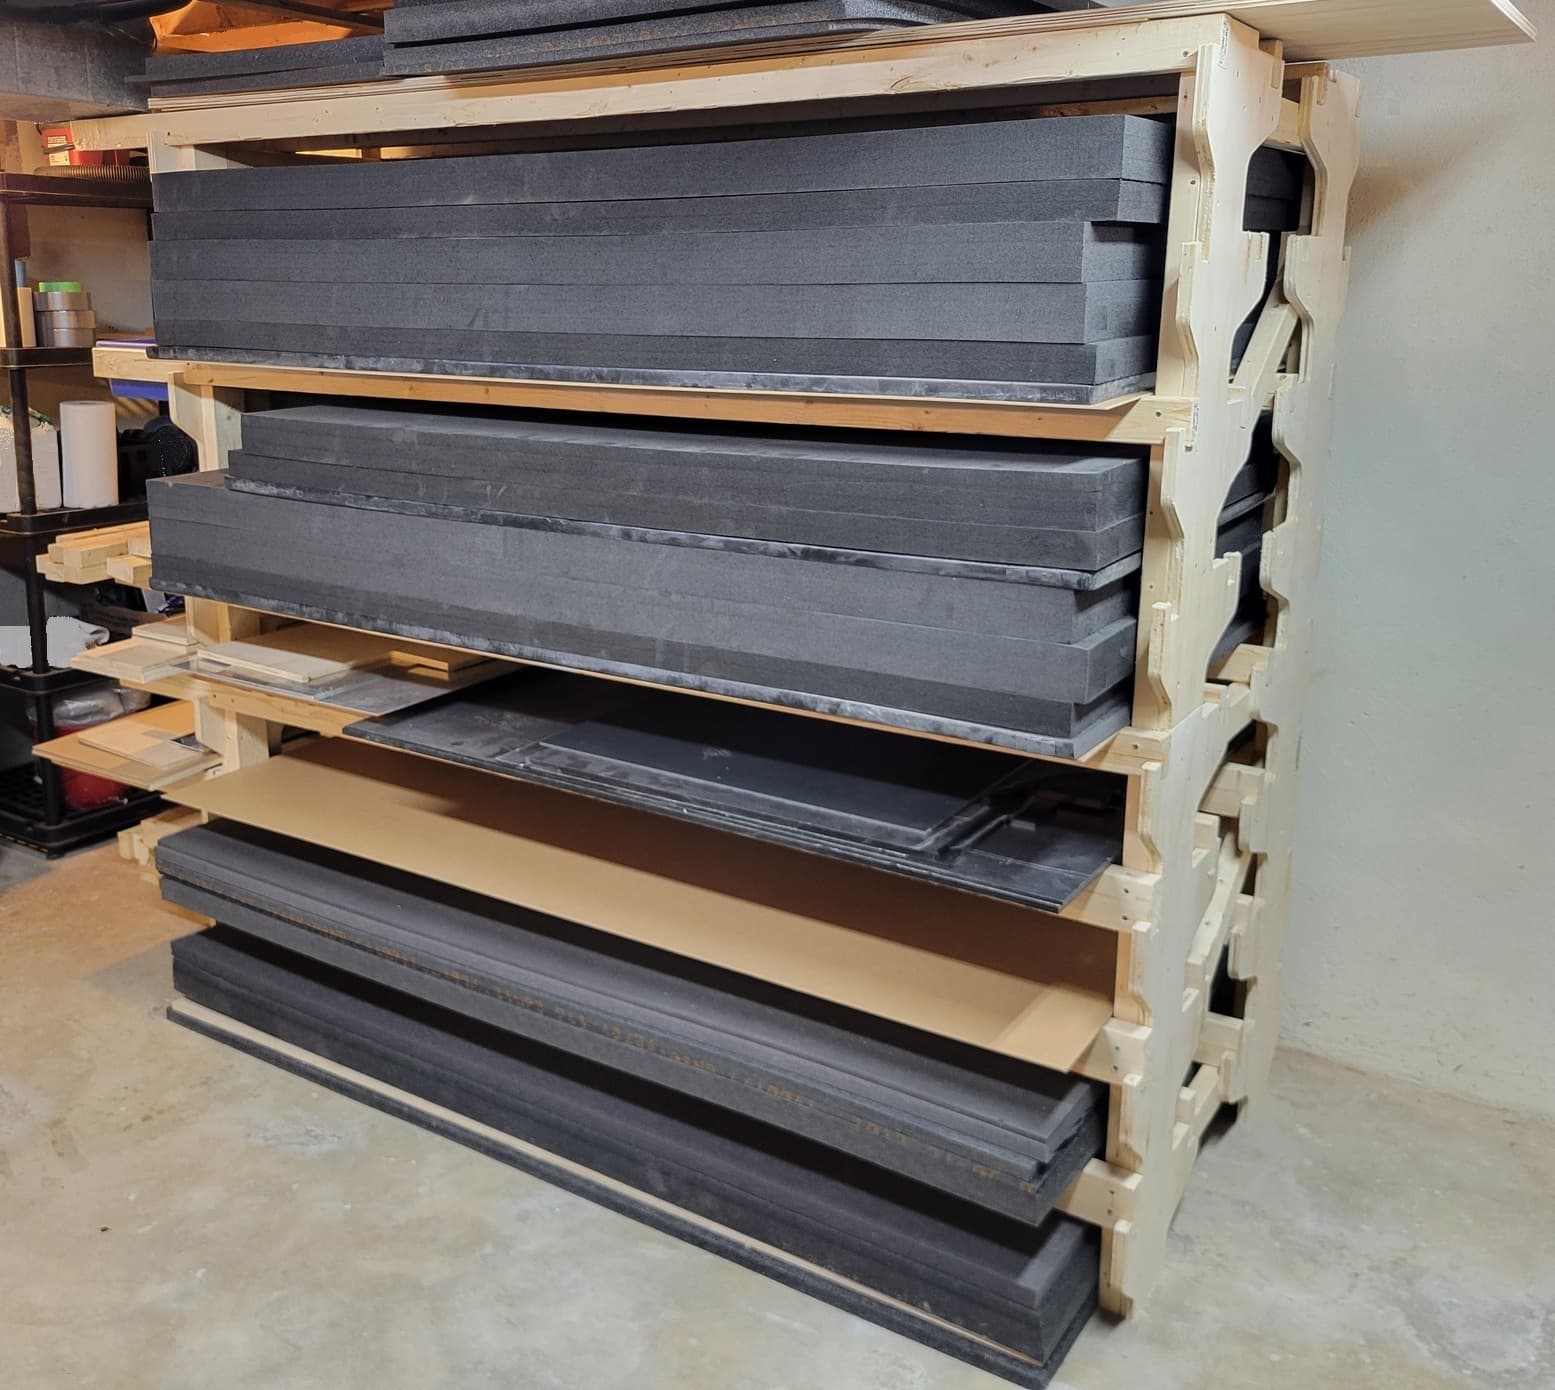
I used my Elite Foreman to finally get my material off the floor. Been tripping over it for weeks!
So nice to be able to pull out what you need, instead of digging through a stack of material on the floor. Also keeps material flat, which is almost a necessity for use on a CNC router.
Took a while to get the shape optimized in CAD, but was able to get the nesting just right so the CNC parts cut out from just one 4x8 sheet of 3/4" ply.
Saved a lot of $$ over buying some industrial racking.
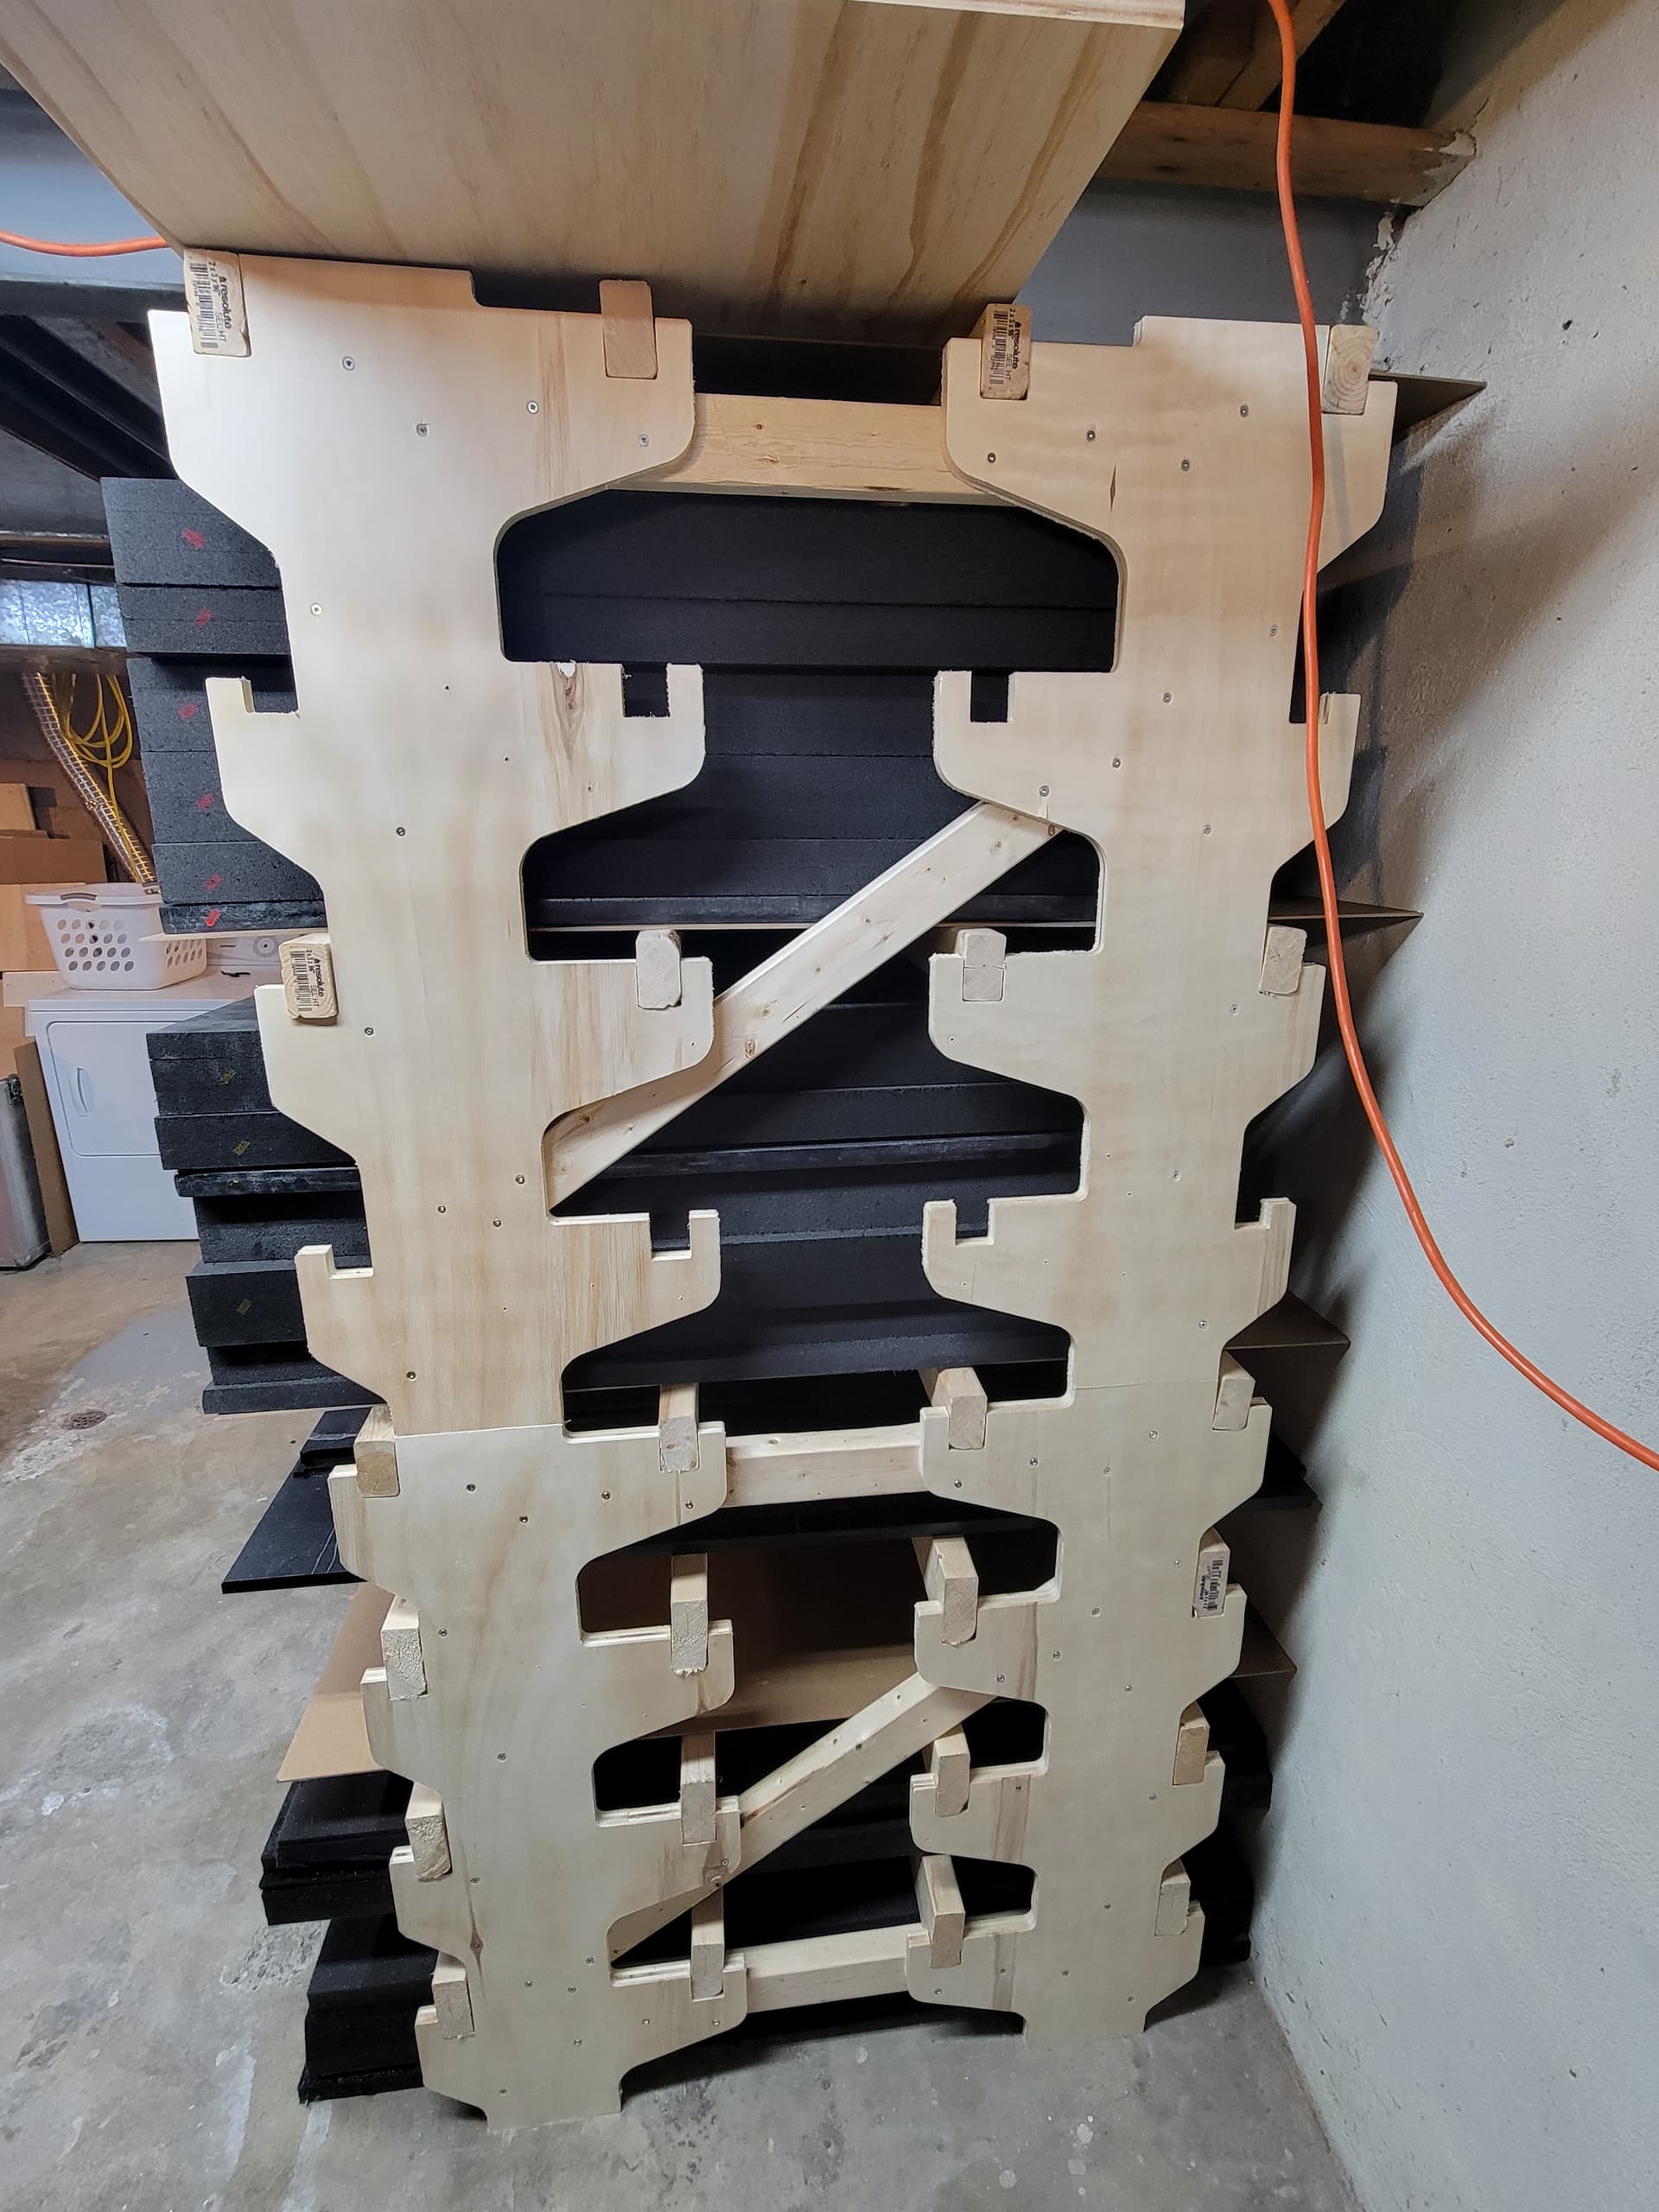

For those interesting in cutting your own set, I just posted the files up on my Etsy store “StingrayDandM”.