Was watching videos and was recommended that I use a v bit to mark the table so that I can align the waste board to that mark (1F video How To Position A Wasteboard Inside The Cutting Area on the Onefinity CNC - YouTube). My 60 degree (whiteside 1540) is only 1.5 in length and when mounted in collet just short of the back of collet does not reach the table with router mounted in middle holes (again recommendation from a video to use middle) and router fully lowered. Am i missing something?
Was hoping to fine tune the squareness of the machine then install waste board then tram.
PS I guess technically that video is using the Quick frame so maybe it works on that because it is already using mdf slats then install waste board on top of that?
Yeah, their table surface is already 3/4" closer to the router. The benefit of mounting the router in the middle is it minimizes the chance of crashing the router bit into your actual table top / t-tracks / quick frame, etc…
As Josh said - just temporarily mount the Z axis on the lowest position, then move it back to the middle for normal use.
You should be fine to square the machine with the Z in the lower mounting spot. So square and mount the waste board per the video. Tram (if needed) after you move the Z back to the middle position.
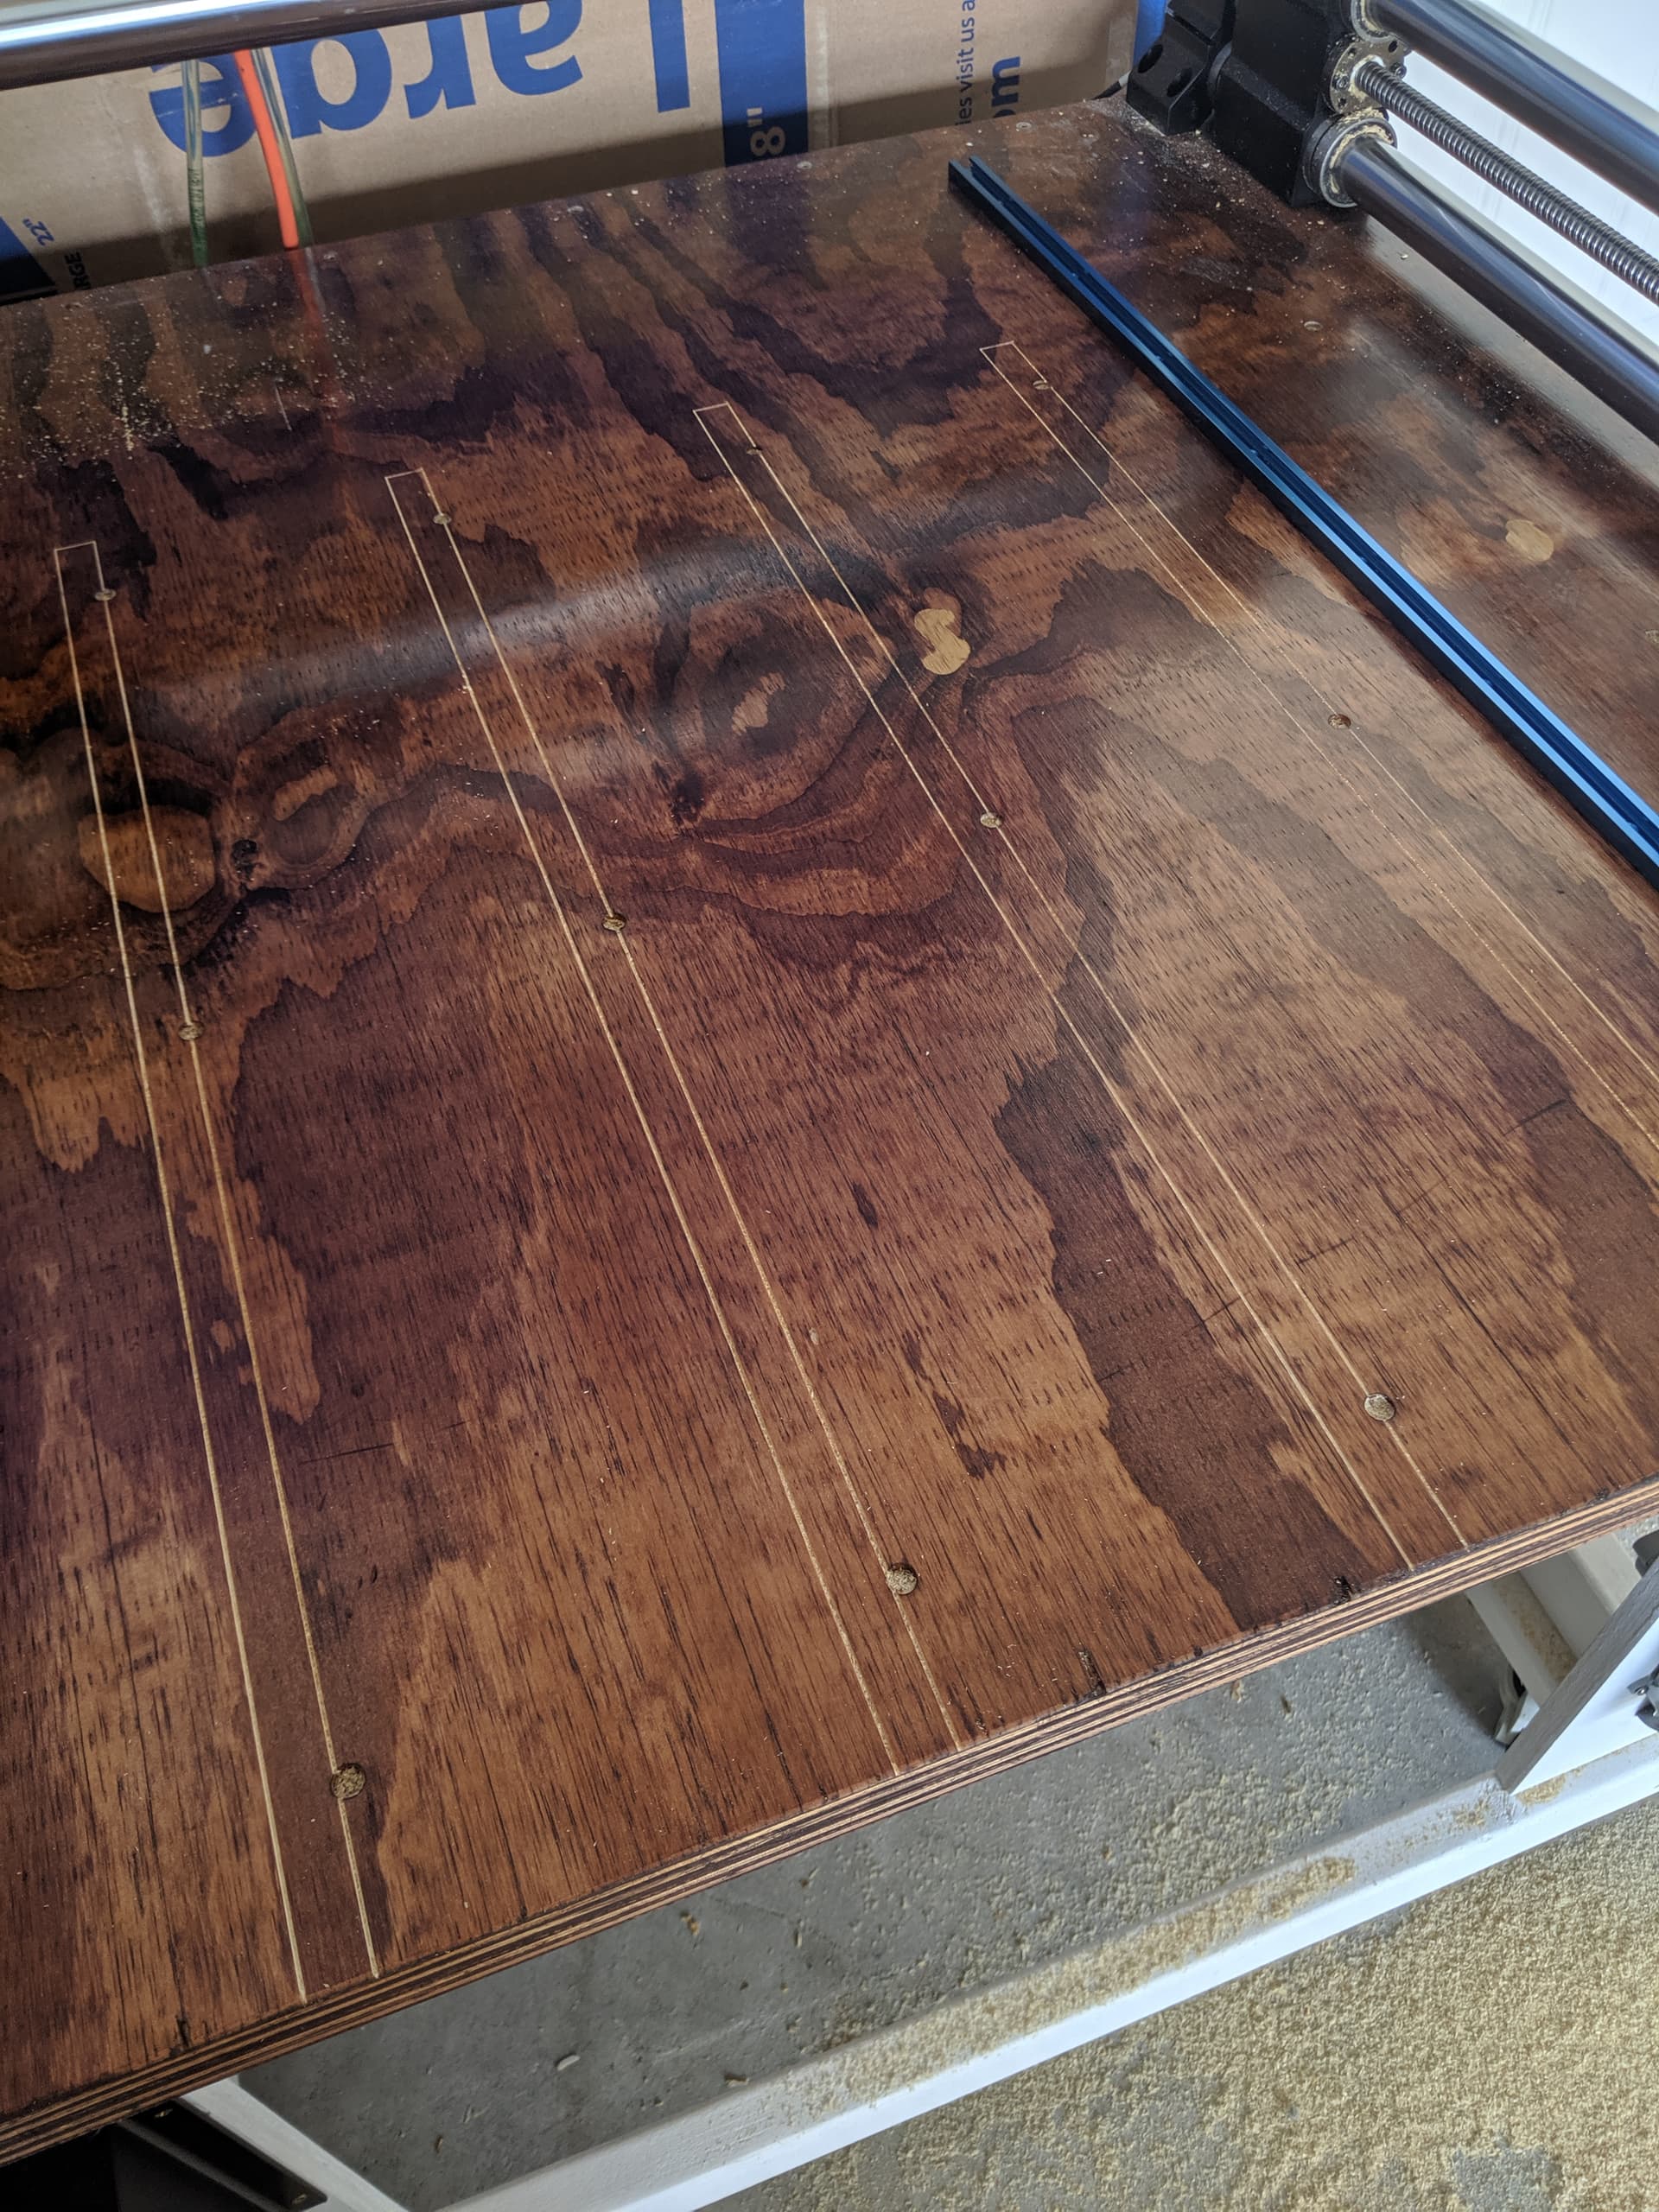
I did similar to what they show in the video except I drew a file to trace out my T-track locations and used the machine to run the file. I mounted the tracks in the traced area and then cut my waste board to fit between the tracks. IMG_20211030_120204|375x500
I used a pencil I sanded down a little to fit a 1/4" collet, then moved the spindle manually using the game pad. The pencil lead broke a couple of times but I just let it drag behind it to mark the space.
After I cut all the MDF and mounted everything, I tramed the wasteboard as close as I could using a simple dial indicator and a 14" piece of hardwood. I saw about .003" over a 28" span which is really good. I made my wasteboard about 1/4" wider on all sides and used a 1-1/8" flattening bit.
I hope this helps some. Here is a small picture of the finished waste board with a grid and reference numbers engraved using an Amana engraving bit
Since I use my laser a lot I lasered our a grid pattern of very fine lines every 10 mm and labeled each line. It is great for lining up work and I can pick any where on the board to set my piece and use that xy offset in VCarve. Works like a charm.
Craziebird, my I recommend you have something out of order? It doesn’t matter that the waste board is square to anything. The final solution of aligning your boards you wish to cut should be aligned to the waste board, so that should have the alignment grid in it, not the under portion of the table top. In fact, don’t you think you would have a hard time seeing the grid in the table top with the waste board on top of it? The grid is best served into the waste board so that you can align the stock with the X/Y axis as closely as possible.
How about this? Since you are going to eventually replace the wasteboard cut two blanks and put them both (stacked) onto your table… that will bring it close enough without removing screws…
Thanks for information. I decided close was good for spoilboard. I cut a 31" square into it 0.01", measured that to figure out my square, was right on (of course I obsessed over getting machine square when i screwed it to table also).

