Recently finished a table build for the Journeyman Elite. Top dimensions 65x48. Wouldn’t want it any smaller in either dimension. 3/4" Baltic birch torsion box top. For the frame I used 5 layers of 3/4" Baltic birch ply laminated and machined square. Bottom shelf is a single sheet of 3/4" ply. Drawings and photos below.
The drawing shows the legs at 4", they’re more accurately right around 3.6" after machining. This doesn’t impair the build given that they only fasten to other pieces with the same dimensions. The drawer width ultimately changed to fit the torsion box as well. 4" blocks at the bottom of the legs represent the leveling feet/wheels I chose.
I used rockwool insulation to help reduce resonance. Ultimately a total of 4 pieces were removed to allow for drawers. A bottom skin was then fitted (not shown in drawing).
Machine mounted. Really happy with the outcome. The bench weighs somewhere around 300lbs and heavy as hell. Incredibly solid without a hint of wobble. Top is dead flat to as close as I can measure. The insulation seems to kill any hint of resonance. Cable management is the next hurdle!
Hi there. Wanted to say beautiful, solid build. I bet it’s rock stable. Would you be willing to share some recent photos of the machine after a few months use? I’m particularly interested in what spoil board / hold down design you settled on. And after this amount of use time, would you do anything differently if you started over? Thank you, and again, terrific job.
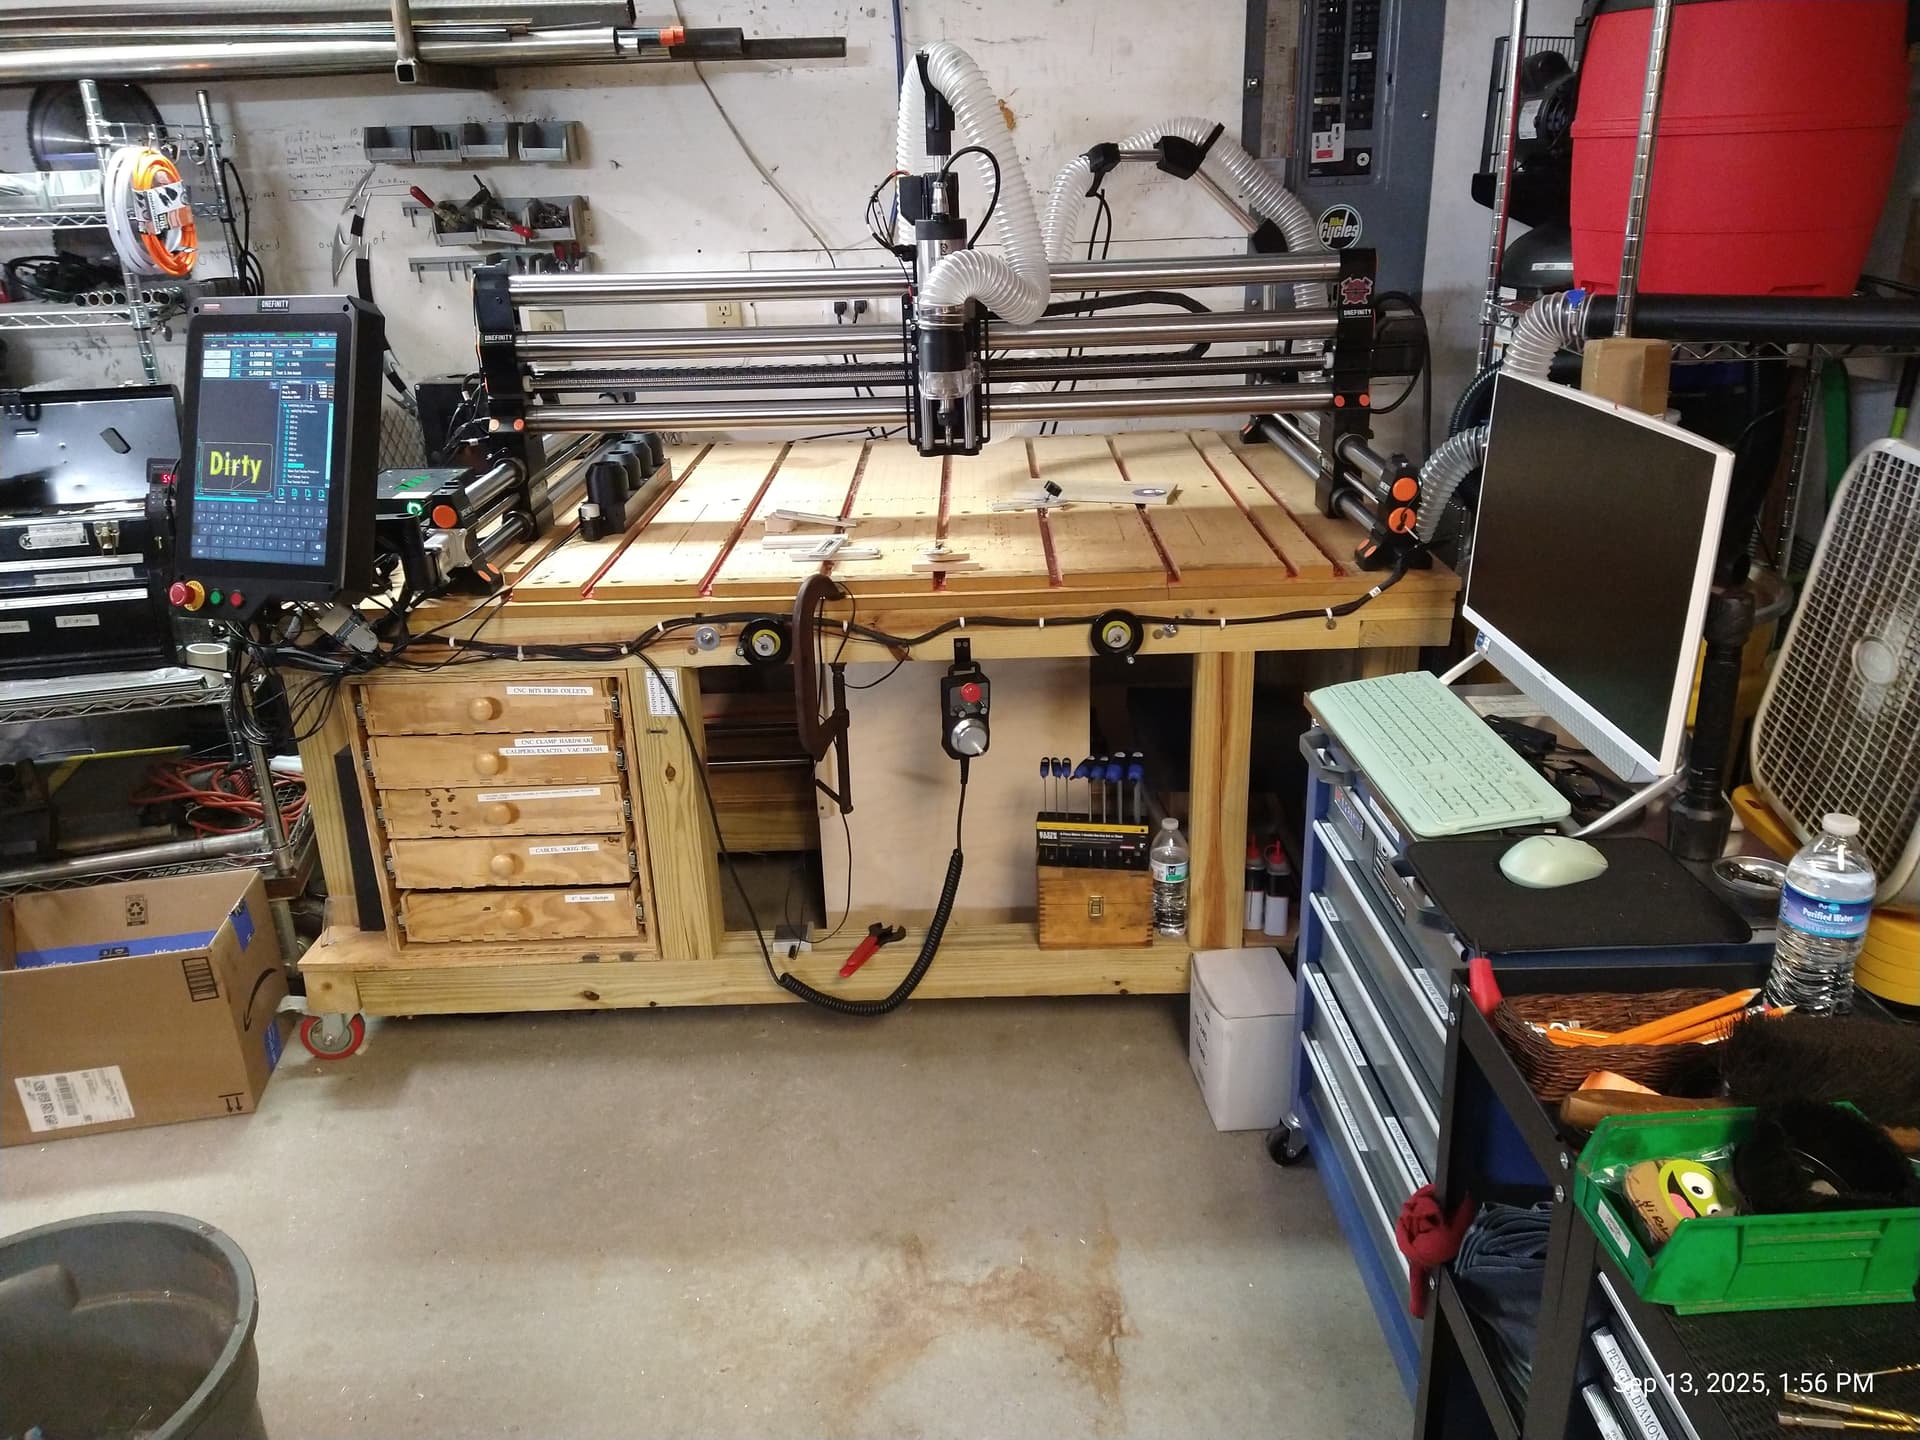
Thanks for your kind comments. I’ve added a few photos of my current setup. I’m using a simple MDF spoilboard with a few T-tracks and Shop Fox cam clamp. 90% of my work is done with blue tape and CA glue. I’ve added a shelf to keep a few items on hand off the spoilboard. I don’t think I’d change anything about my build, I’m very happy with it.
OOOOOHHH, I’ve looked at so many table builds and this is the first time I’ve seen anything put in the empty space of the torsion box. Building mine soon and I will do this as well. Thanks for sharing!
A question, how is the top skin supported where you took the side rail out to allow for drawers?
The side rail was removed to allow for drawers but the inner grid remains intact. The drawers fit between the grid. The spoil board doesn’t reach the section where the side rail was removed so I’m not worried about any loss of rigidity in that section. I can post a photo with a drawer removed if you’d like.
@hinro133 Impressive build! Couple of question if you have a minute:
I didn’t see any pocket screw holes or end screws in the torsion box - did you just use wood glue and clamps? What did you end up doing for cable management? TIA.
Thanks, happy to help. I used screws on the skins (you can see them in some of the photos at the start of the thread) but only where they would be buried under the spoil board. The remainder was held with clamps and glue.
Cable management is pretty low-tec. Desk grommets, a long wire to fish things through, and a lot of patience!
I am a complete newbie, in the CNC world, and have a question for you, I can see from the pictures that your machine is in a very nice and clean garage, do you have any problems with a lot of dust from the CNC machine? I’m asking because I will have my CNC machine in a garage like yours, where I don’t want too much dust, for that reason I have also considered putting the machine in an enclosure. although it may not be necessary?
This is an absolute beauty and so glad my google search for “onefinity elite journey bench” led me here! Just ordered mine and probably wont have until late November or December, but I am definitely building this! Thank you for posting such detailed photos.
his is my setup in the garage. the front center of my table has a trap door to do edge dovetails and box joints though i have never actually done any yet, but I can… lol If you would like to see more look up “my table with vertical holding” and there is a lot more detail, and other table configurations as well. Definitely worth a browse. it will give to some ideas for sure.