Bern, can I ask the over all size of the epoxied area?
Bern, those are so cool. My favorite Far sides were the Car fud one, as well as the “bummer of a birthmark” and the one where the pet door was wedged shut and the cat was egging the dog to come into the house.
Those are certainly heirlooms.
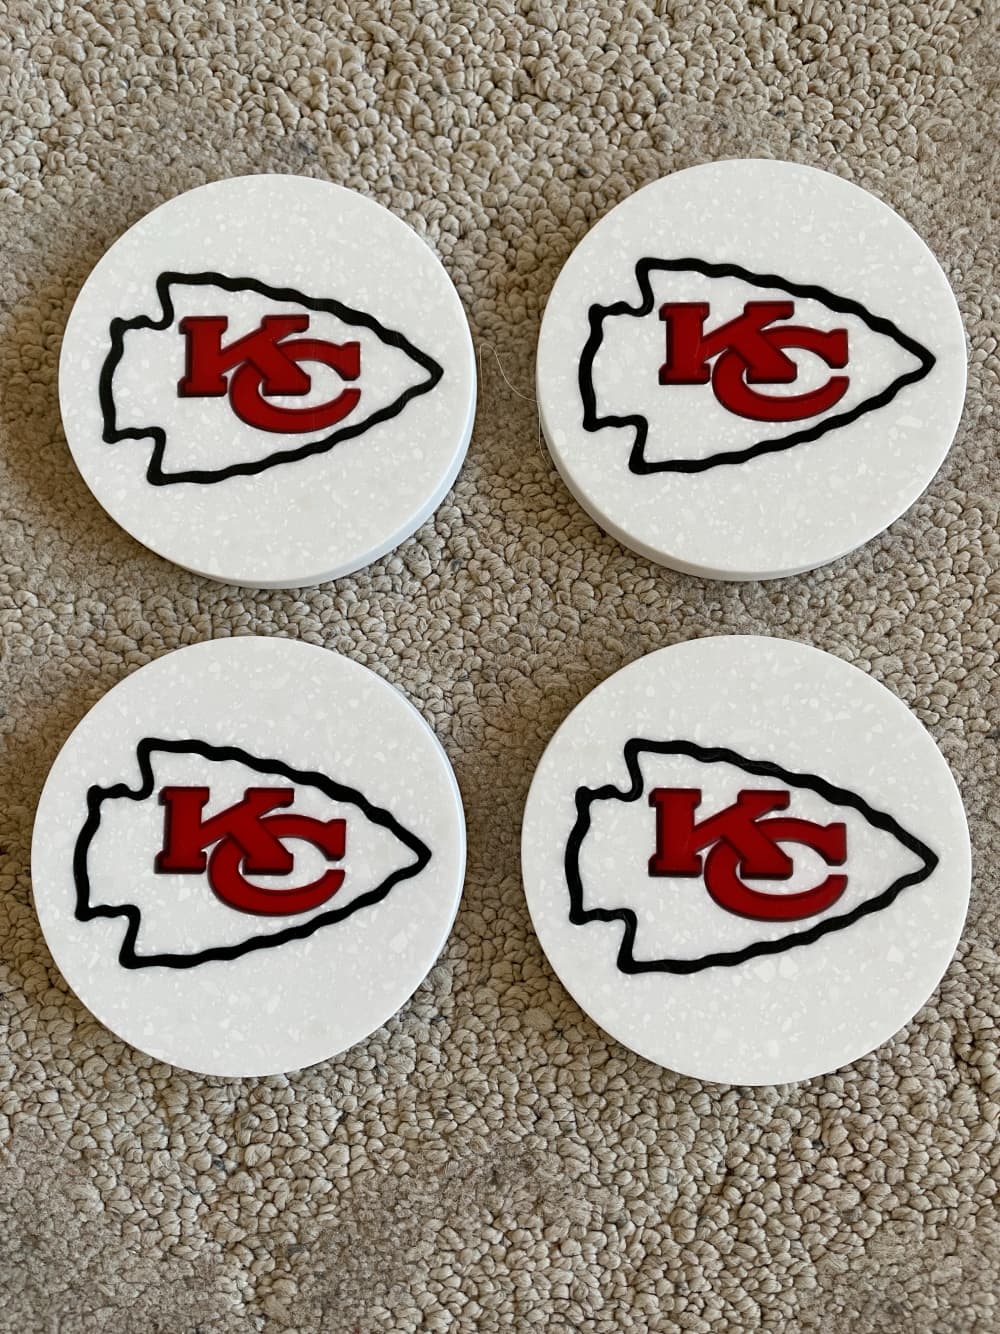
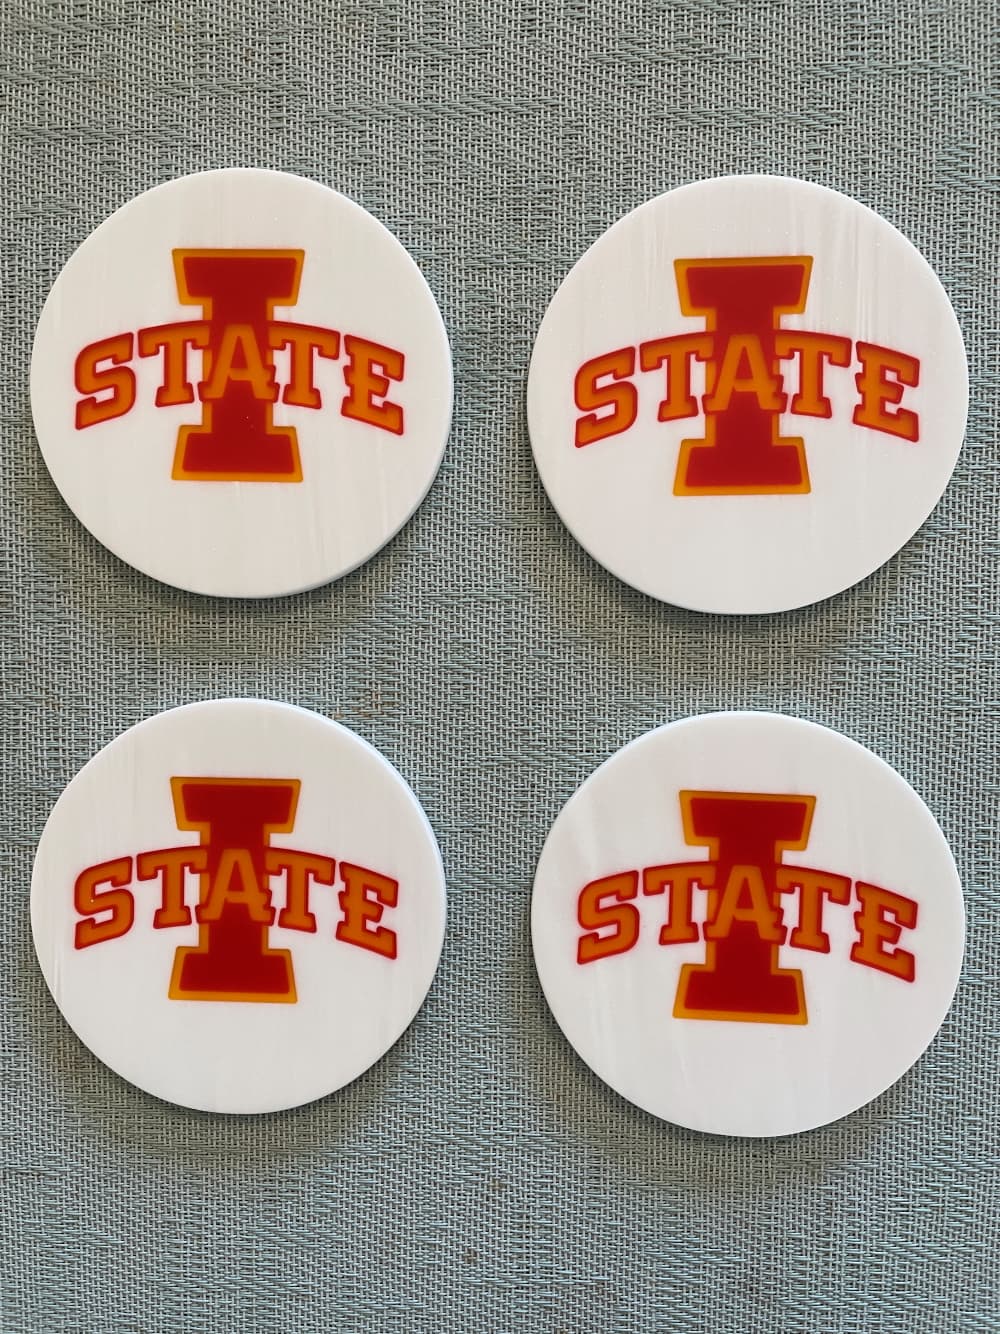
Here are some epoxy inlay projects of coasters and a cheese tray I did a few months ago. Base material is Corian sink cutouts from a local countertop company. Incrementally sanded down to 3,000 grit and they are smooth as glass.
3 Likes
Nicely done! What did you use for compound?
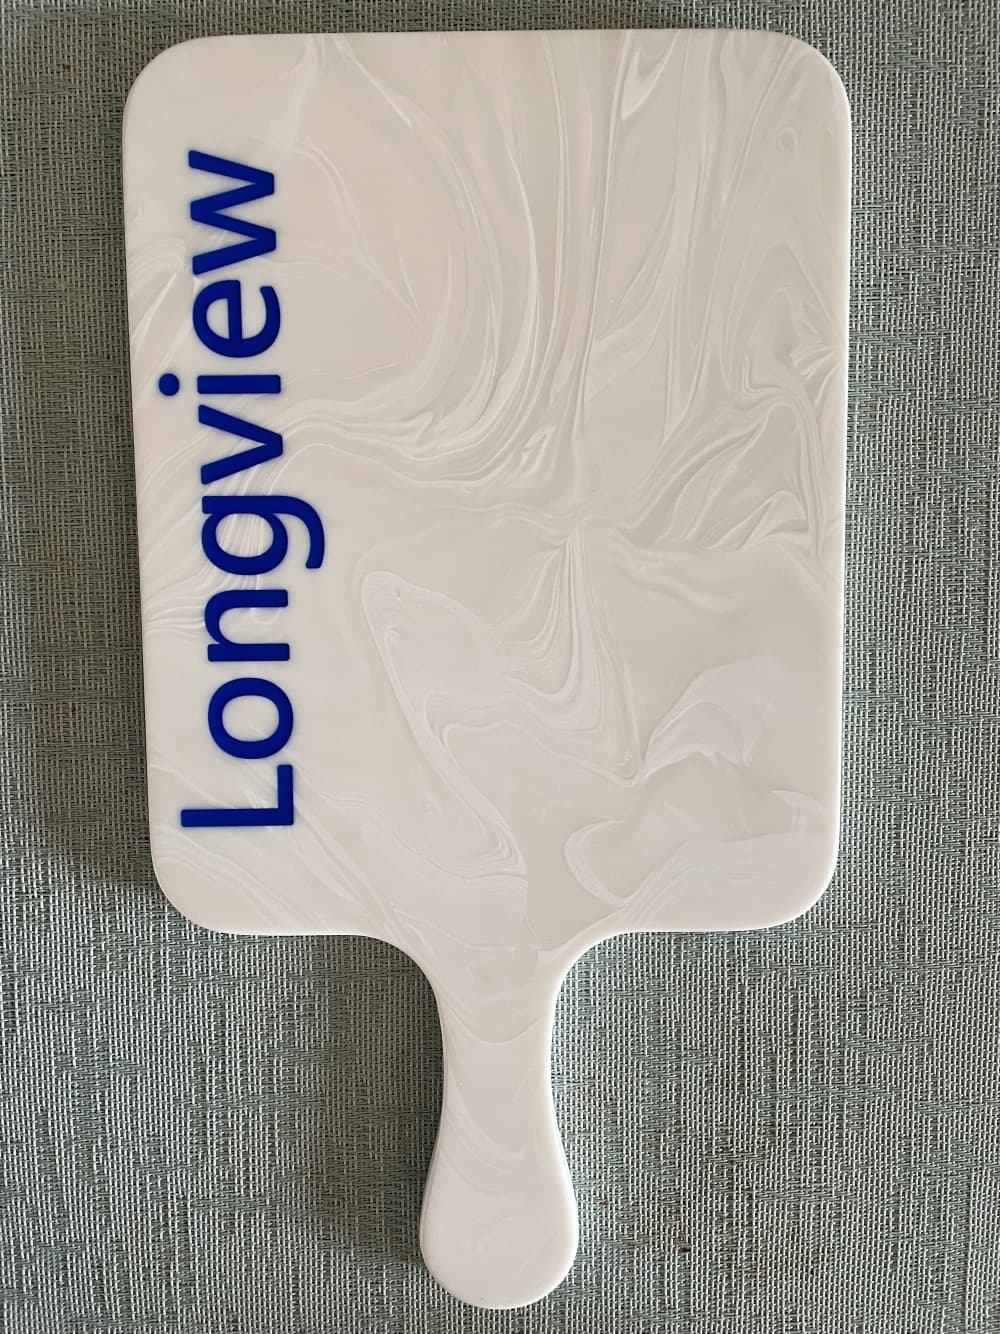
Humm, Longview… have anything to do with Fibre?
Pony
10 Likes
I used TeeXpert epoxy and some liquid die.
Two of my daughters went to college at LeTourneau University in Longview. One got married and stayed there. Her and her husband started the Oil Horse Brewing company six or seven years ago.
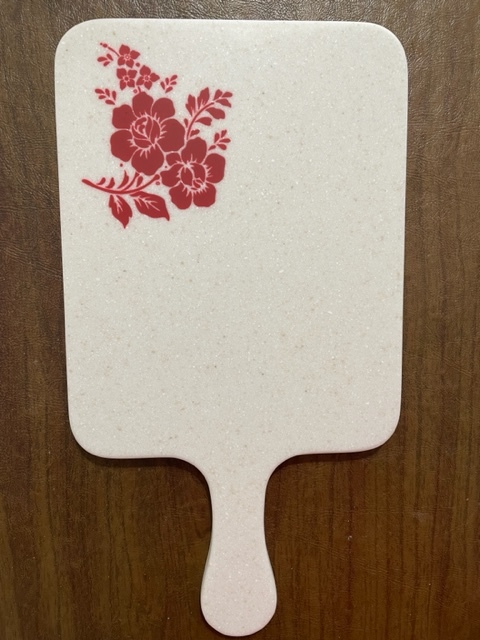
Did another cheese tray with epoxy inlay. Then made a few tries at making a comb out of swantstone, which is similar to Corian. For my first two tries at the comb the fingers were too narrow and fragile. I plan to inlay the comb with epoxy to add names for my granddaughters and daughters.
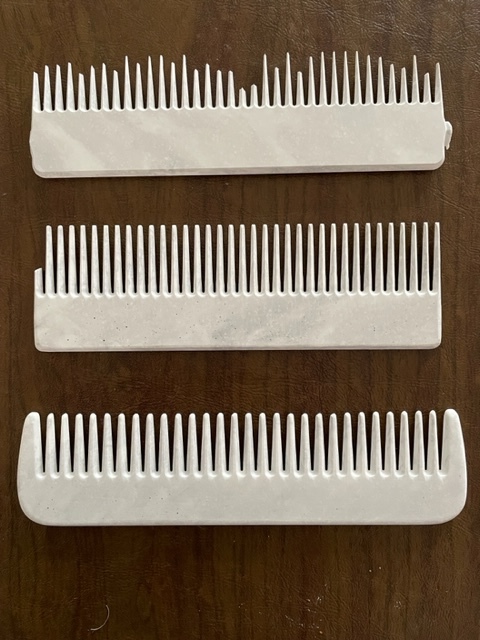
Here’s the final comb file.
Comb.crv (815.5 KB)
4 Likes
What bits did you use for the Corian rose cut? Did you use a V-carve?
I used VCarve on the rose.
1st pass clearance with 1/8" end mill
2nd pass clearance with 1/16" end mill
final pass with 15 degree engraving bit (30 degree V)
Flat bottom depth = 0.1"
2 Likes
Do you do the black last then? Thanks
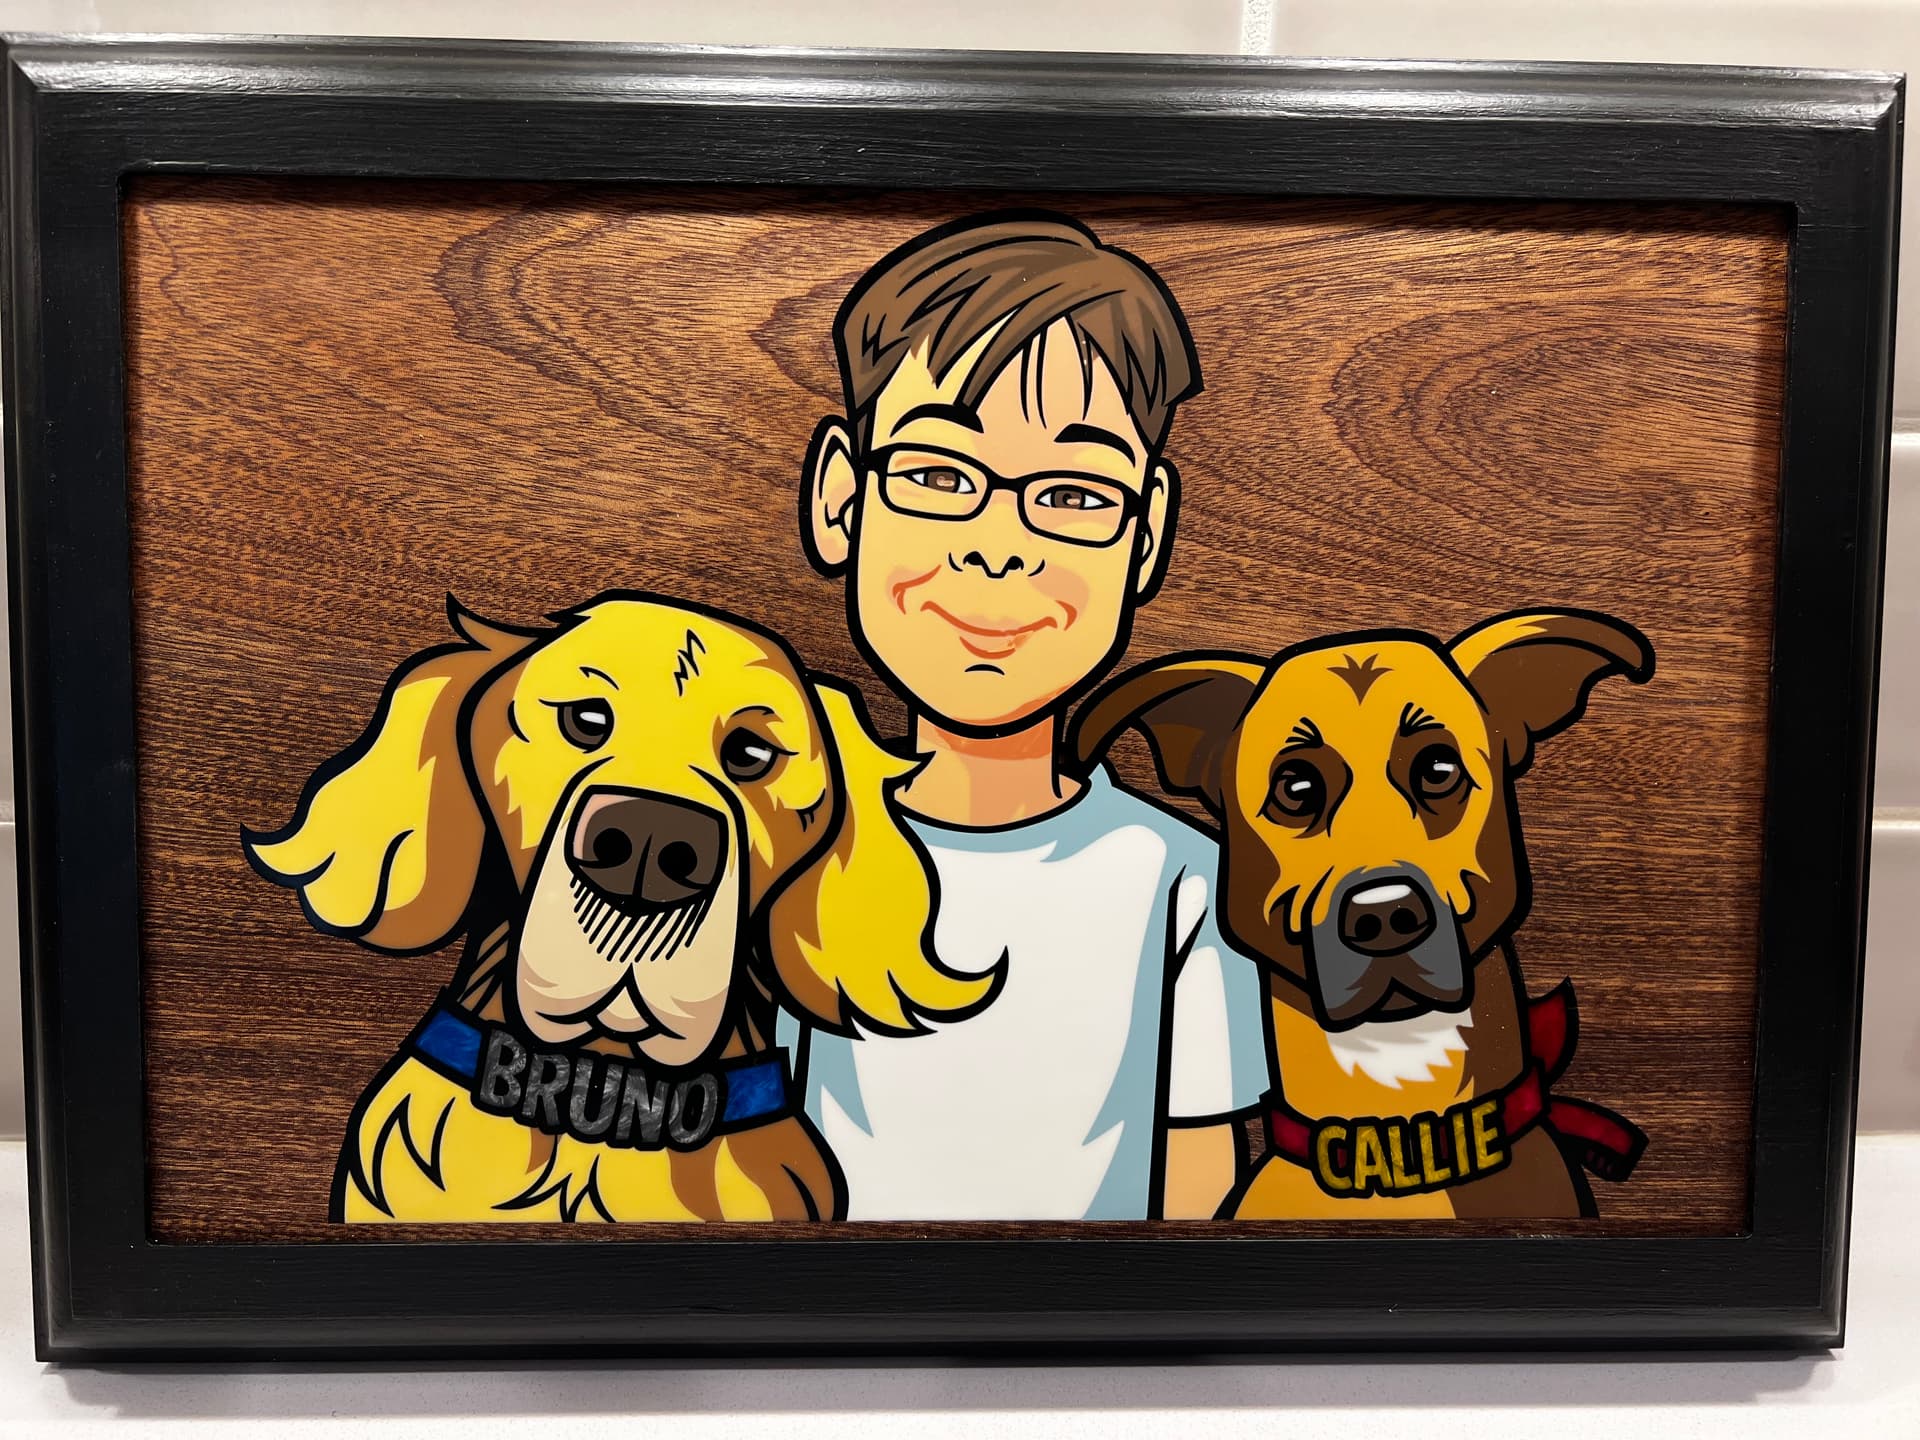
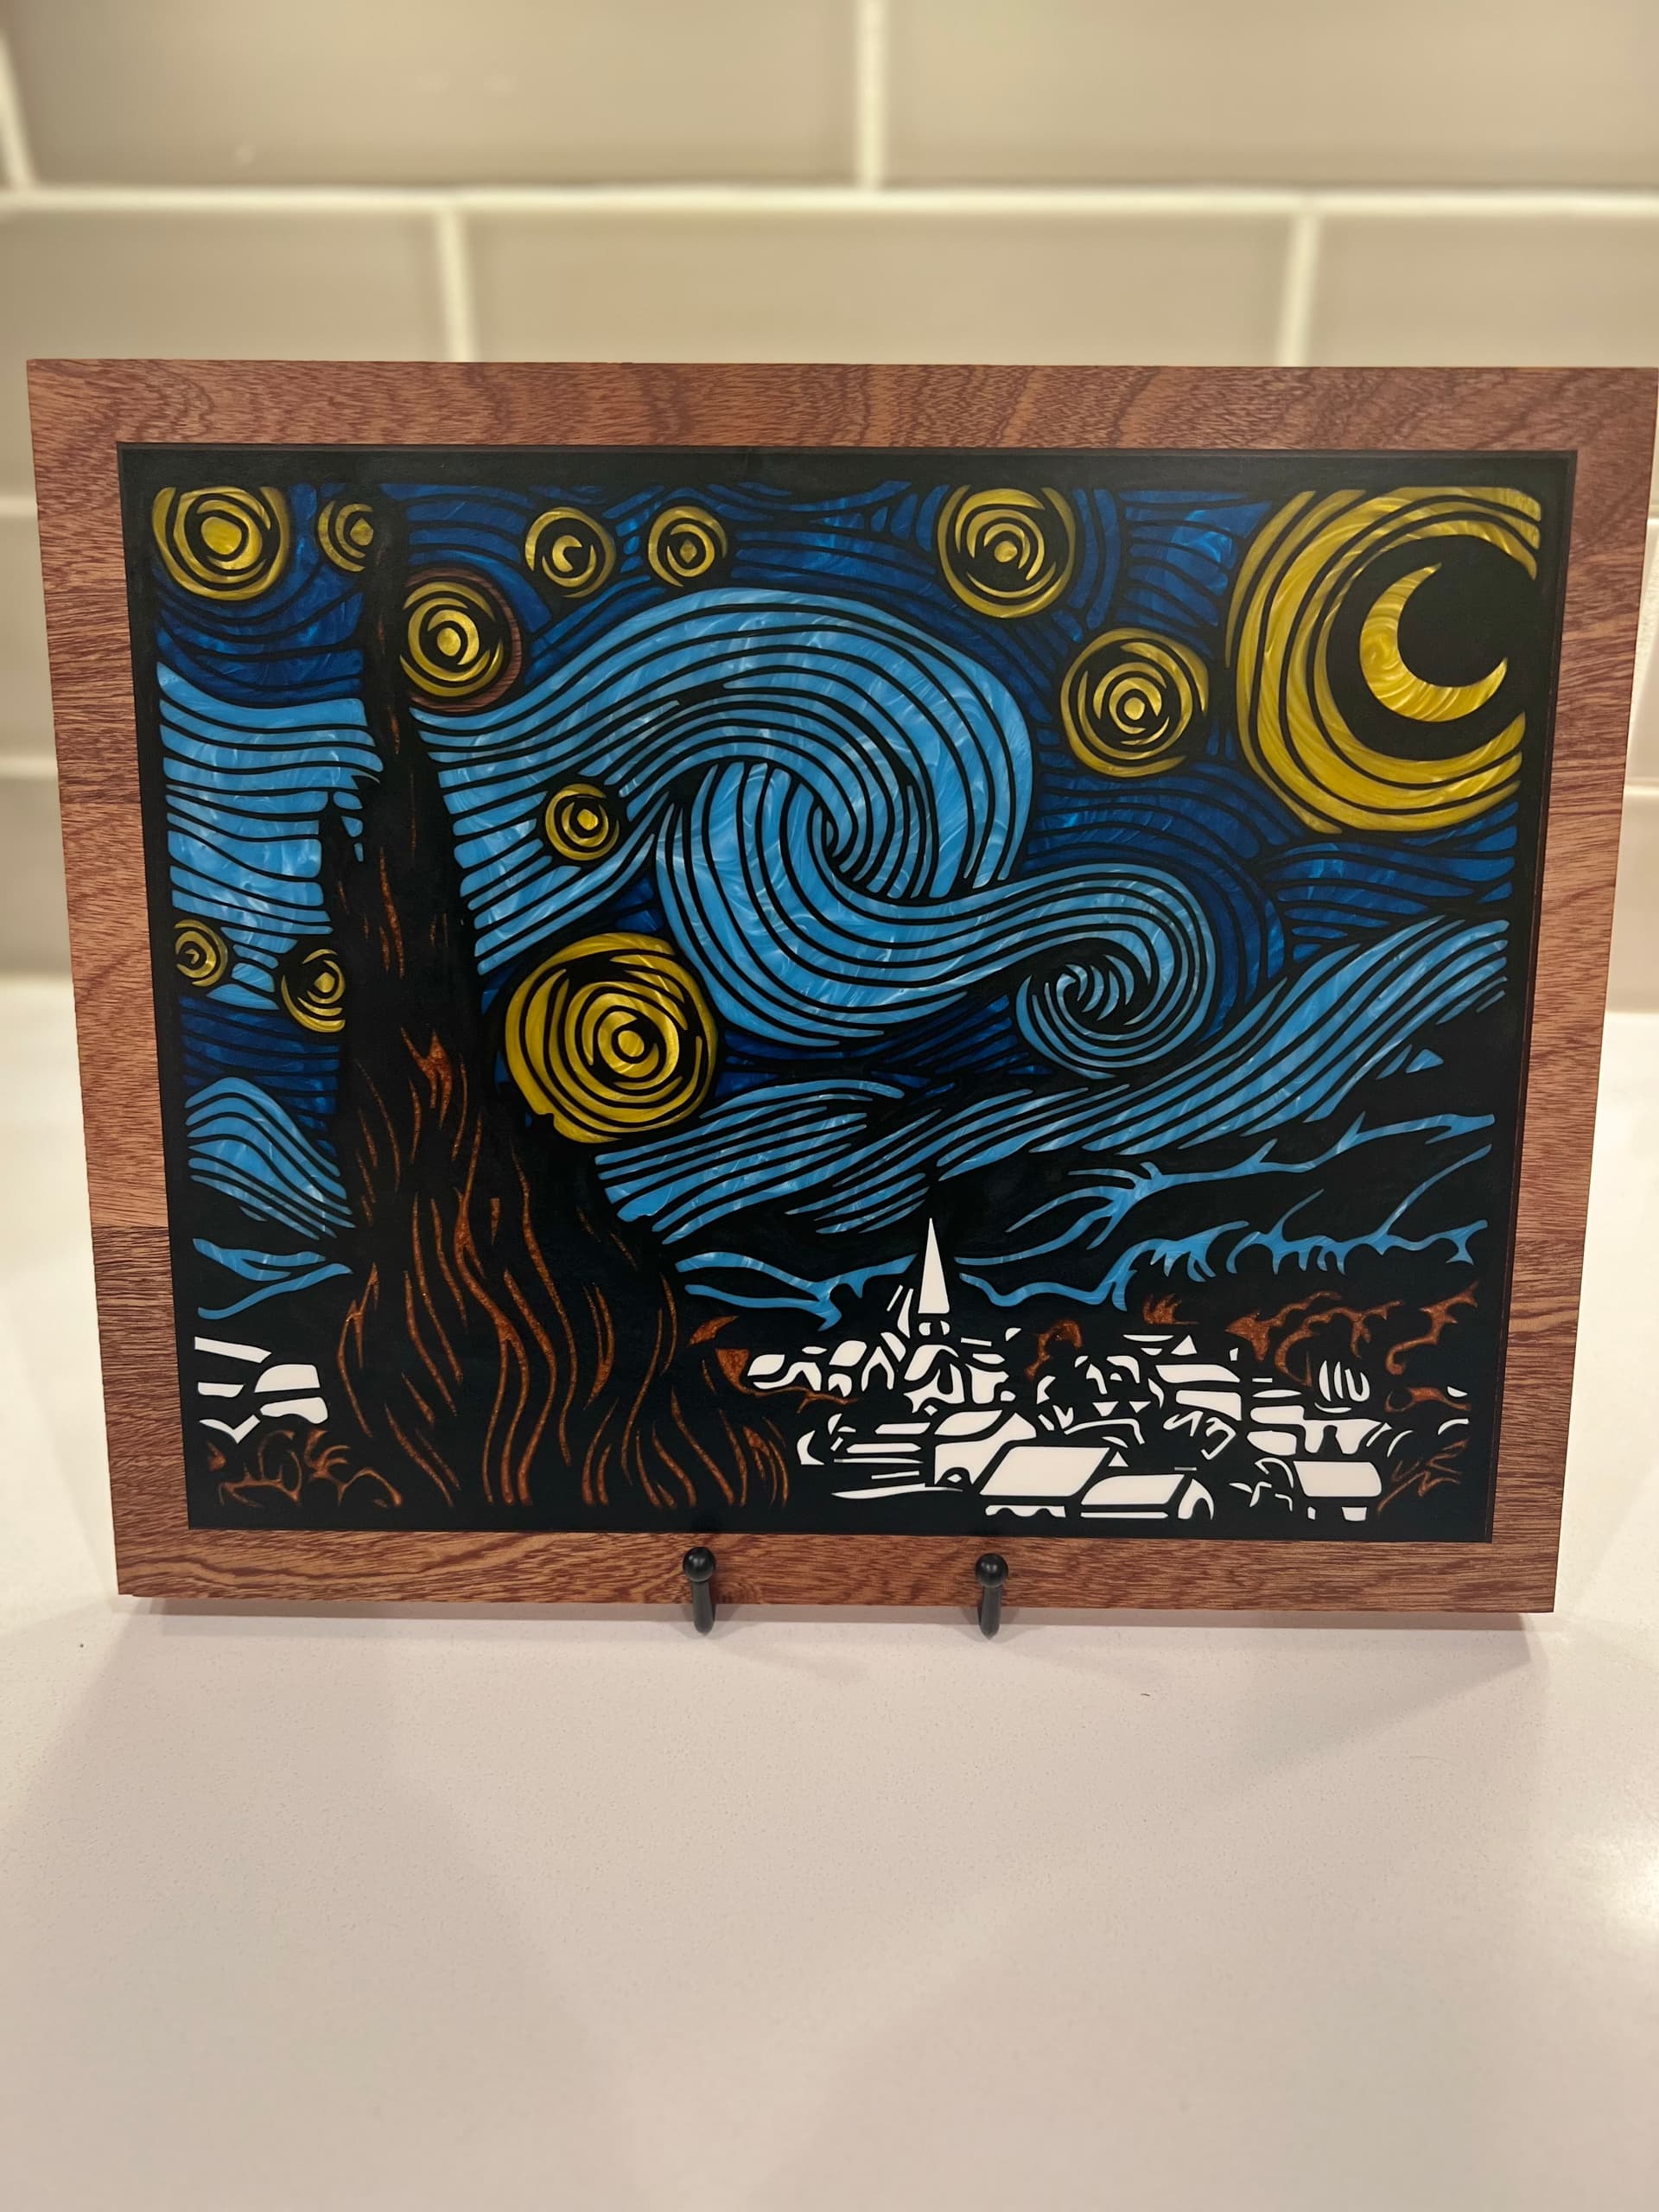
On this one, yes. Black last. Here is another one I recently finished, where I went in this order:
Dark Blue
Light Blue
Yellow
Black
White
Copper
It all depends on the piece you are doing, sometimes the vectors and carve times dictate your order
9 Likes
Nice. Are you making your own images?
Yes, Vinnie sent me his vectors! This was actually a laser cut file, and it came out great on card stock with my JTech. I then decided it may make a cool epoxy project as well, so got busy in Vectric and figured it out.
1 Like
I more meant the one with the boy/guy and is 2 dogs. Nicely done! Thinking about how to do a family ‘portrait’.
For that piece I used an artist by the name of Jorge Baeza, he is on Instagram. He is very popular, so it takes a month or two to get artwork from him (and it is not cheap), but his work is fantasitc. The vectors he provides gets you close to being able to use for epoxy projects, just keep in mind that most graphic artists don’t really understand how we use/need the vectors for epoxy work, so you need to be fairly decent at node editing. (I use Vectric Vcarve Pro)
1 Like
Thanks. I’m going to give it a try in illustrator.
Bern, Amazing work!! Do you create your own file Images or get them from someone else?
OOPs guess I should have read to OP.
I’m not very Insta savy but when I went to look up Jorge I found 4 but no artist in the bunch?
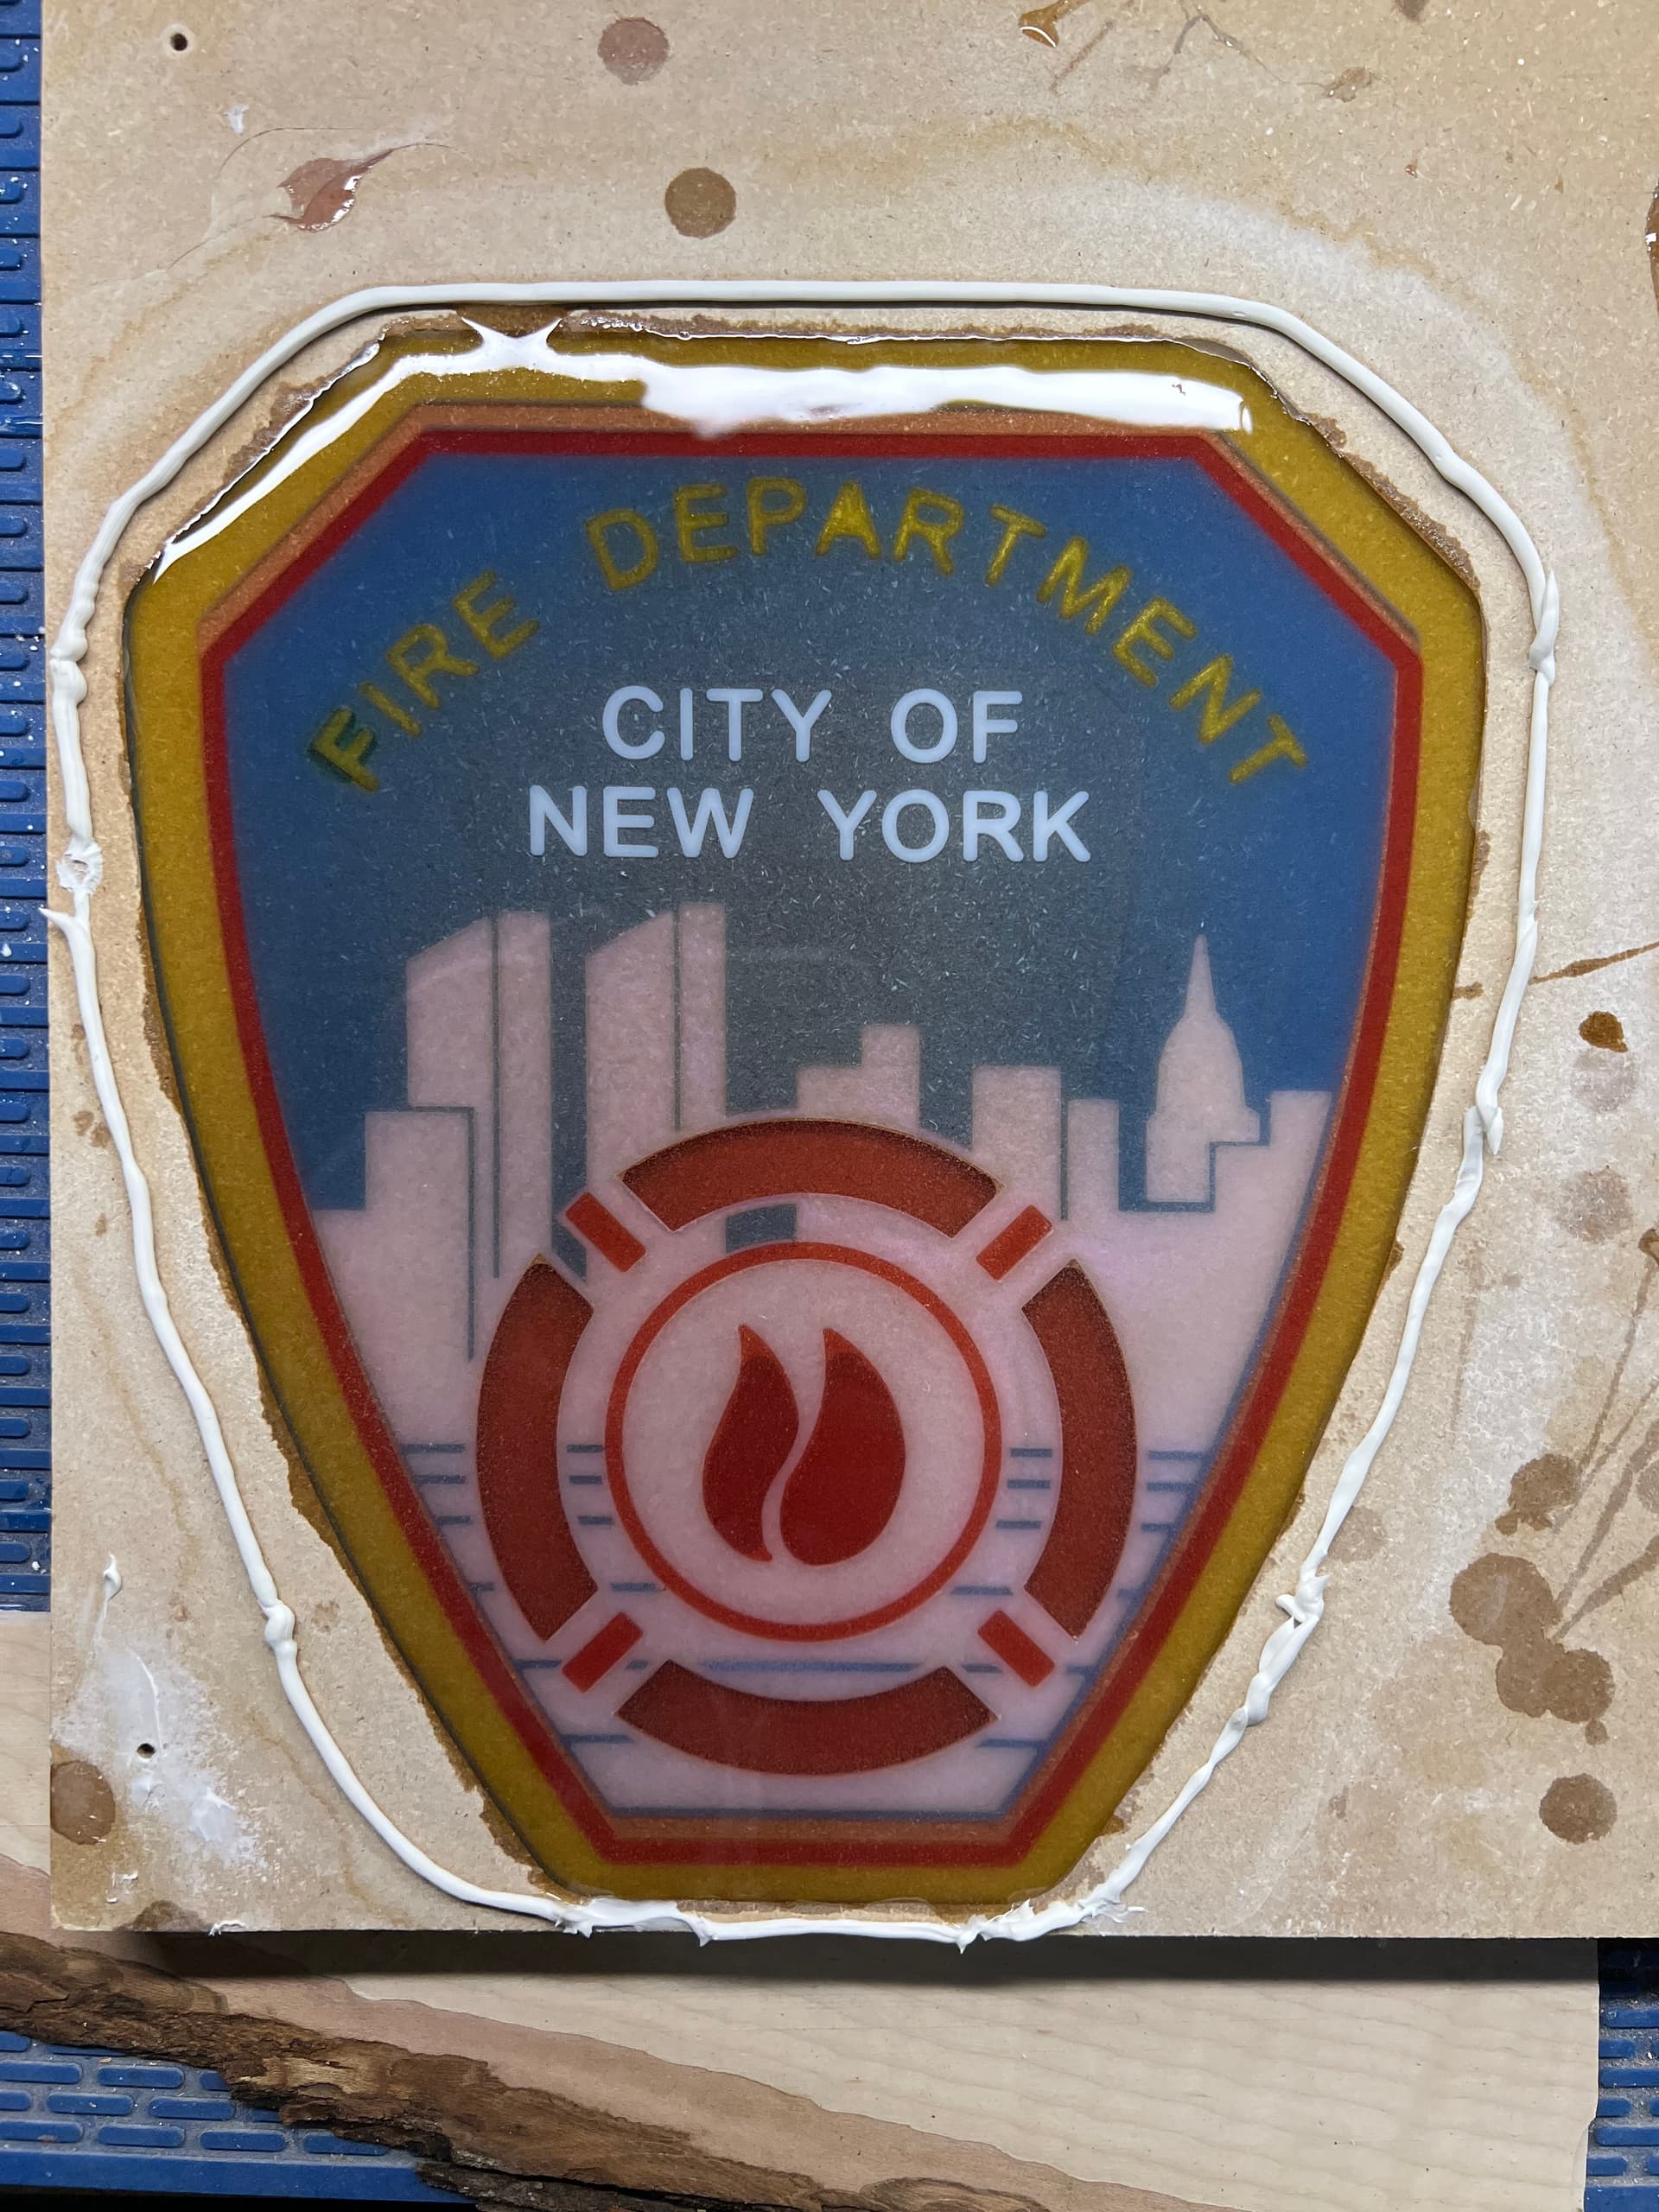
Just finished a rather complicated (for me anyway) epoxy project. Took me nearly a month a multiple tries to get everything right. There was a small mistake on the FDNY badge, one was a slight misalignment when cutting the 3rd layer (I lost x0,y0 and didn’t realize it) and the other was the machine decided to dive in with the 60 degree V bit on the F. I was able to salvage it and the customer likes it. I think the station badge came out nicer overall. They still have to be cut out once the top layer has cured. They are going in to a table that the station is building along with some letters I cut out for them.
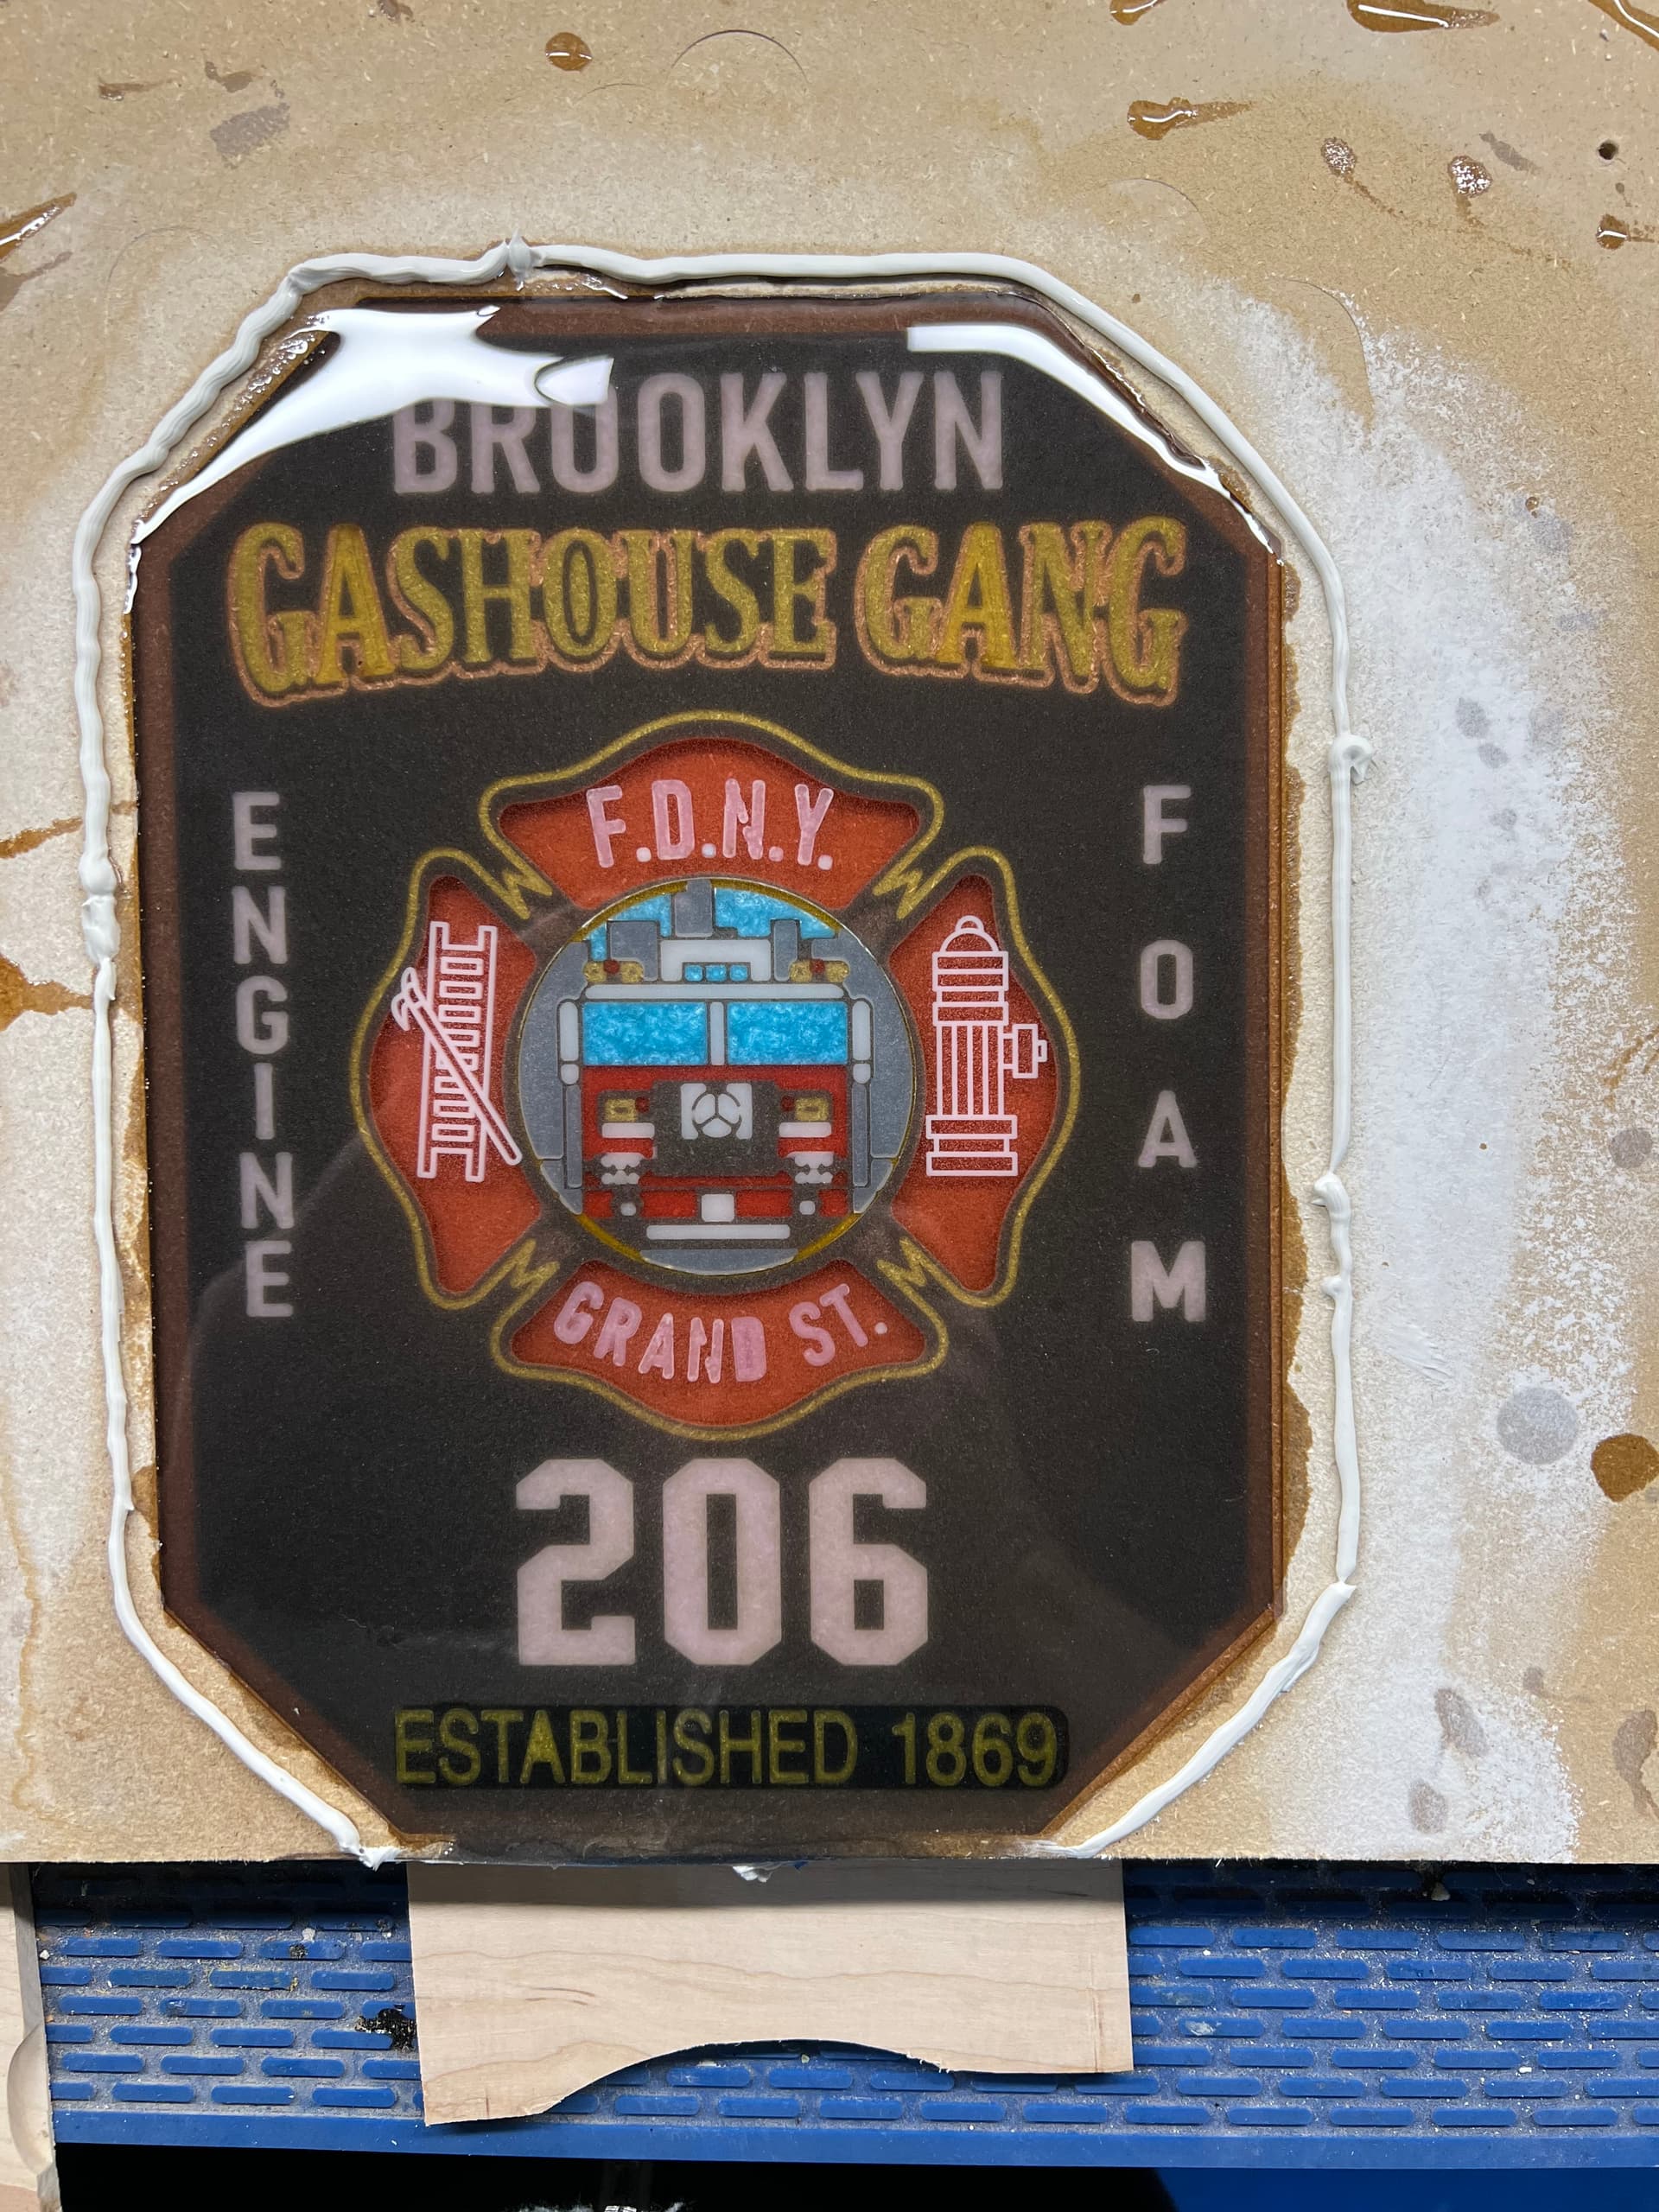
3 Likes
Excellent. How big are they? That’s some nice detail.
Each one is 10” tall