Hi, Martin. I used tabs to secure the gears after screwing the blanks to the wasteboard. I’ve had bad experiences with the gears moving even very slightly while being cut when I tried anything else, this was the best way I’ve found. It’s pretty easy to remove the tabs later, if you are careful positioning the tabs at the tips of the gear teeth and use the minimum dimensions you are comfortable with. My tabs were 1/8" x 1/8" in 3/8 ply, with 3 tabs per gear and that worked well for me.
I use a 1/16" drill bit in the CNC to peck a 1/8" divot at my hole locations. After removing the part from the blank, I use the small divots to locate the tip of a brad-point drill bit. This type of drill bit is highly recommended for clock making; precision is everything.
Good luck with your clock. The Genesis is a good first project. I’ve built a lot of Clayton’s clocks, and they’ve all turned out great. I think the biggest thrill I’ve had in woodworking was watching my first clock start to run after it had been assembled. Feel free to contact me if I can do anything to help your project along.
Best, ~Mike
Awesome stuff!
I love the horse carve. My uncle in Arizona has been a blacksmith his whole life, retired now.
I would like to make one for him. I have a woodmizer sawmill as well, so cookies, slabs are no problem.
Could you tell me where to get the horse vector?
Probably right in the library?
Thanks in advance,
Frank
If you mean the horse with ‘Live to Ride’, I got that from 3D4all website. Also Etsy has it as well as many others. 3D4all is extremely reasonable ($2.50 for most of their downloads with no restrictions) and I’ve found the quality is par for the pattern world. cncplanet art has a lot of real nice patterns but they are up in the teens for cost.

My latest charcutery board - hickory upper - white oak lower - poplar/black walnut eye
Todd
Thank you, I will take a look!
Thank you,
Frank Martin
Martin Construction
585-750-5528
Fmartinconst@aol.com
Fmartinconst@gmail.com
martinconst.vpweb.com
mcbuildit.com
shopatmc.com

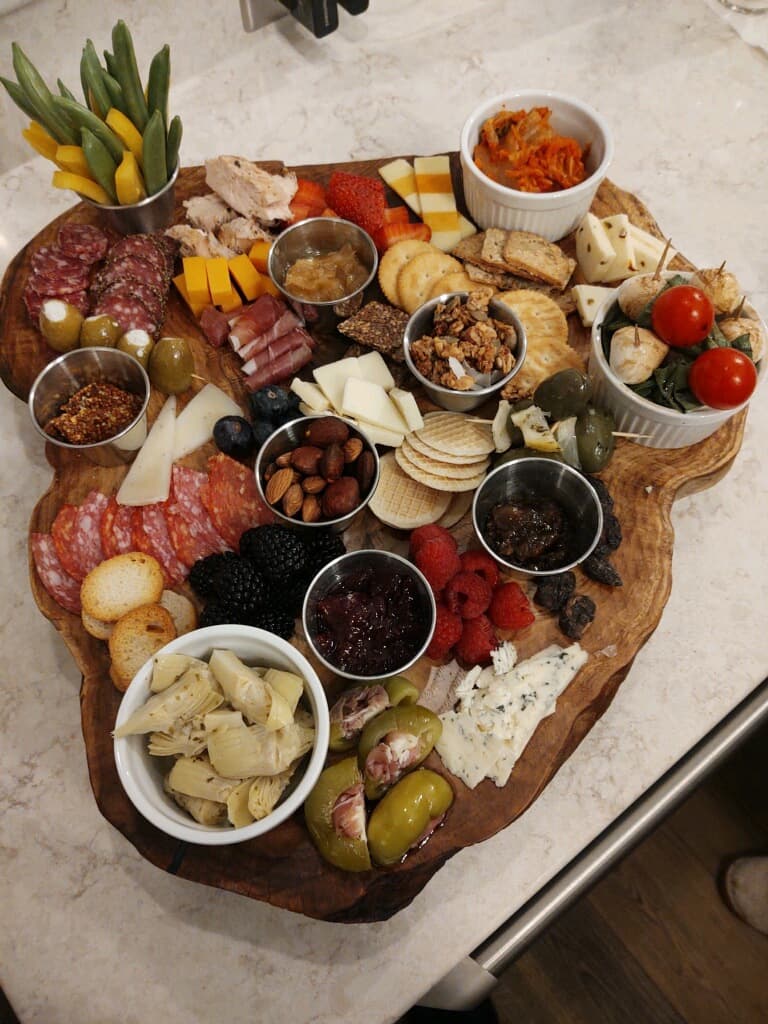
Nom Nom
you have made the meat and vegetables look so realistic ![]()
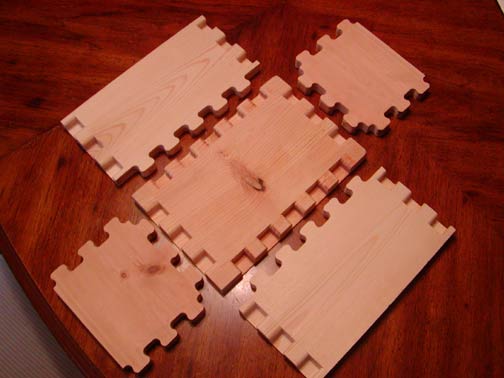
Flat pack desk & chair from 1 sheet of ply for kids who need a desk for remote school or whatever and can’t afford one.

This was the first one. I’ve tightened up the desk surface to back joint and created a version that fits older teenagers. It takes a JM sized machine because I set it up to cut out of 3 48x32" slices of a plywood sheet.
Looks effective.
Ive put some plywoid together, nothing quite so elegant, in a related. I had trouble with side racking. Is the back upright piece holding it rigid?
The panels all lock together pretty tight - takes a smack with a rubber mallet to get the tabs into the slots. You can see a couple of the tabs/slots in the upper left.
The wedged slots give it a lot of rigidity because you can tap the wedges in very tightly. Those are tile leveling wedges.
The legs become a triangle of support because one hooks into the other at the bottom and about a qtr up from the floor there’s a hole & groove that a ziptie ties the legs together. There’s also a tab on the back leg that fits into a slot on the side leg that’s about 12" long.
It’s all from a design from the Baltimore Makerspace that I modded a little and upsized for taller/older kids. This one is about 28" to the desk surface.
Very nice! I like the design.
Do the wedged slots suffice to hold it stable or did you glue it? A writing surface is demanding.
No glue. The wedges are tight (& there’s still more they could be tapped in if necessary).
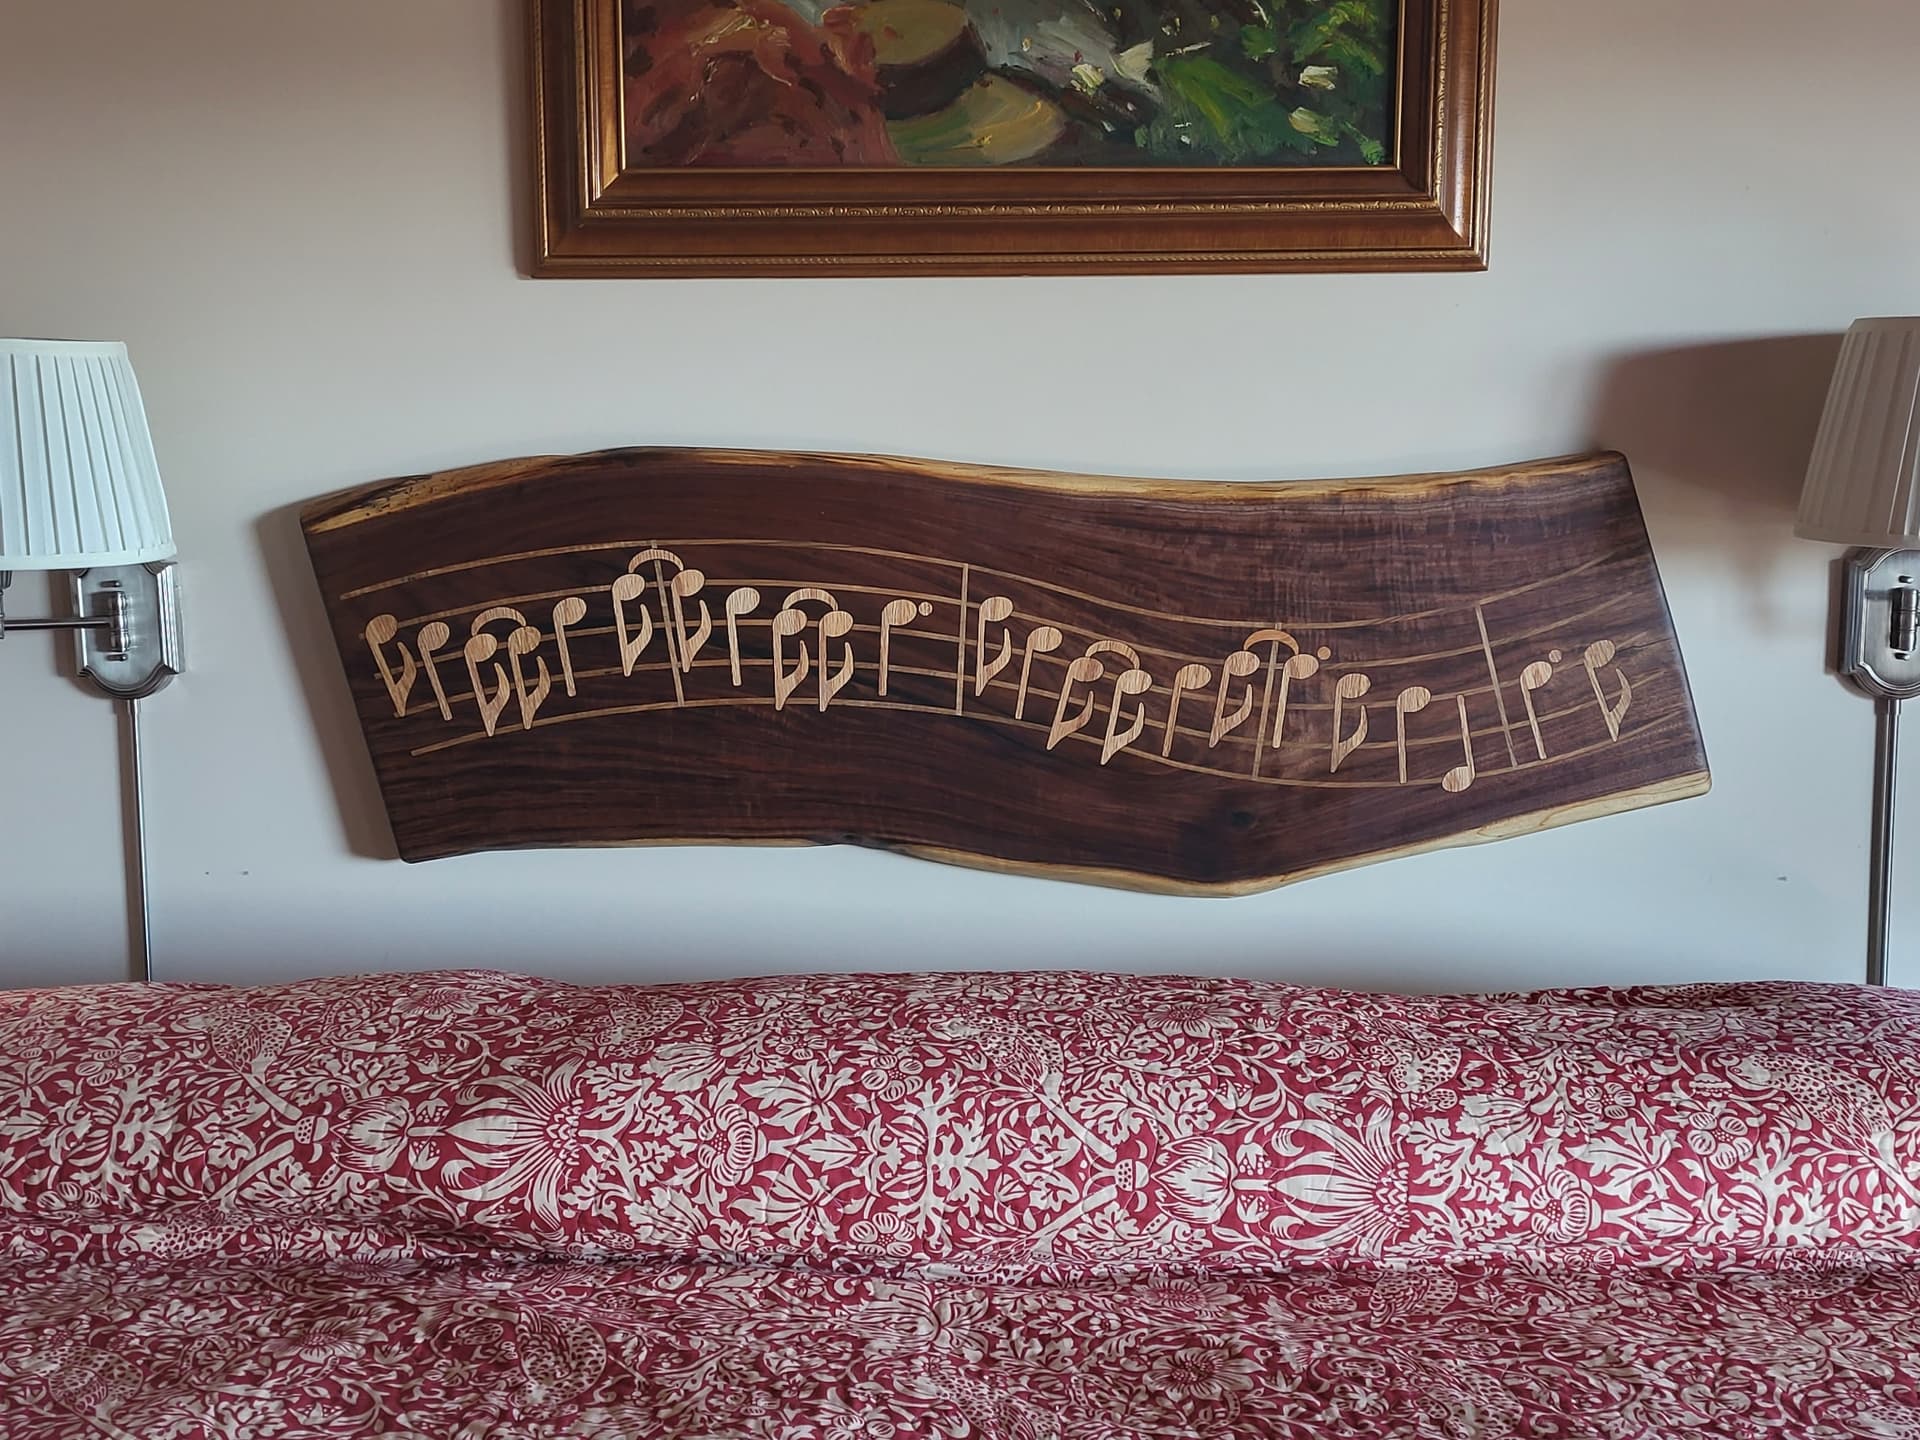
We needed a headboard for the MB so I thought I’d do some inlay and tile work for this project. The slab is 57" long and heavy which made the whole process a bit more involved than I had envisioned. The staff line inlays are spalted wormy maple while the notes are white oak. Everything was done with the 1F including the pilot locators for the MDF sled used to qualify the tile locations. Lines and notes were created solely with Vcarve Pro. I photographed the slab and processed it in CS5 then traced the bitmap. (some foam carve tests helped too)
Is anyone up to identifying the song this measure is from? (a hint: It’s by a group I saw live on stage in Cincinnati during their 1966 US tour)
I cut a small-sized Steltman chair for my daughter doll collection (1F for scale). She will sand and paint it so the photos are the raw product.
I made a parametric model in Fusion 360 such that I can cut chairs to fit different dolls if she so desire. I could not figure out how to cut the joinery on the 1F, while remaining true to the original design, so I went with dowels. Still dowels is traditional for Rietveld furniture.


I had made a Steltman chair a couple of years back with more traditional woodworking technique. Comparatively the parametric design is more flexible but cutting panels with the 1F wastes more wood.
i wanna be your man?
No, but pretty close (band wise). I’ll give it up since it has been so long:
–I’m only sleeping–


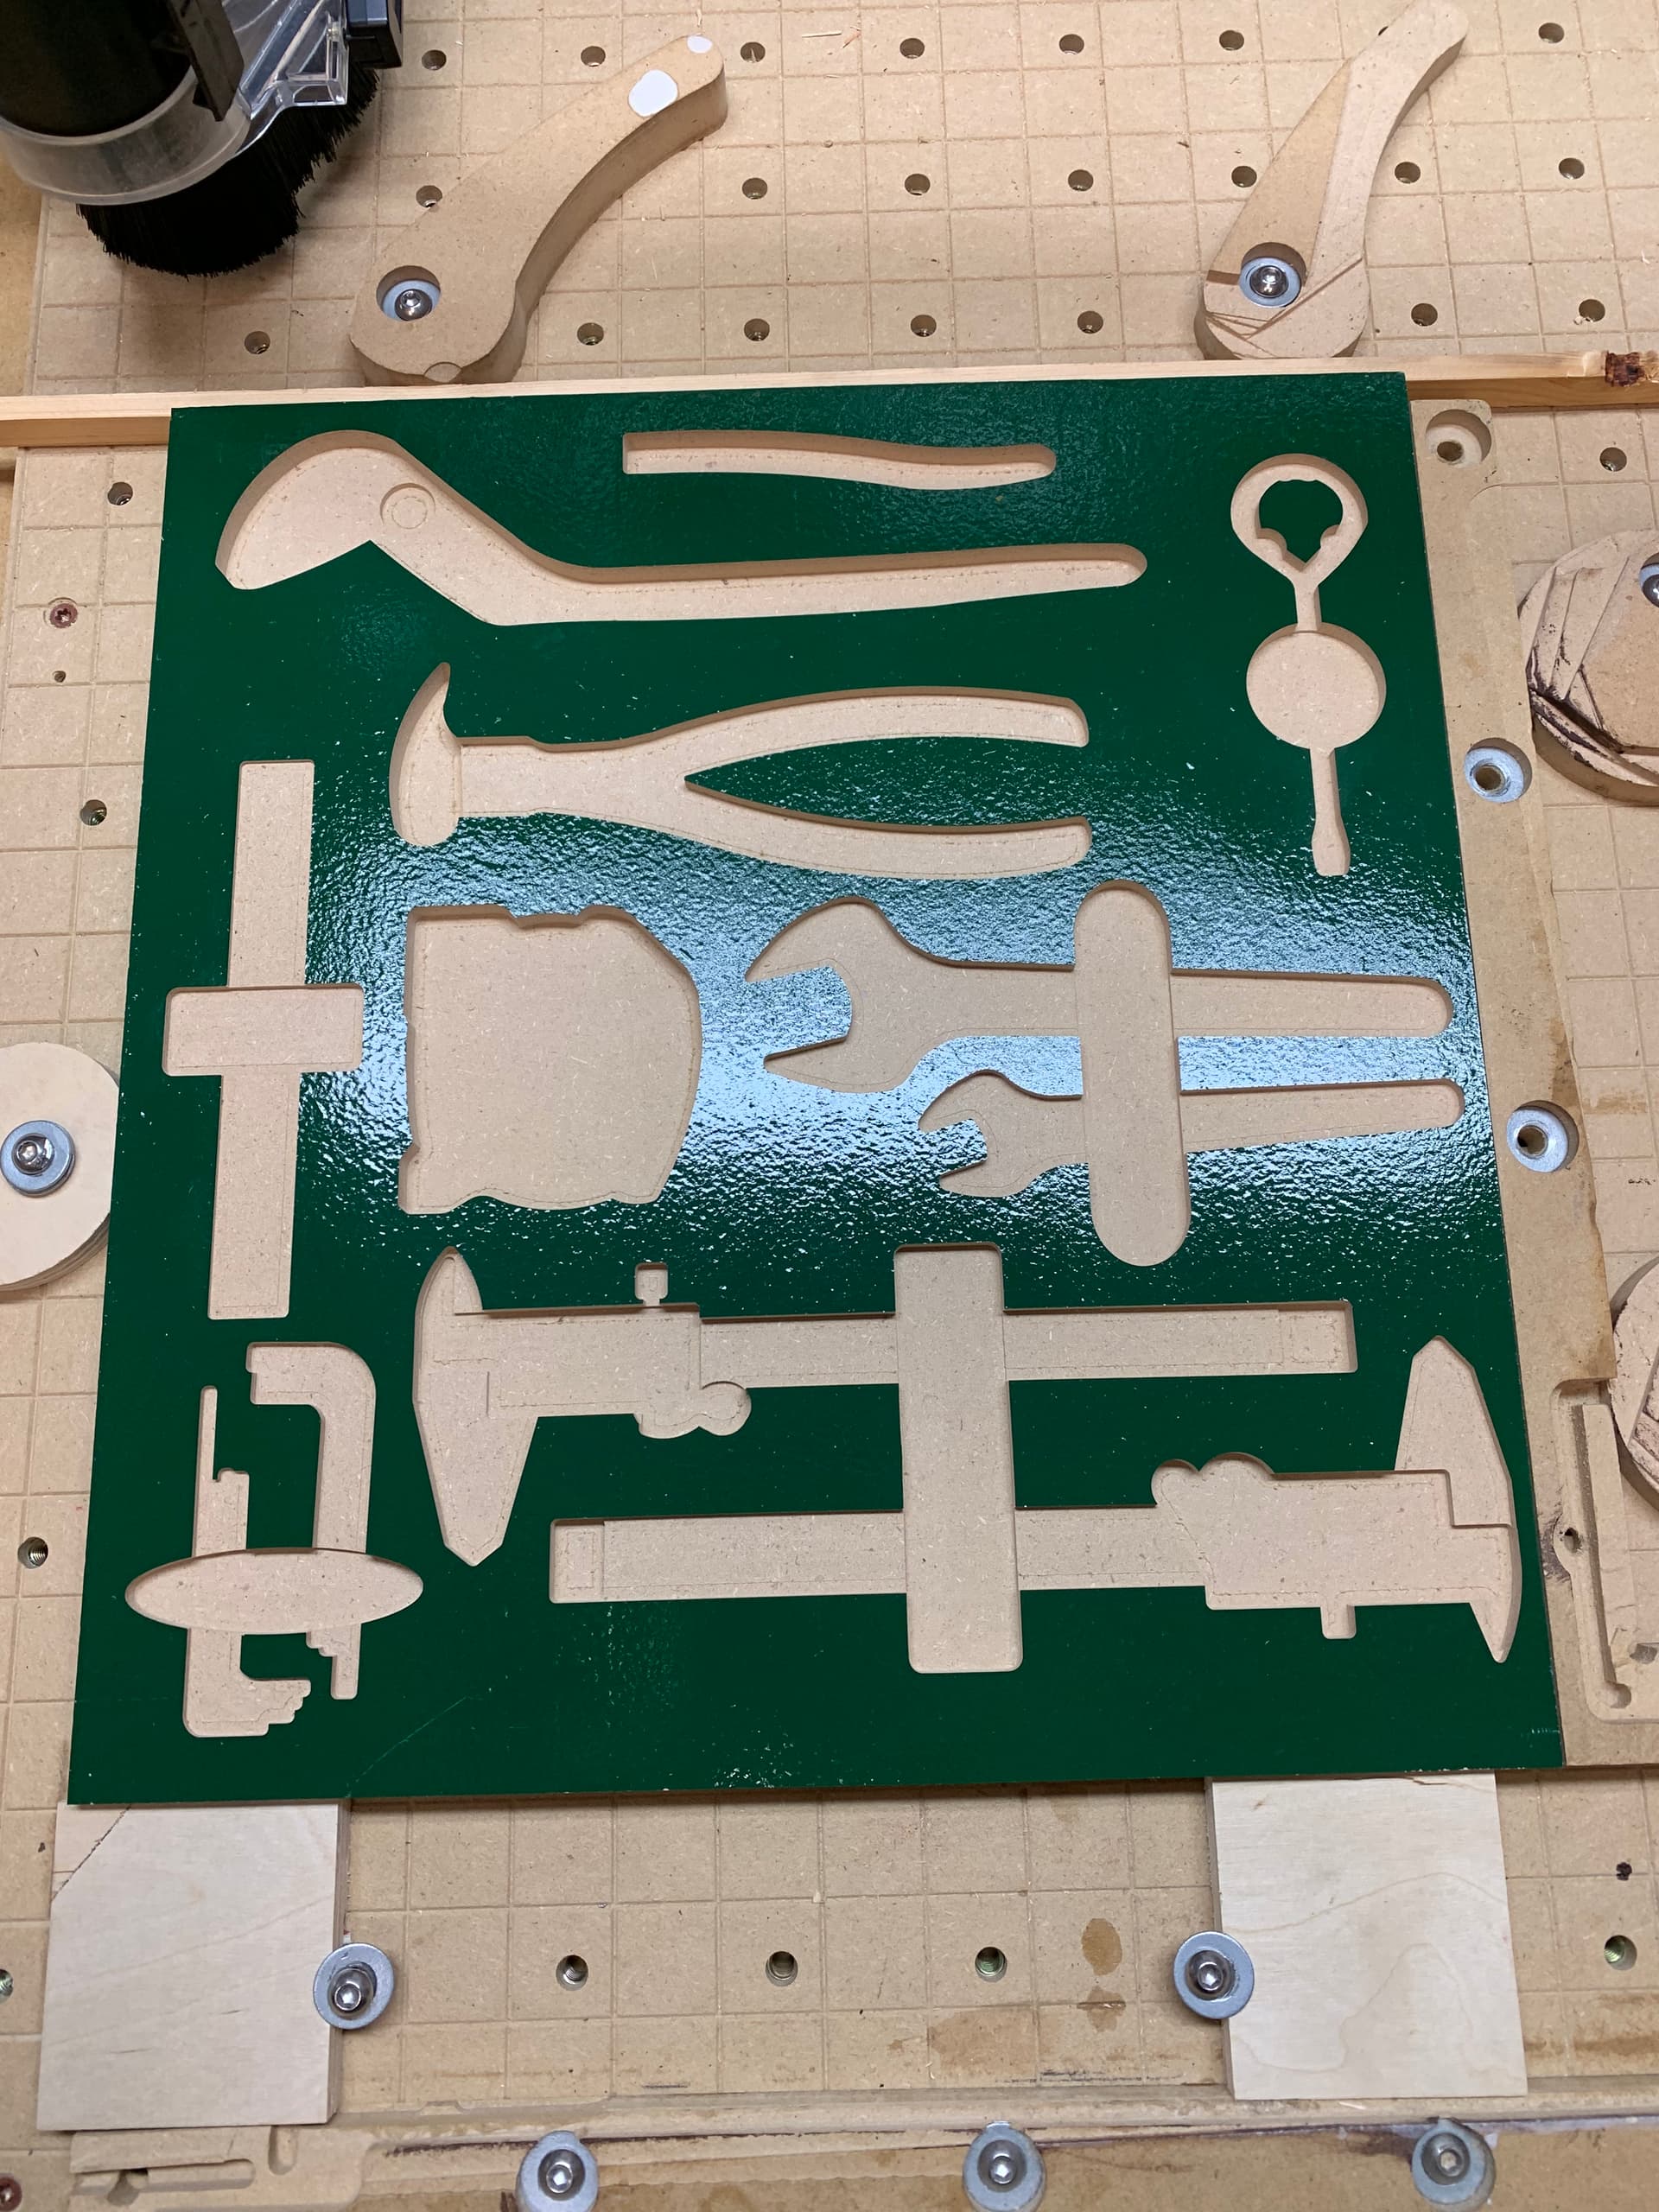

Those profiles are spot on! how did you digitize them so well? I have tried various routes, but they are either to tedious or the result is poor.
First I traced the tool on a sheet of paper, then I scanned it as a JPEG. I then imported the jpegs into vetric. I did have to spend a little time cleaning up the images in vetric. I also ran a few practice cuts to make sure I got some of the depths correct. It was a time consuming process, but I learned a lot about vetric and my machine while doing this. Next up will be something for bits.