The Onefinity RapidChange ATC (Automatic tool changer) is designed to link together to expand from 4 pockets to 8 or 16 (depending on space availability per machine).
When connecting multiple together, neither the qcw mount nor the surface mount will be used. The only way to use multiple together is flat mounting them to the cutting area directly.
Here’s how.
-
Gather your ATCs and remove them from the QCW mount and/or the surface mount. They will not be used.
-
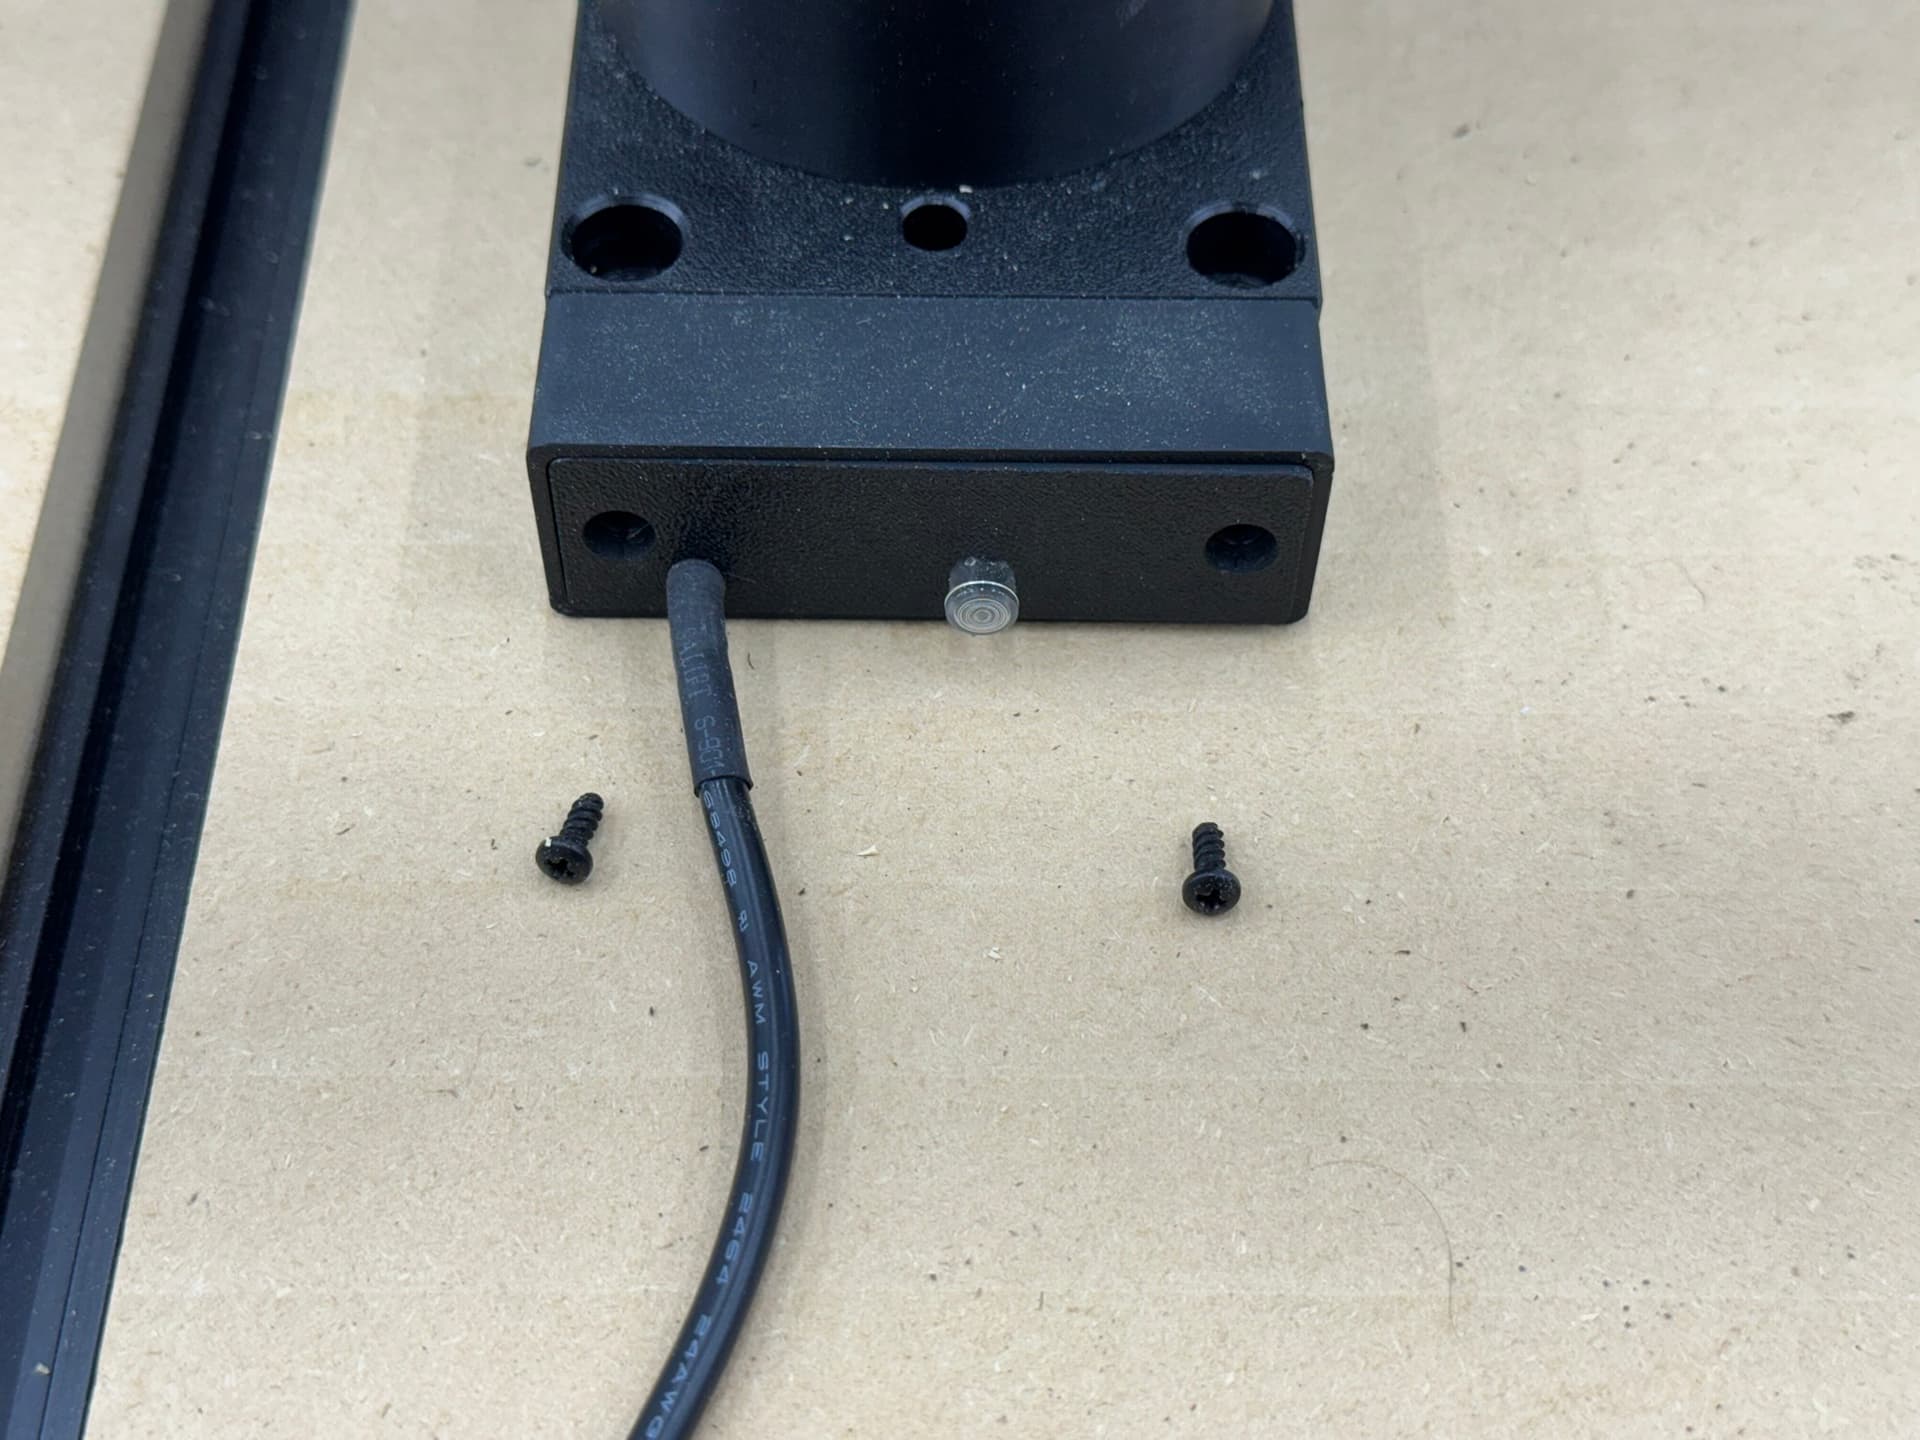
On one of the ATCs, we will be removing the wire and cover from the left side (when logo is facing you).
-
Remove the two small Phillips screws.
-
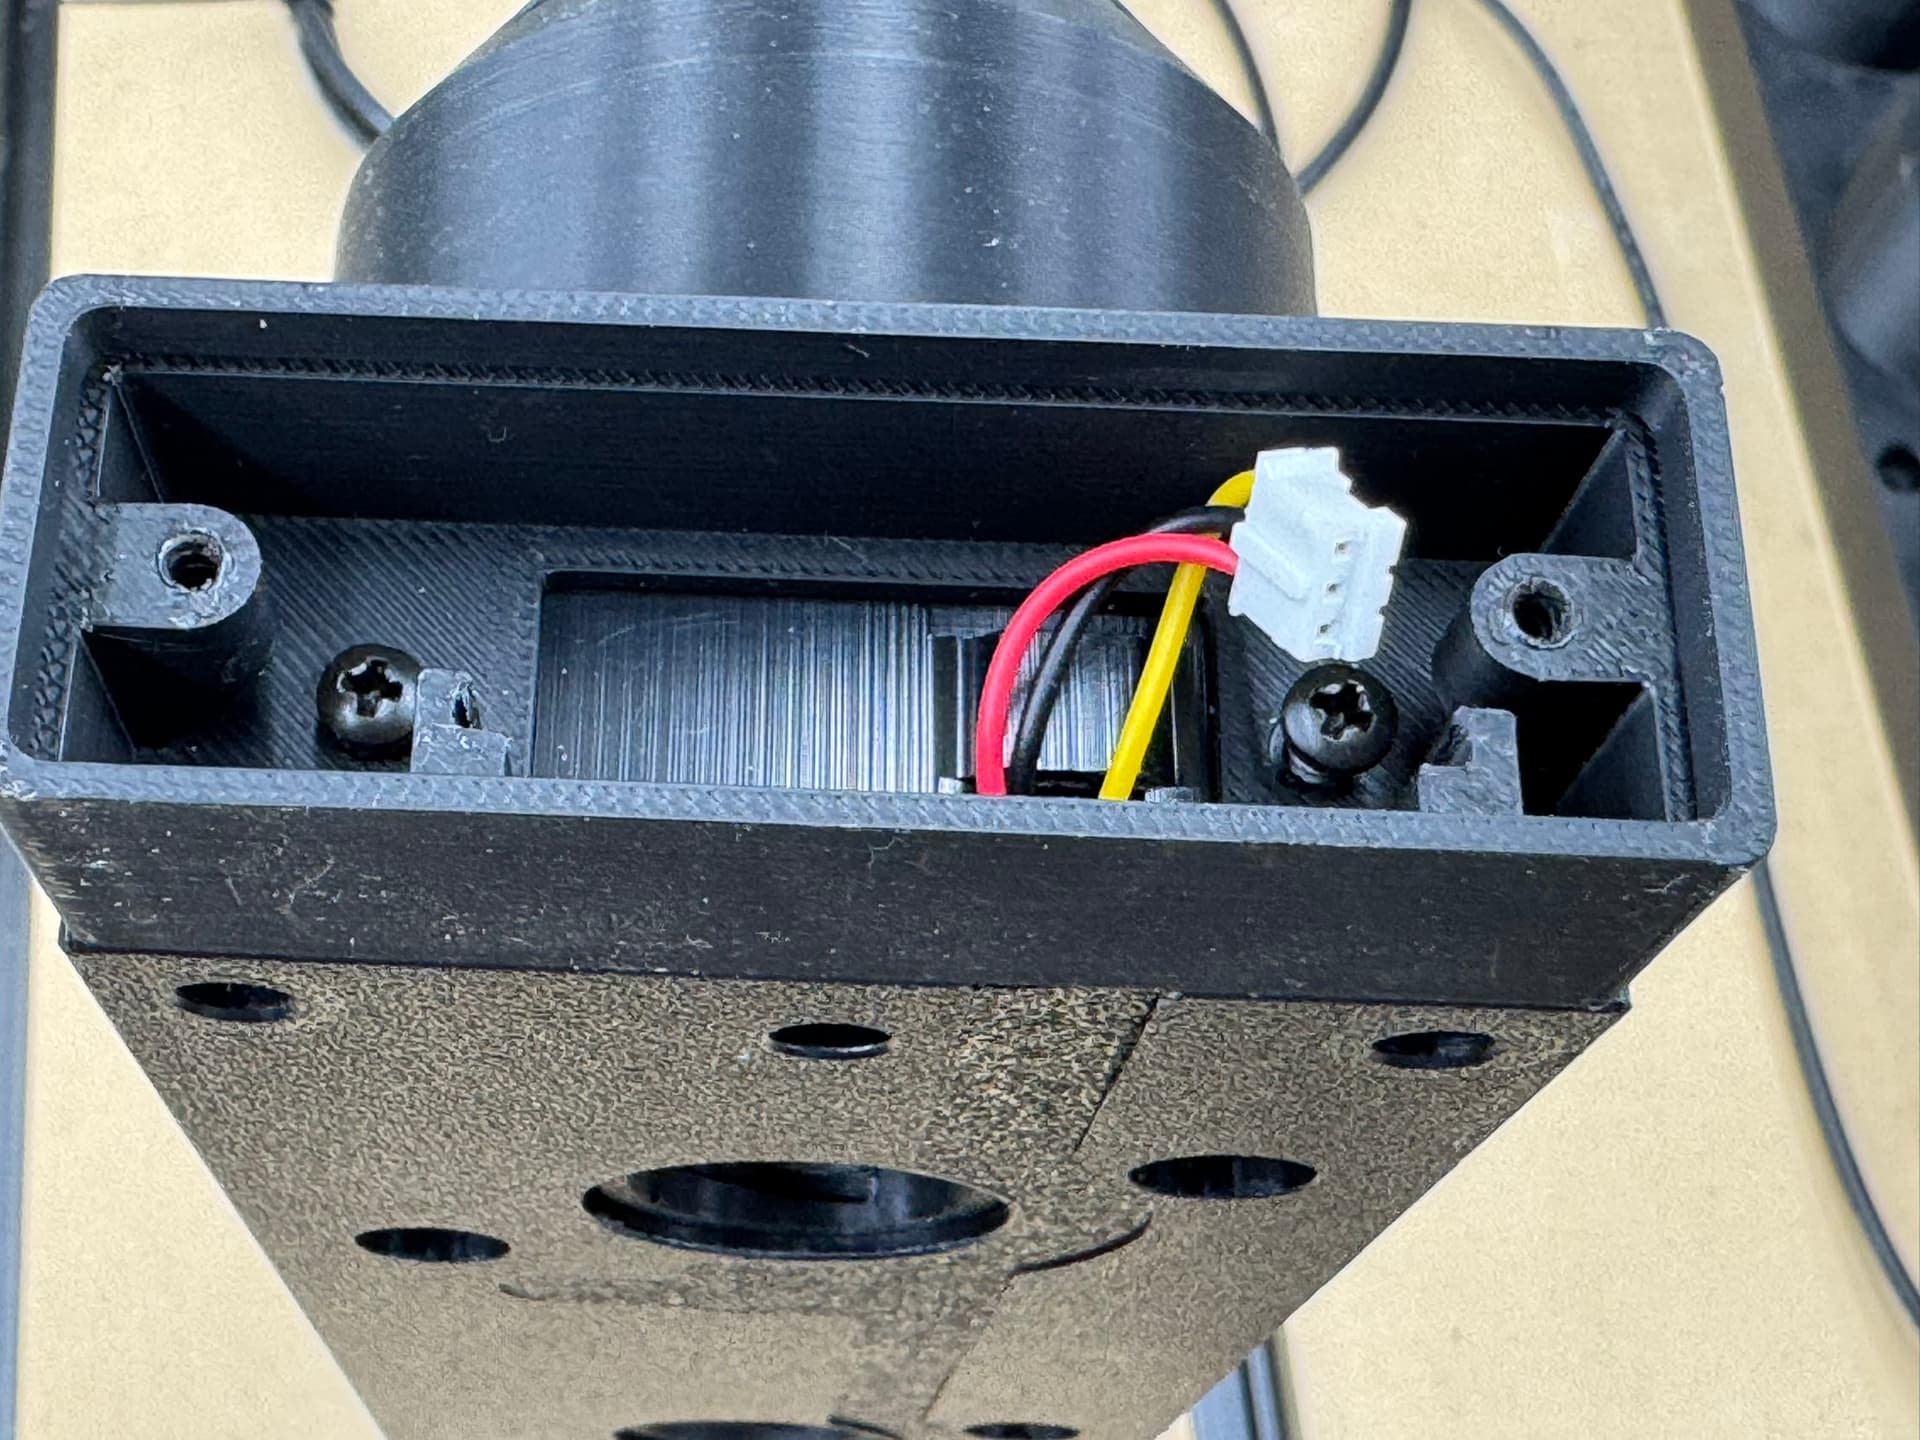
Pull cover off, exposing the circuit board inside
-
Gently pull the circuit board out from housing by pulling forward on both sides of the board. Take care not to damage the board or its wiring.
-
Once removed, you will disconnect the white wire connector going into the circuit board. Take care not to pull by the wires, instead, pulling from the sides of the white connector.
-
Once the circuit board is removed, locate the two Phillips screws that were behind the circuit board and remove them.
-
Once the screws are removed, carefully remove the spacer cap allowing the wires to slide through the hole. You are finished with this first ATC.


-
On the second ATC, locate the ‘right’ side of the ATC when the logo is facing you (the opposite end you just worked on the first ATC). This side will not have a circuit board and will be shorter.
-
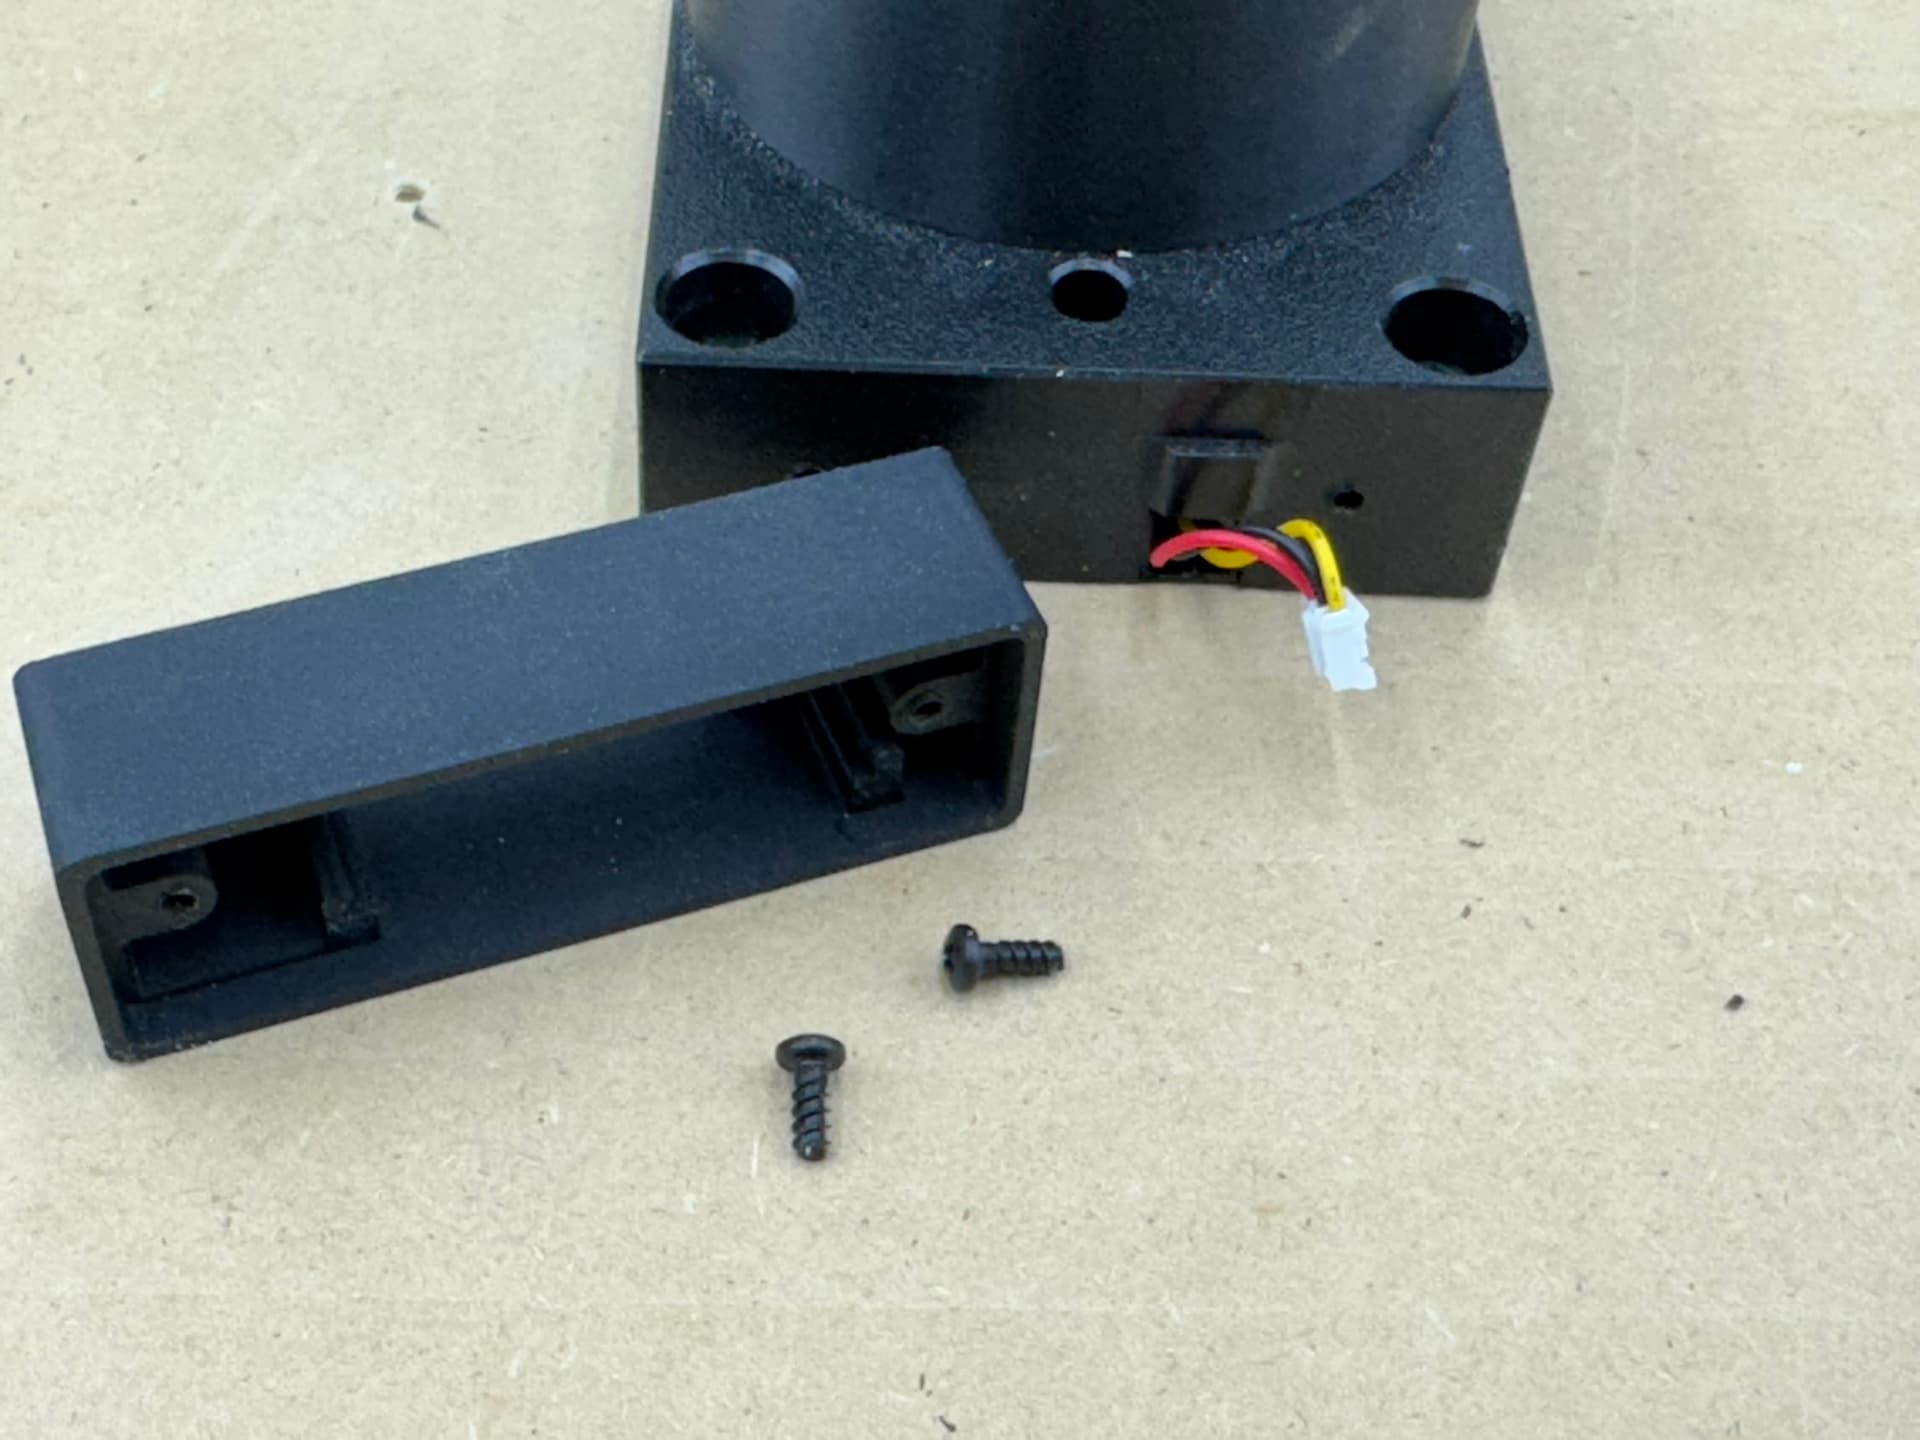
Remove the two Phillips head screws. This will remove the plate covering the end.
-
Behind the plate we just removed, you will see a female wiring connection. We will plug the first ATC into this connector.
-
Take note of the location of the pins in the yellow connector. They are offset towards one side.
-
Looking at the white wire connector of the first ATC, note the pin locations are offset. When plugging the two together, ensure to line them up.
-
There is a cover on the bottom of the ATC to cover up the wire channel. It is a bit easier to pull back the side of the cover to gain easier access to the connector.
-
Plug the two connectors together.
-
Reinstall the wire channel cover on the bottom of the ATC.
-
You have successfully connect the two ATCs together and should look like this.
-
You will now mount your ATC to your table top inside the area which the spindle can reach. When doing so, ensure the two ATCs are perfectly flush together when attaching them to the table top.
-
Congratulations! You have successfully paired two ATCs together and expanded your tool changer pockets from 4 to 8. If you have the 4x4 foreman machine, you can fit a 3rd ATC together. Just repeat the process to add the third ATC.
-
Configure your software via the RapidChange WebUI to utilize the extra pockets.


Y Axis fit:
Woodworker (32x32) can fit 2 along the Y axis.
Journeyman (48x32) can fit 2 along the Y axis.
Foreman (48x48) can fit 3 along the Y axis.
X Axis fit:
Woodworker (32x32) can fit 2 along the X axis.
Journeyman (48x32) can fit 3 along the X axis.
Foreman (48x48) can fit 3 along the X axis.