I posted this a while back in the facebook group but wondered what you all thought of this problem I am having.
I have a Whiteside Bowl bit 1372. I went to their website and downloaded the
tool info and imported it into V-Carve Pro 11. And have used it with the imported settings since I got it.
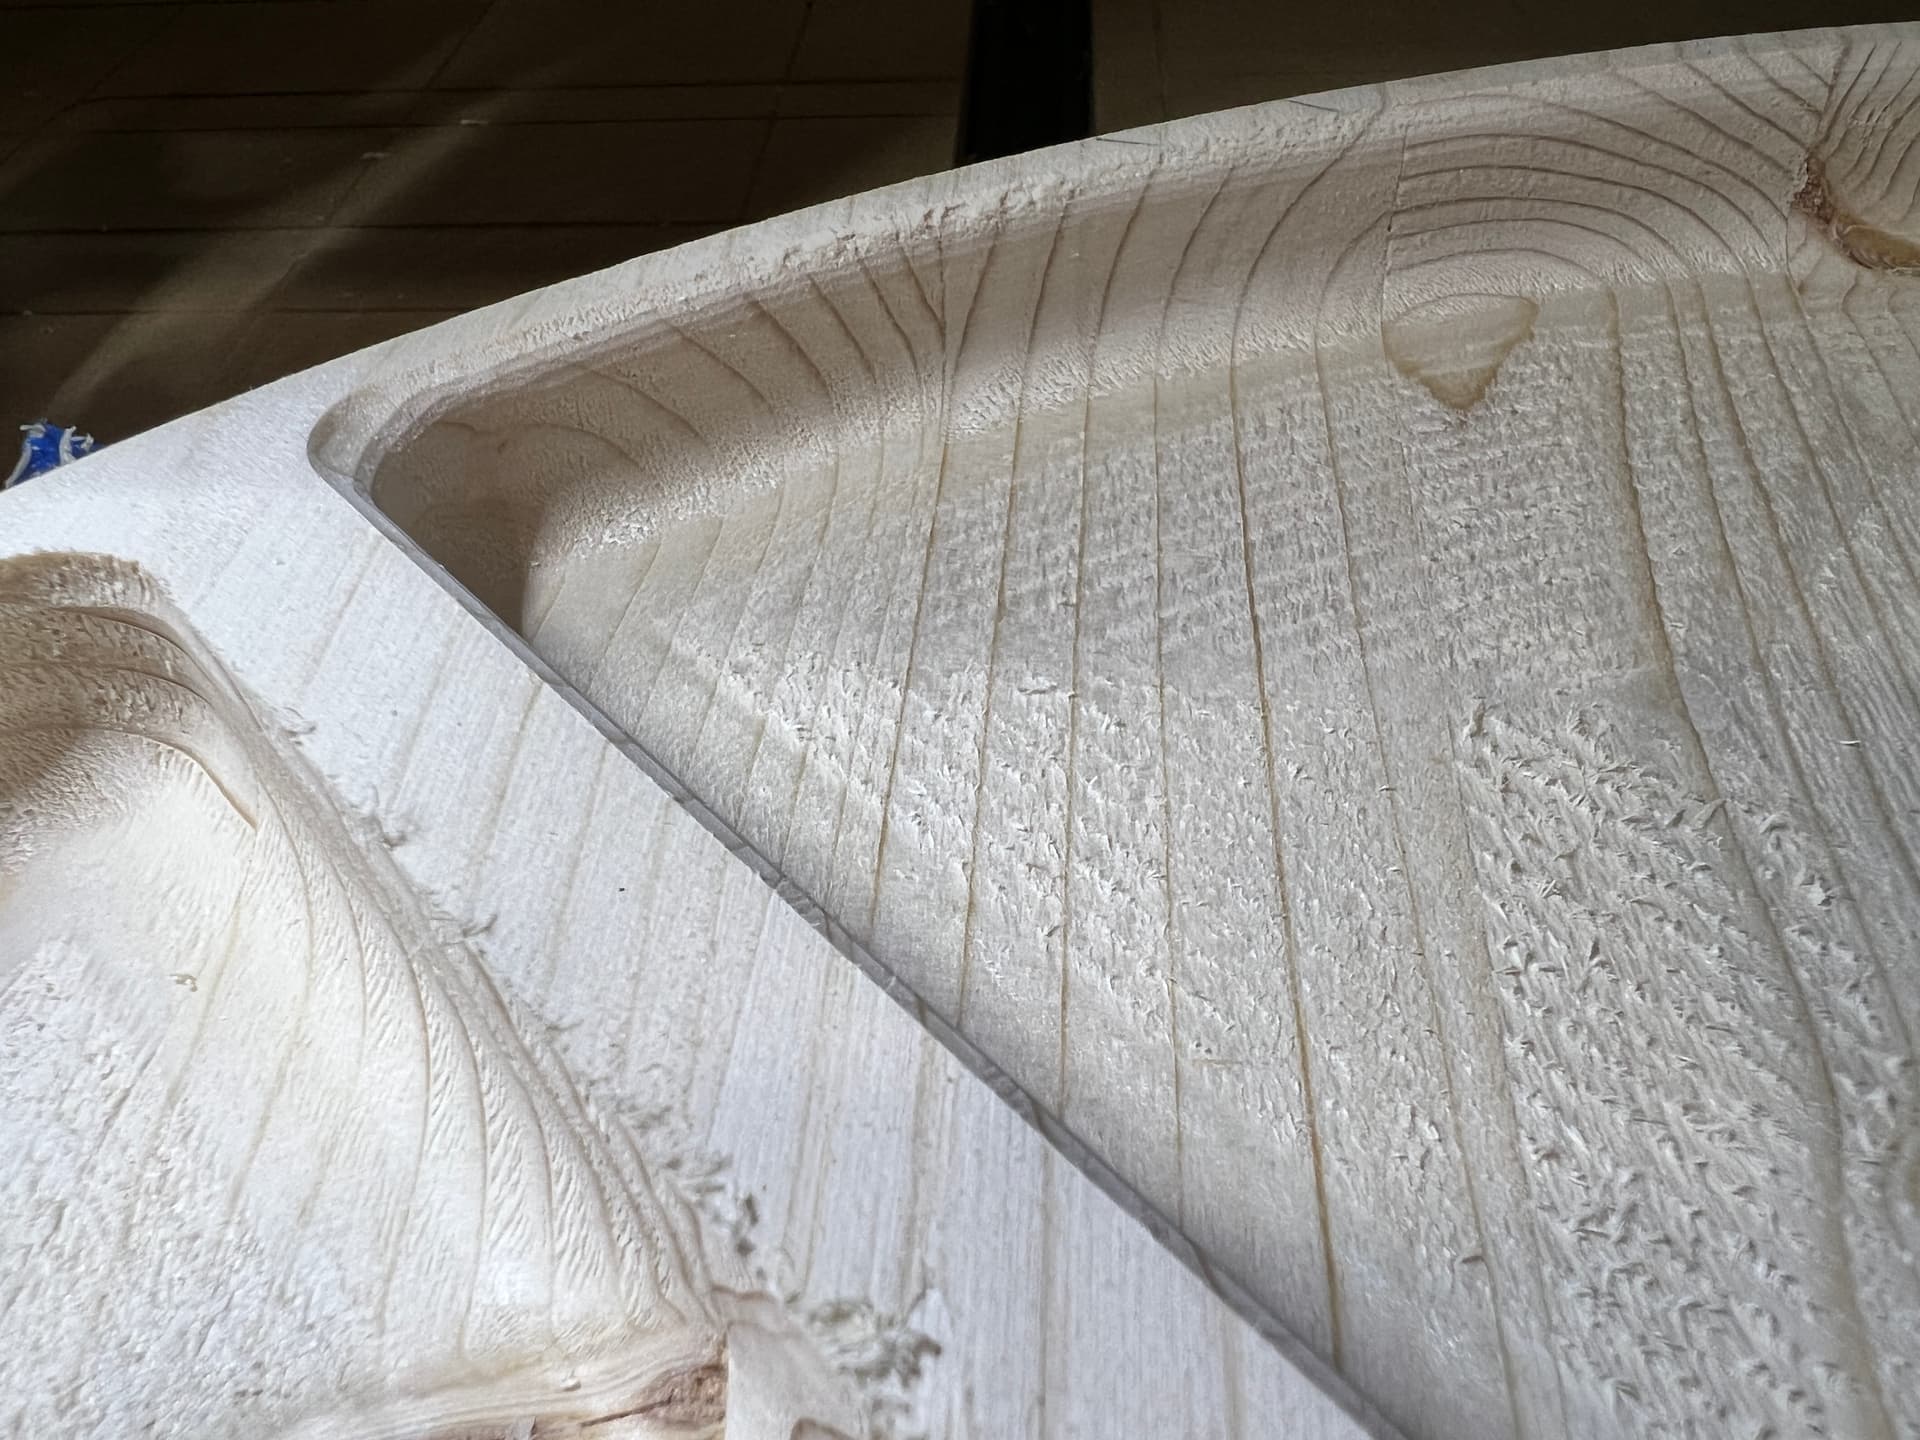
The problem is I have been getting chamfers on the top edges of my work when I use this bit to make a “bowl”. I don’t usually use this bit anymore because it has given me this trouble ever since I bought it and I didn’t have the time to figure out why.
I am wondering if anyone else has had this problem? The only way I can get around it is making the first cut deeper than the radius depth but that won’t work with all woods because that is way too much to take off at once. I think this is a v-carve issue where it will do different passes in each cut depth thus leaving the weird edge. Of course I am not sure, but I would love to find a fix for this issue.
The rest of the items i carve are very intricate and I never have issues withe those. So I don’t think its an issue with travel or something loose on the cnc.
I don’t use v carve so the setting is probably called something else. In fusion 360 there is a check box for “contact point boundary” in the geometry tab. It keeps only the rounded part of a bit in contact with the surface and eliminates that kind of chamfering by keeping the bit inside the perimeter and not allowing it to come up over the lip. Maybe those are enough bread crumbs to find an equivalent in v carve?
I’m not familiar with the issue, but have you tried increasing the roughing machining allowance to see if it moves the bit farther inward as it descends down on that curvature?
Try using the pocket inlay toolpath with your bowl bit. This path won’t try to climb the tool out into the small shapes like the pocket path does. I use the same Whiteside bowl bit.