@Storm27m nice work did you use some sort of masking material for painting and what bit did you use for the detail by the eyes (if that’s what they are)

The detail by the eyes (where your arrow points) was just part of the file. The VCarve toolpath for all the detail work was cut with a 45 degree v-bit and a 1/16" clearance bit in VCarve Pro (both bits are in the VCarve tool settings).
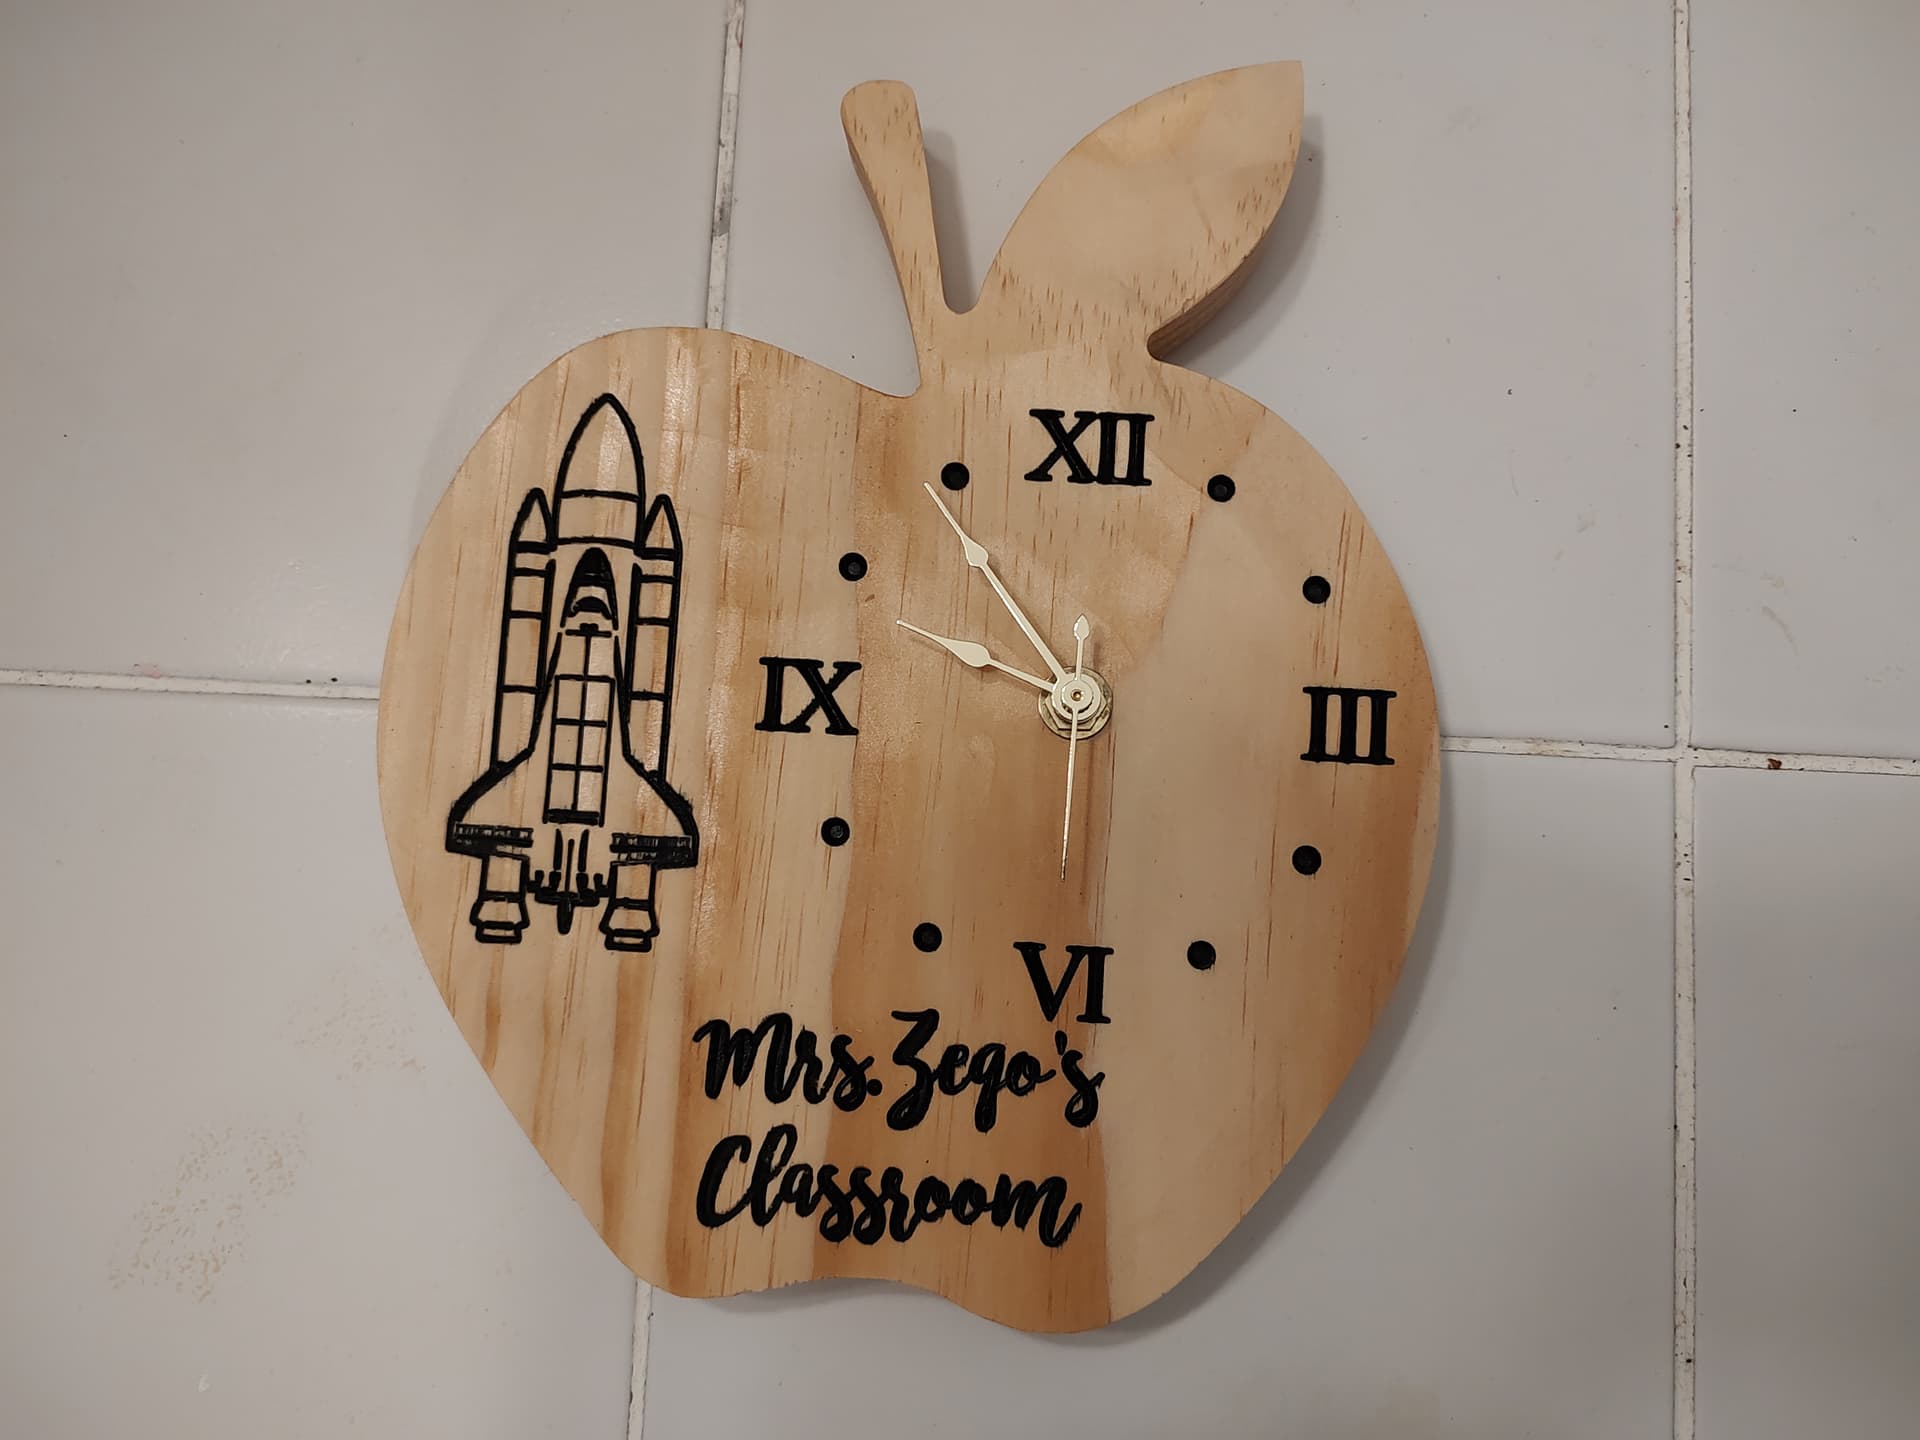
For the painting, I did not use any masking. I cut my VCarve toolpaths to 1/16" deep and then sealed the entire board with shellac. I hand painted everything with acrylic paints (pretty much being as fast and sloppy as I could possibly be) and then I let it dry. After the paint dried, I put the board back on the CNC and used a surfacing but to whack off the top 1/32" of wood. Shaving off that layer removes all the excess paint (from my sloppy paint job) and gives a clean look like I painted it perfectly. Then I very carefully hand painted the eyes since they are not recessed cuts in the wood. Once dry, I sealed the whole board with a few coats of polyurethane.
Hope that makes sense.
5 Likes
Hey Josh,
lol ![]()
seems you have the same finishing things on your shelf than me ![]() – avoidance of epoxy (except for gluing in different cases). Assume you use linseed oil too
– avoidance of epoxy (except for gluing in different cases). Assume you use linseed oil too ![]()
Clever. A good alternative to masking - especially when doing a bunch of different colors.
While I love a good hand rubbed linseed oil finish, I usually reserve that for special projects. Quite a bit more drying time between coats! I use a lot of spray polyurethane these days for ease of use and overall time savings. I always have linseed oil on hand though!
Exactly right Jim. If It were all one color, I’d definitely have masked/sprayed. I think I’m going to batch out a few of these for friends (everyone is getting hooked) so I will probably do a bottom coat of black spray paint over the whole project and then only hand paint the colored bits before skimming off the top layer.
Of added benefit on the pine board, I had several spots where the pine blew out in the details. Skimming down the top layer allowed me to shave most of those out too!
1 Like
In addition to some instruction i wrote i Share this youtube video

7 Likes
What a great video. I will be making these for sure now…
1 Like
I’m intrigued. I have found an online version of the game. It’s fun!
2 Likes
Cut n paste of rules from www (but i cant find the original source so apologies). Last two pages are the rules we play by.
Riyal Game of UR Rules 2022.PDF (293.3 KB)
1 Like
Did an epoxy project for a Mothers Day project, very pleased with my results. …and yes, the wifey likes her coffee insanely sweet.

5 Likes

Hi Saawdust81, do you have any progress or finished pics of your pinewood derby cars? Inquiring minds would like an update on this awesome project.
I’m not usually a sign guy, but I needed something to run the new machine through some paces. And I felt the shop could use a sign — occasionally, I have delusions that someday I may actually try to sell something.
Additionally, I thought I’d try something I hadn’t done before. I’ve wanted to use up some leftover Purple Heart, so I ended up layering it with Oak to attempt a two-tone carve.


Note to self, do not use Odie’s Oil on textured surfaces unless you want to spend all weekend with a toothbrush…
14 Likes


I will upload the others when I get some pictures. Over all they did very well but not in the top 5 (of the 55 cars that we raced). I think it came down to weight distribution. The center of mass was too far forward. If I had it to do all over again I would hollow out as much as possible and weight the back.
8 Likes


I was approached by a friend of a friend to make some awards for a folk music conference. I’m quite happy with how they turned out.

2 Likes
2 key items - weight low and in the back and only 3 wheels touching (with the wheels sanded proud to one side so it’s the thinnest ridge riding the track).
1 pushing the rules envelope - weight should be just over the limit and then a bit of the front shaved until it comes in under. That makes you heavier than the cars that start out light and get weight added until it weighs at the limit. You get nearly a full unit of whatever precision the scale is over the limit (think 3 oz with a scale that measures whole oz - 3.9 will still show 3…if your scale reads .1 unit then 3.09 reads 3.0 just like someone coming at it from the 2.9 side - they’ll add weight and trip it once they add the .1 oz and be exactly 3…every fraction matters).
Those turned out awesome