That is why I put on casters. I tile occasionally and it is nice to have it pulled out. But for the vast majority of the time it stays in one place…in a corner.
4 Likes
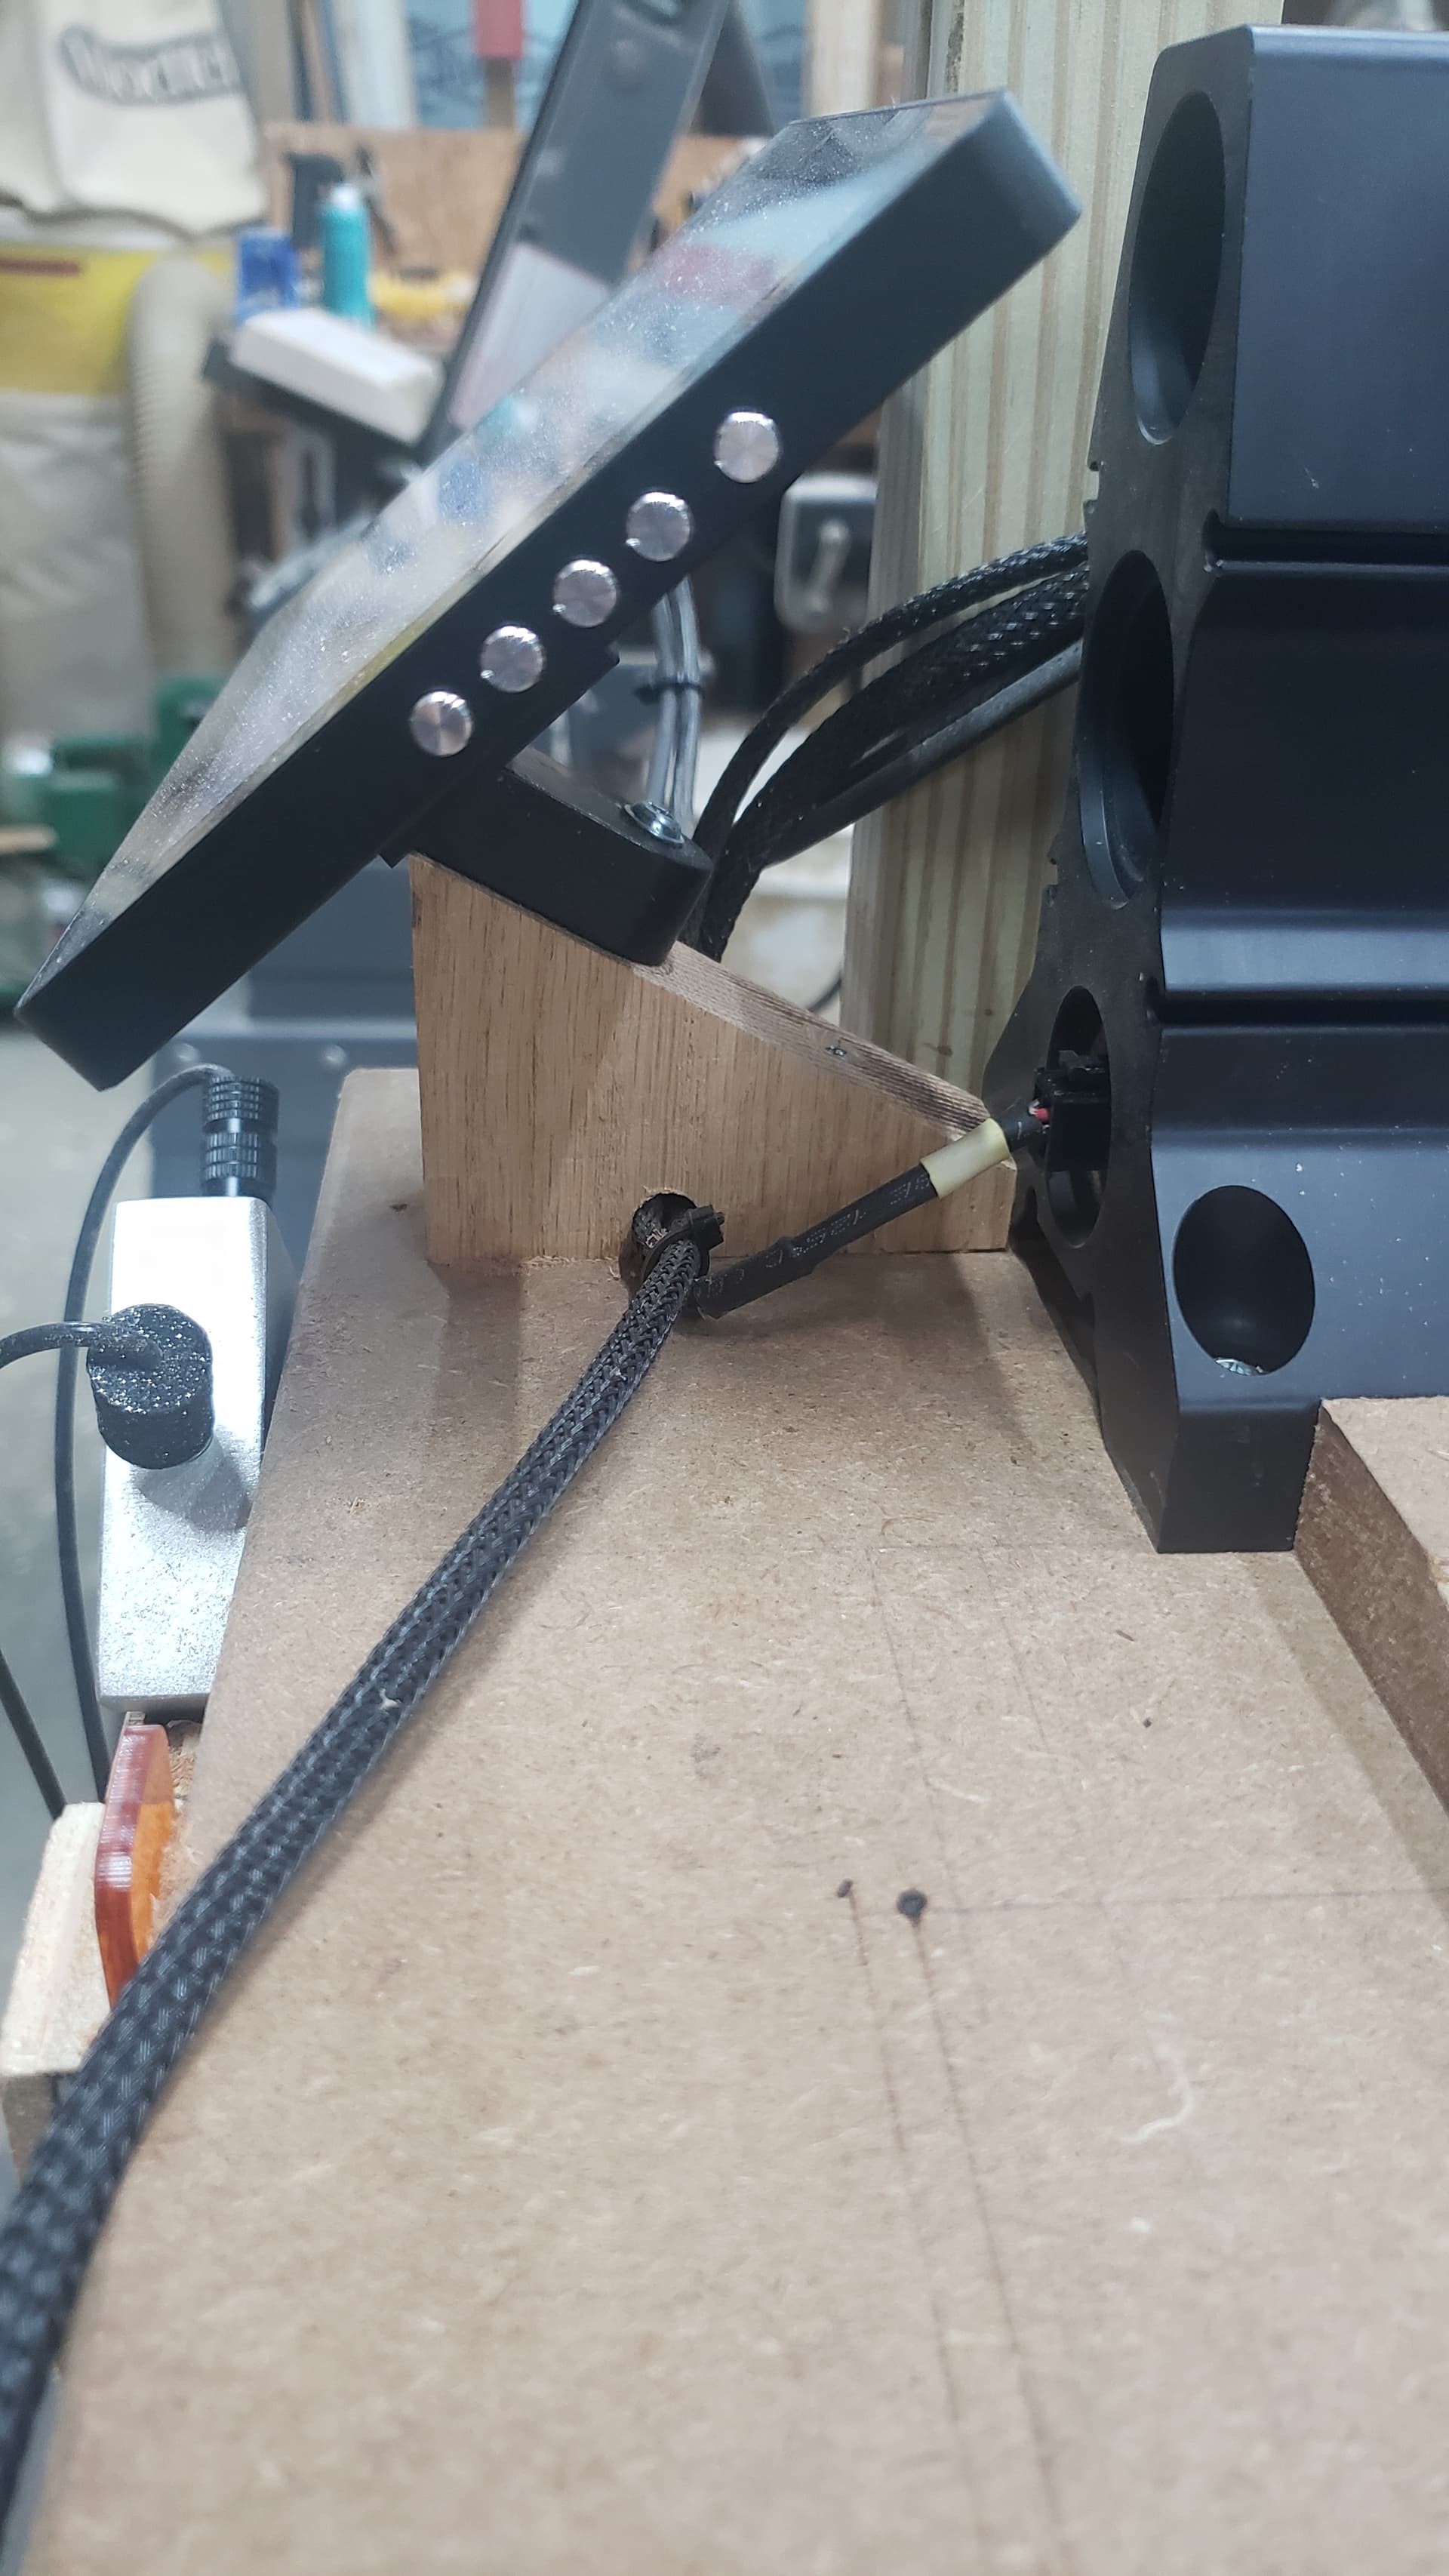
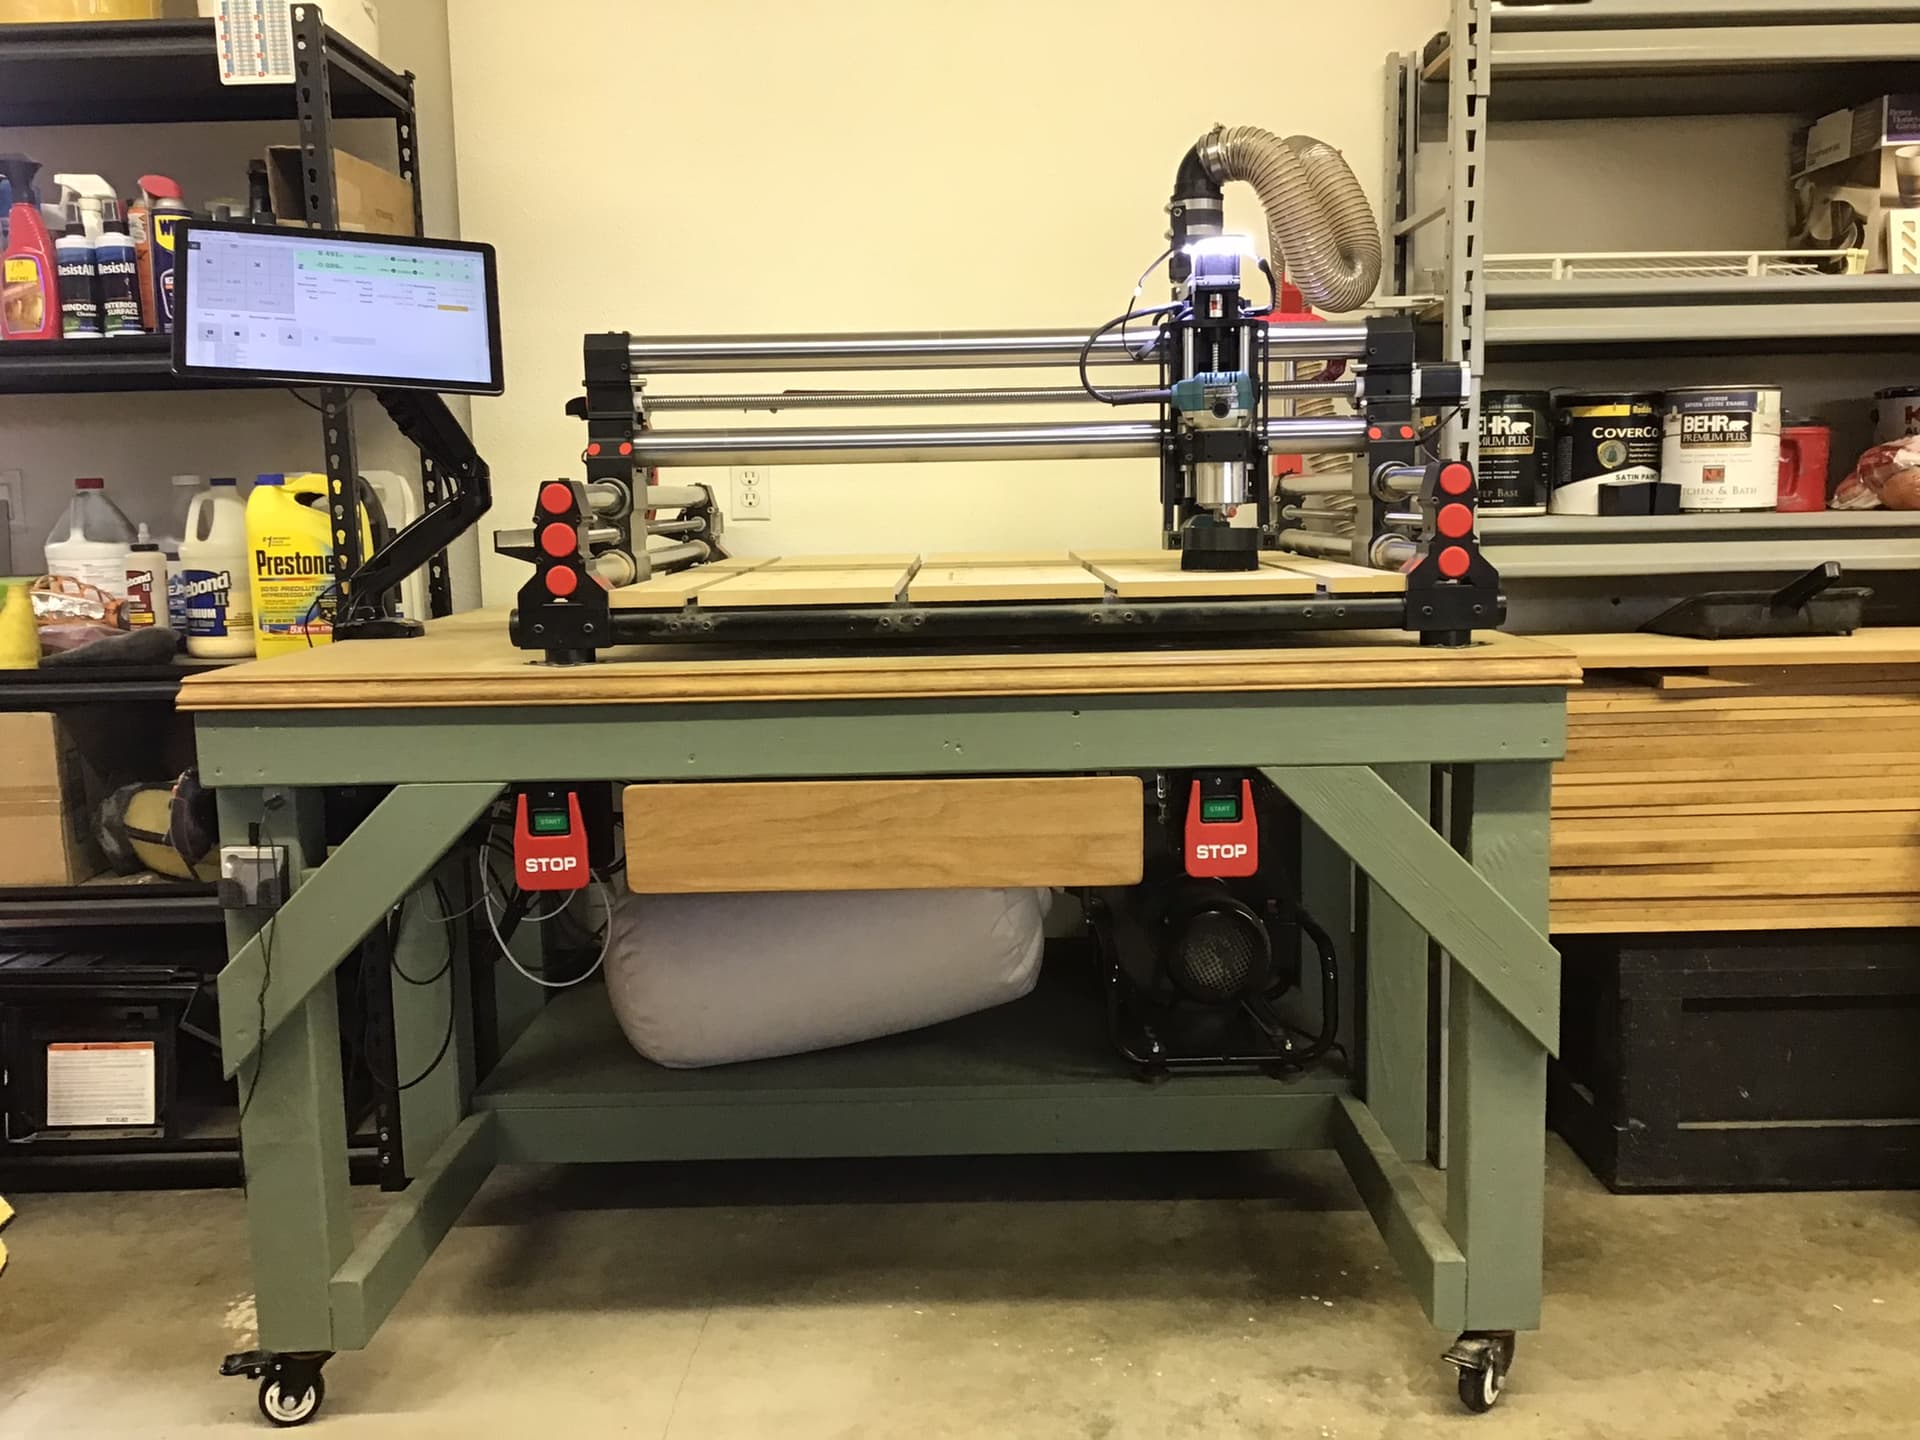
I built mine 4’ x 4’ with the control box mounted on the left side. Space was tight so I sacrificed the extra foot. It works great for general use but I’m still trying to figure out what I want to do with the control screen. The included mount doesn’t allow the screen to tilt very far and being a tall person sucks sometimes… I would like to mount the screen to the right side of the table but all of the cables for the screen on on the right side and I don’t see how you can flip the rotation. I usually control and monitor things from a nearby laptop anyway though.
Anyway, the table is a simple 2x6 frame with an MDF torsion box for rigidity and true flat.
1 Like
have a link for the 4" boot?
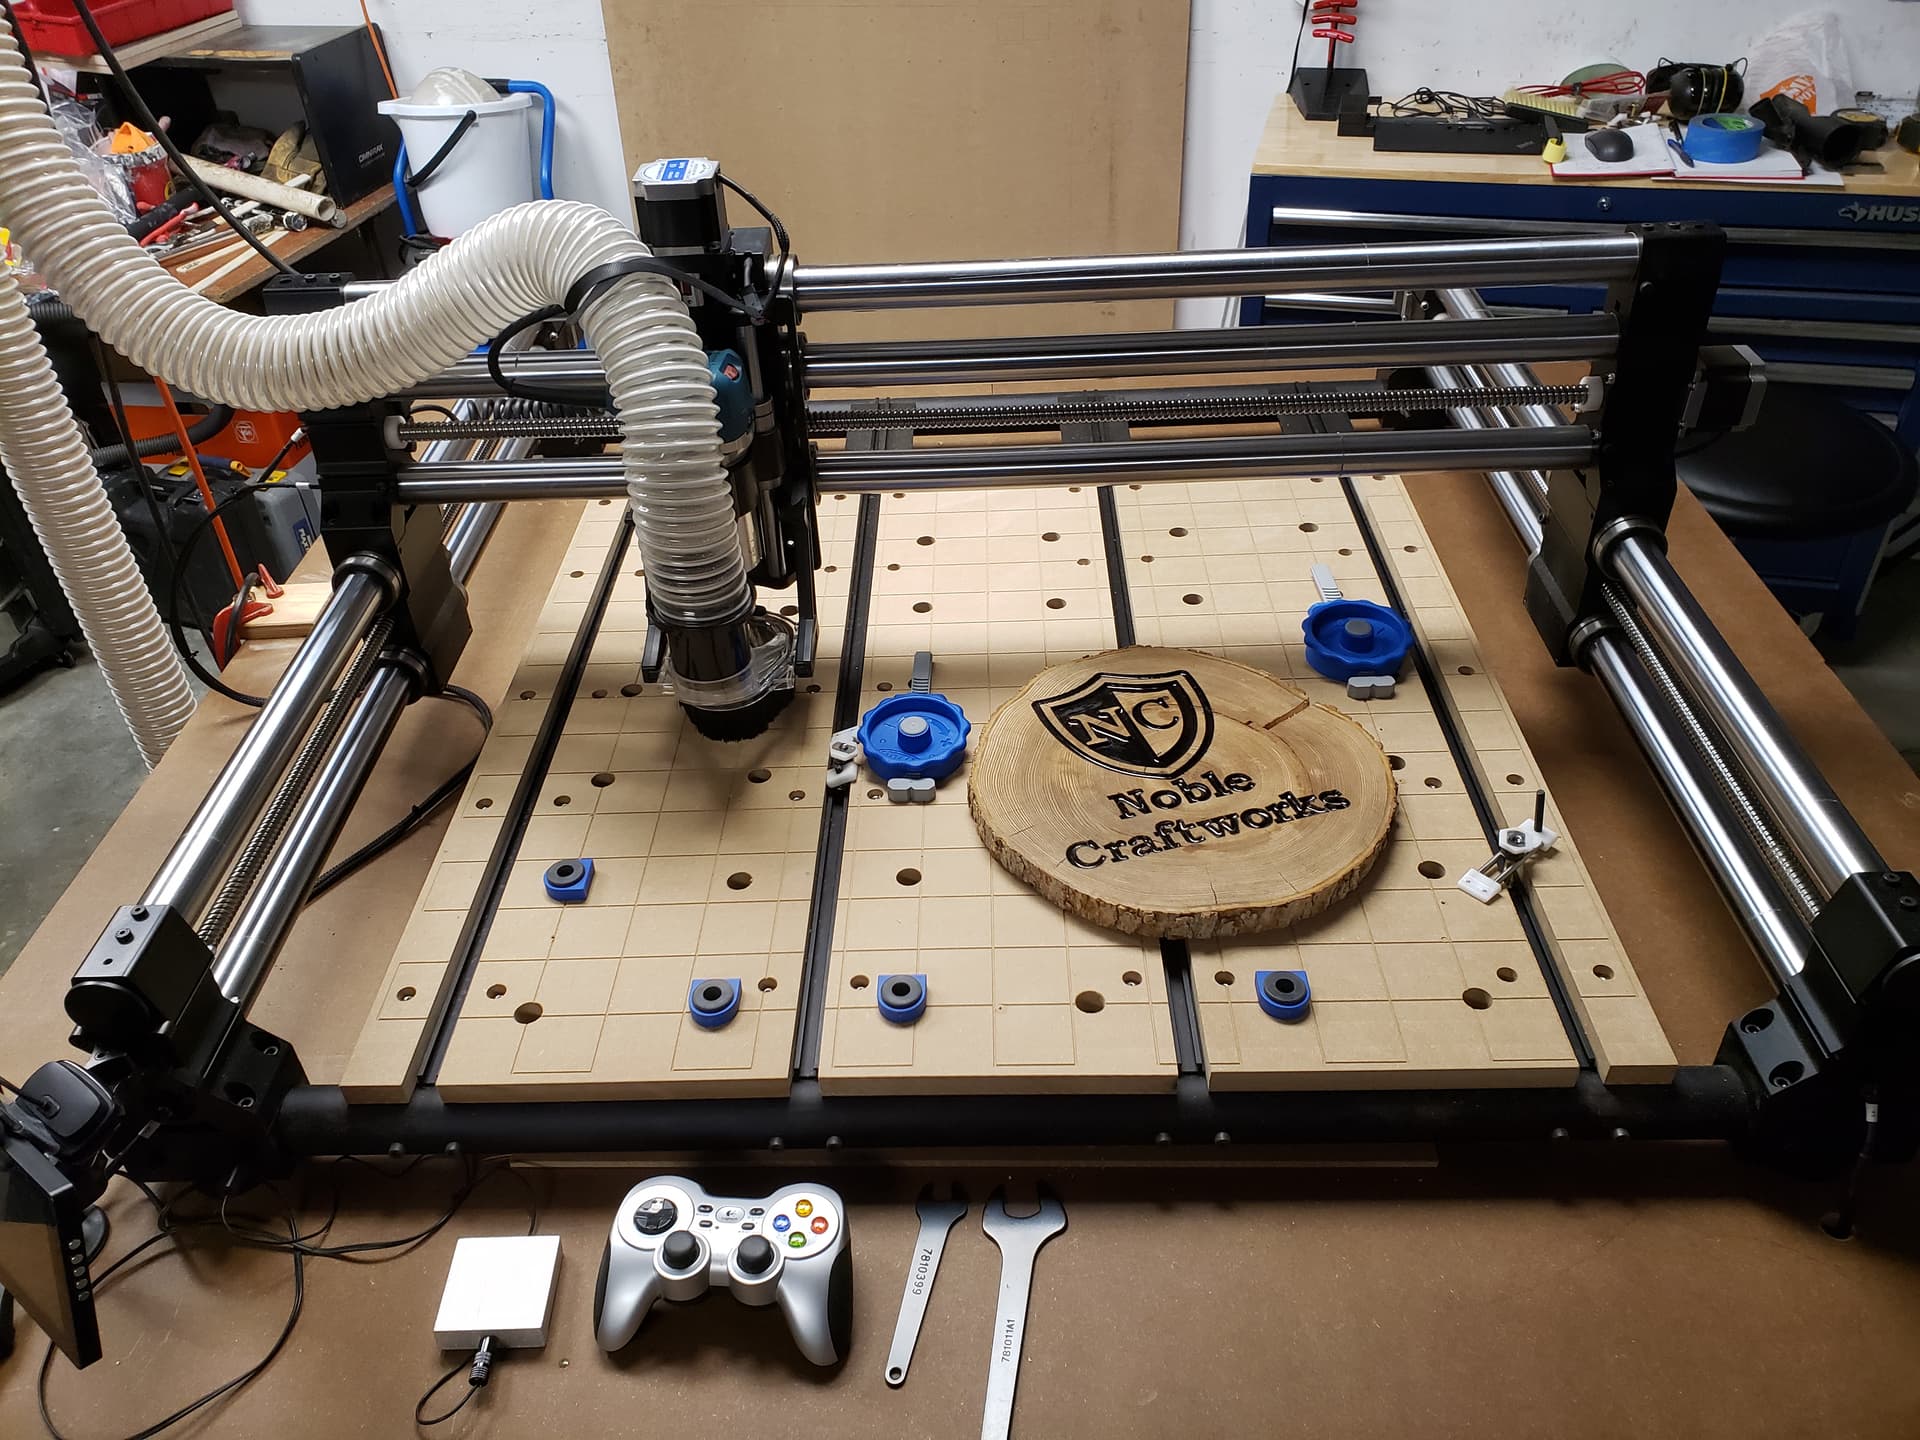
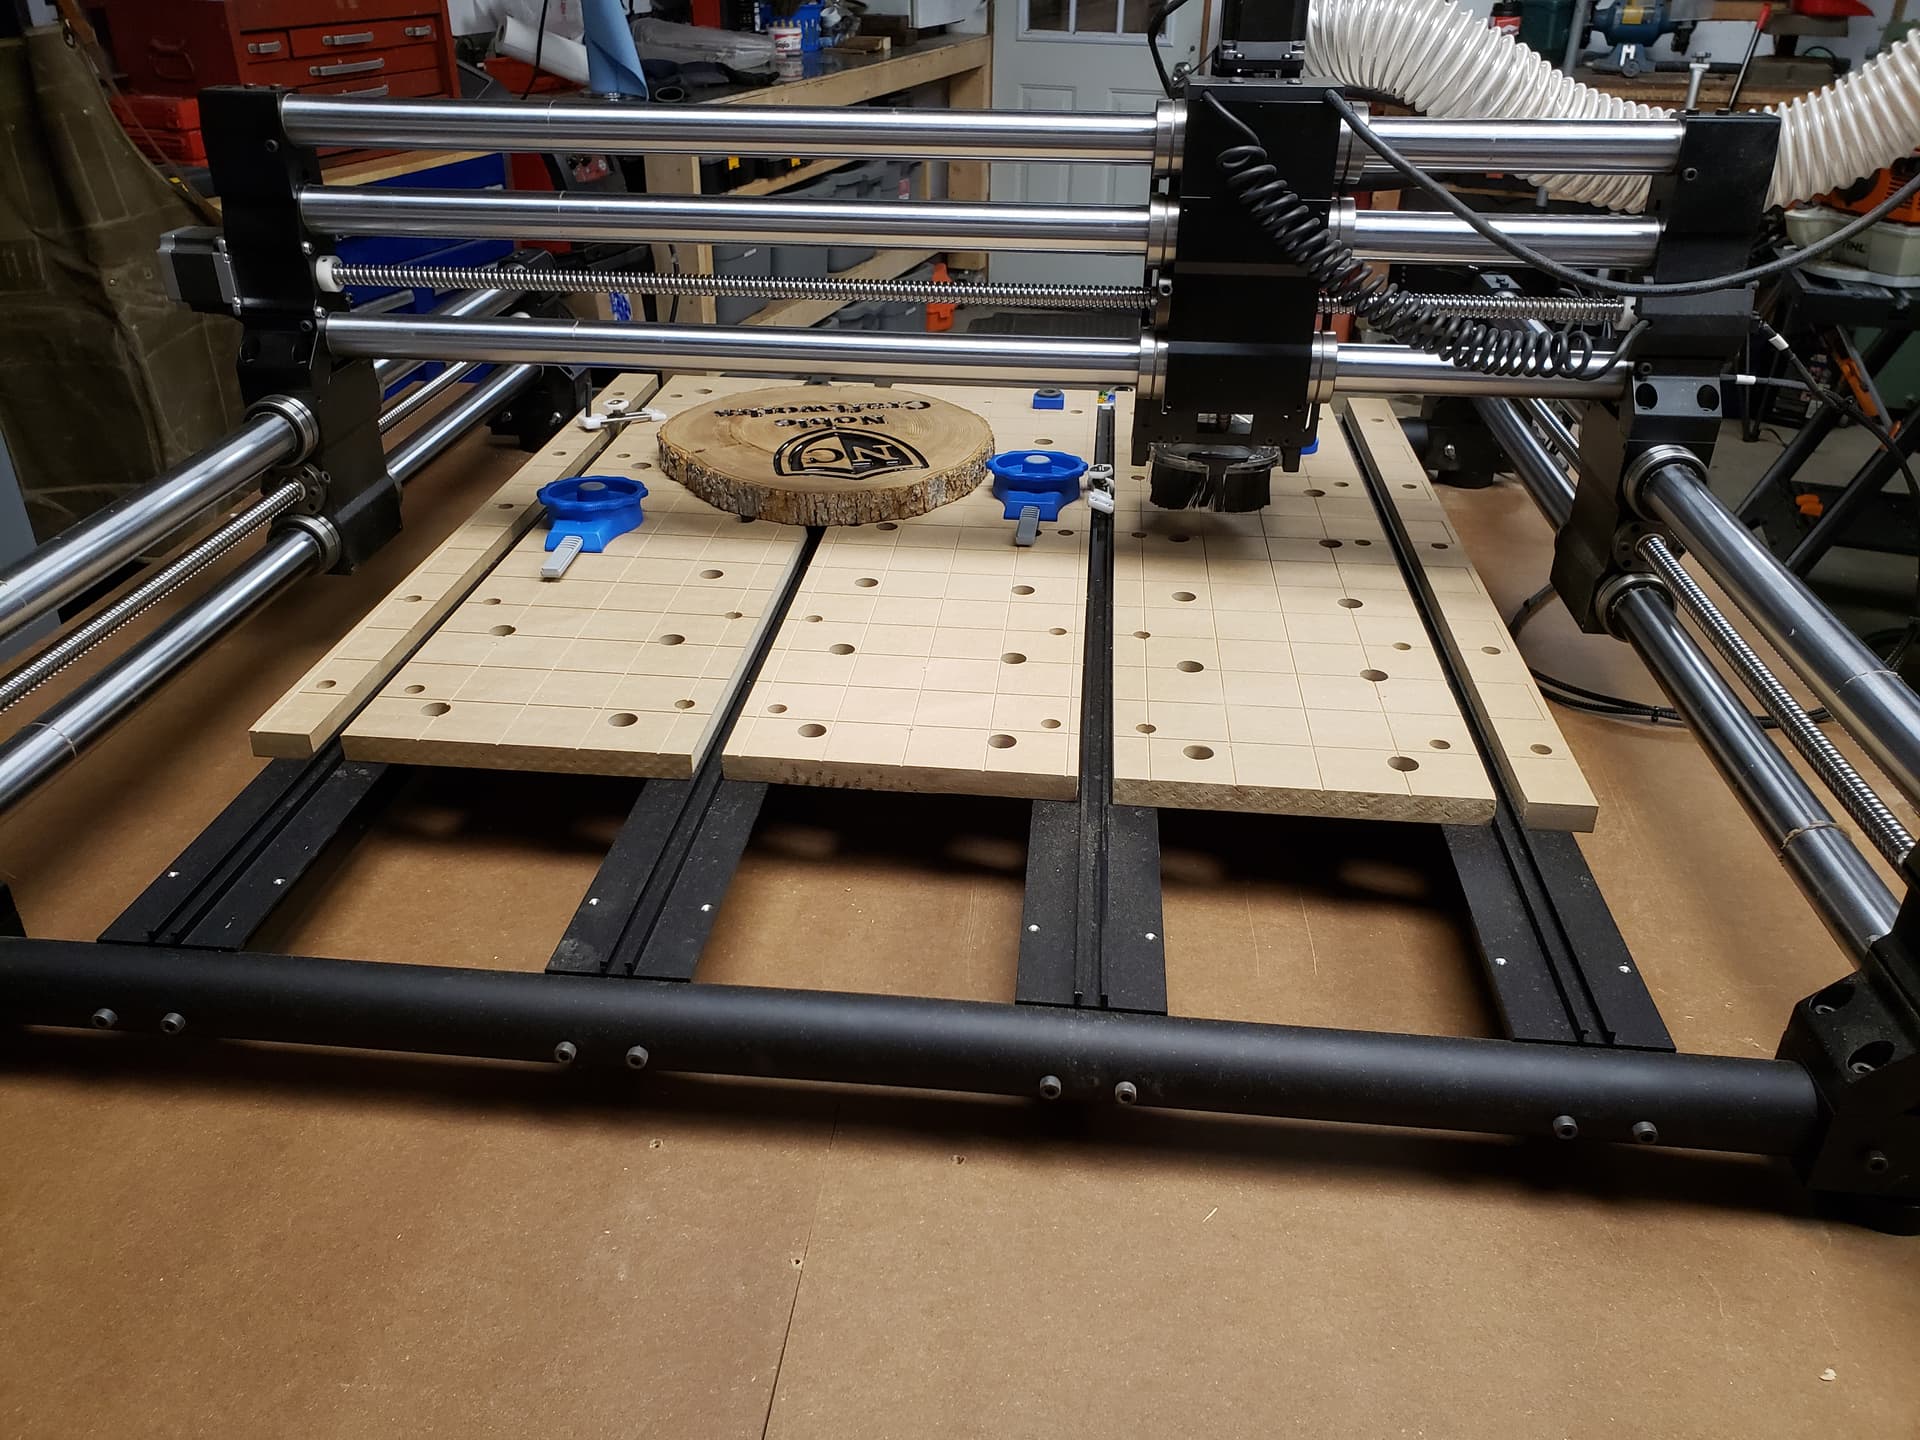
This is the type I used. May not have been this specific seller though. I had to grind away part of the back so it would clear the plate the 80mm mount connects to. I might not of needed to if I had a 3d printer because this type of boot uses inserts to clamp on a wide range of spindles. I’m sure someone could make an offset adapter ring that may have enough clearance. They don’t sell a ring in 65mm, also something someone with a 3d printer could make. Even with what I removed the dust collector removes 99% of the dust and chips.
https://www.amazon.com/Daedalus-Engraver-Pressure-Engraving-Milling/dp/B0813JJ831/ref=sr_1_2
@Dr-Al which 1hp dust collector do you have? I had one (a Rockler 650 CFM, rated about 80-85 db) and returned it due to loudness.
1 Like
I have been considering using Unistrut also for my Journeyman table with a double layer of 3/4 MDF glued together. Or build a torsion box to fit the Kreg 44x64 bench I have coming. I will be adding in some panels between the legs which should stiffen the frame up considerably and close the space in at the same time. I’ll build some storage into that space.
I have the QCW from above coming too so not sure if I will need the torsion box design or not.
I am also interested in DC suggestions. This would be dedicated to the OF and use a separator before the DC.
I have a cheap Harbor Freight one. I don’t know if it’s a fluke but it’s very quiet. You can easily have a normal level conversation near it.
1 Like
I put together a 4" dust boot that you can 3D print (for free), or pick up on my Etsy page. I have versions for both 65mm and 80mm spindles. Here’s the Thingiverse links: 65mm: OneFinity 4-inch Dust Boot by gopher5 - Thingiverse 80mm: Onefinity 4-inch Dust Boot for 80mm spindle by gopher5 - Thingiverse
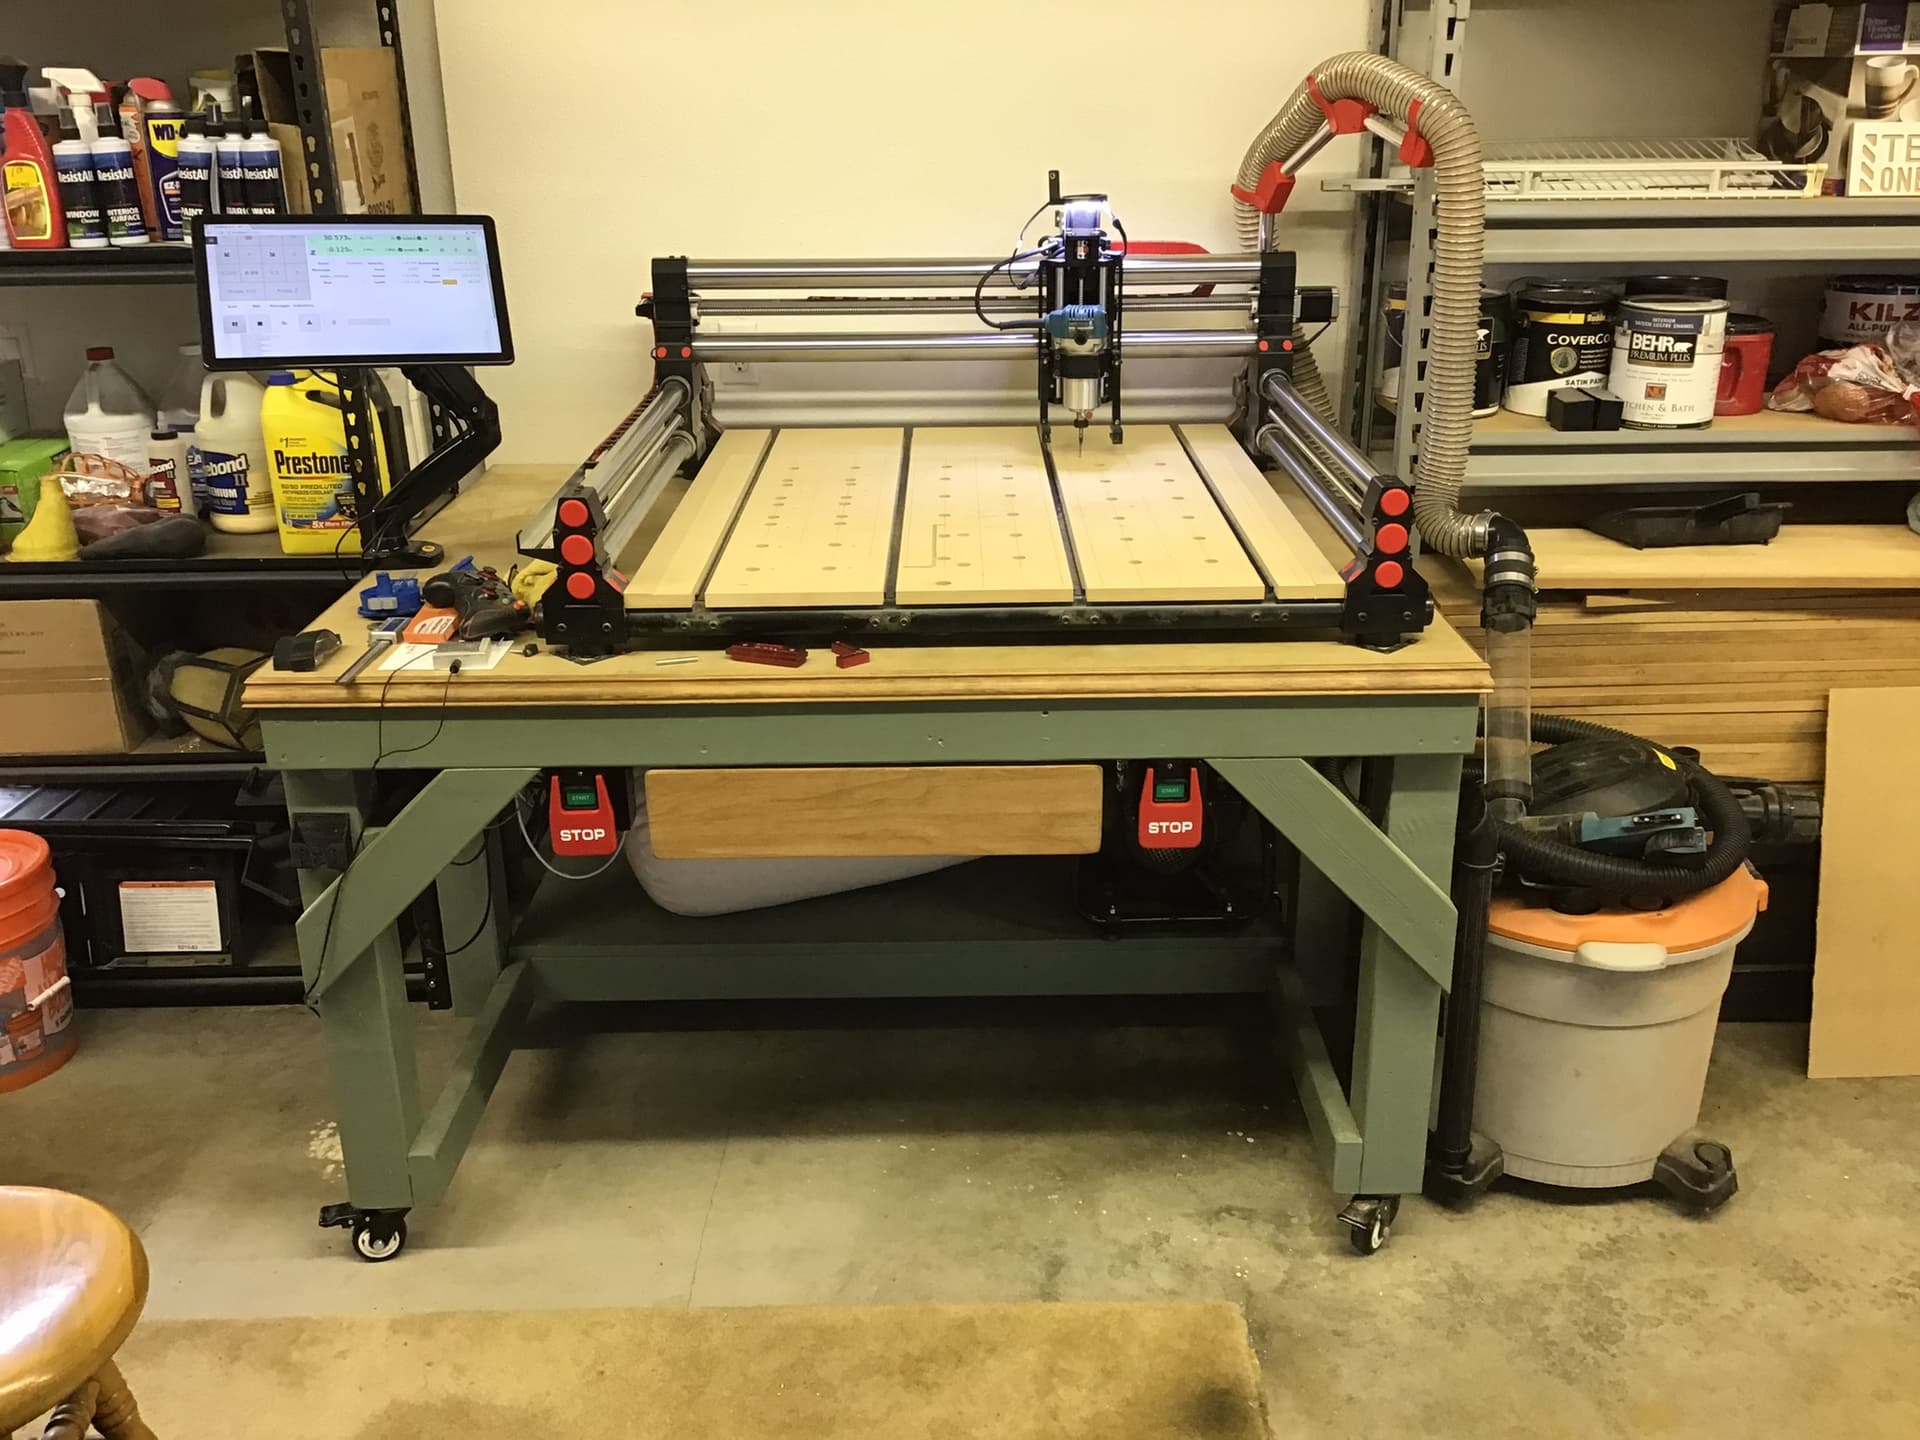
My DC is an older Delta 50-760 that I’ve upgraded with a cartridge filter and an Oneida Dust Deputy separator in front. Tolerable noise-wise. Someday (hopefully soon!) I’ll be upgrading to a larger DC so I can run a 2nd tool simultaneously with the 1F.
1 Like
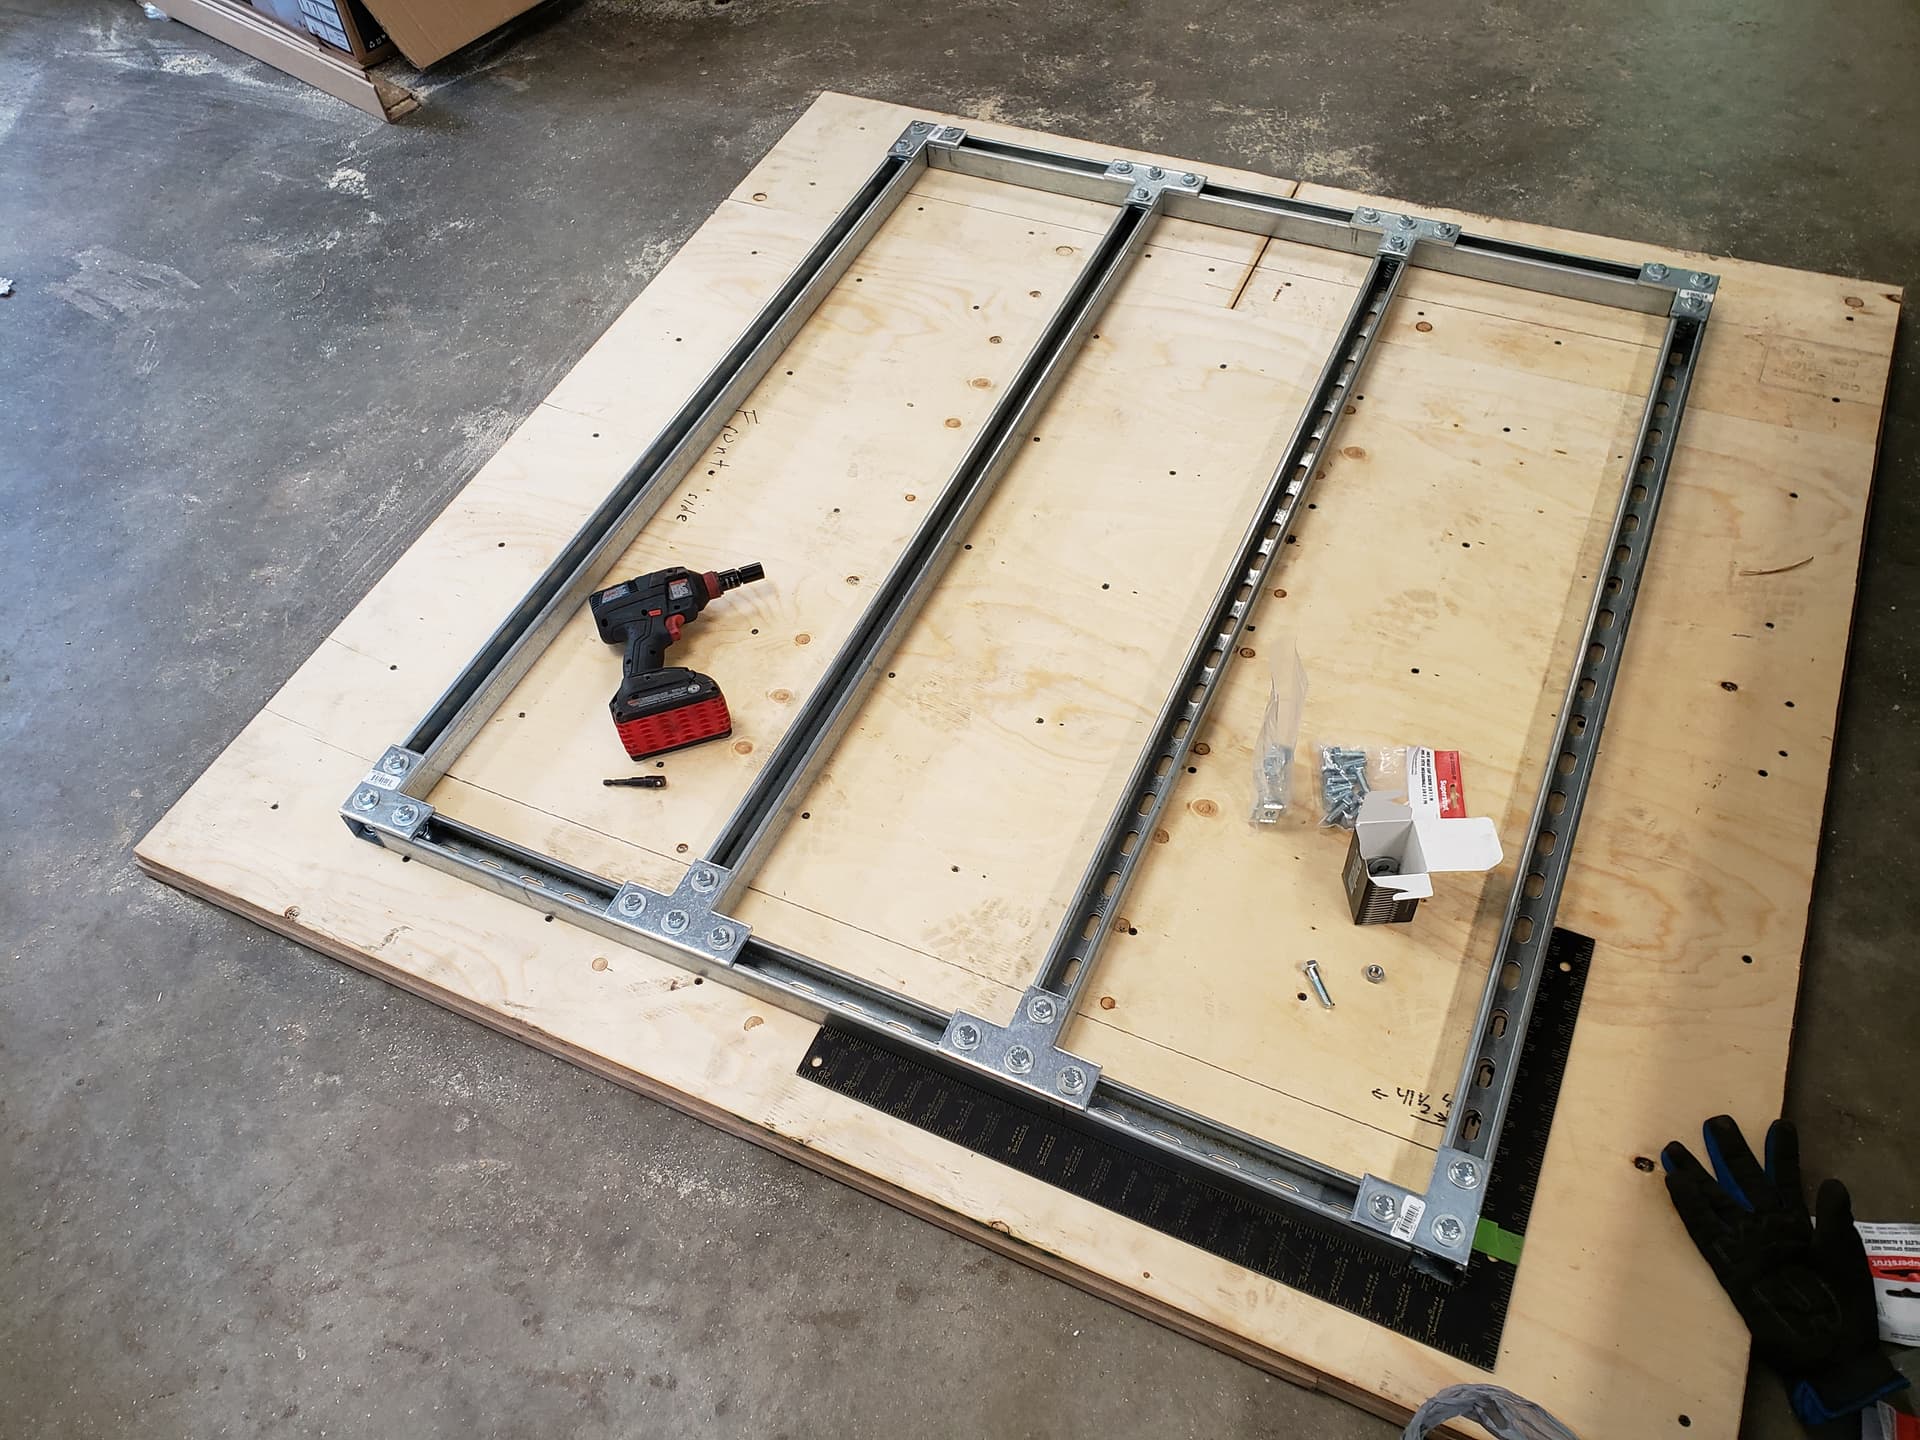
I just ordered the Kreg 44" legs. Do you by chance have more pictures of your table as you were building it. I was thinking of doing the same thing with unistrut? It looks like you added 4 pieces across the table to support the top and spoil board.
Hi Bob,
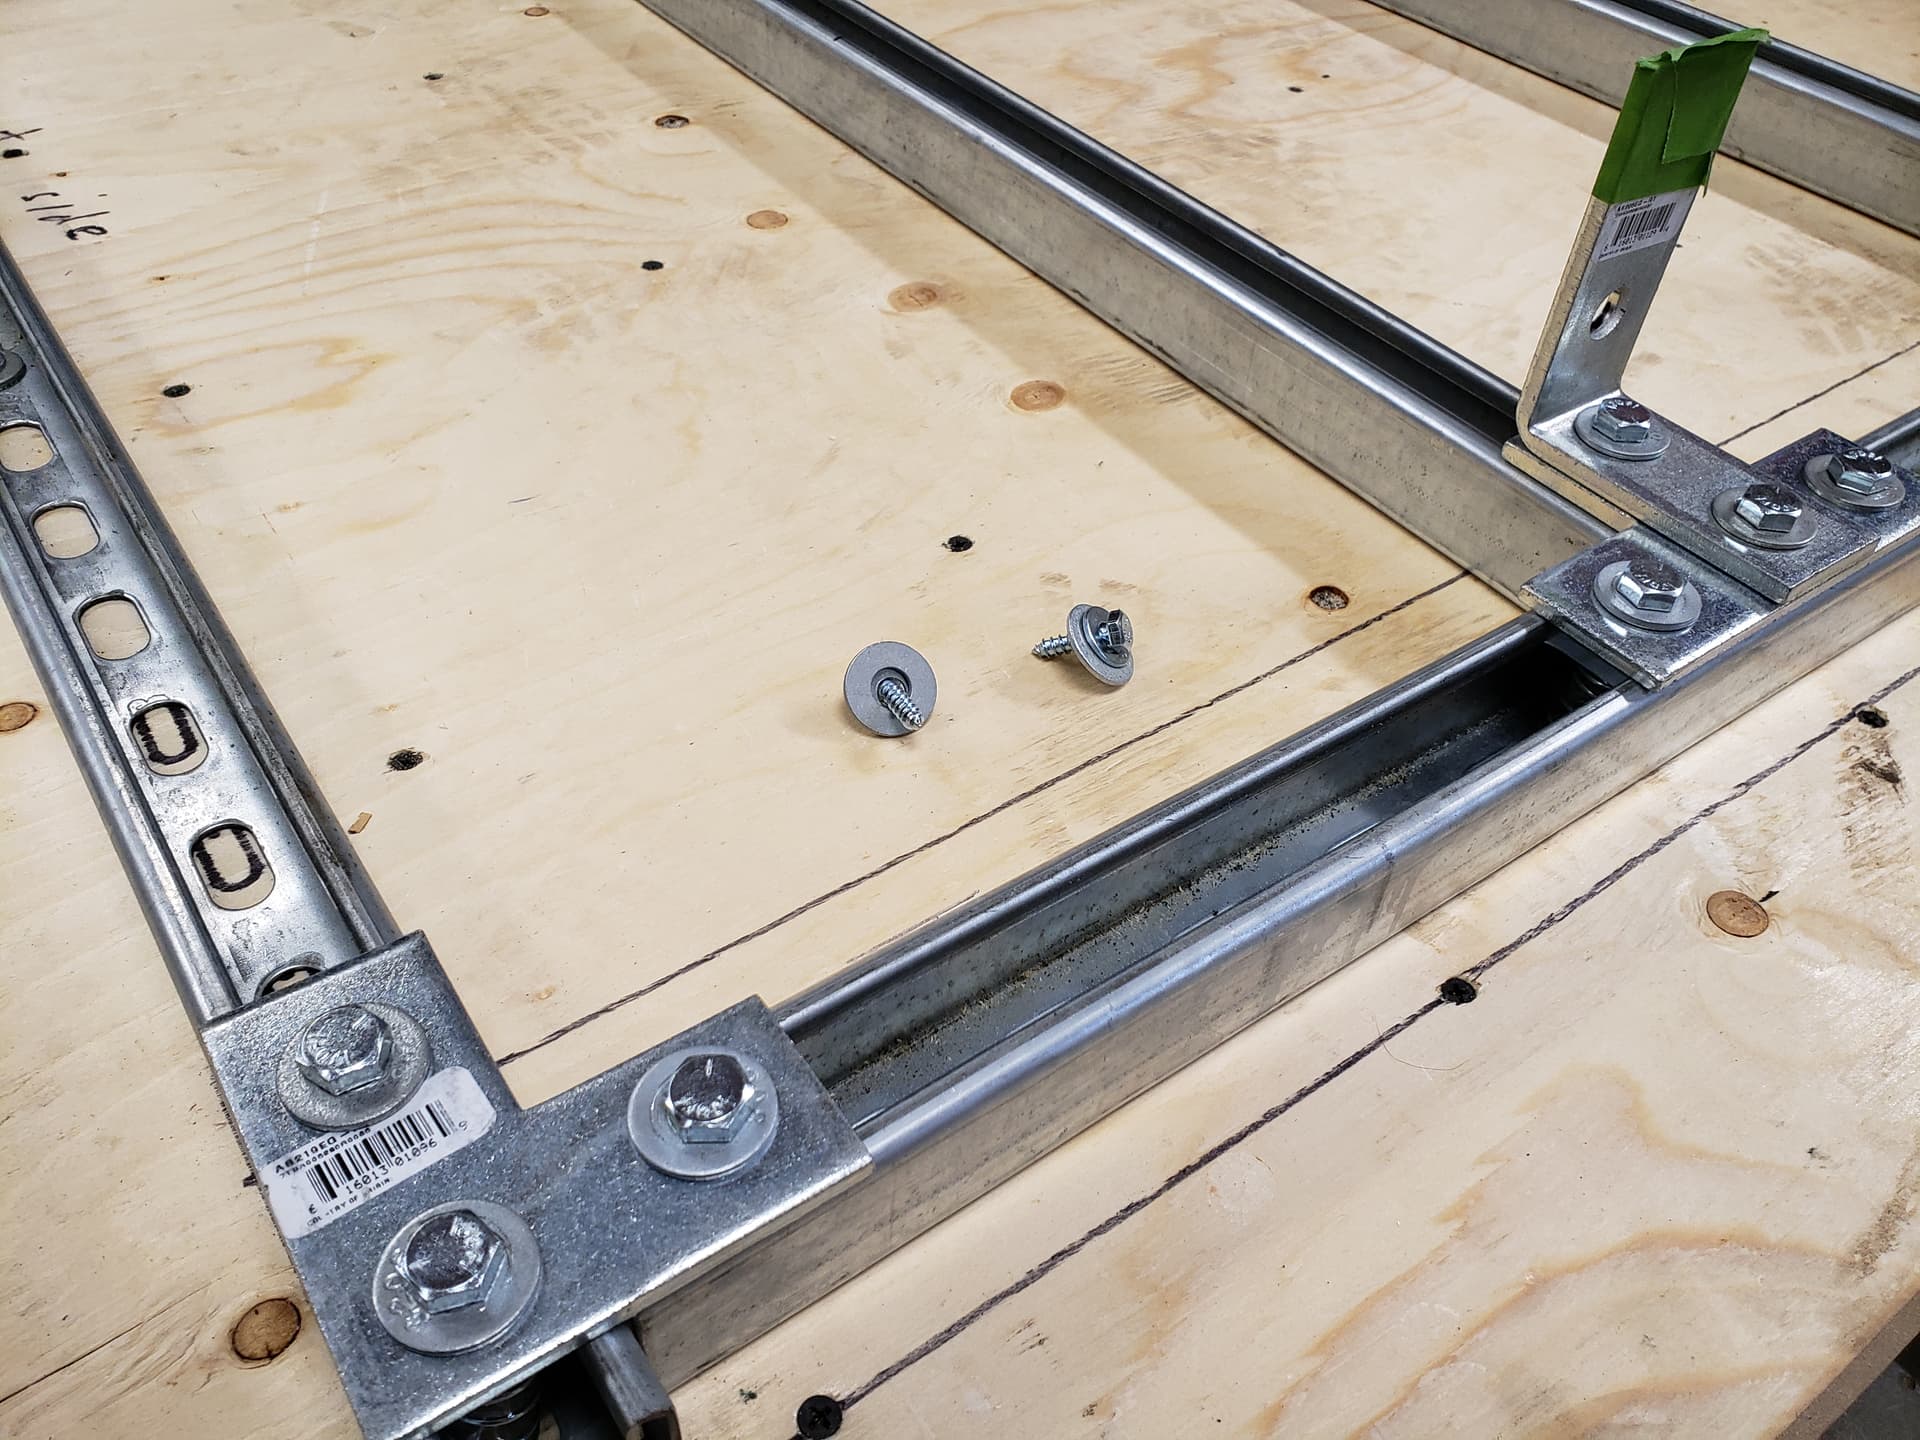
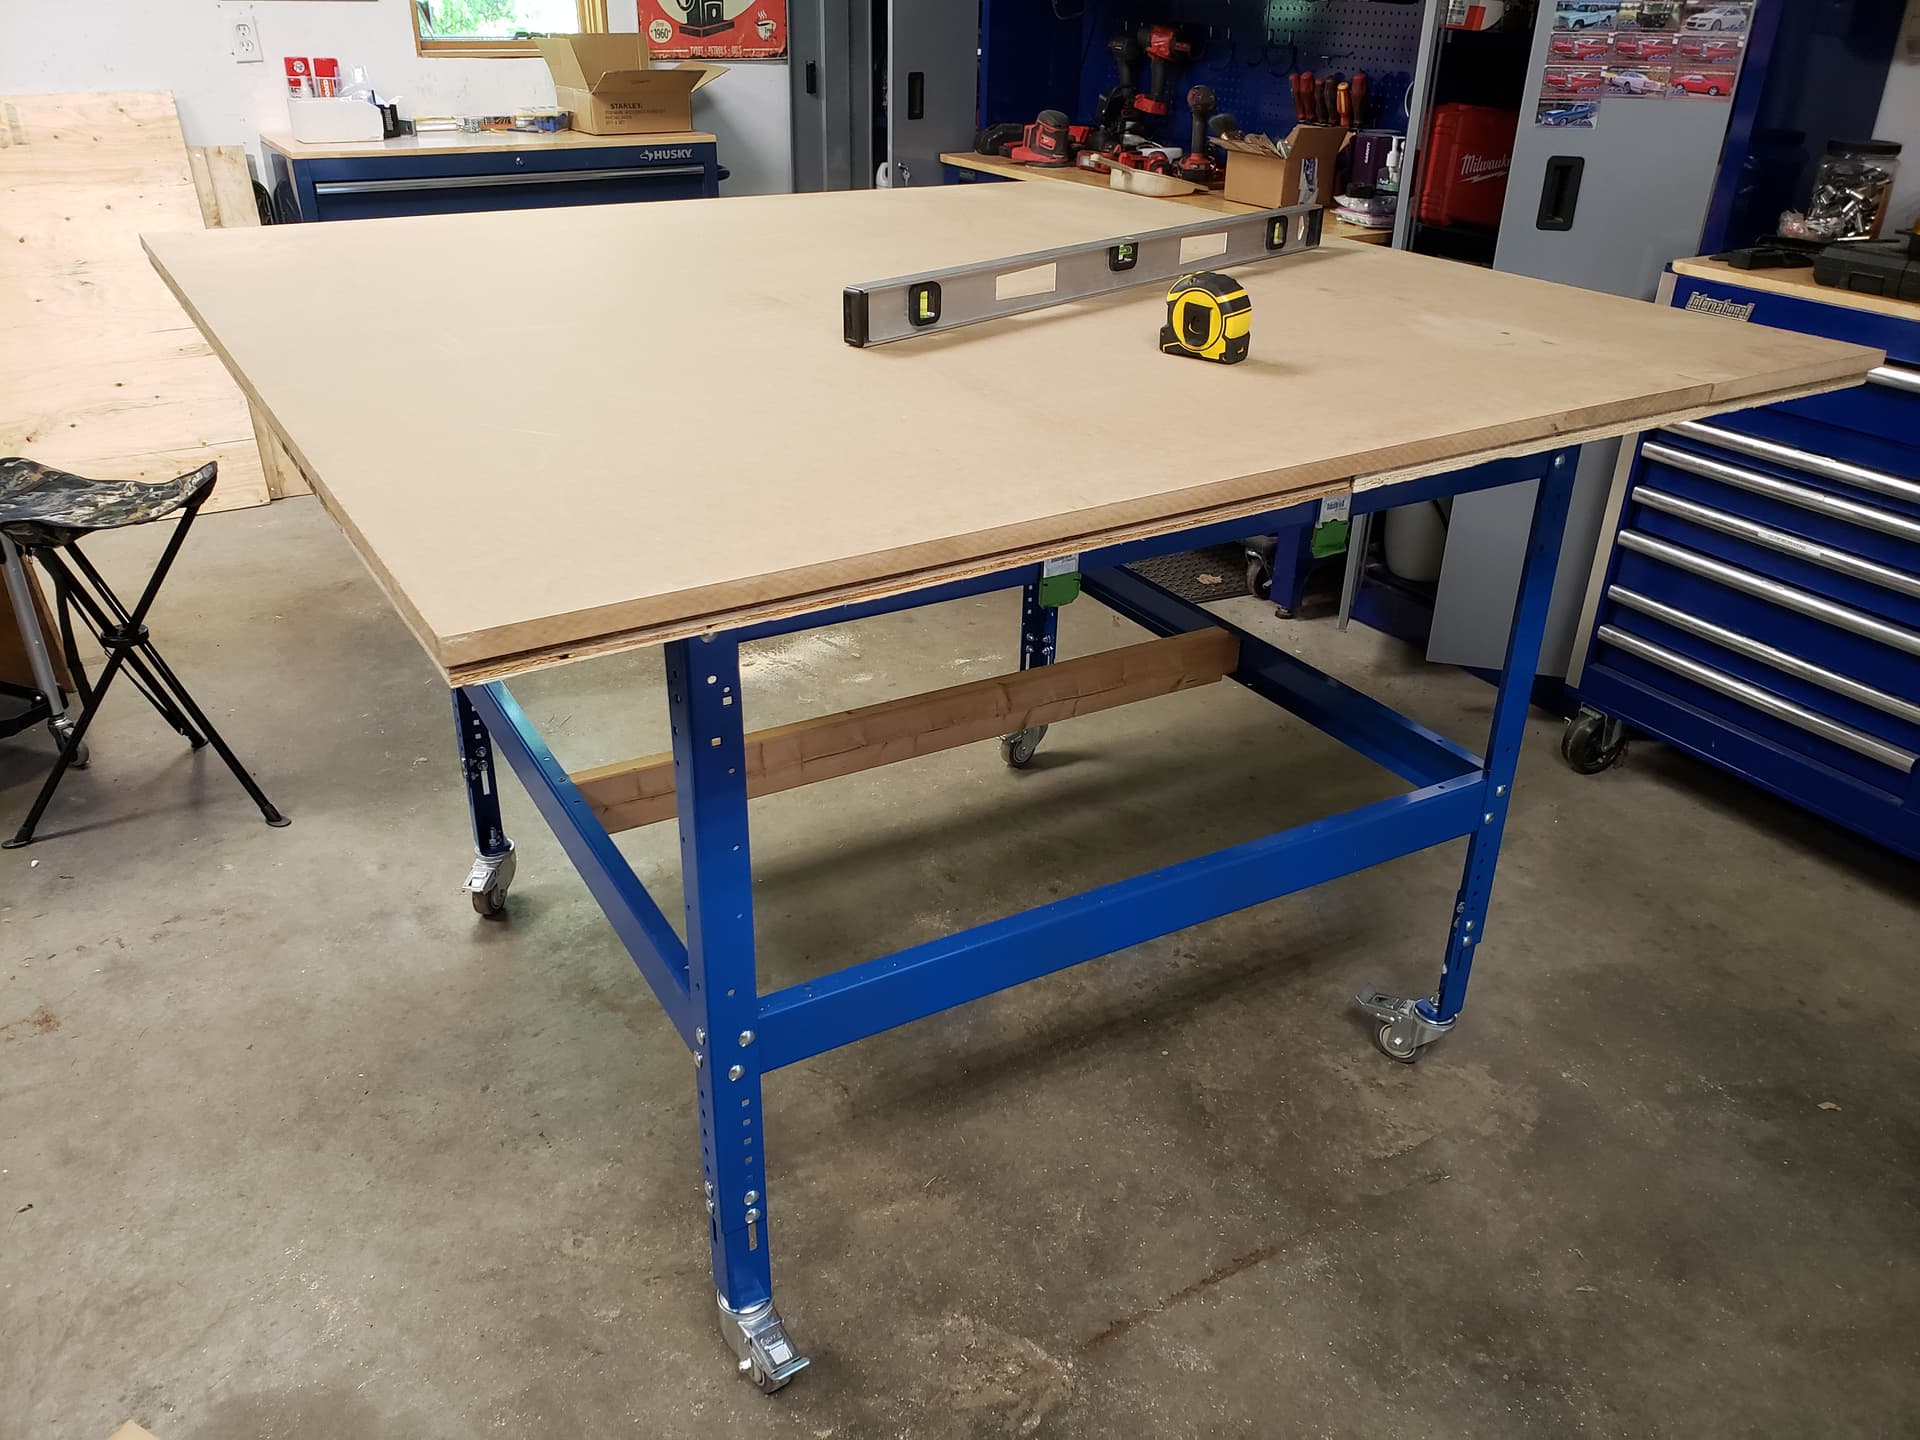
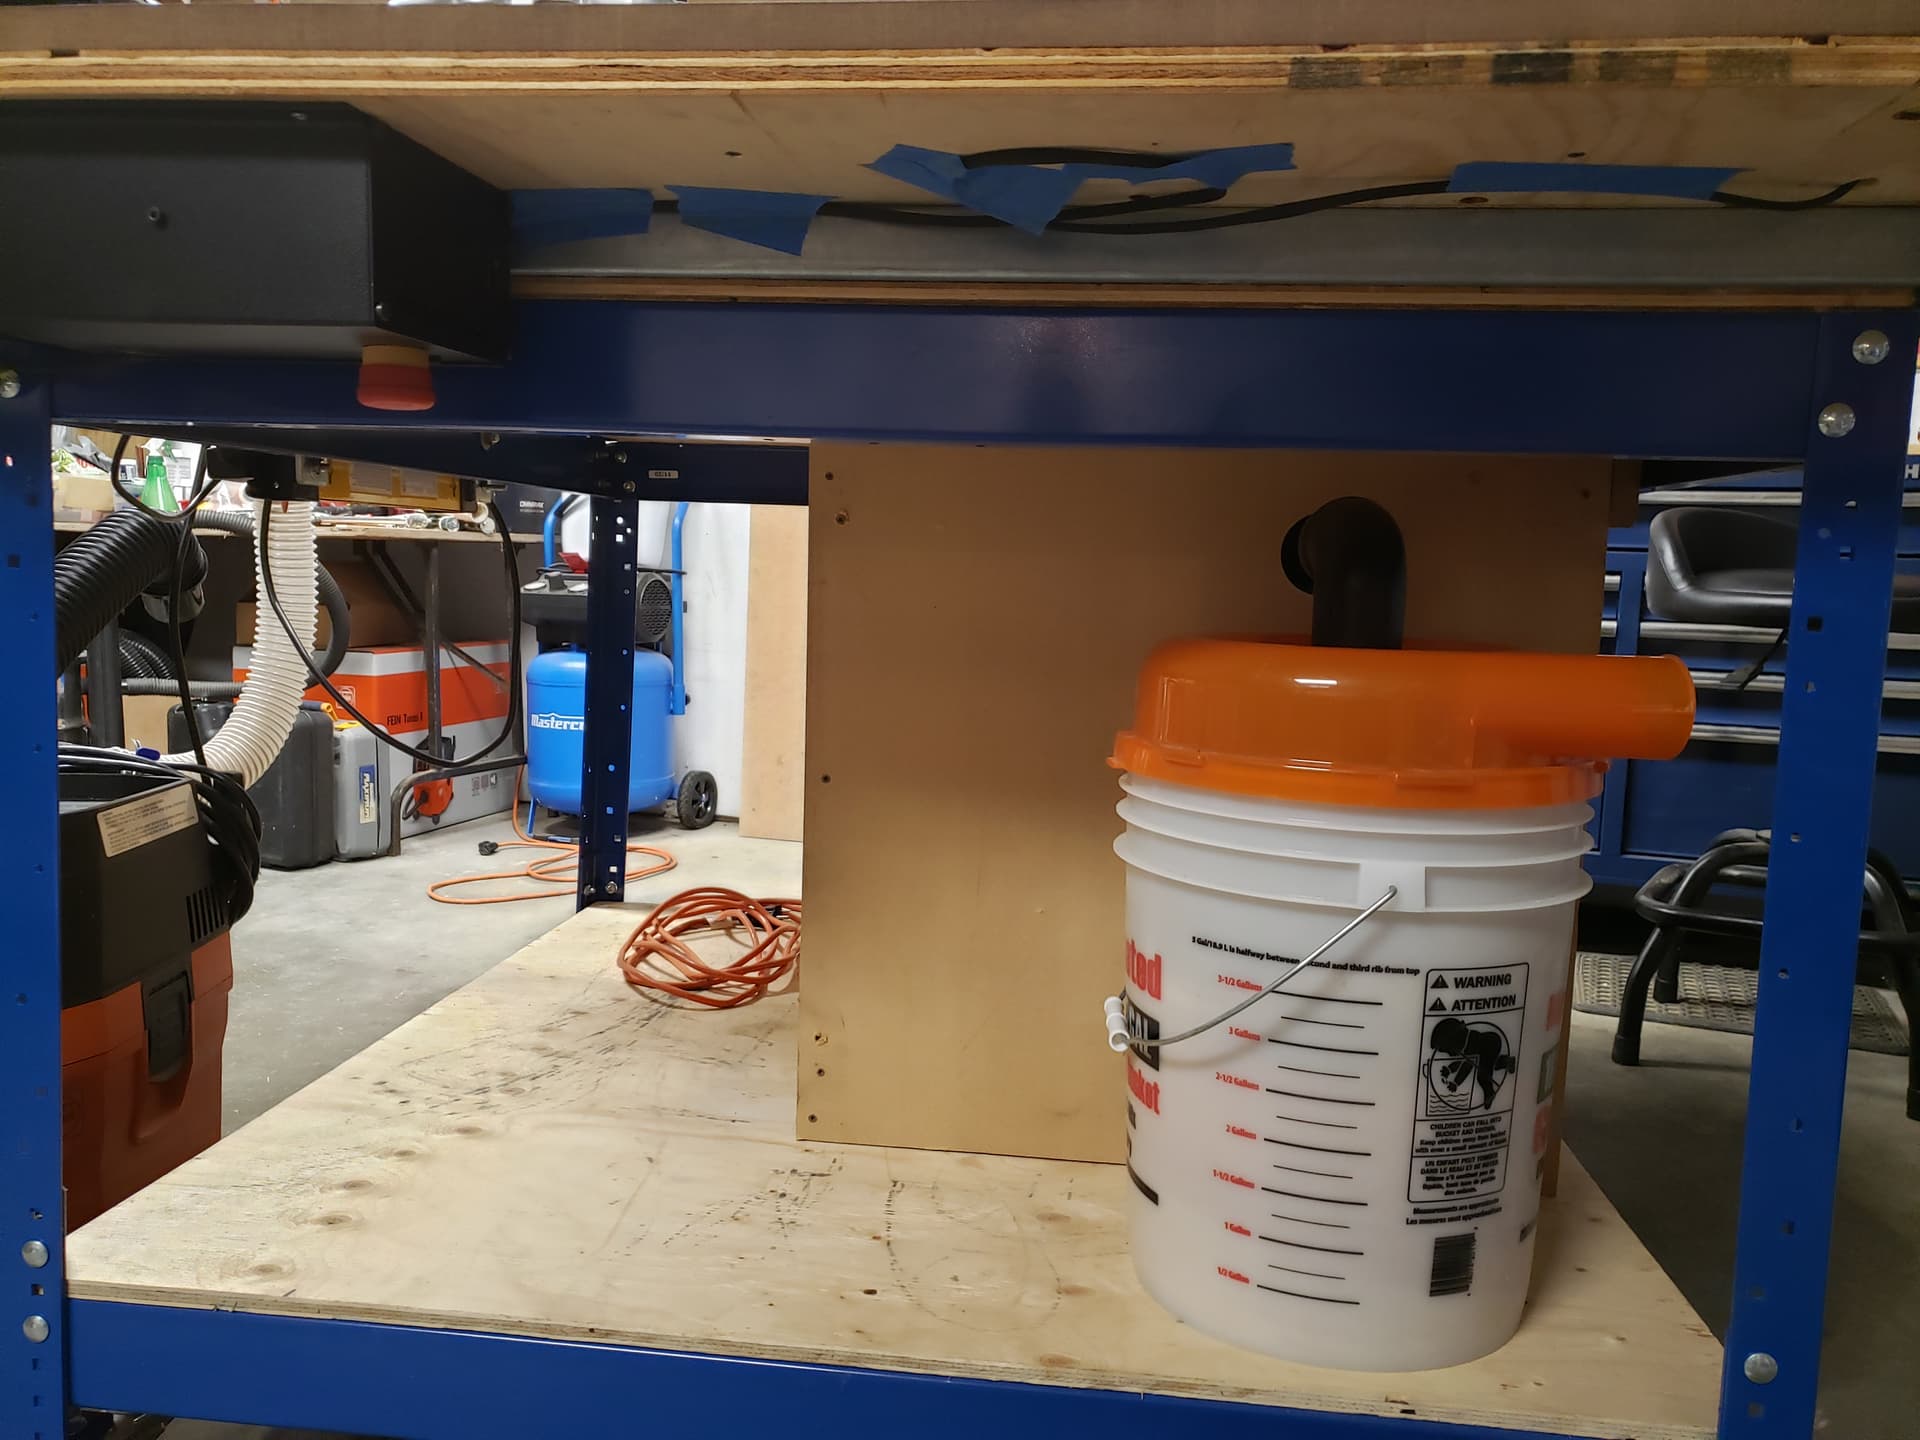
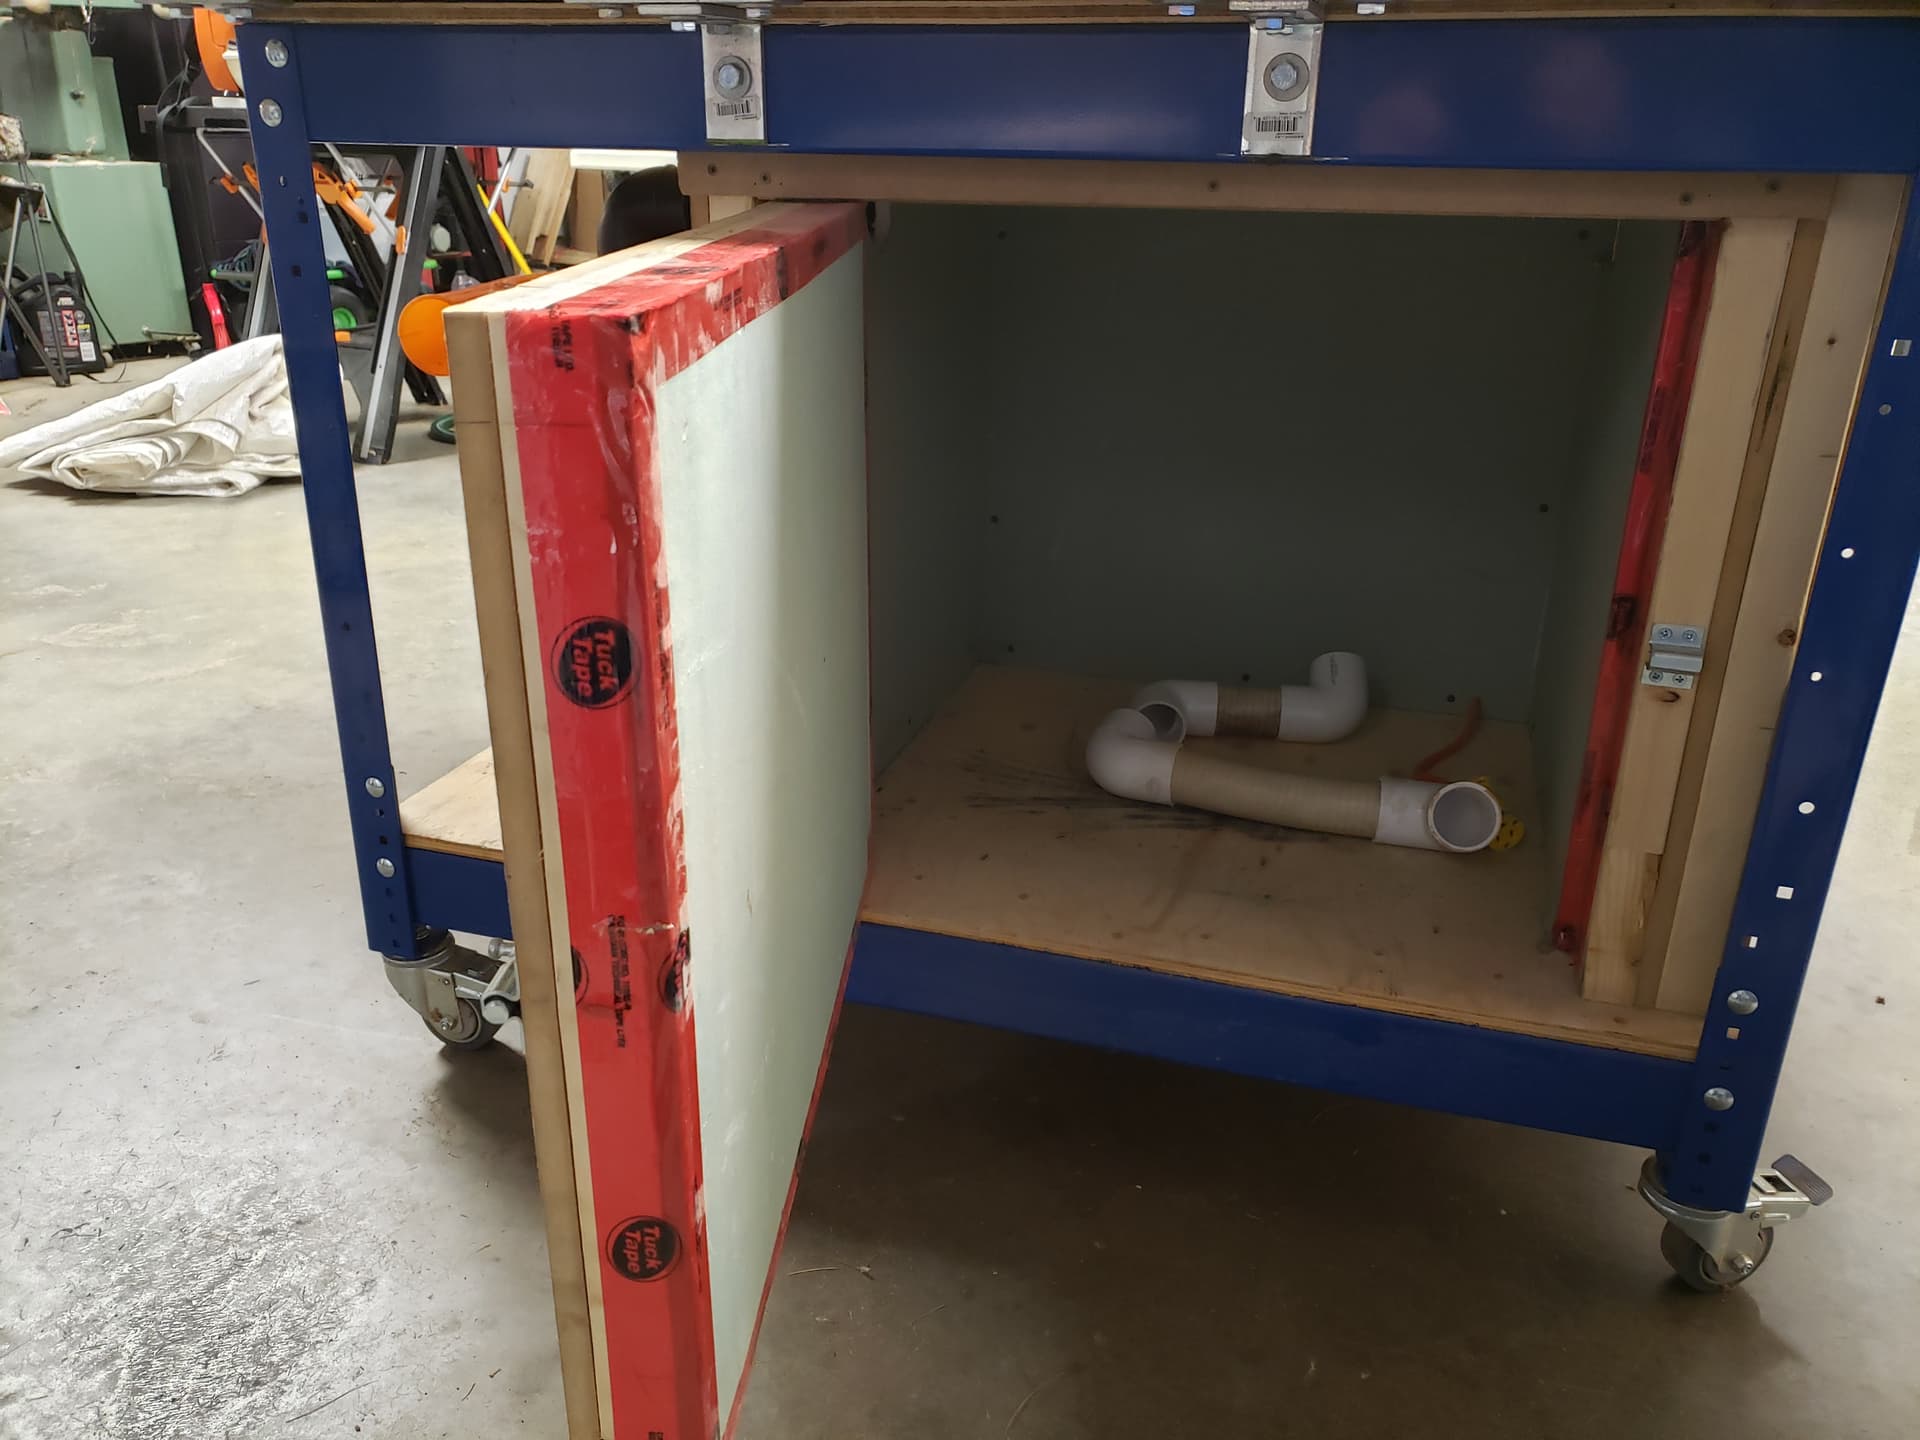
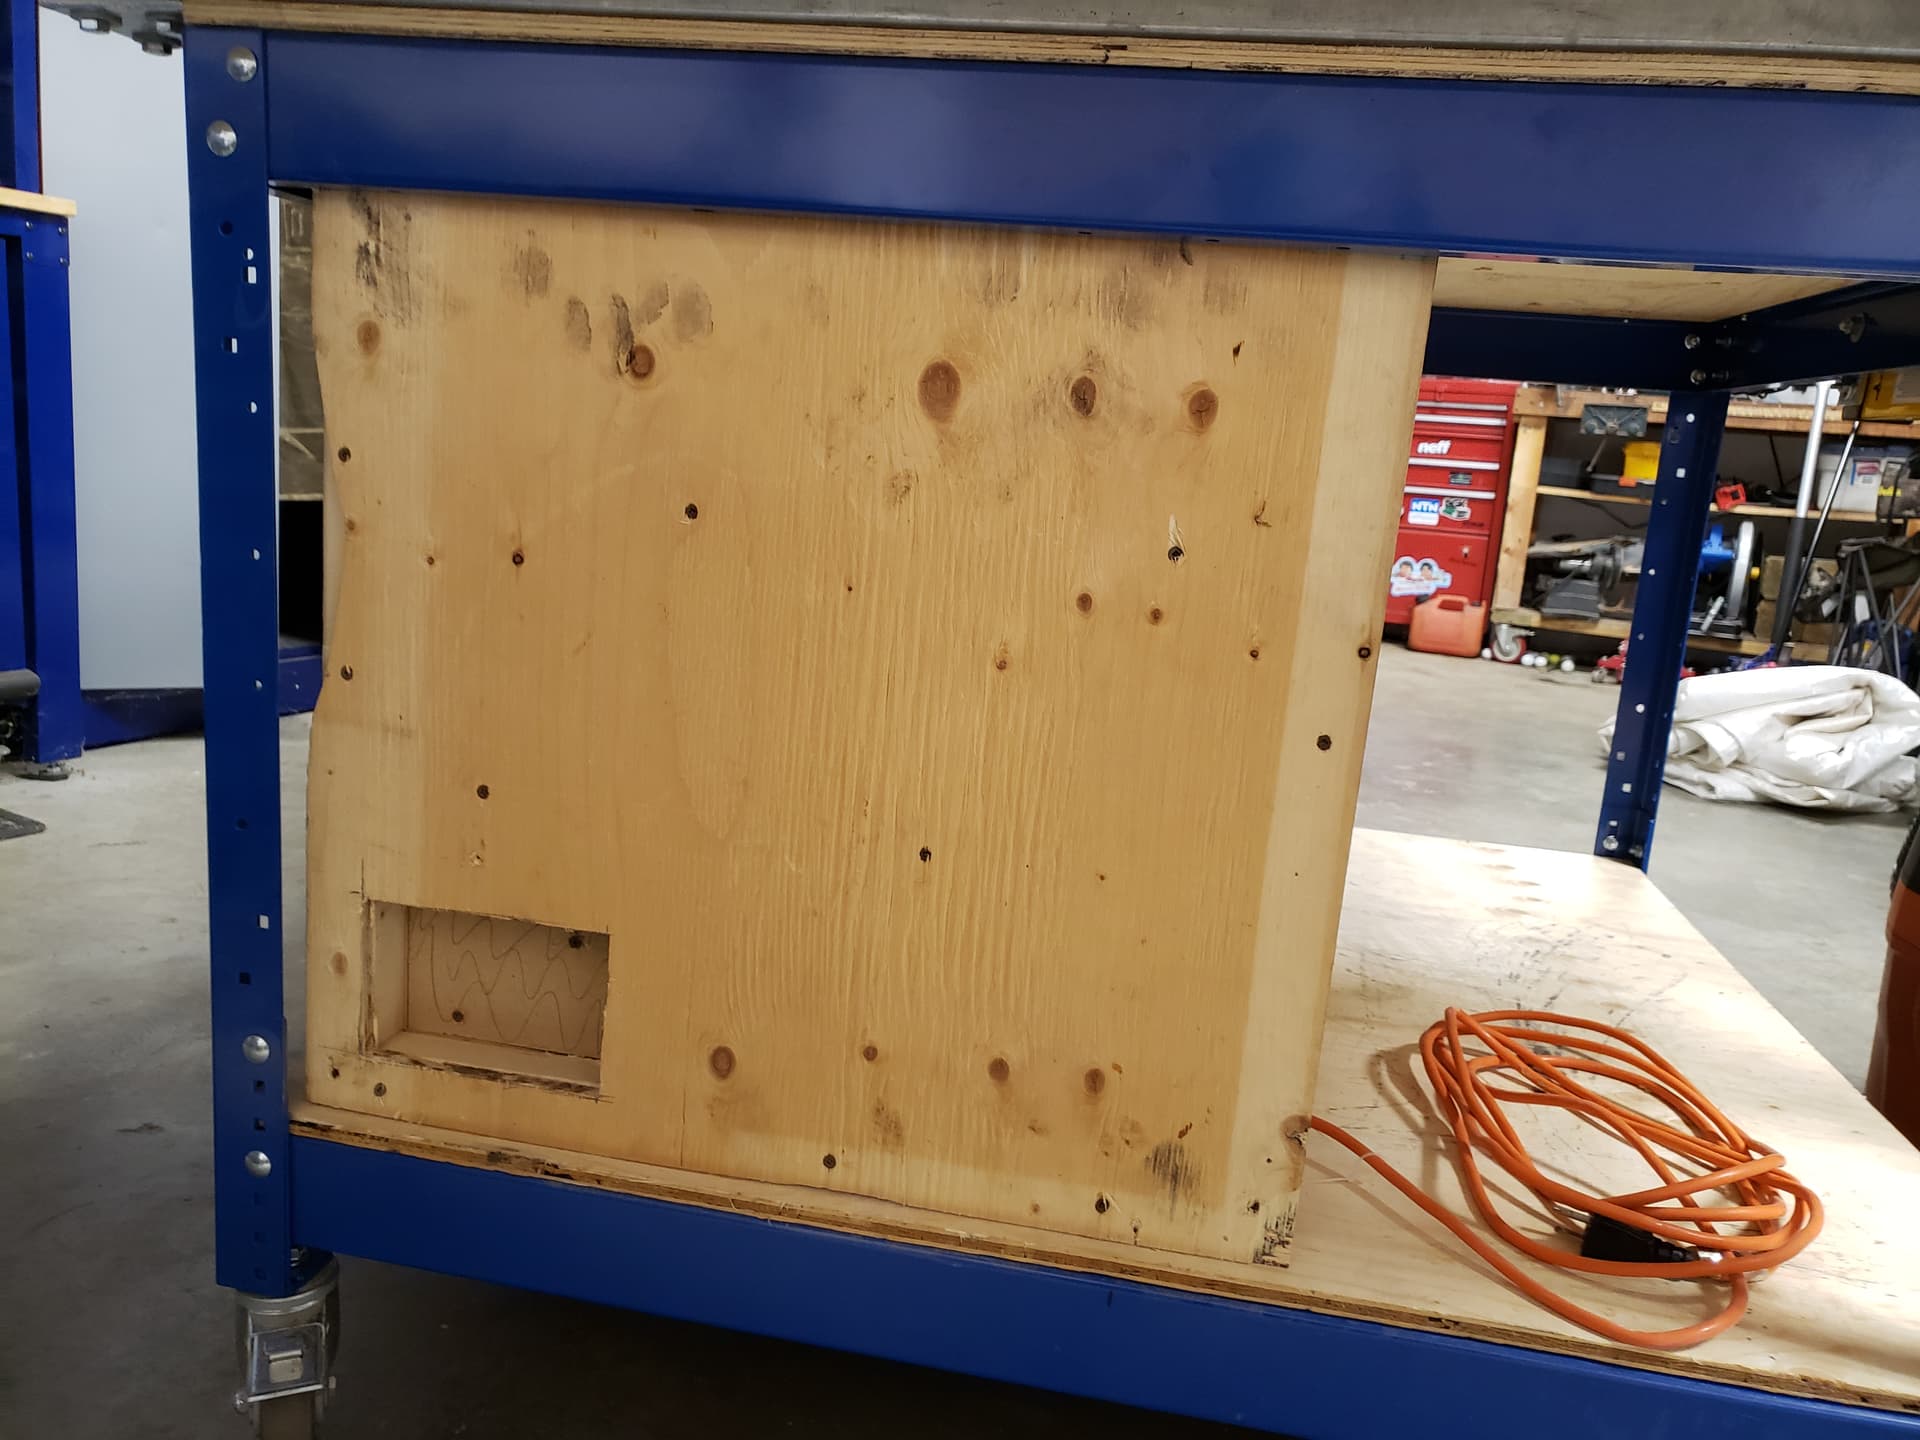
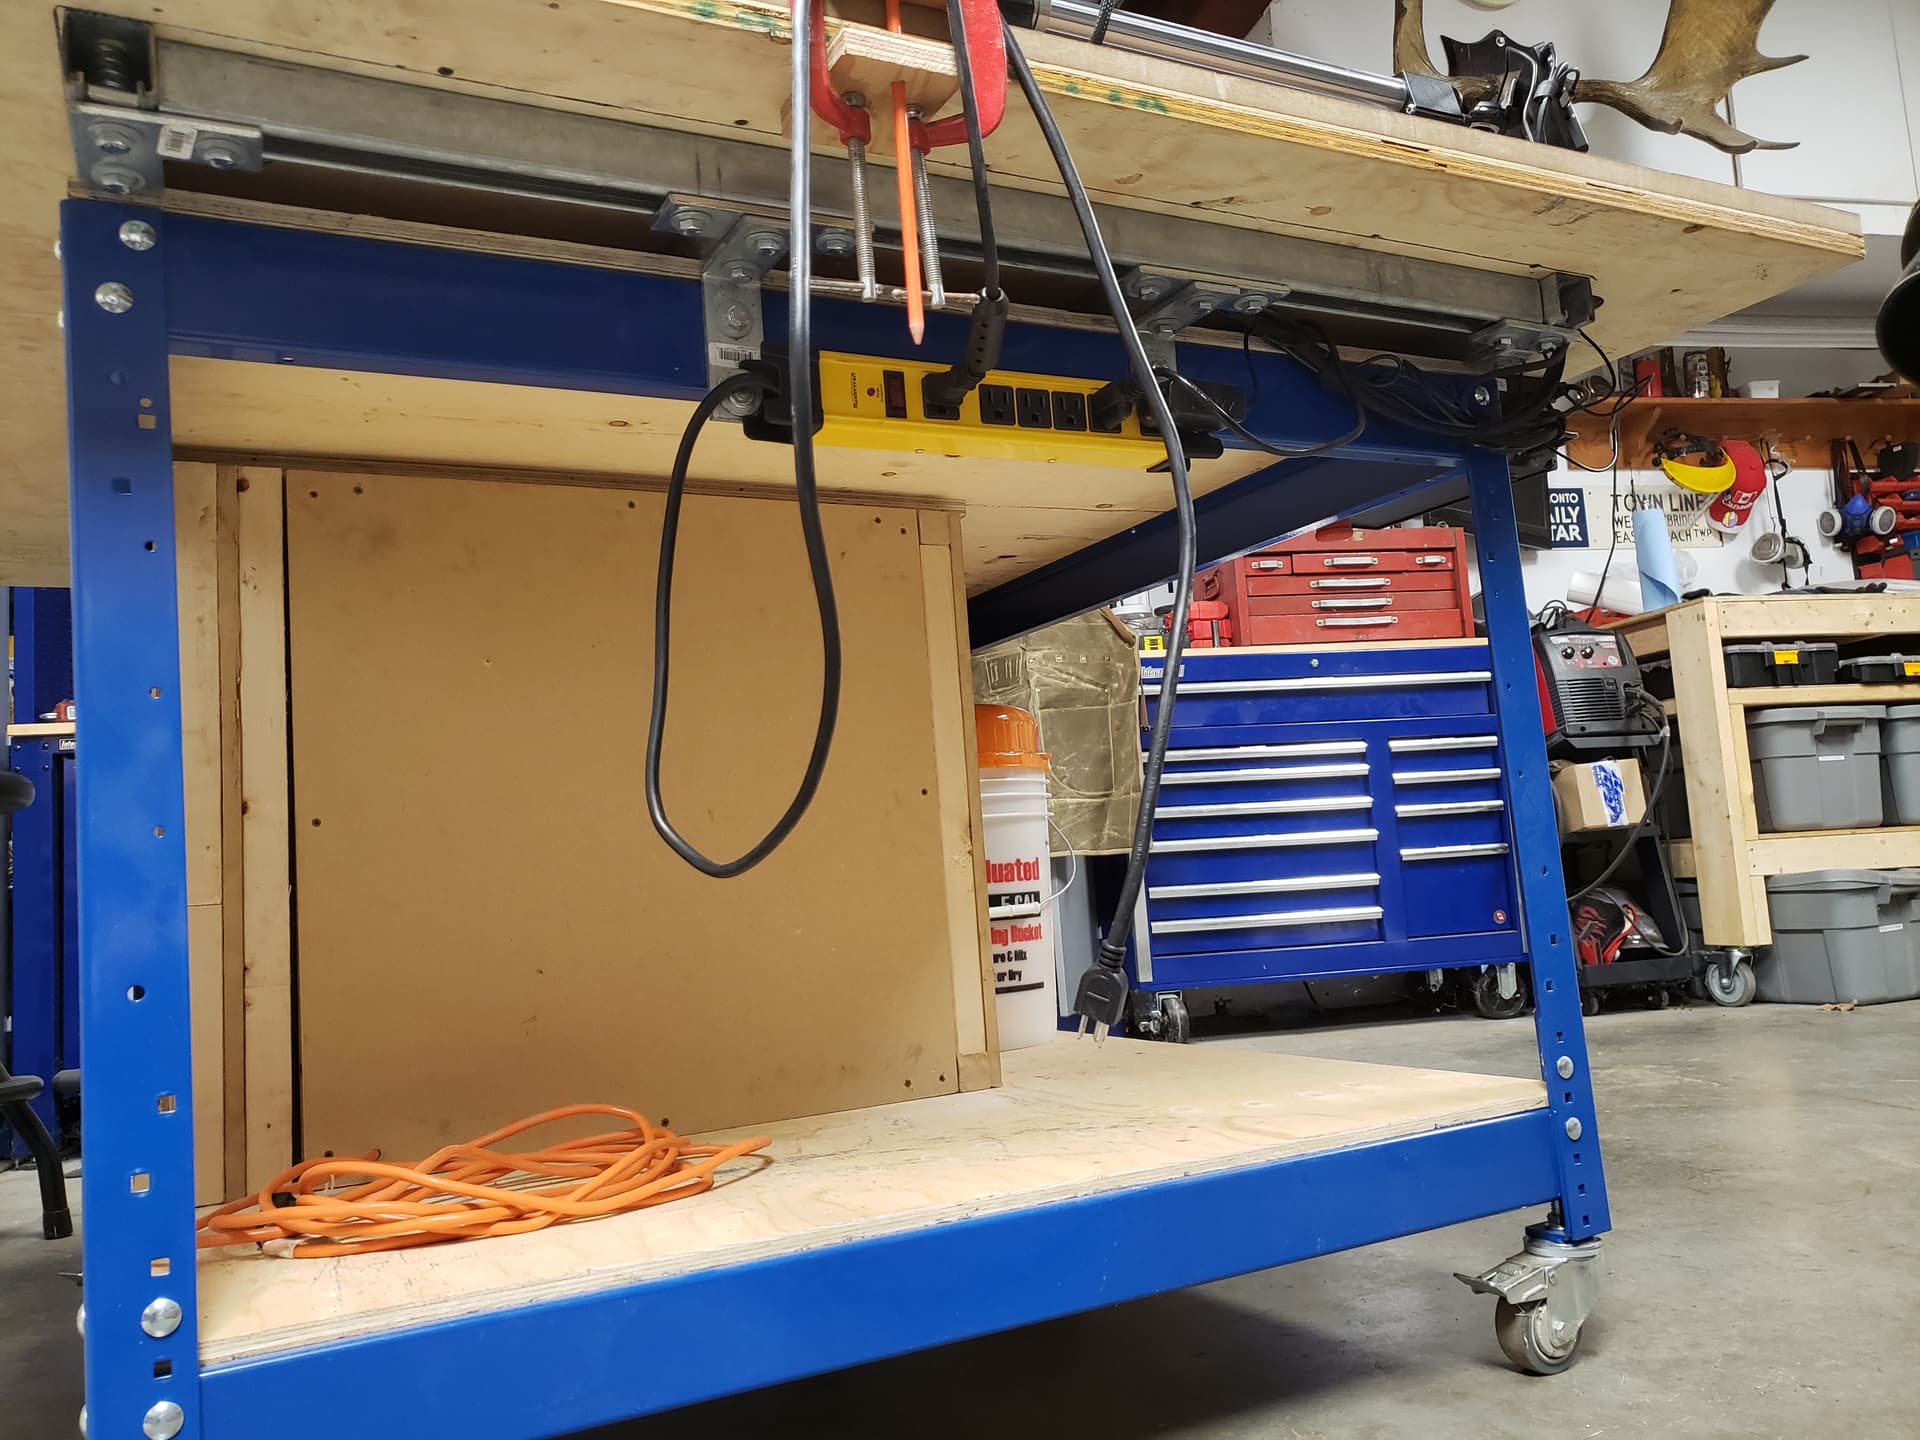
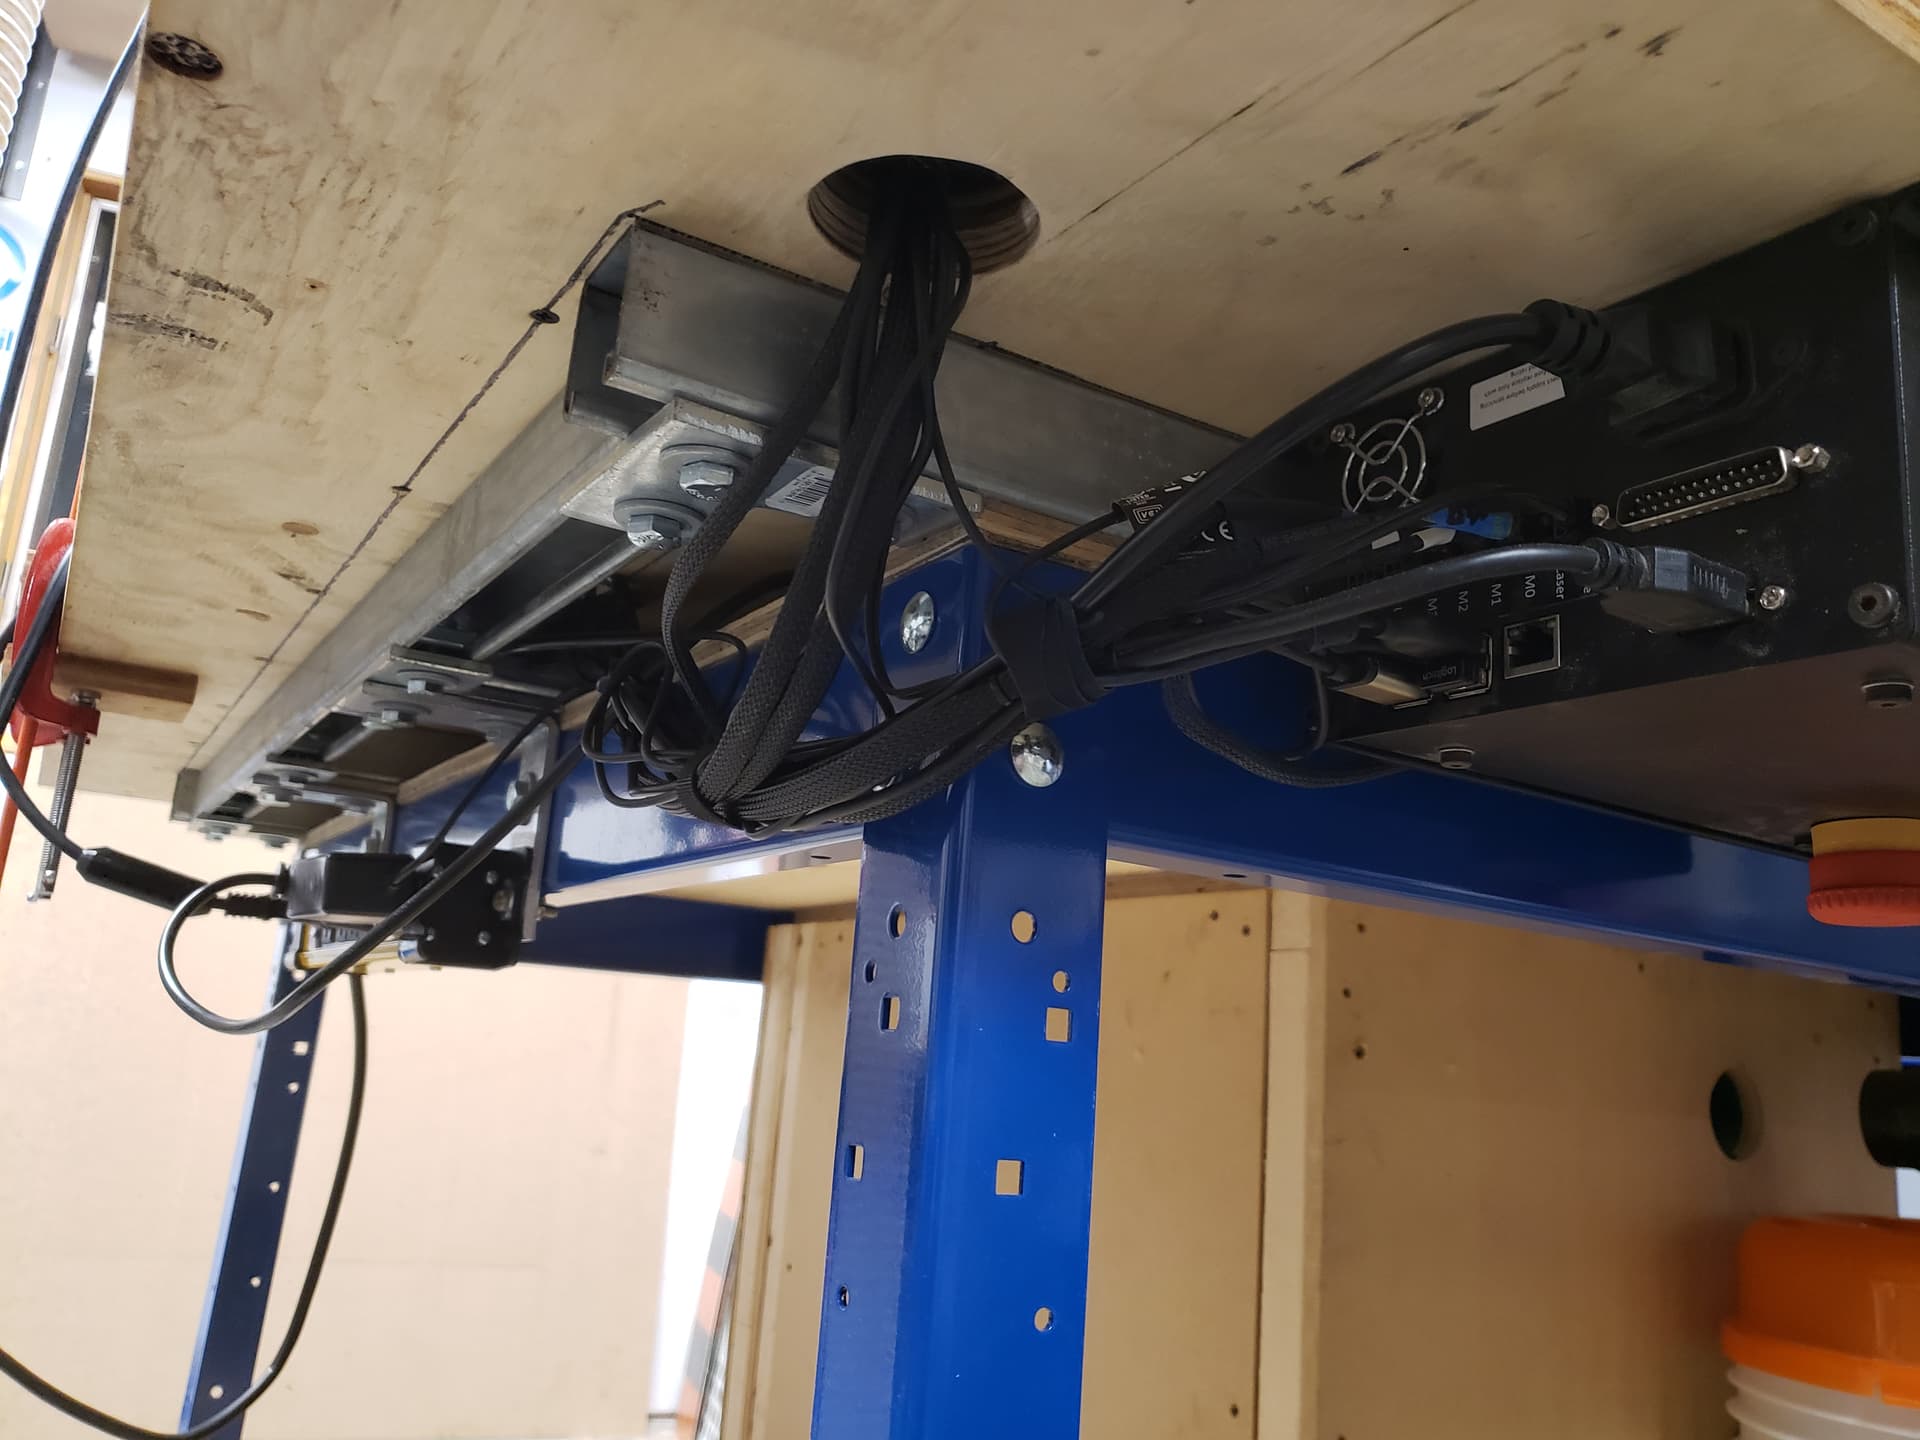
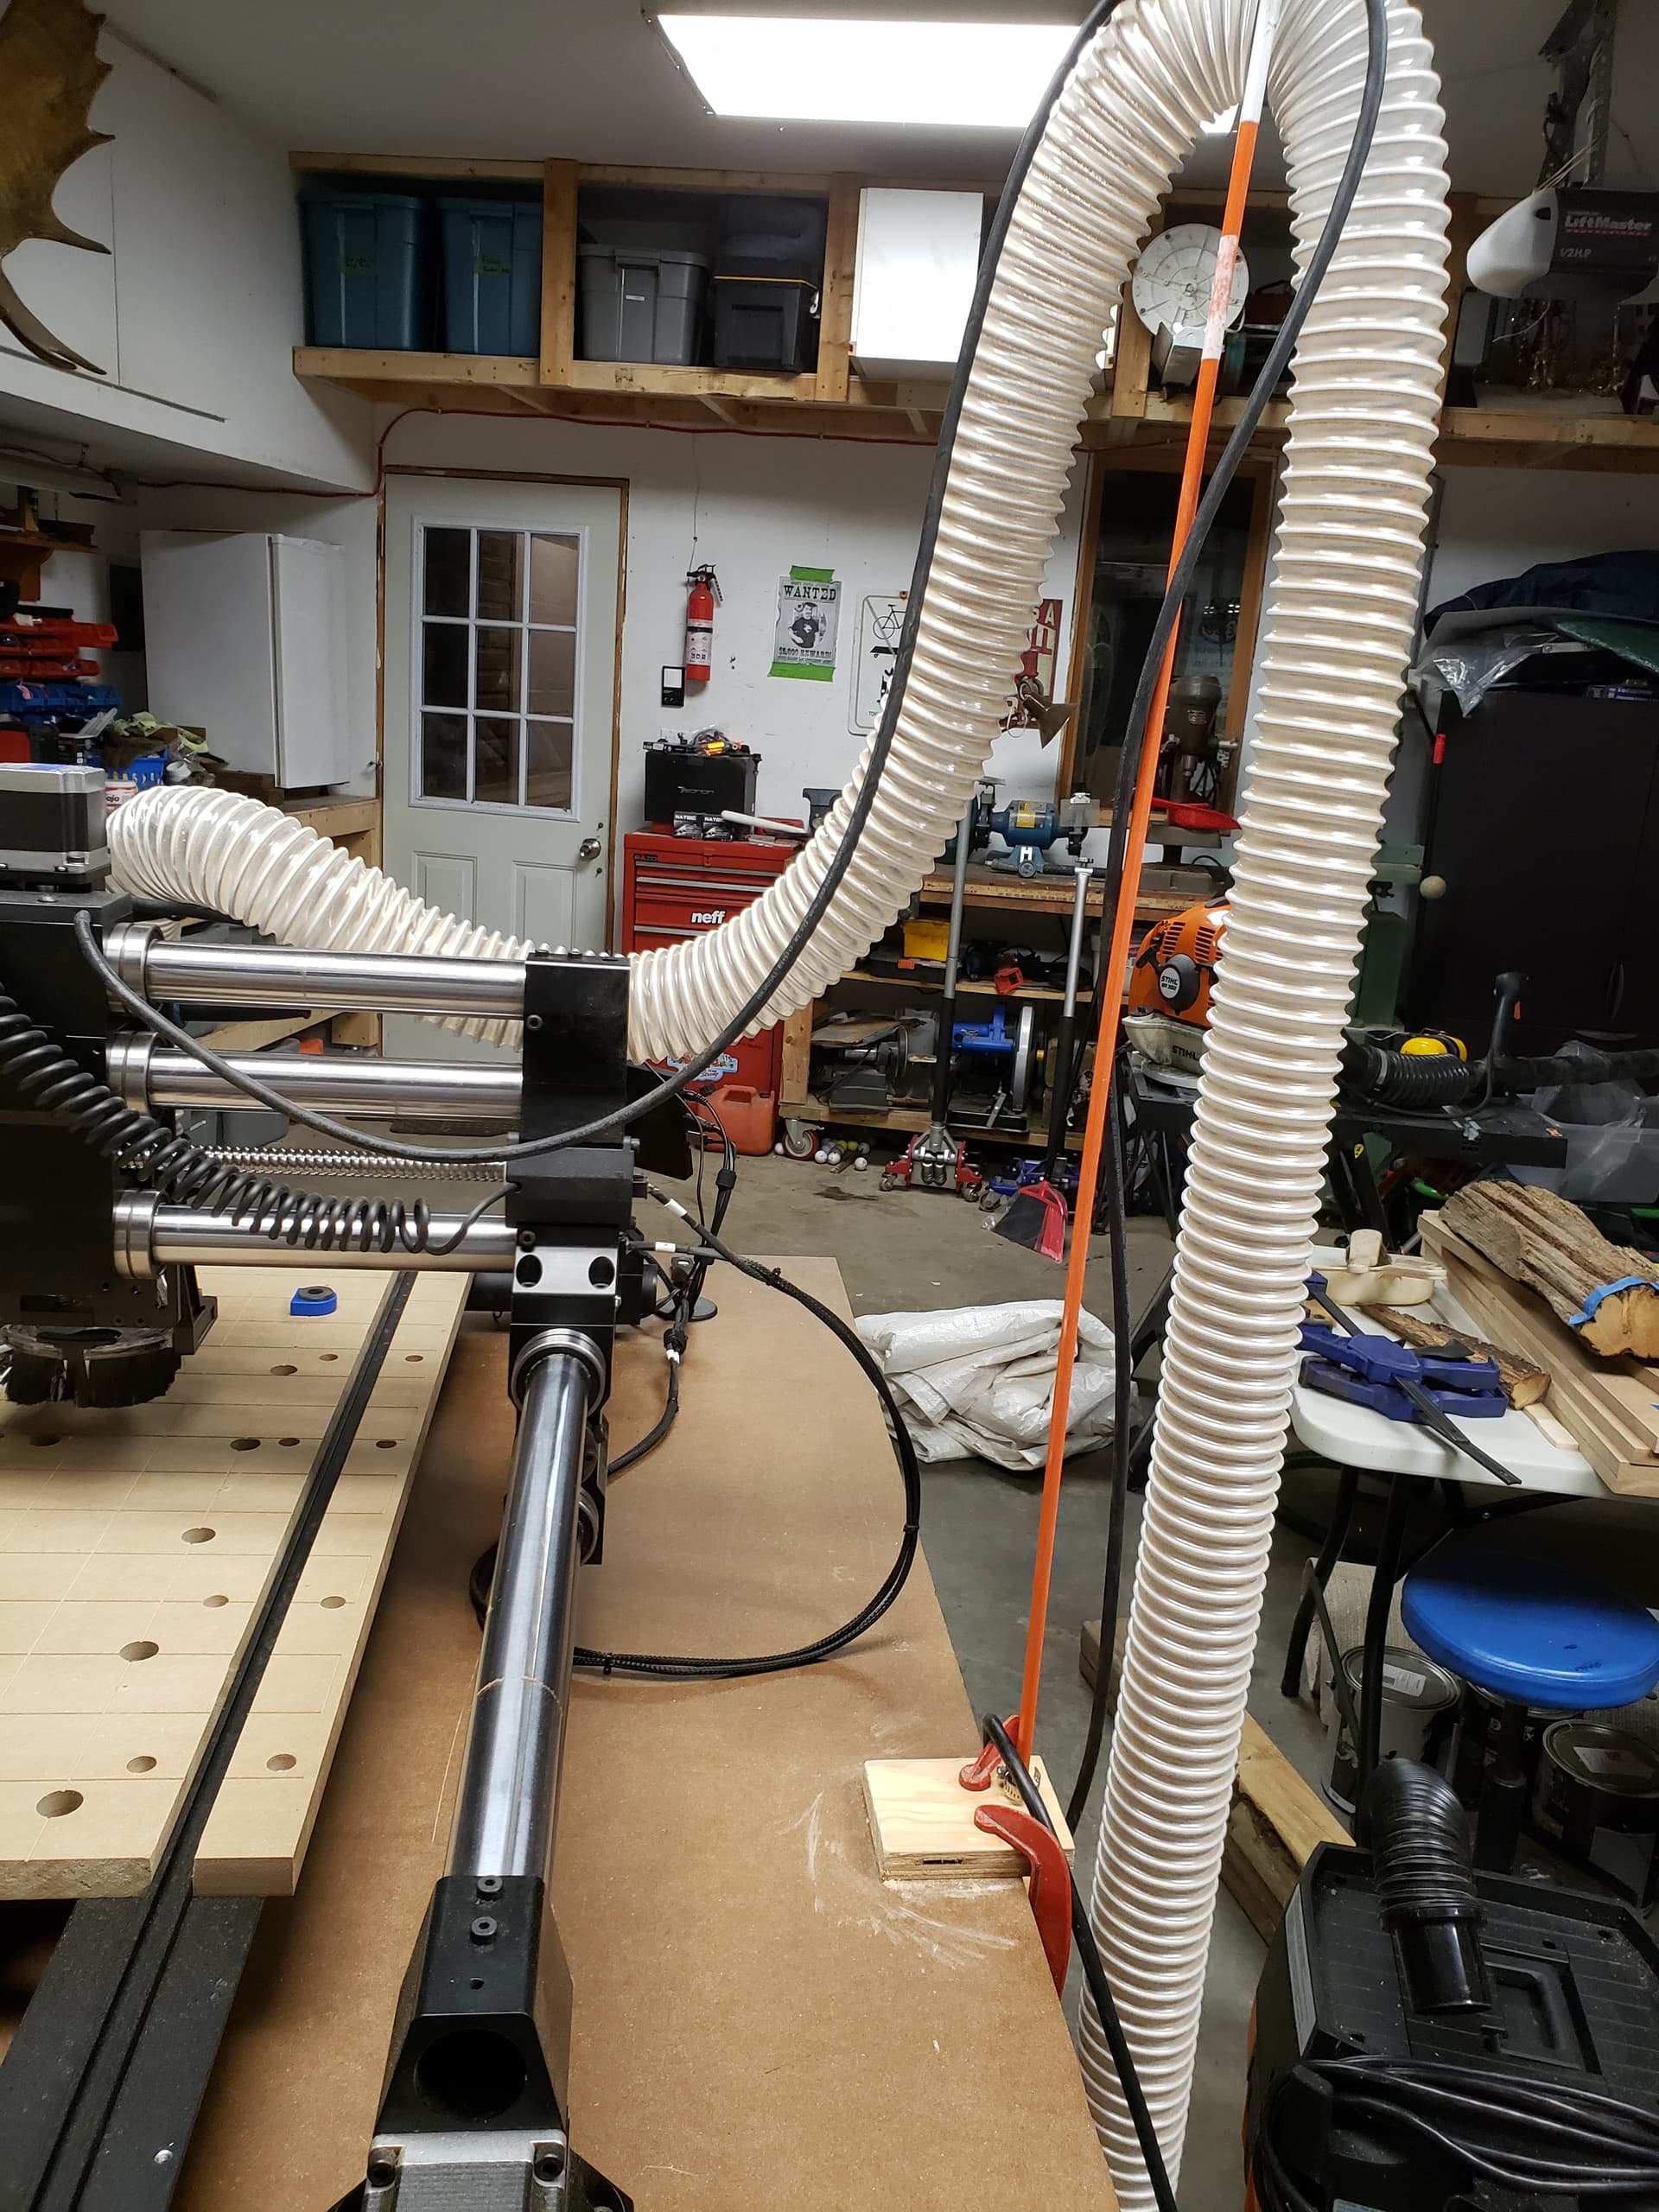
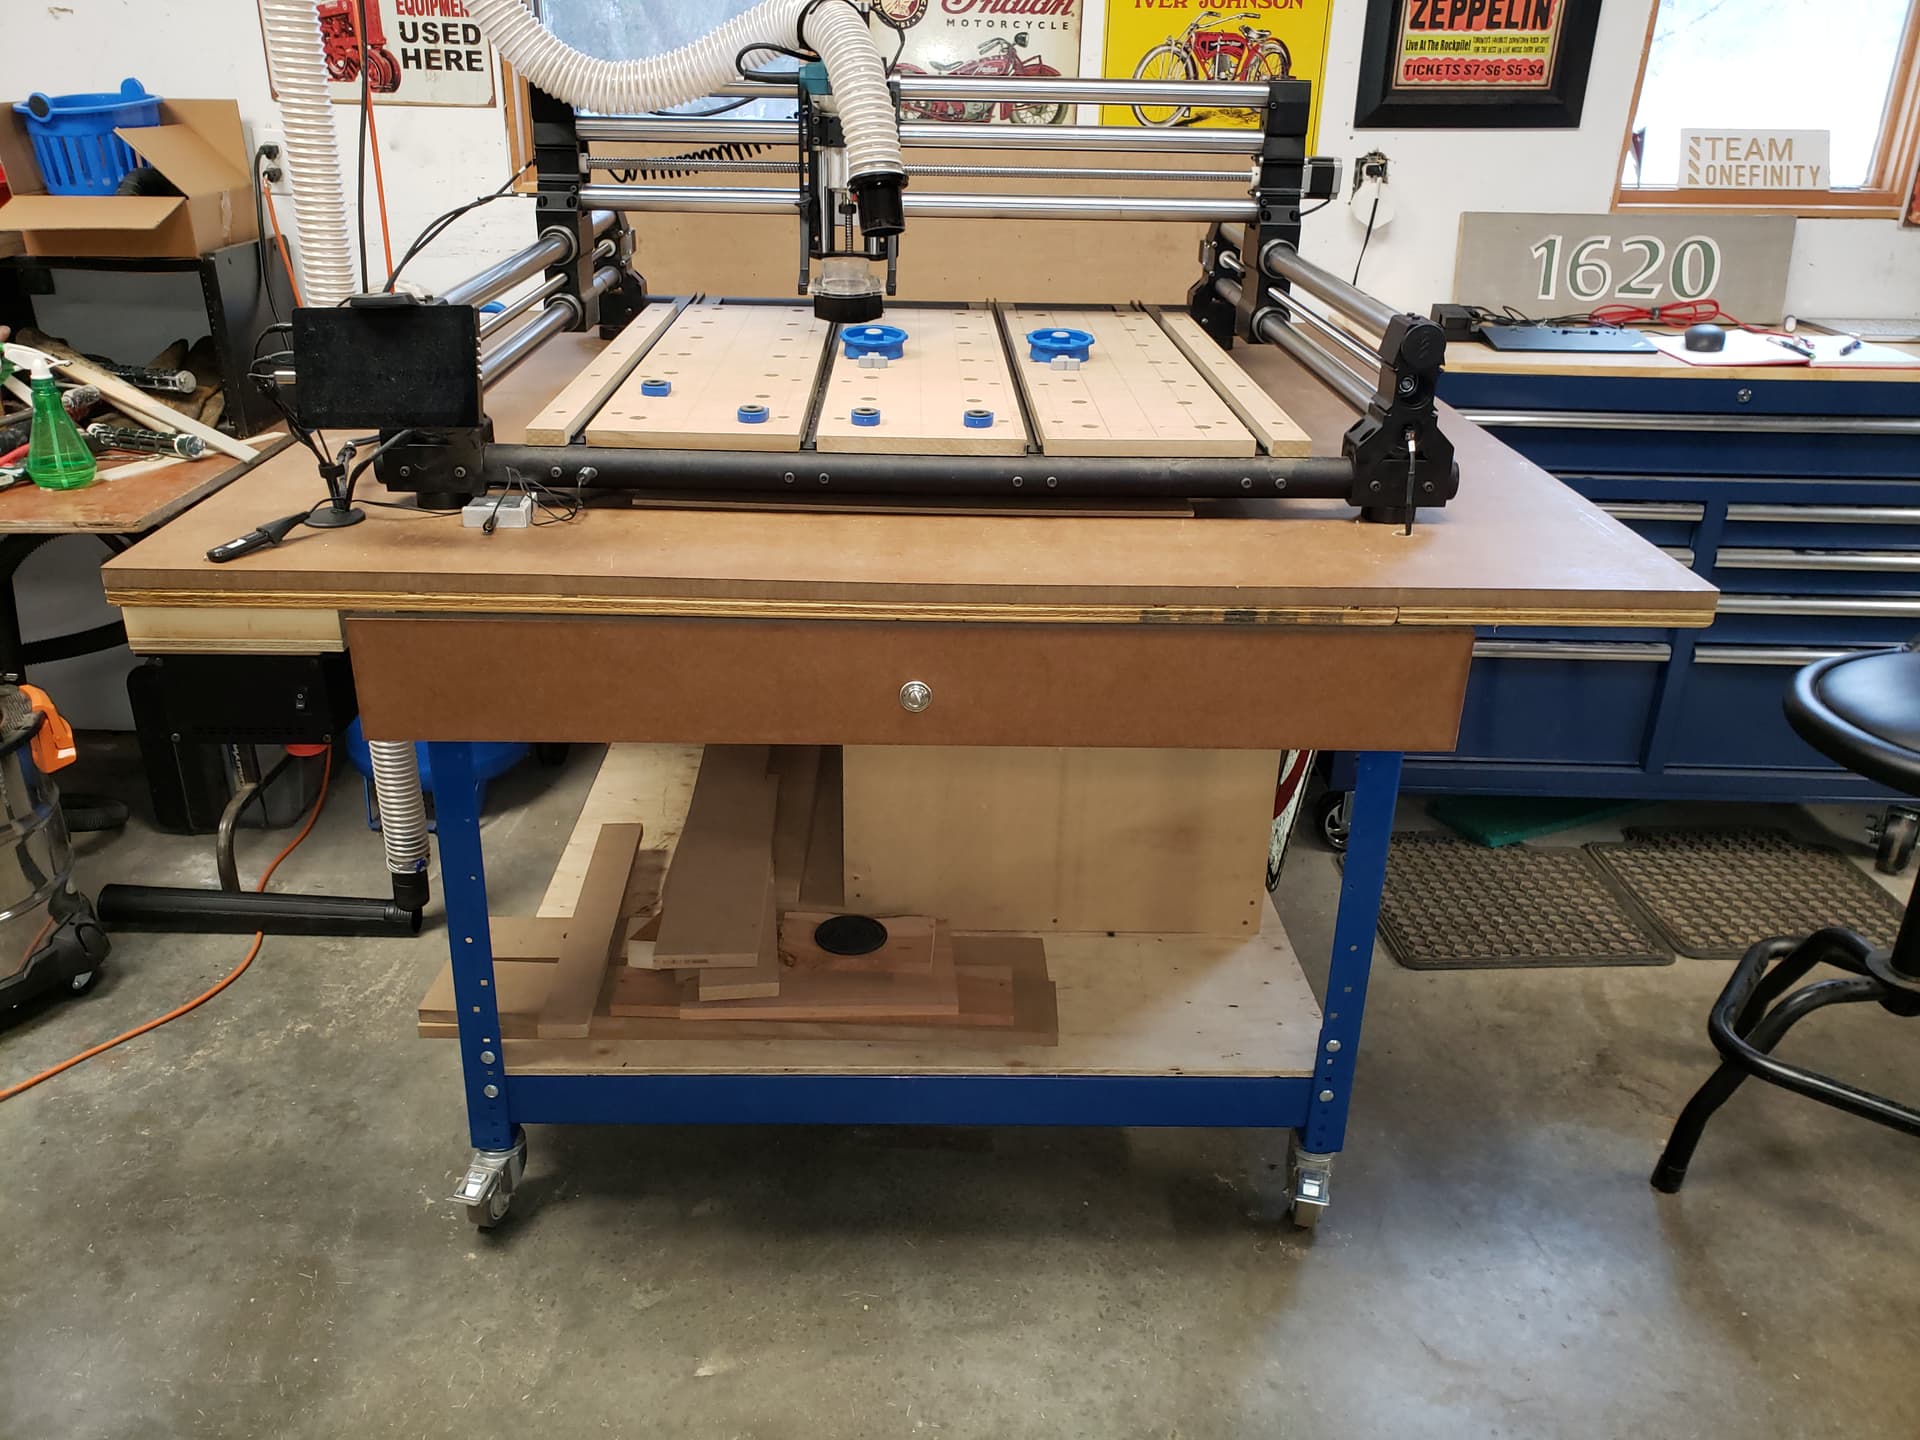
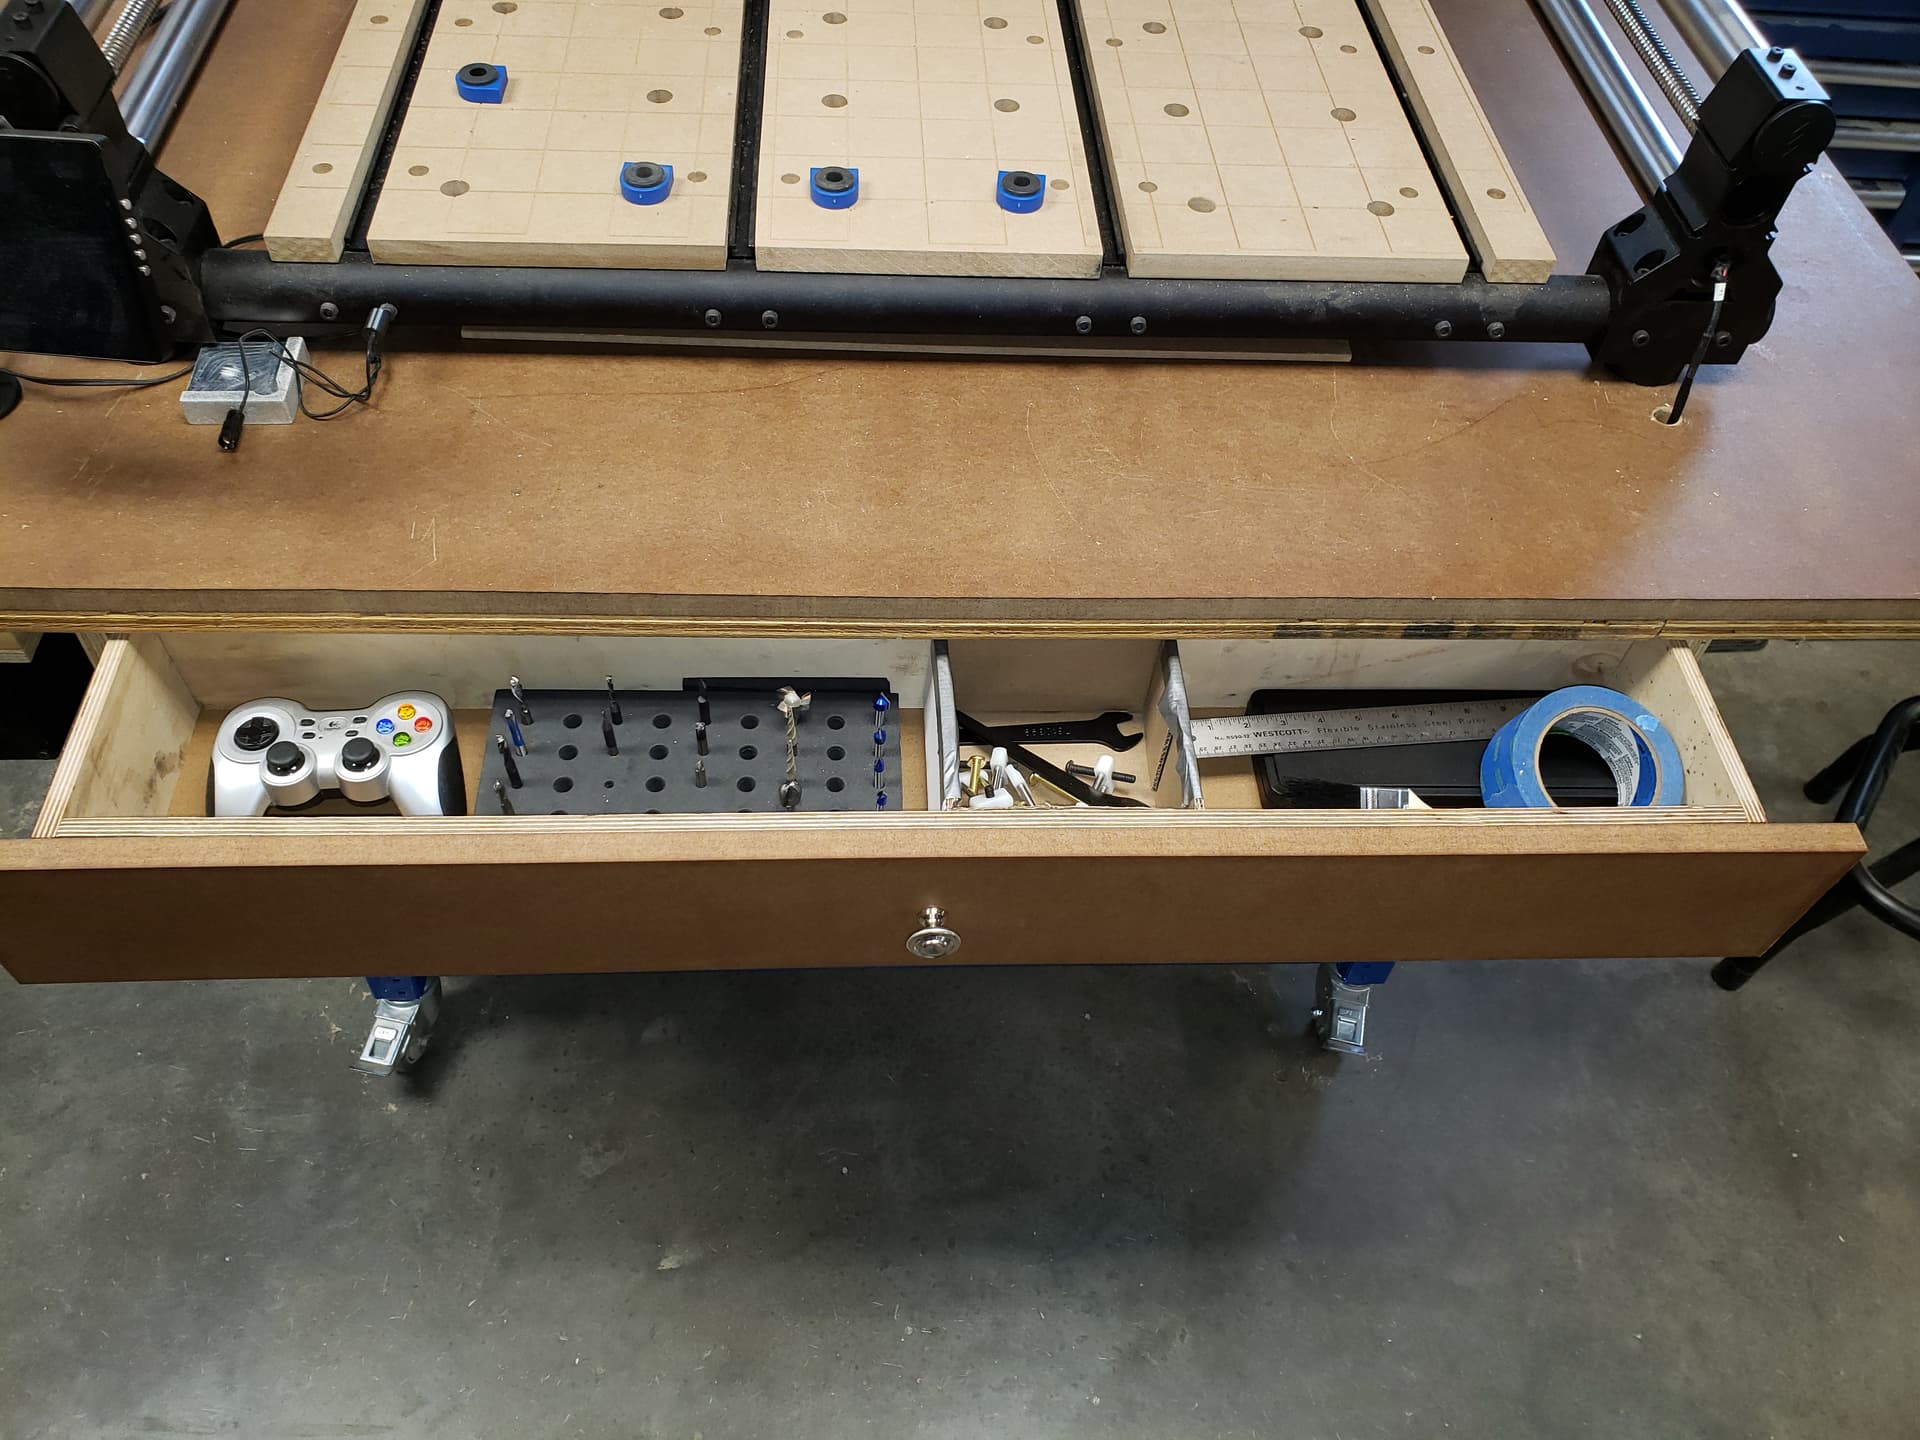
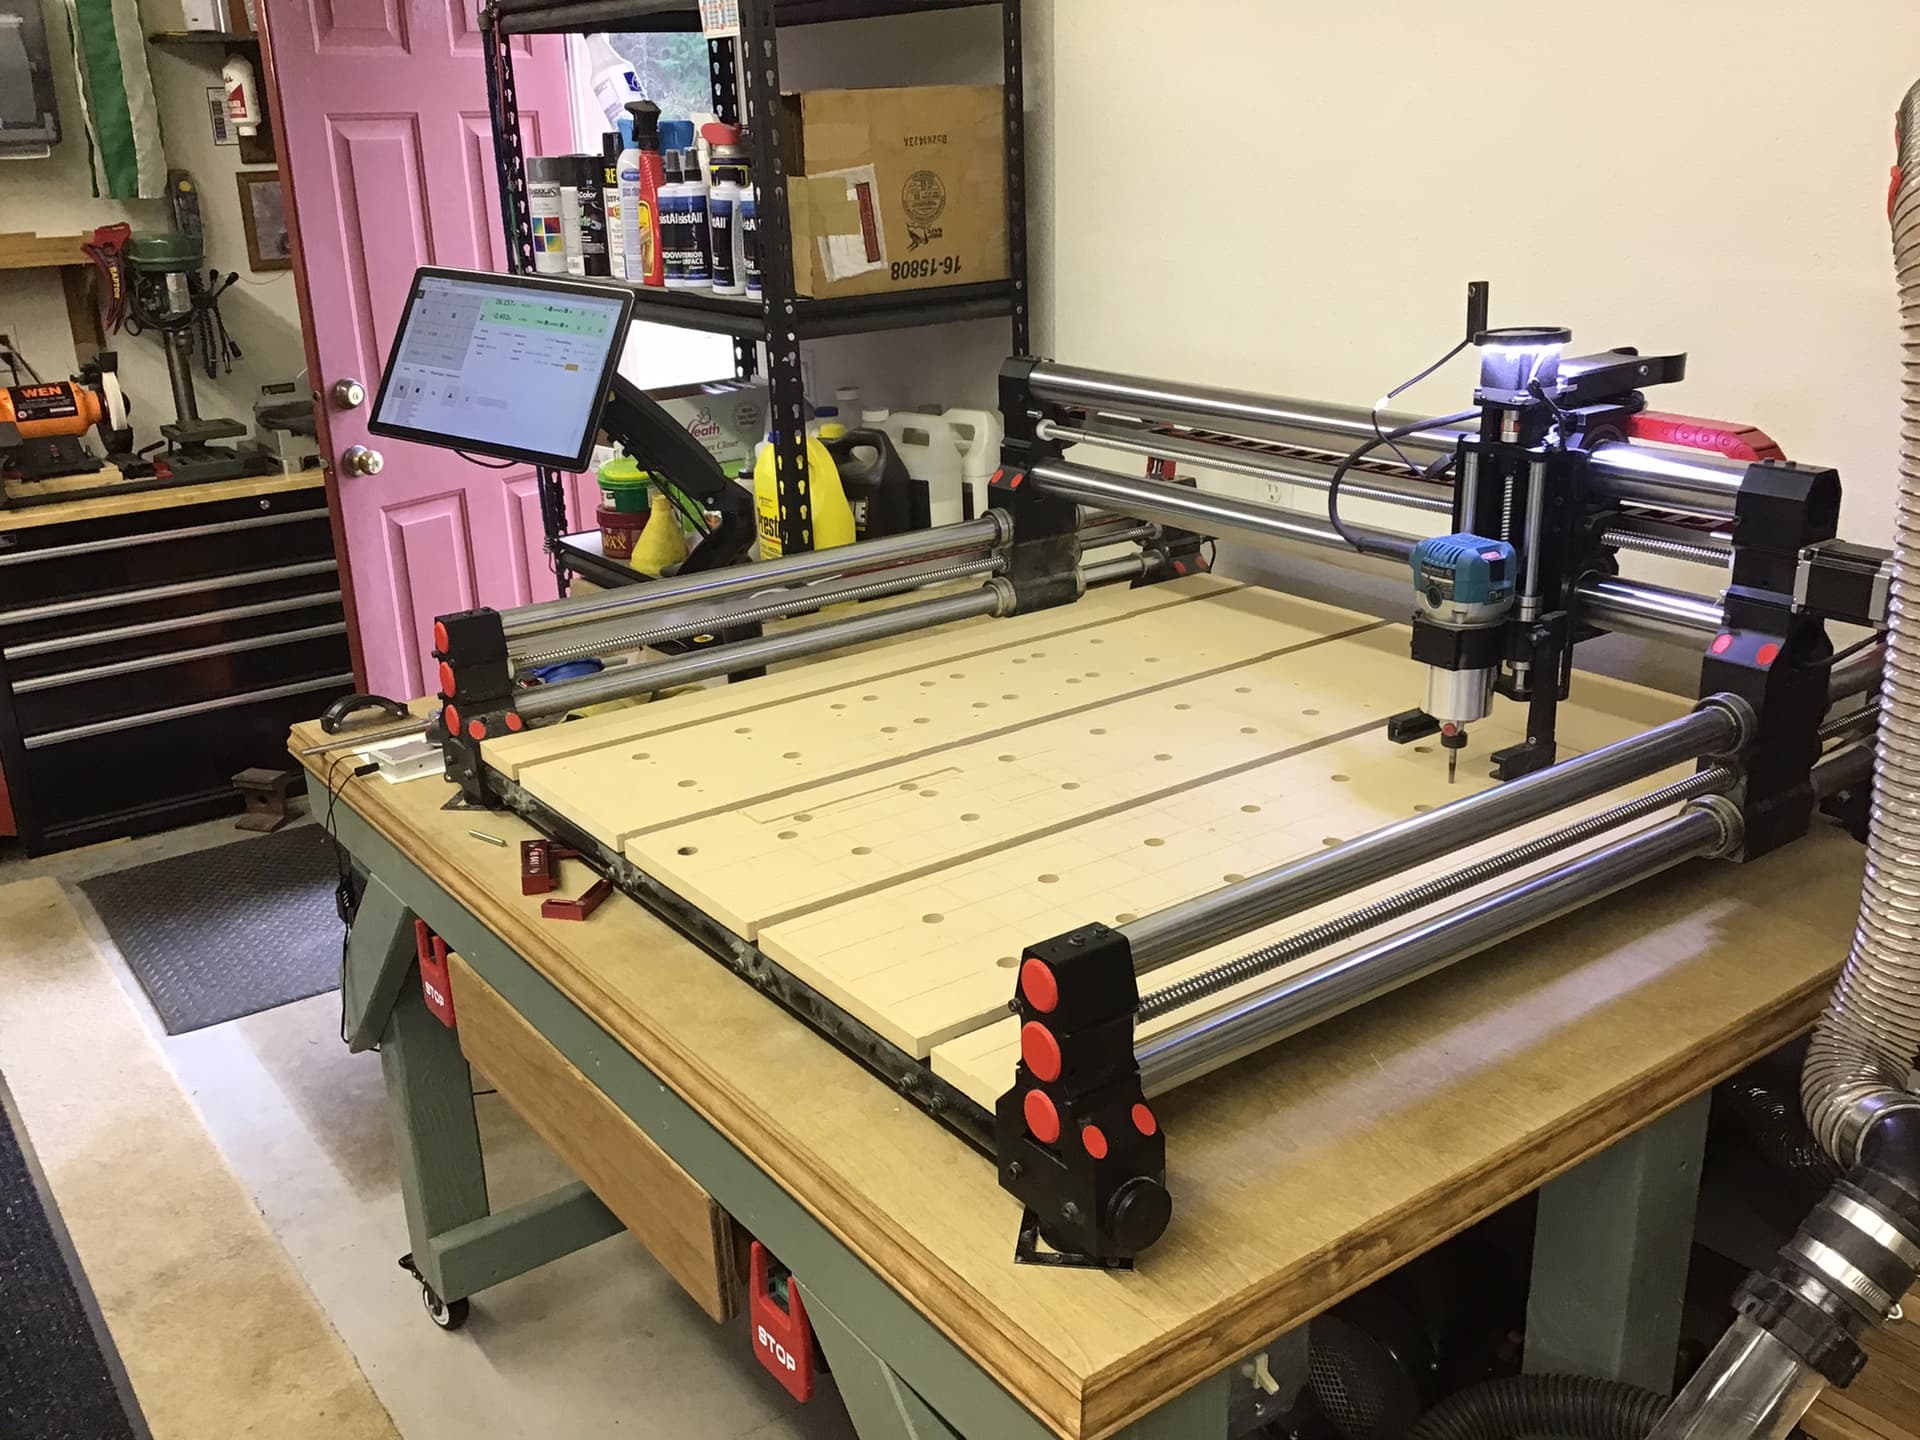
Here are some pictures for you. Using a Unistrut frame under the top worked out great. Makes for a very flat, strong and firm surface. There is no need to stiffen the Kreg bench. I have the QCW and all that is really needed is a flat and stable surface under it. I did mod the Kreg bench by dropping the bottom shelf as far down as it could go. Don’t know why they had it so far off the ground. This allowed room for a 2 foot square sound proof vacuum enclosure inside the bench. Vacuum enclosure walls where made of 3/4 MDF, 3/4 SONOpan and 5/8 drywall. Work well to reduce noise but cooked by old shop vac in a few hours. Using my Fein dust extractor outside the enclosure till I figure out how to get more air in without letting sound out. Cheap shop vacs are not meant to run for a long time and little better ones are too big for what is needed and not would fit in the enclosure I made. Not sure how others are able to run their shop vacs in enclosure without over heating them. Now the router makes more noise than anything else anyway. Also I have wheels on the Kreg bench like everything else in the shop. I plan to build an enclosure this winter.
Hope this all helps you and some others
9 Likes
Thanks for all the photos, will study them later.
Where did you get your dust boot? What
is the diameter of the boot vacuum intake? Very nice setup you have there!
I am curently modeling a table+enclosure for a journeyman, I am still not sure of the total clearance needed for both the router and the dust colector at their maximum reach. Does anyone have information on that ?
Hey Sam,
Welcome to the forum!
Thank you for sharing - I was wondering how the design was working out for you?
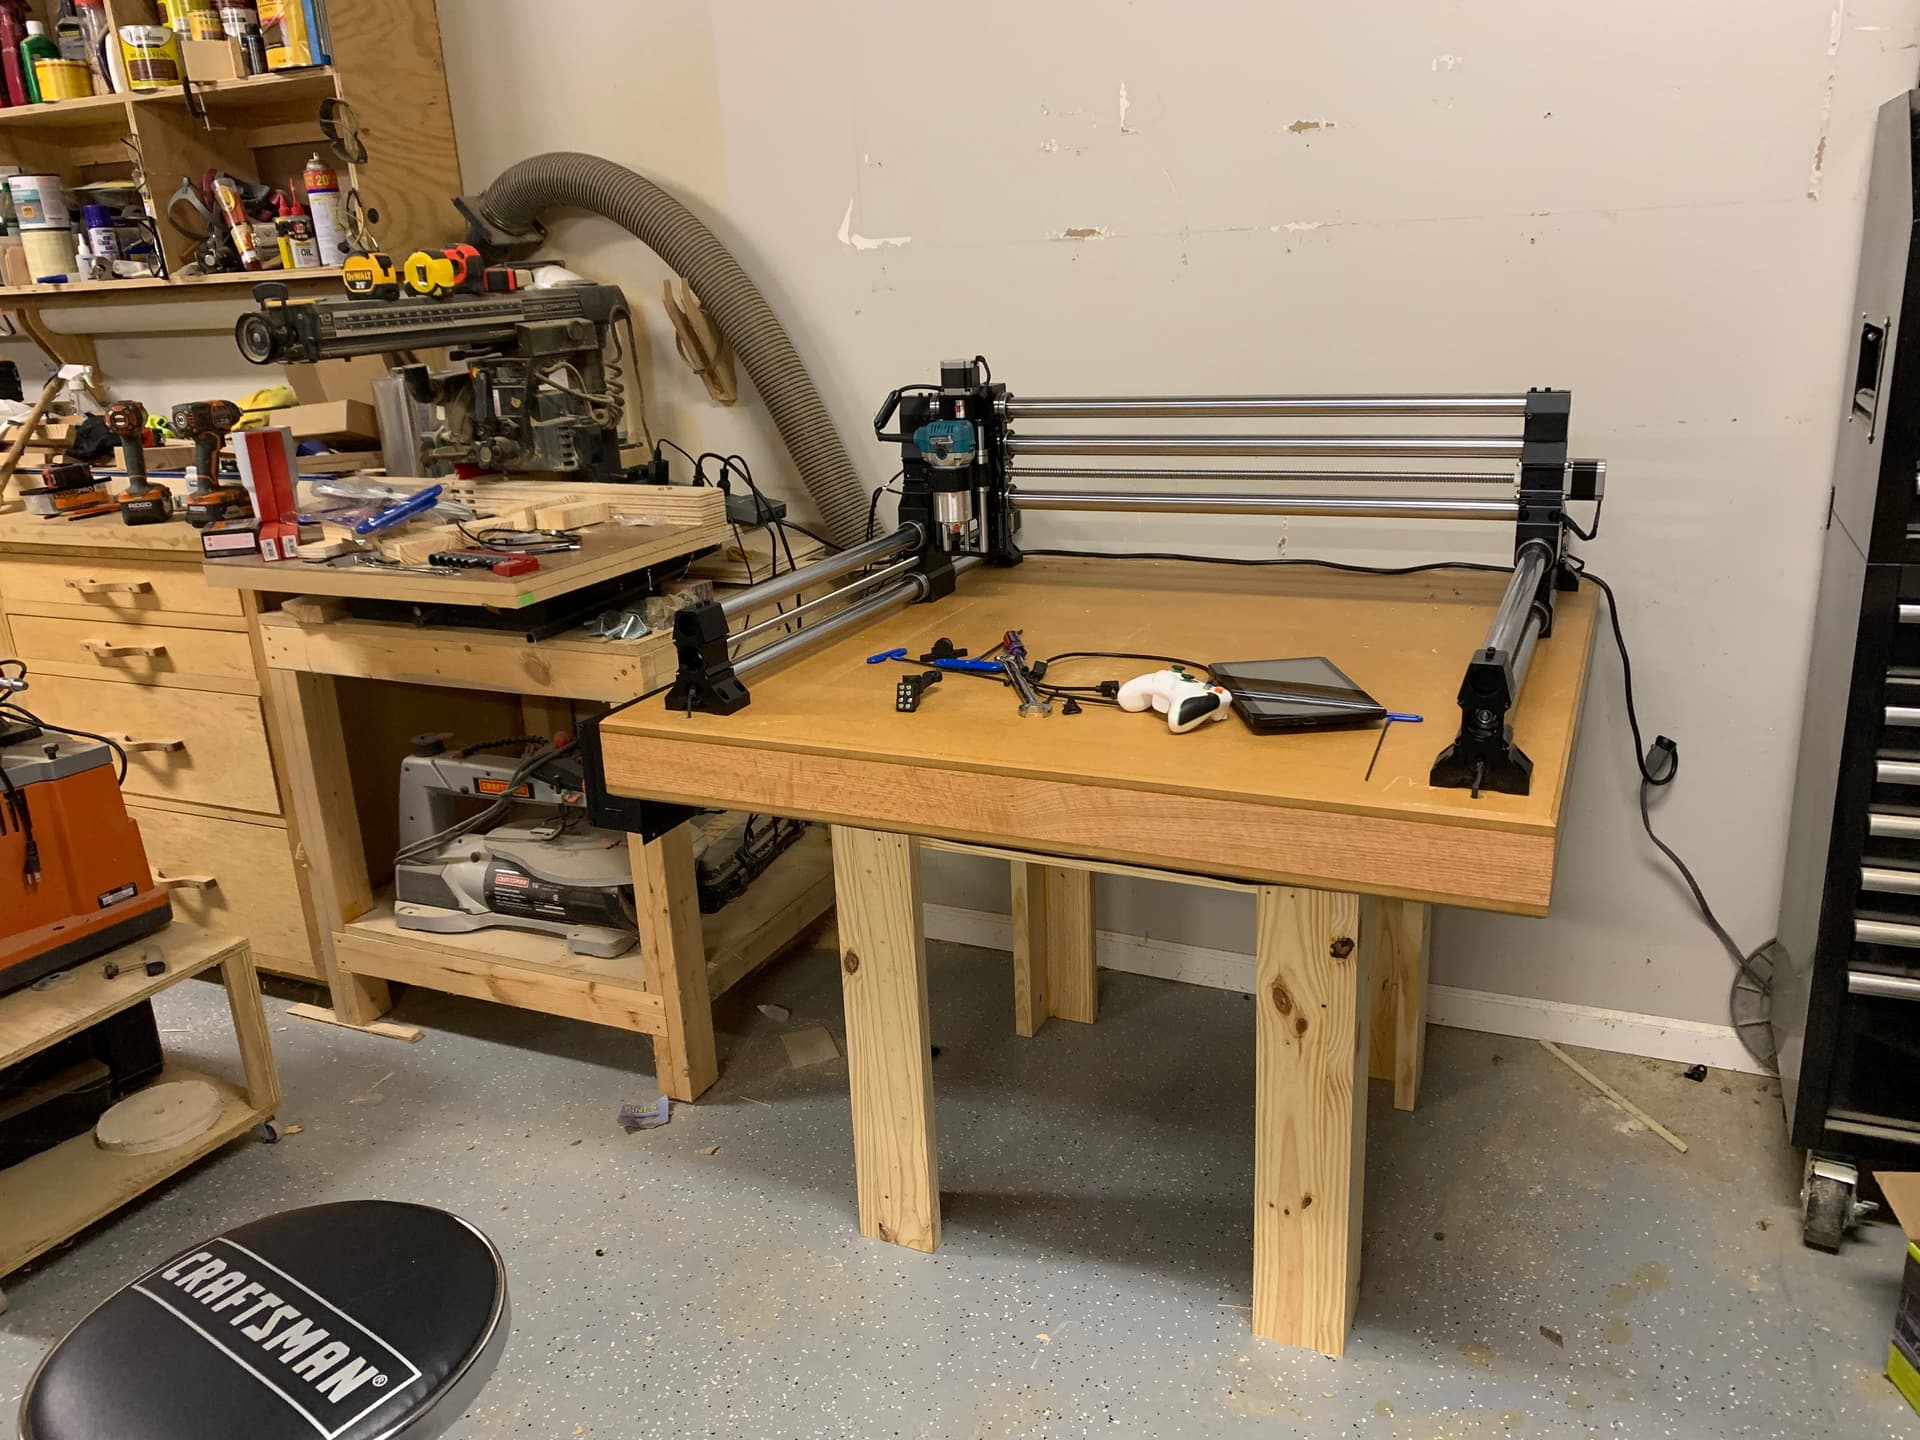
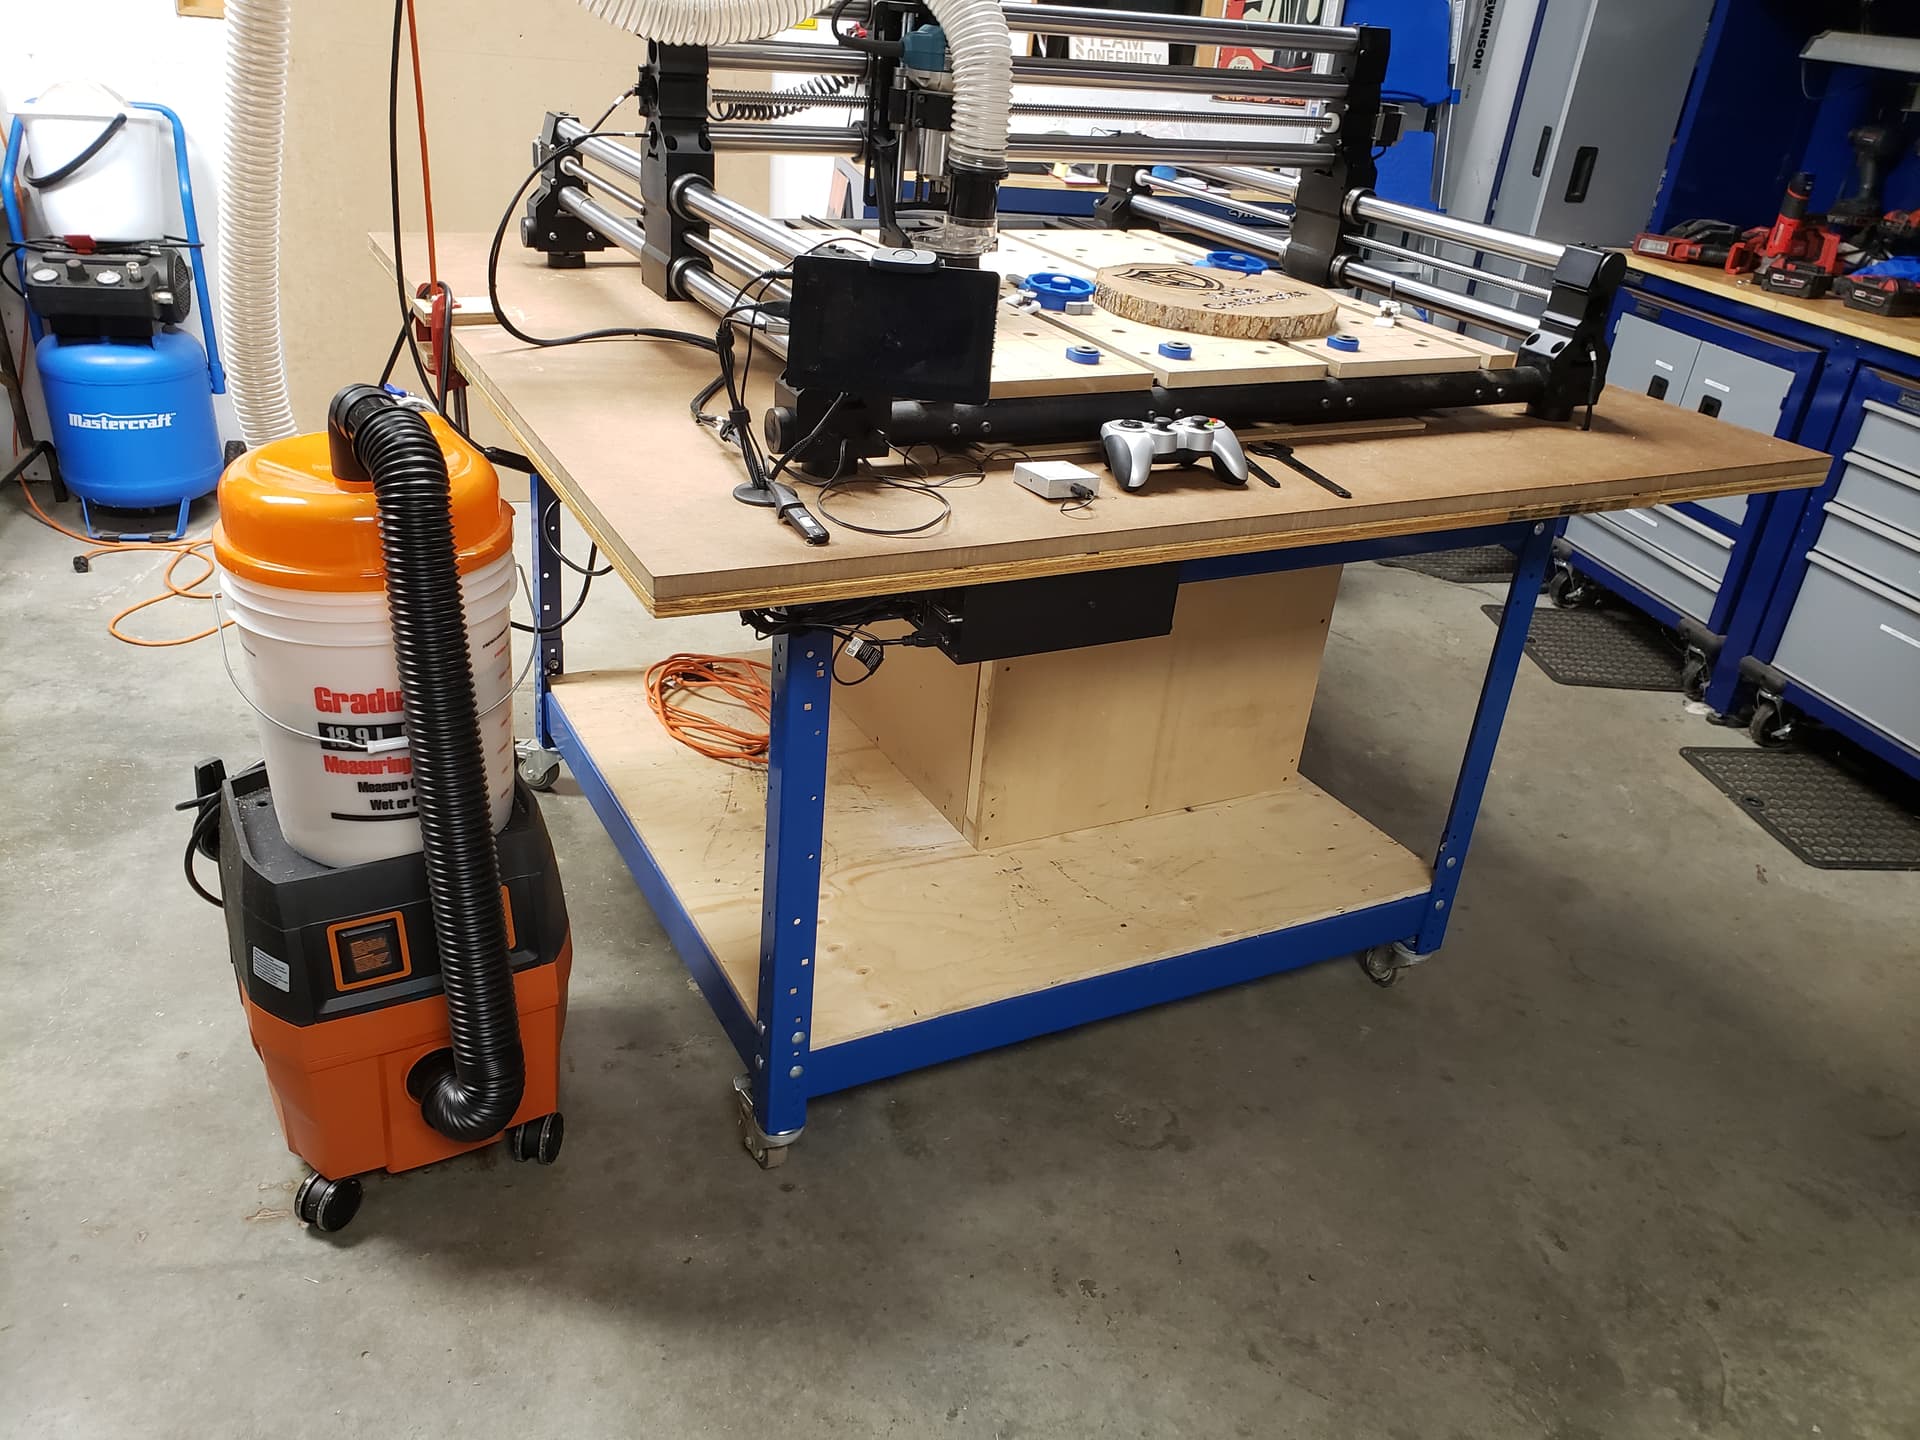
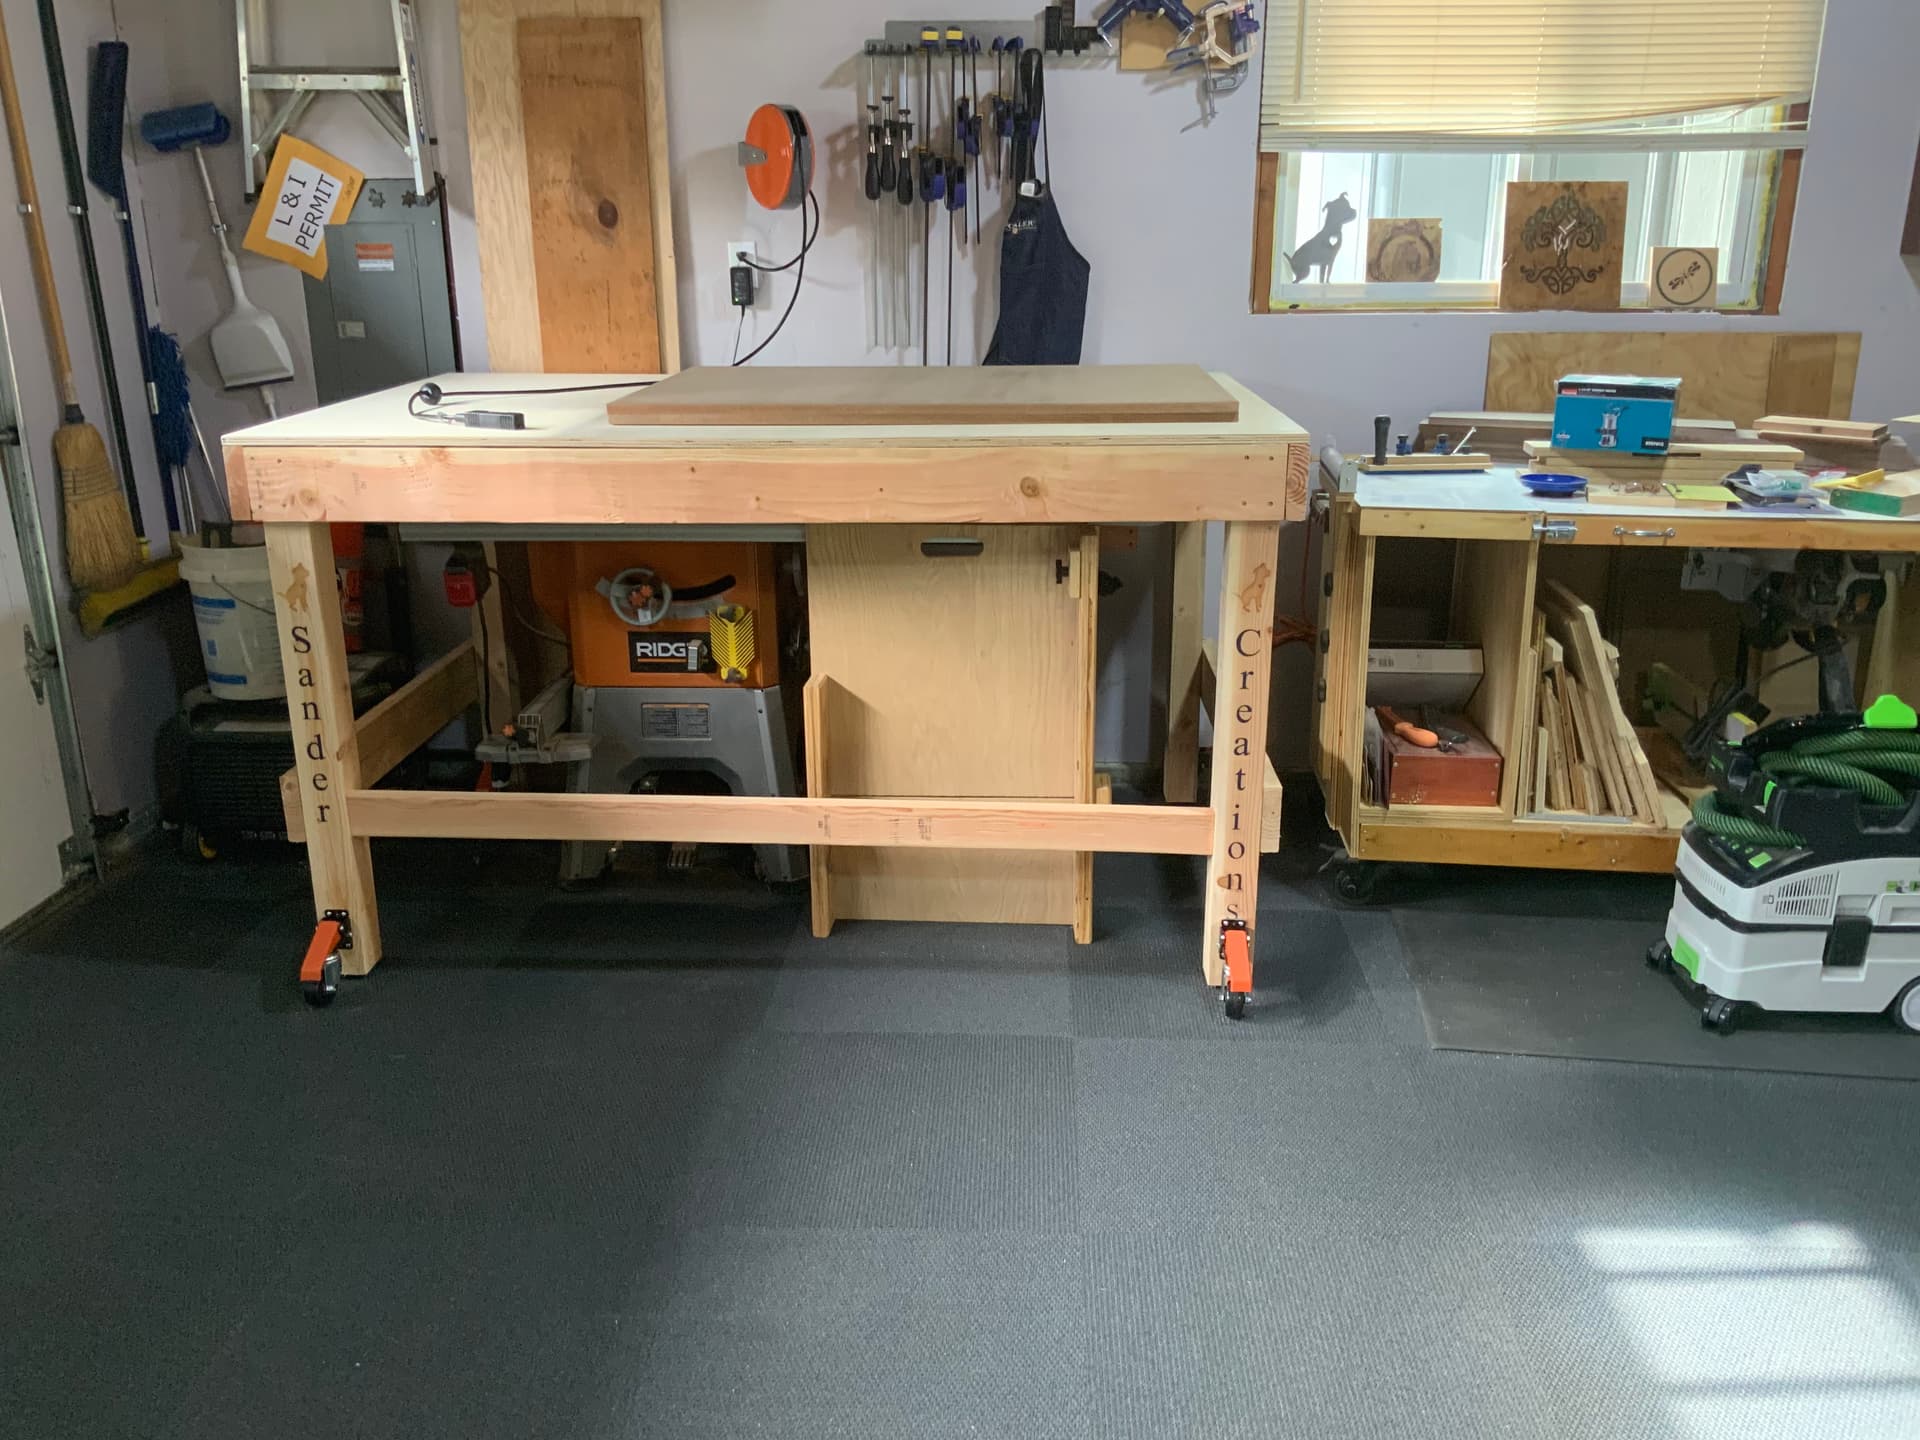
I decided to go very simple for my table design as I was working with a few issues. Like most people, space is at a premium. I have decent space in my garage/workshop but I couldn’t leave a table sitting in the middle of the floor. Also, space was the primary factor in me deciding to buy a Shaper Origin a few months ago. I thought about making another flip top table (the table on the right is flip top) but the foot print wasn’t small enough to make a difference in my case.
So, after doing a ton of research on here and other sites, I decided to make a table that would “nest” over my table saw so that it would preserve as much a space as possible when not in use. The table is simple 4x4 and 2 x 6 construction. 3/4” Baltic birch ply for the top. It has retractable casters that each hold 220 lbs so it can move easily but will still rest on the legs for stability when in use. Now I can use it in its current position or move the table to the middle of the garage if I need to get around to the other side. Table measures 48 x 79. Now just need my Journeyman to get here so I can set it up and get going.
On a side note, I now have a Shaper Origin and Workstation for sale if anyone is interested!
1 Like
Huh. I made a modified Fisher design for my Journeyman. It’s only 22" deep & 7ft long when flipped vertical for storage but 5ft deep when the table is opened up for use. Would never have been able to put a traditional table of any real size in the space I have right now. The new house will be a different story though - wife gets her dream kitchen and I get a big workshop ![]()