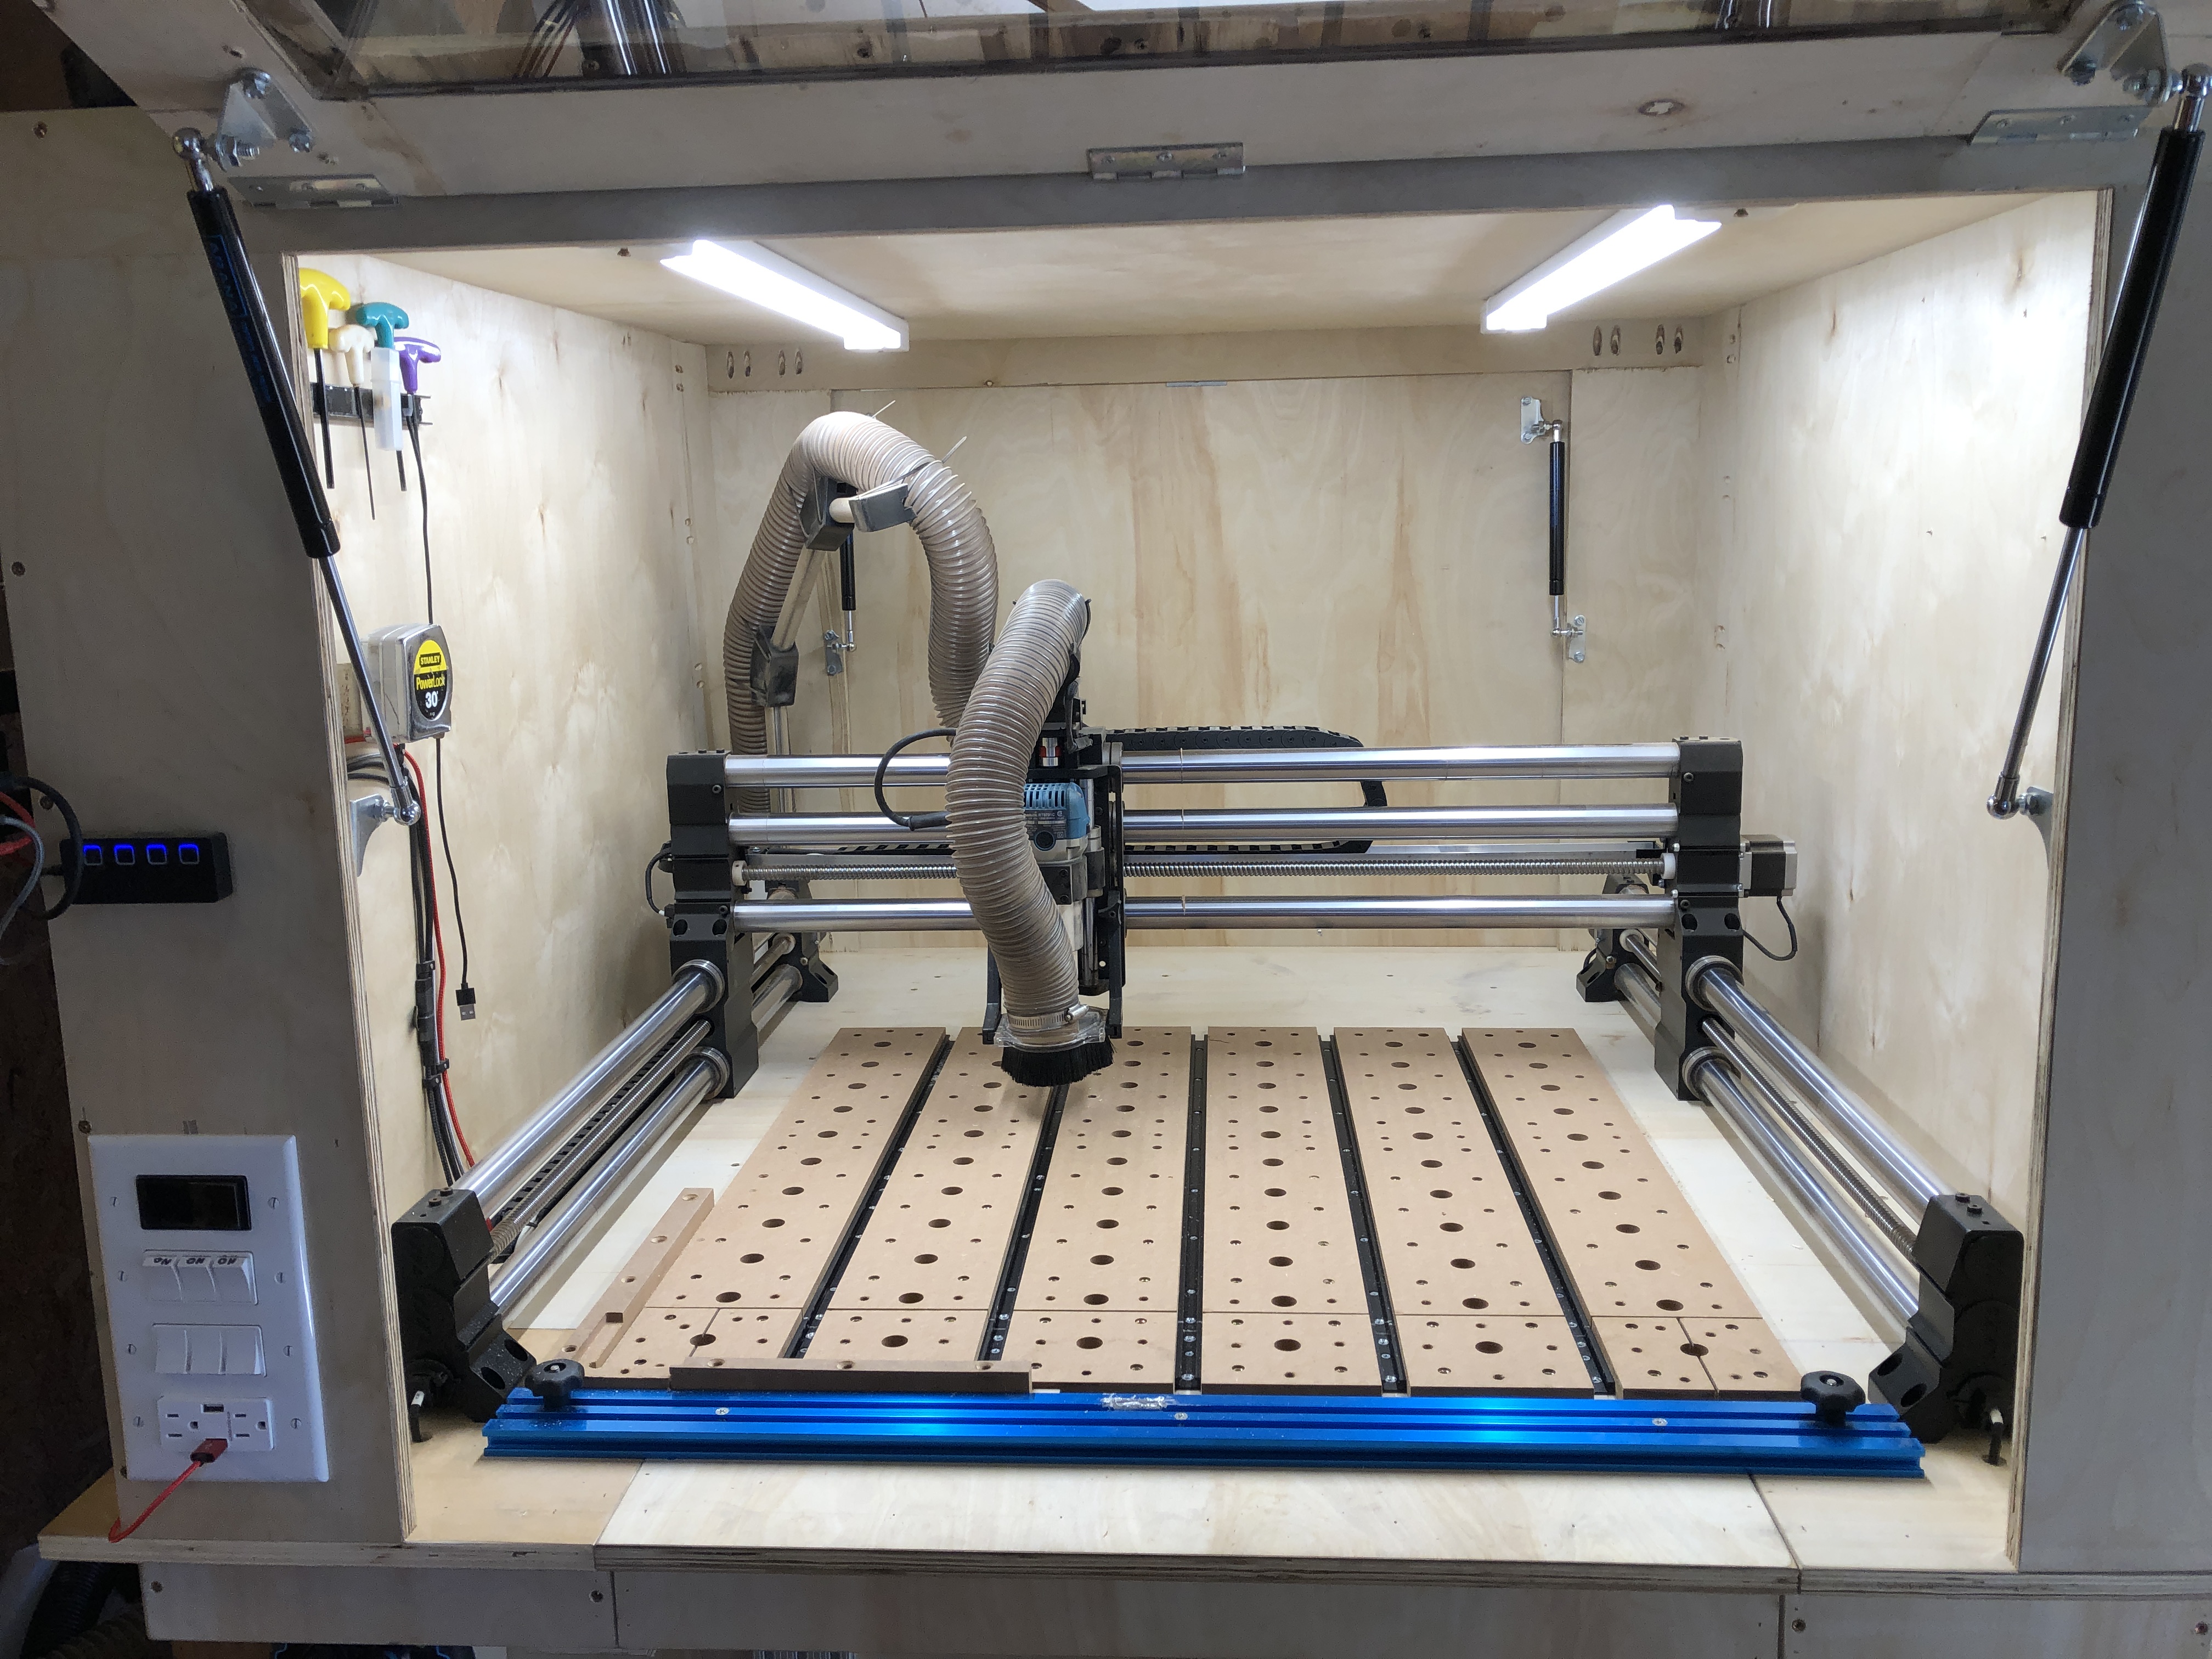
Here are some pictures of my cnc 1F cabinet. It has the ability to do both flat and vertical cuts. All the hardware was purchased from Amazon or onefinity. I used 3/4" paint grade maple plywood for the whole cabinet. MDF for the spoil board. I used Reddog spoil board design and had to modify it just a little bit. Mostly just had to cut out using a multi tool saw to cut the removable spoil board and T track part that’s for the vertical mount. The rest of the cut out was framed in the construction. The front blue T track locks in the removable part flat and always in the correct position
Very Nice Keith. Looks well thought out. Maybe whenever you have a project to do using the vertical station you could upload a short video and show it in use.
Looks nice! This is on my list of modifications to make soon.
I’d be interested in learning about your process to get the vertical work holding perfectly perpendicular to the cutting head. Anything more advanced than a framing square over the edge?
I flatten my spoil board so when the edge of the board is either flush with the spoil board or a board laying on the spoil board it is always lined up. The t Track that is in the vertical position I add a stop block to make it easier to flip it over and realign.
i used the house rocker switches because they are cheap and easy to wire. I took a multiplug strip from harpor freight and took it apart. i then wired the plugs to different switches. That allowed me to plug in the router to and outlet on the strip and them plug in the controller into another outlets, I then was able to plug in the laser to another outlet on the strip. The rewiring was easy with the push in connections on the strip outlets. I did have to purchase wire to make the runs from the outlets to the switches. Only had to run the black hots. The white neutral wire was common to all outlets. (one wire) I’m going to label the switches. thanks for the questions
The lining up on the spoil board is easy The spoil board is installed squared up with the machine. plus I used Reddog spoil board design. As for the vertical part, the clamping surface is inline with the machine. The setting the height just use a piece of wood to line up with the top of the spoil board. Both edges left and right. its that easy
Great design and build. I only hope mine is half as good. Can you answer some questions?
What are the dimensions of the opening for vertical cuts? What’s the maximum height of workpiece that can be cut vertically?
How far from the front edge of the table are the fronts of the Y-rail feet? What’s the width of the piece cut off the front of the spoil board?
Is your table a torsion box?
I can see the cables on the left side of the enclosure. Where is your controller mounted? Were the regular cables long enough to run where they needed to?
I see you have a drag chain for the X-rail cables. Do you also have a drag chain for cables on the left of the 1F?
What’s the white panel on the outside left of the enclosure?