I’m ready for step 7 which is to: “On your computer open the Vcarve cut file for your machine in the “Toolpaths” tab you’ll see these toolpaths. Save each one individually with the appropriate post processor selected and run them in the order they appear. The first toolpath will be a shallow “tracing” toolpath with a v-bit.” I
Is that this?
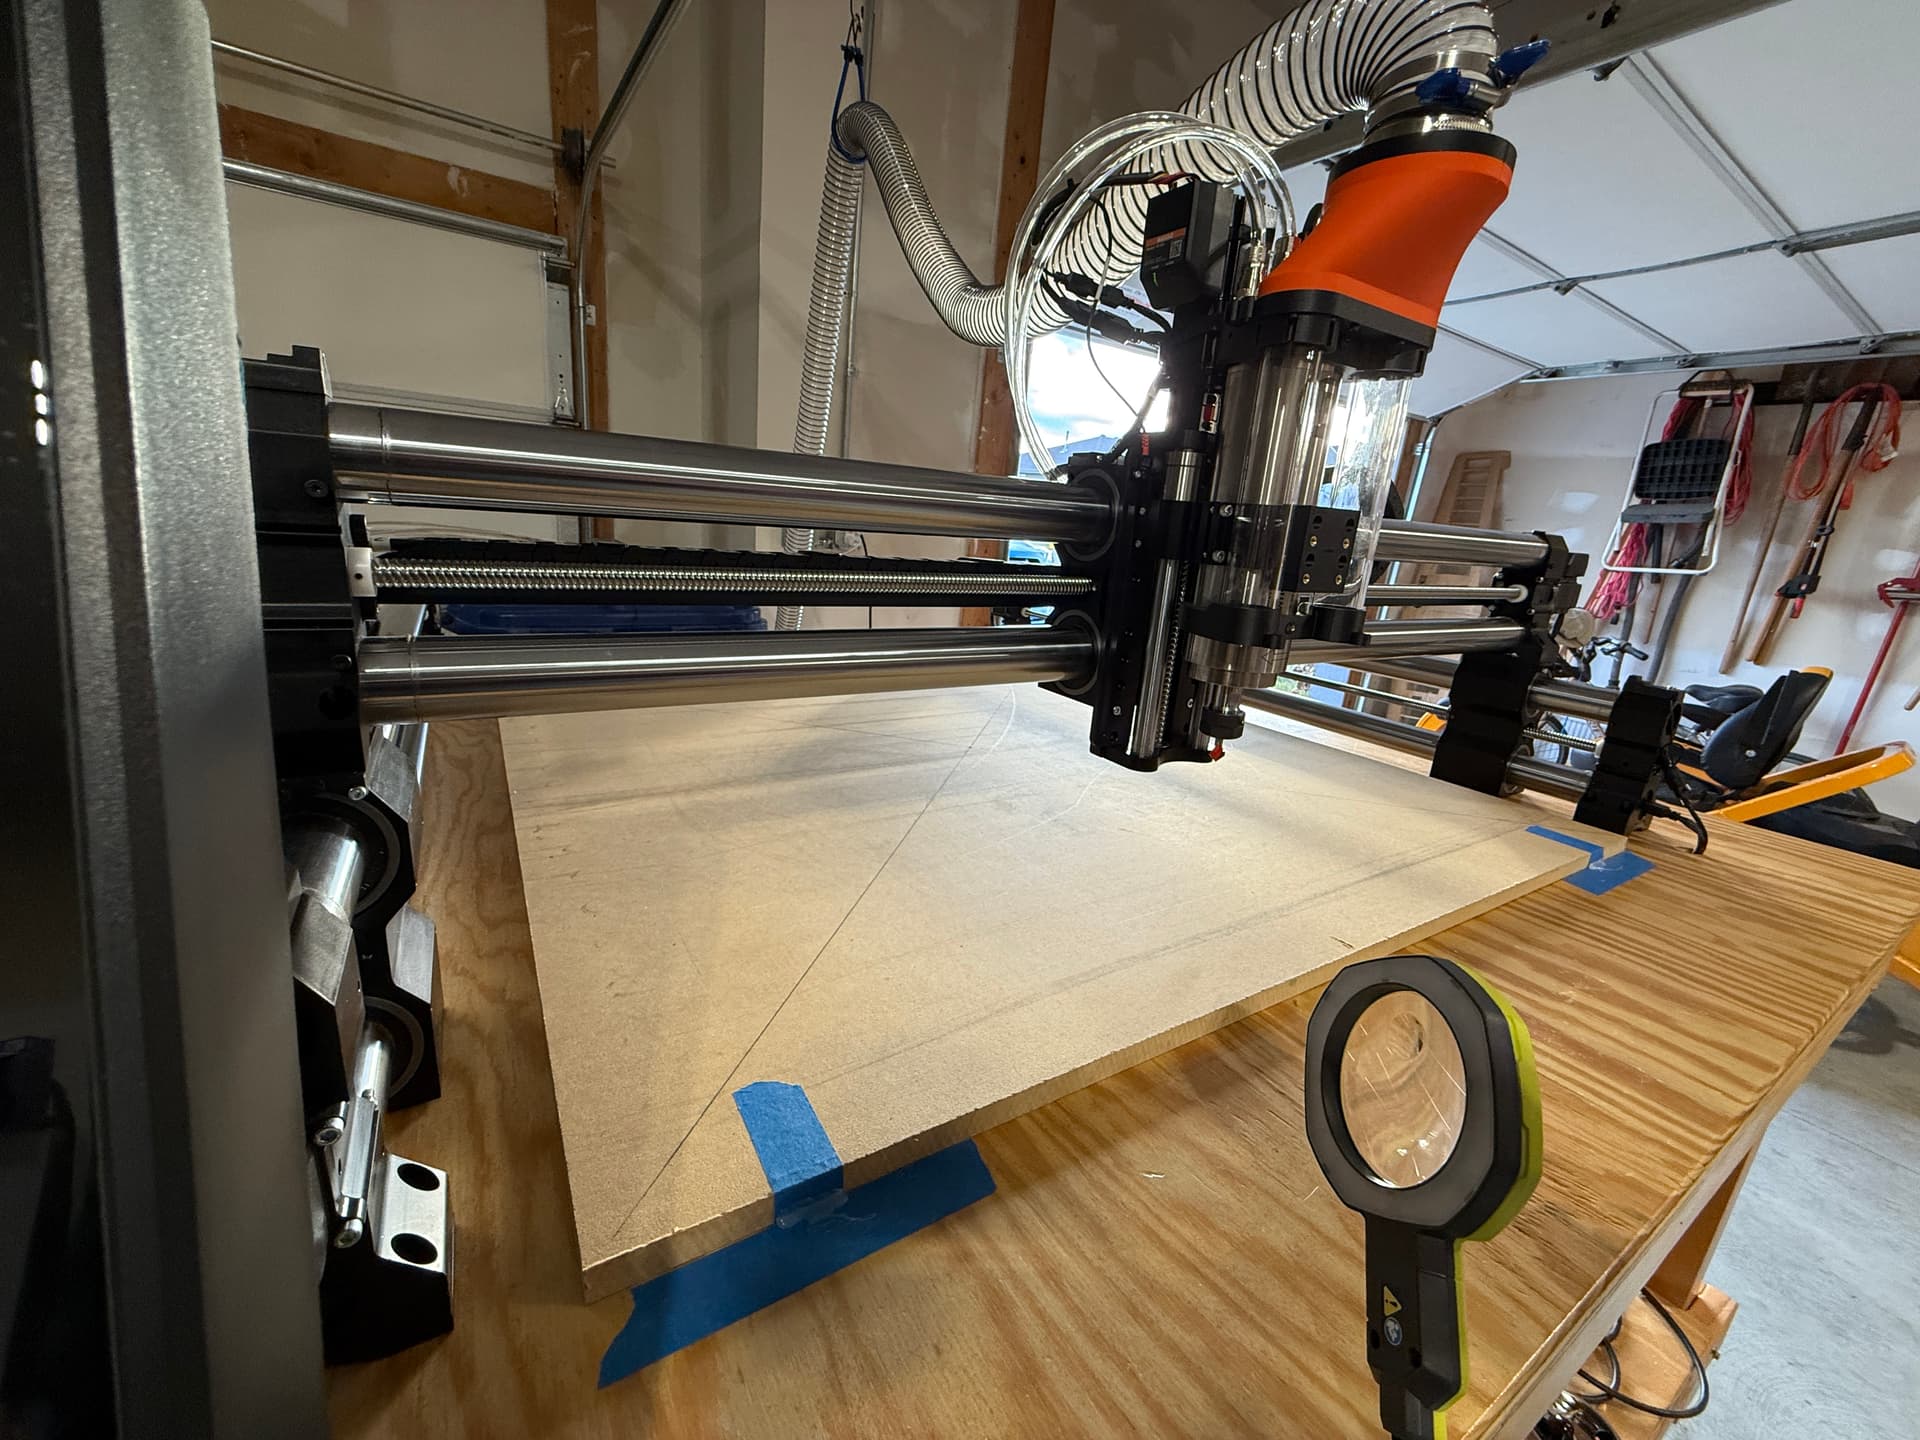
I’ve just finished assembling the Foreman. I’ve yet to cut on it. I can’t do that until I have a wasteboard I’m thinking. Might one of you kind souls help me get started with the Foreman? I don’t know what I’m doing. Thank you all so much!
hey there @Omaha . this is pretty simple. the first thing you need to do is make sure you have the right machine setup in your Vectric software. that’s what they mean by post processor. when you save a tool path you will see what machine you have selected. generally this is the default machine you selected in the software. this is important since the tool path export file needs to be formatted for the type of controller you have etc.
Once this is confirmed and you see all of the tool paths, you can click the disk/bit icon in the tool paths side menu that pops out. I recommend following the intro Vectric videos on finding this if you are stuck here.
in the save sub menu, you will see an option to save all files individually. choose your folder destination, preferably something specific to this project, and you will see your individual tool paths there. each tool path has to be loaded one by one or you can load an entire folder using your controller software. Id start with just one if you have no experience just so you know which file is being run, what tool you need, etc.
Also, I noticed you said you’re using a v-bit for this job. This is generally not an appropriate bit for spoil boards. Surfacing bits are used for surfacing and all of your pockets are generally cut with a 1/4" up-cut bit.
one of your tool paths seems to indicate you need a dovetail bit as well, but the instructions should say as much.
Thanks! Was busy over the holidays, I was able to get closer yesterday. My dust boot needs adjusting on the spindle I think. I may be able to run this next weekend. Thank you all!
I’ve read a lot of this post but failed to see any ideas regarding what to do about resurfacing the board. I had one idea: Cut the dovetails deeper to begin with. I would not be able to use the Microjig dovetail bit though. I do have a 14 degree dovetail bit that I could go a bit lower with. The real limit as far as i can tell is that if I start with 3/4" MDF I need to leave some of it at the bottom to keep the integrity of the board. I’d do it like this – this is just from my thoughts right now – (1) cut the standard 1/4" relief groove but a bit deeper, (2) Now do pockets at the end of each groove, (3) cut dovetails with the 14 degree bit – again, a bit deeper than standard, lastly (4) go back and put a slight 1/16" chamfer on the edges of all the grooves. The hardware will sit a little lower but I think all you loose is some thread turns. Maybe I’d get a few more resurfaces out of it. In the end, just remove it and place another new piece of MDF and start over. Alternatively, use 1" MDF and groove even lower.
I put the Microjig grooves in a layer of 18 mm plywood under 3/4" MDF waste board strips. The strips are held down with 10-32 T-nuts on the underside of the plywood. The 10-32 machine screws are recessed 1/2" into the waste board strips. This gives me about 3/8" of resurfacing allowance before I hit the screw heads. I use short pieces of 10-32 threaded rod to connect the hold downs to the bars in the Microjig grooves in the plywood under the MDF waste board.
@JonnyDex Here is a drawing showing the cross section though the MDF and plywood. The notes in the sketch describe the construction sequence. Microjig spoilboard section.pdf (27.6 KB)
Hi all, nearly first-time user here. I bought the files from Etsy. I’ve successfully setup and used the wasteboard. What I cannot figure out is how to use the cleanup file. I’m sure it’s user error. That’s OK, I’m here to learn how. The instructions (if memory serves) say not to use a tool in the collet. What I don’t understand is how can I set the X, Y, Z without this? All my attempts to run the file have resulted in the cutter gouging the wasteboard. Sorry I’m unable to articulate this better. Please help me understand, so I can get that much closer to making cool stuff with my CNC. Thanks!
Hi Andy, the instructions in @MorganHop’s files he sells on Etsy. I didn’t post any of that content because it’s not “free”. With that, unless Morgan chimes in to assist, I may be SOL. It’s not the files or instructions, it’s me. I’m new and inexperienced. Let me ask a different way. I’d like a Vectric file that can do a cleanup on the wasteboard. Do you know of such a thing, or a tutorial where I can learn to create it myself. Please forgive my ignorance. I’m trying to learn. Tough to speak about a subject I know so little about. Thank you!
Could you elaborate on this a little bit? How are you using the tracks on the QCW with the screws? I think I have an idea what you’re doing… I picked up your Etsy files as I like this setup, but I have the QCW table and have been thinking about the best way to attach the wasteboard. Thanks
0.331” is the width of the top of the MatchFit dovetail groove.
0.432” is the clearance for my 1/4” shank router bit that cuts the relief groove for the dovetail. This is only needed if I cut the dovetail grooves after I install the spoil board. You can ignore this.
I used MDF and was disappointed as well. Switched to a 13 ply birch plywood. 100% better. Regardless of material, except maybe HDPE, after a few surfacing passes the dovetail depth will lessen and the “ pinch” decreases. As I type I realize that maybe the dovetail slots could be re-cut after surfacing to stay full depth and not compromise the clamping physics, ( assuming you have kept mechanical home position from original cut). Anyway, I much prefer the plywood. Just my 3 cents.