That looks great! Did you use any stretchers underneath the top? I just got the 44" x 44" Kreg base myself and am debating this.
I did add a notched 2x4 spanning the middle as added support. But the layered 3/4 is pretty sturdy.
What specifically did you do differently with the electric?
Hi @AndrewBrown
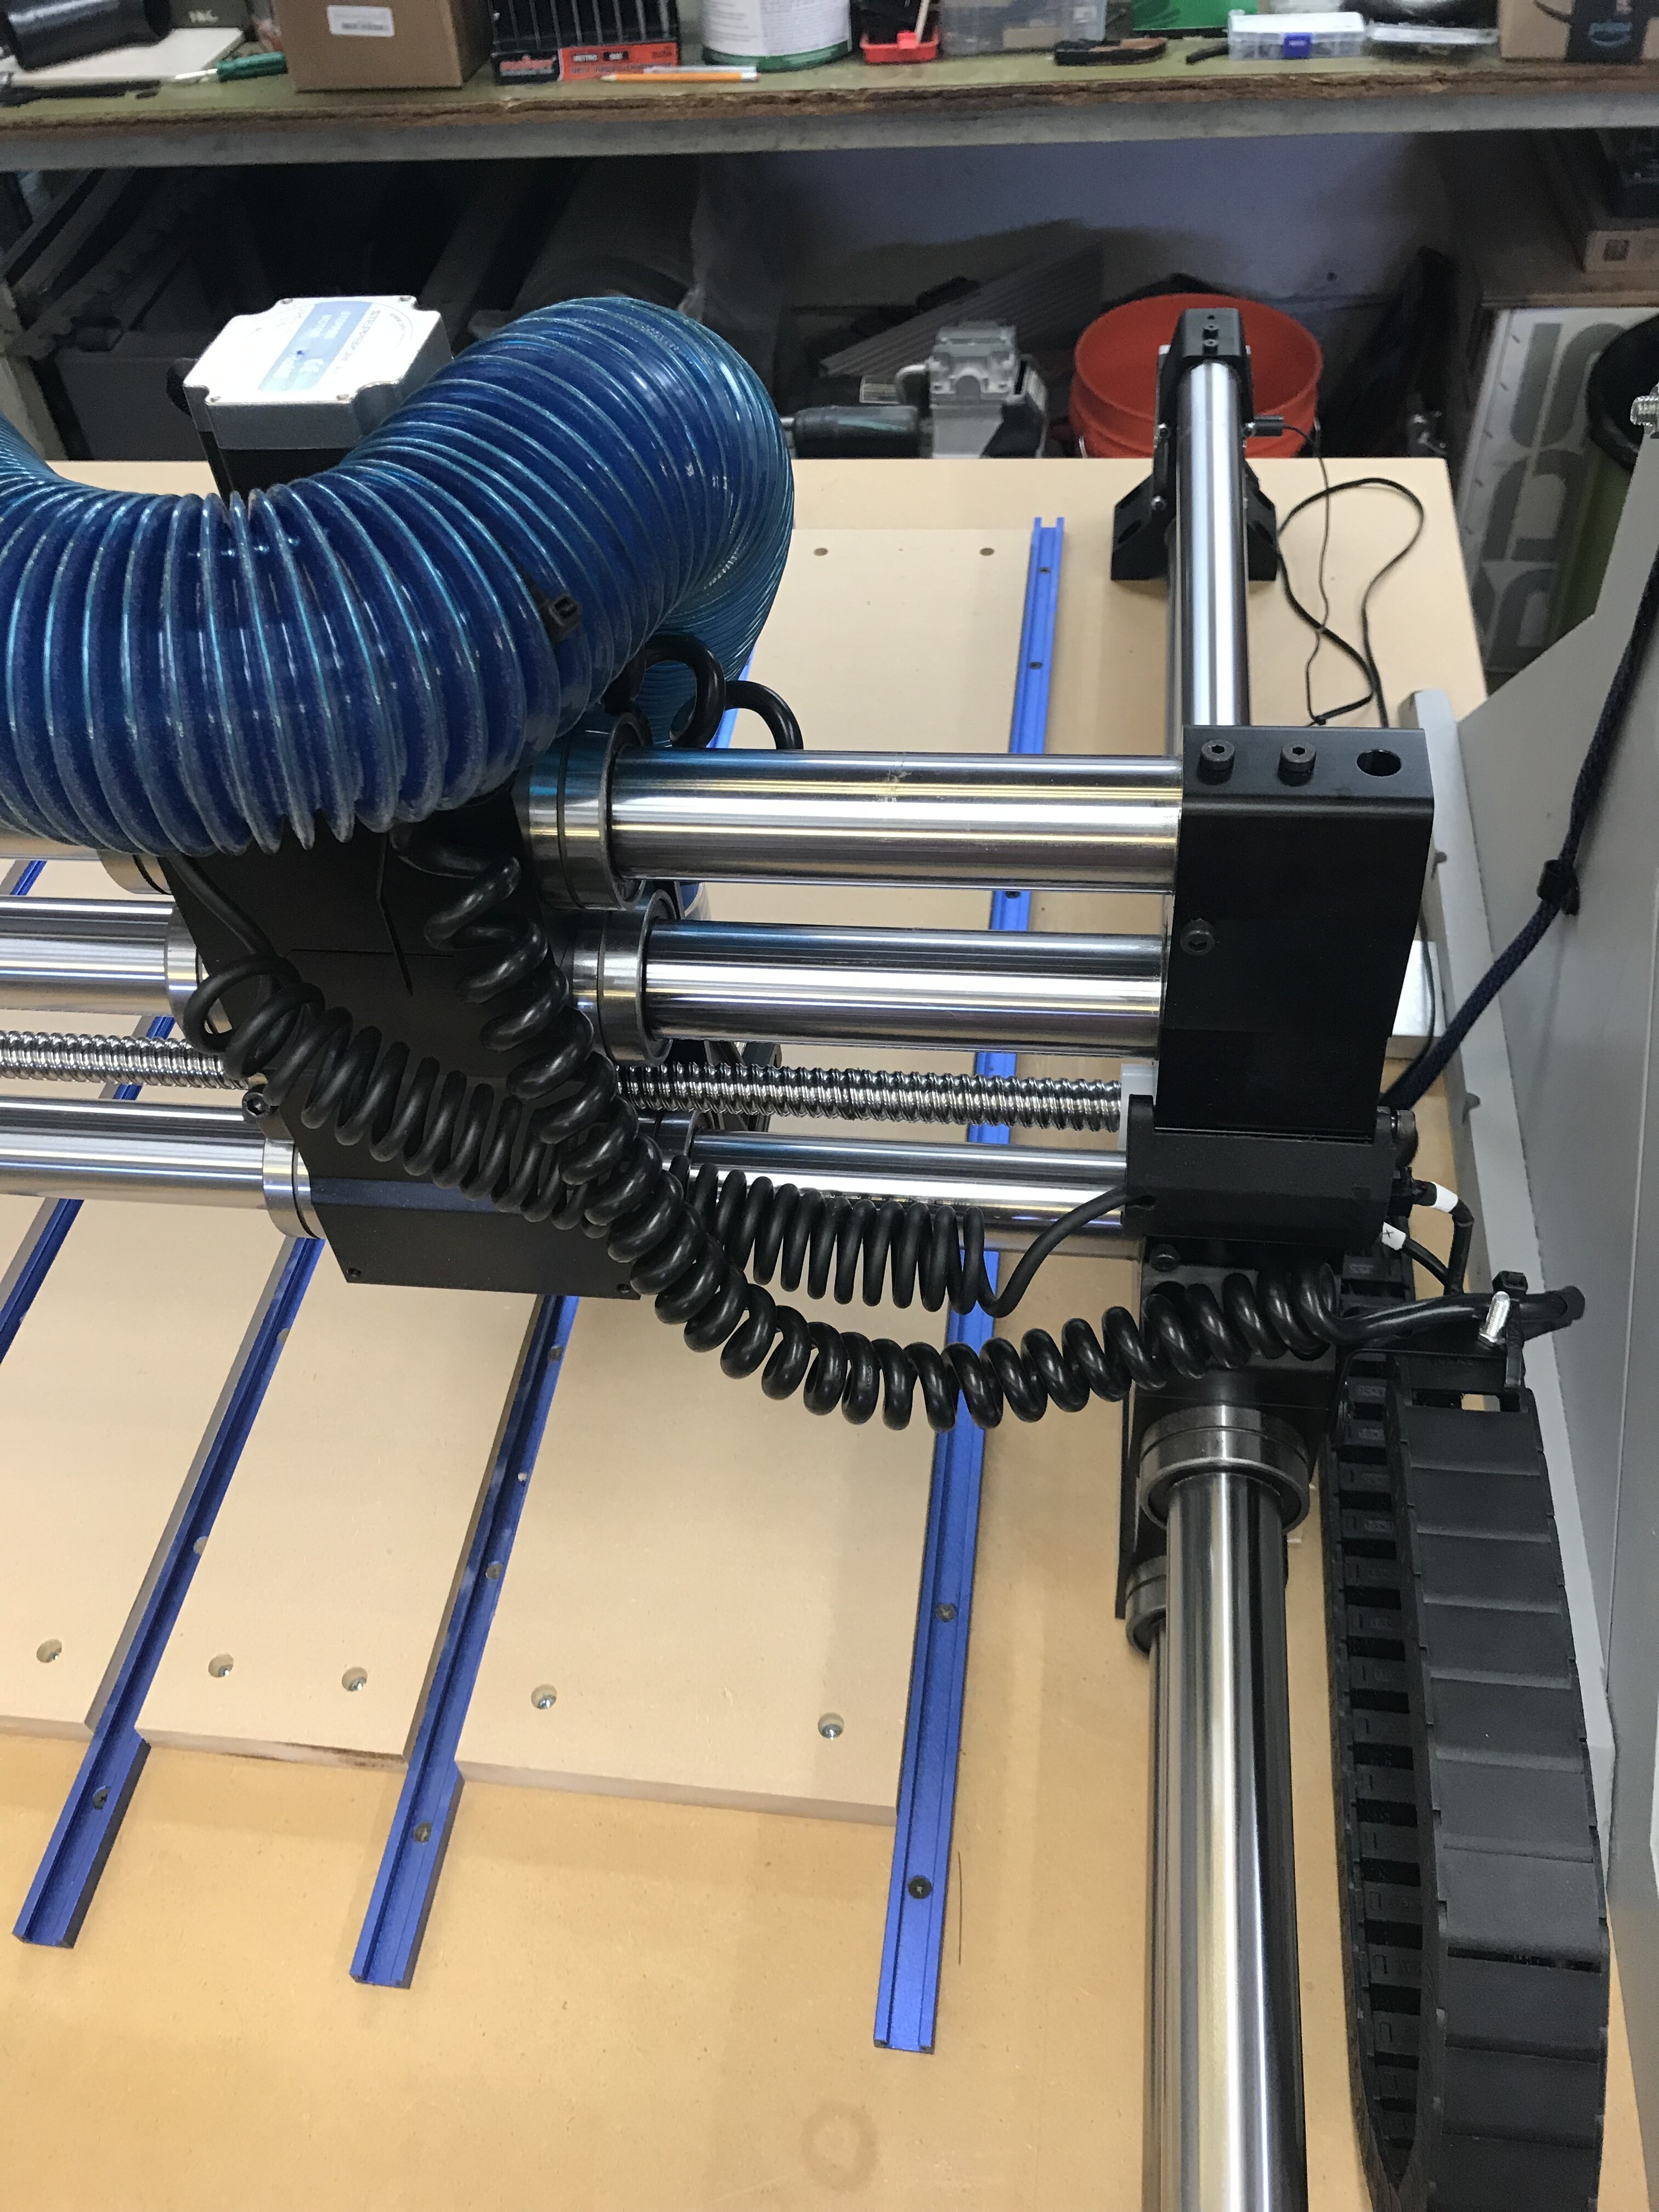
Here’s the rig with the WW, dust collection, lights and drag chain/coiled power cord upgrade.


Got my 2x4 basics workbench built for my OF. Easy to build as can be. Putting the poly finish on it took the longest.
Did my cable management ala @muddyfeet thanks for the great inspiration - I used some of the files as is and I changed a few to suit me (have the router not a spindle so I made a simpler attachment at the top of the Z tower.
Designing an enclosure based on the one by @rcincorona, All in fusion so far, haven’t cut the first piece of wood yet.
Got my touch screen and joystick on a laptop stand. Will do something better than the 2 bolts holding the joystick.
A few pics below:


@rcincorona looking good Roger! Construction on mine starting in the next couple of weeks 
Do you have better images on how you did the wheels? I bought those plastic legs and I am unsure of how to put wheels on it.
@EdsCrafts I don’t have wheels on mine and from what I’ve seen you can’t put wheels on the legs themselves. I think some people have put them on the 2x4s between the legs.
@rcincorona - I’ve got a question regarding the piano hinge joint. Do you find yourself using that or do you open up the whole side at a time? I’m debating if I want to include those or if I’d rather leave each side one solid unit.
@clw
Hi Chuck,
I barely have my setup operational, so I can’t provide any experiential insight yet. I will tell you that, for me, it turned out to be a good thing because I made the mistake of impatiently building the enclosure before having the actual WW. So, I undersized the depth by a couple inches. It will be fine for probably 95% of what I imagine using it for, but I can’t use the front-most Y axis extent due to the dust boot. That said, that extra little access door can be propped open a bit and all is well.
Also, one of the original ideas for the panel was to allow a long piece of stock to be machined without giving up all the benefits of an enclosure.
@rcincorona
Thank you Roger. I saw a lot of discussion regarding room for the boot so the forums saved me with regards to clearance for that. Great point about the long stock - I’m going to go ahead and include that feature.
It’s obvious that you haven’t used your machine or done any work in the shop IT’S TO DAMNED CLEAN  set up looks good, if you want to keep wheels take a 2x4x6 drill a pocket so that wheels are firmly in pocket - good job for CNC. Have fun and enjoy.
Why did you you use 2–3/4 pieces of MDT for the table… could you not use 1 piece of 3x4 plywood and a 3/4 inch MDT as spoil board. thanks
Why did you use 2-3/4 inch MDF instead of using a 3/4 in plywood for table top and 3/4 inch MDF for spoilboard
Thanks
Yep Ron, took those photos right after building it… not so clean now.
Michael, the workbench top is 3/4 in plywood. Then i put 3/4 mdf inside the machine limits (photo was before it was secured to the table, it doesn’t come flush to the table. Then i put a spoilboard on top of that (not shown). I figured I could spare the z height and I won’t be screwing in and out of the main plywood top every time I swap spoil boards.
The thicker the table, the better in my opinion, due to the weight and stiffness. The manual says to build up the wasteboard thickness, but I opted to build up the table thickness so I’d have the maximum amount of Z-travel available to me. I went with MDF glued together since MDF was much cheaper than good quality plywood.
Also, I’ve never owned a CNC before. I had all these grand ideas about building a fancy table with a removeable section so I could engrave really tall items, but I was short on time and wanted to get the machine operable. And frankly, I needed the CNC to make some of the parts for my CNC table. So I bought the Kreg table base, MDF and some oak trim and slapped the initial table together in a couple hours.
Note: For maximum stiffness it is recommended that you build up your wasteboard to a thickness of 2-1/2" - 3". This will still give you approximately 3" of gantry clearance while reducing the moment force on the Router, Z-Slider and X-Rail parts. When building up your wasteboard to this thickness please ensure you use the Z-Sliders top mounting holes.
@rcincorona MDF here in the UK is 96” x 48” (2440x1220mm) so my table will also be a little short in the “Y” axis. I’ve designed a pocket in the rear wall so the steppers stick through and I’m going with a rear facing dust boot too. Hopefully the few extra mm this gains will prevent a collision at the very front of the Y travel ![]()
Hi
I also used a Kreg 44 x 44 bench frame but added on top a steel frame using Unistrut / Super strut vs. a torison box for strength and flatness. Worked great. Next was a going to be a 2 layer spoilboard board design but then they announced the frame. So I will create a temp spoilboard design till that comes in


What materials did you use for the enclosure? noticeable sound reduction? Really like that design good job.
@PaquetteWoodworks
Thanks very much. I have to thank @rcincorona for the inspiration. The enclosure is 18mm moisture resistant MDF, the front windows are glass, side and top are acrylic, all are gasketed too. The base is a material called Trespa, it’s use for laboratory worktops, it’s really dense, chemical resistant and fairly flat. The legs are standard redwood. I haven’t had it running yet as I’m waiting in the electrical department to extend the router cables, and I’m in holiday for 2 weeks, but noise reduction was a big thing for me.