I Used mineral oil. it looks great on cherry
Put this together for a buddy that is retiring. The weather would not cooperate with the painting and finishing so it took way more time than I expected. Used. the CNC to fabricate the rear mount on the barrel and engraving the name and dates of his last assignment.

7 Likes


Nothing big. Just a custom light switch cover for the switches that control my vacuum and air assist for my 1F. Cut out of 1/4 maple plywood using the 24w jtech.
17 Likes

Can you give a ballpark of what you get out of something like this and your area your in? You don’t have to give specifics. Thanks in advance. Awesome work by the way!!!
2 Likes
Do you have this file or sell it? Would love to make same thing for my son, He just got a ender 3s1 pro
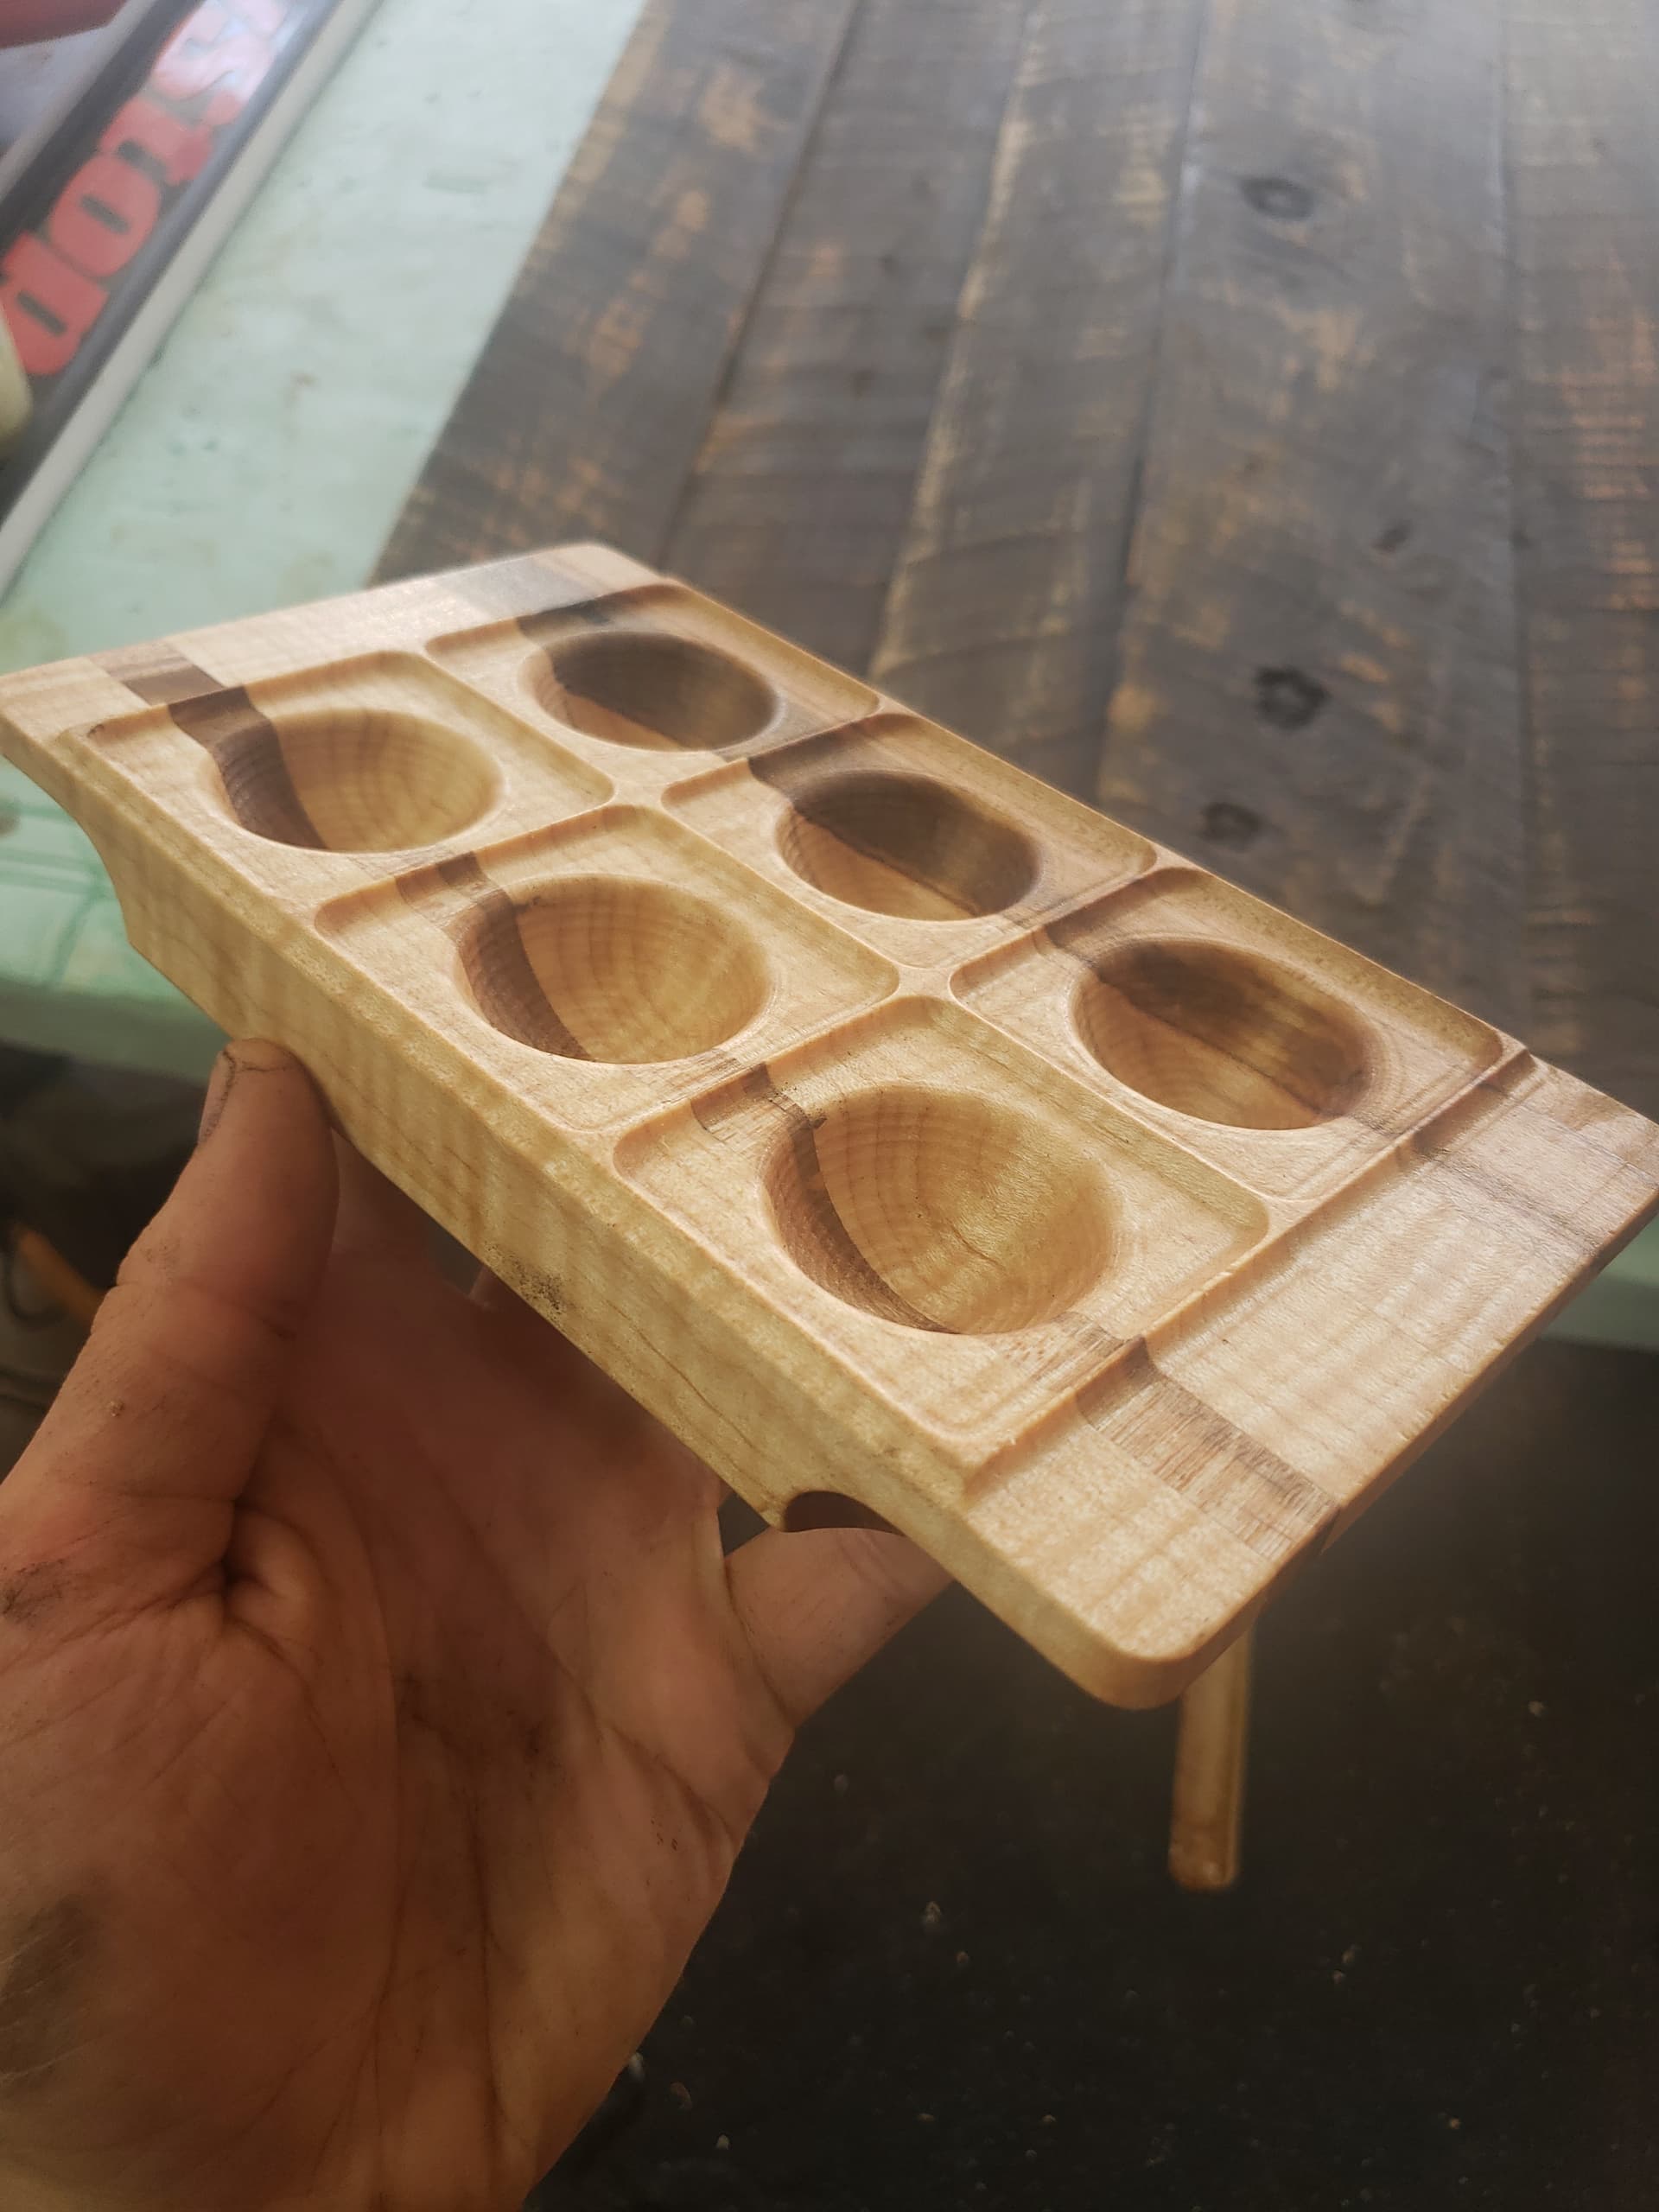
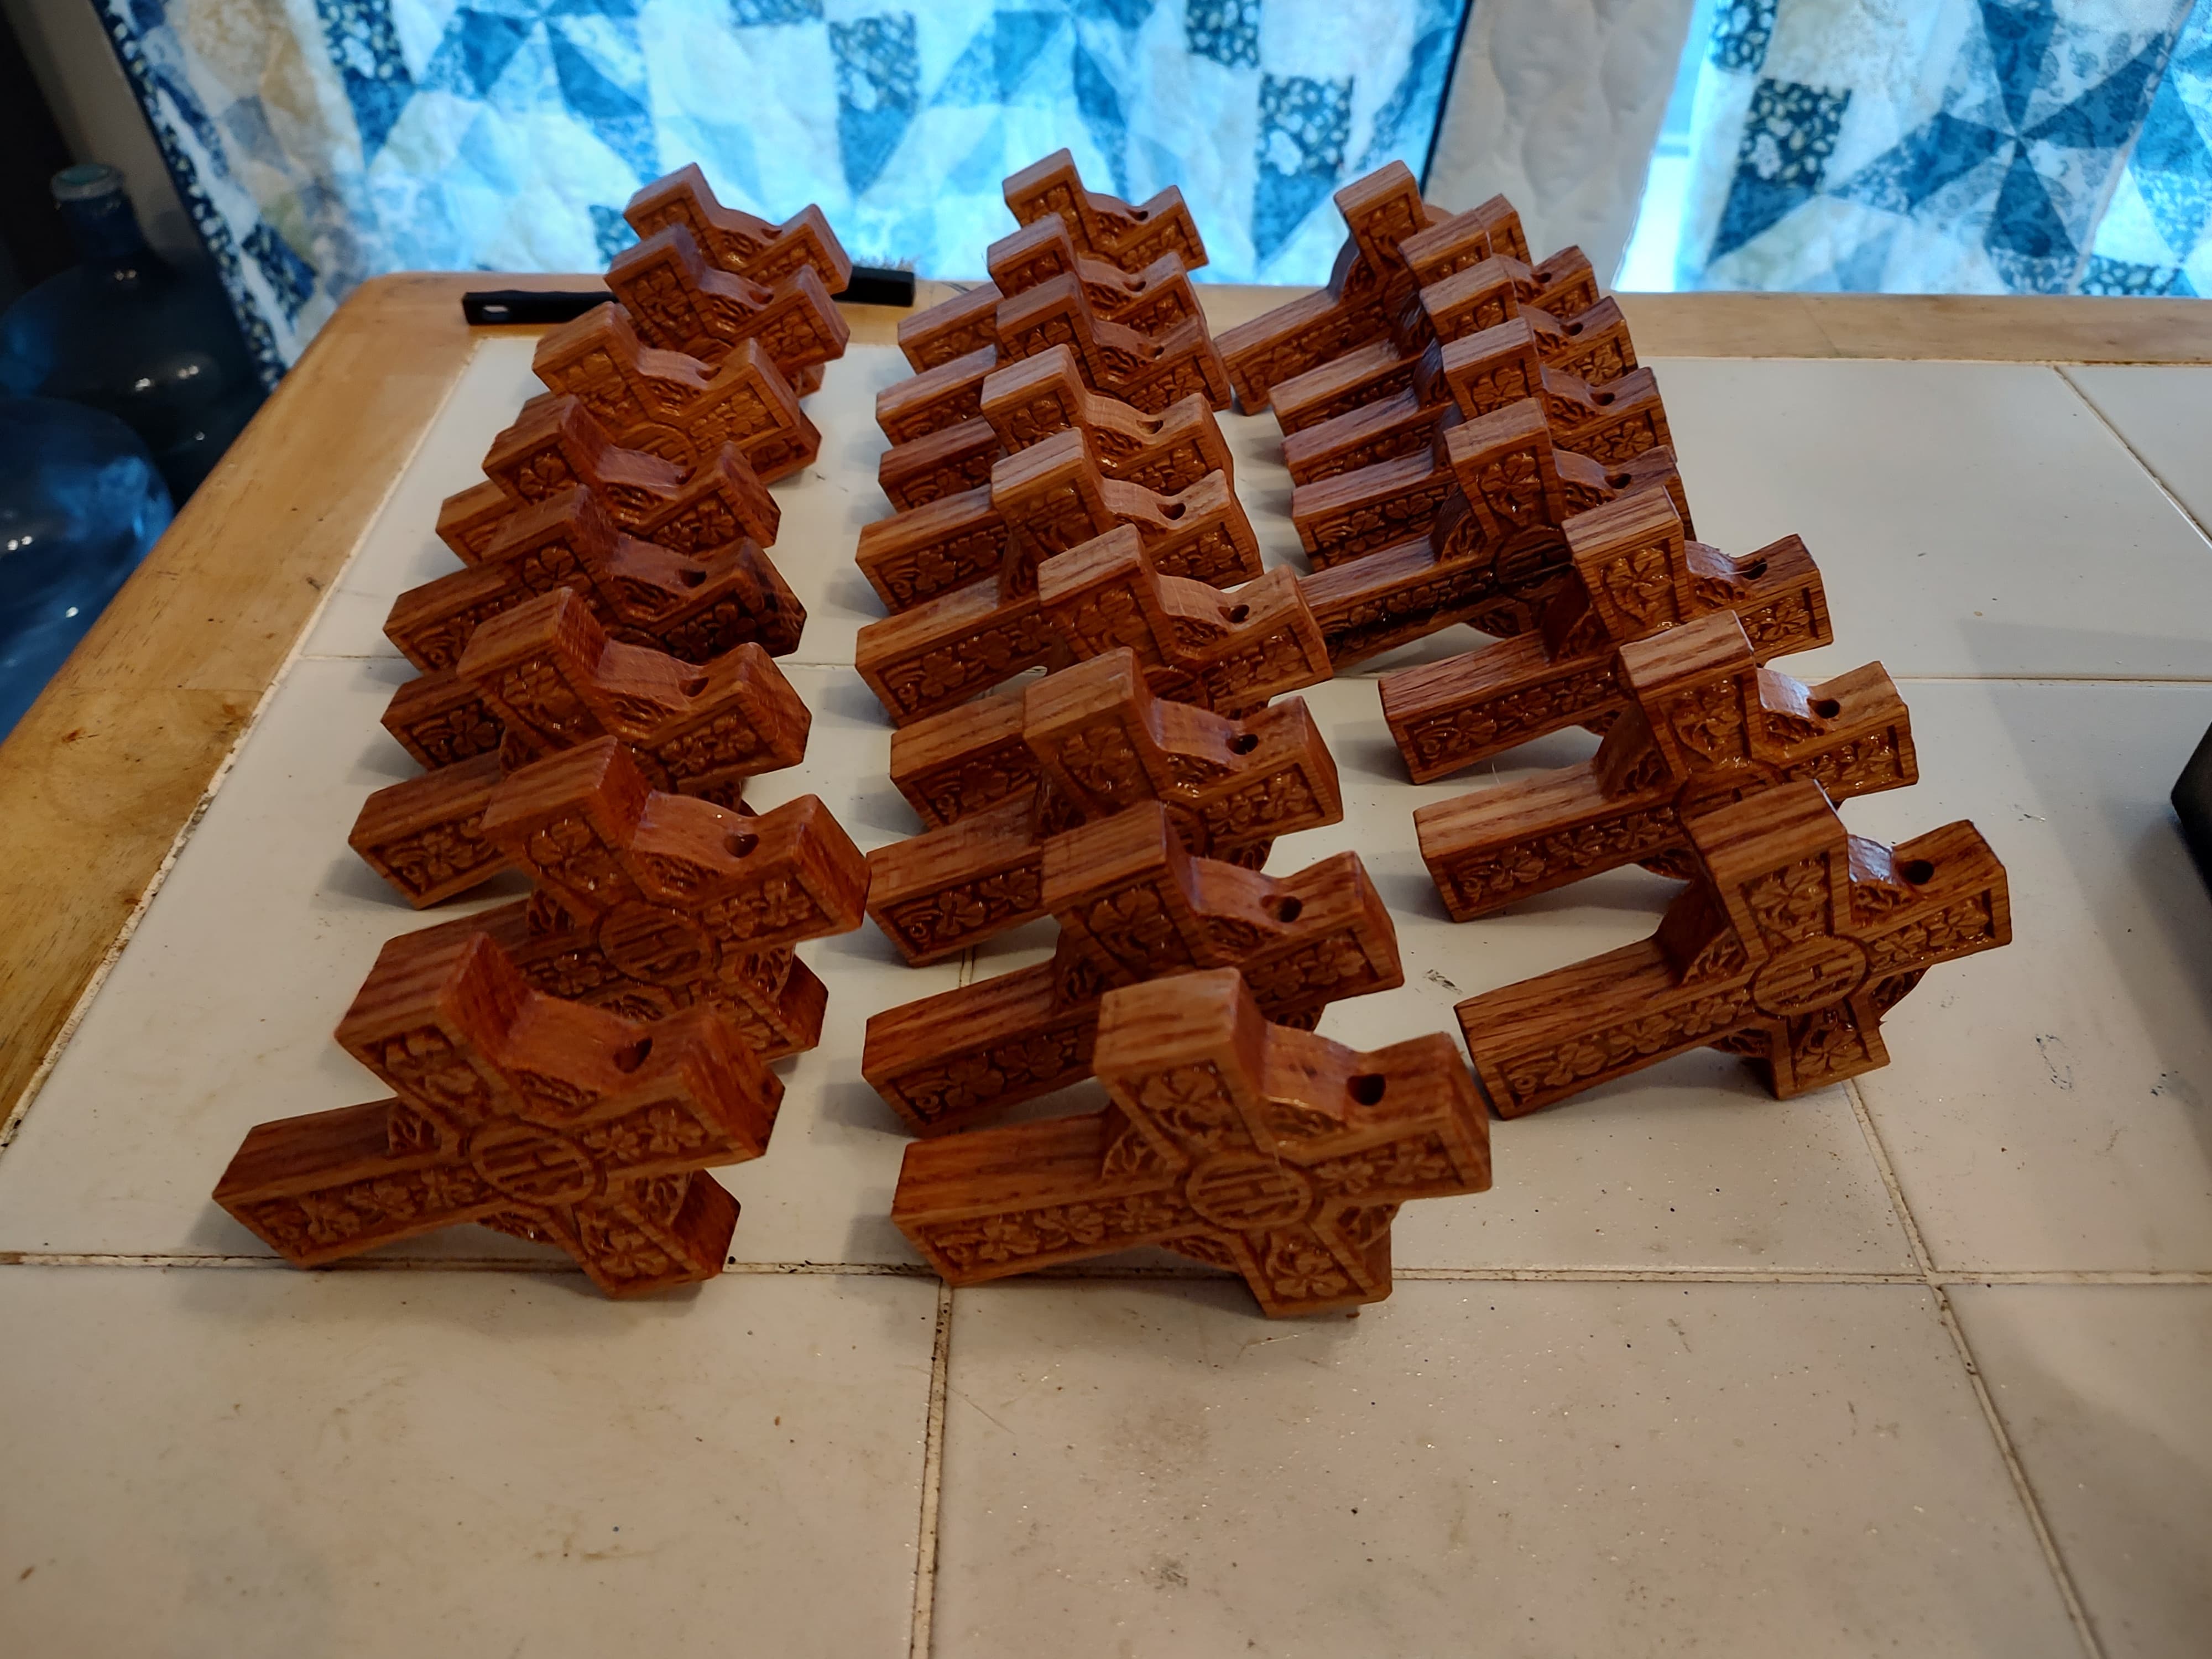
There is a local pasta shop that does classes and sells take-and-bake pasta. I was lucky enough to work out a deal with her to get these in the store!
Edit: I should probably clarify these are ravioli molds

20 Likes
Hello Ed … would you be willing to share the Aztec/Mayan calendar 3d file or a link to where I can get it ? Thanks in advance … clock looks cool by the way … the timepiece compliments the calendar …
This is definitely something I’m interested in doing, but haven’t yet gotten around to organizing my design catalog for sale yet.
1 Like

They look awesome….great job and thanks for sharing.
Did you make them all at once?
Three batches of 9. I yielded 25 of the 27 made. Used my small Catan board fixture to hold and locate the stock. I could have done all of them with the large fixture, but more risk there.
1 Like
Thanks for the info on the thought process and great job for a great cause!!
1 Like

Nice. Where were you able to buy he ColorCore?
1 Like
Just wondering where you might if found the plans?
Piedmont Plastics. There are several locations
1 Like
@DaddyDan , I actually made the vectors myself in Vcarve from a drawing I found.
-Kyle
1 Like
Made a box for my shoe shoe stuff. A pretty big upgrade from the cardboard box🤣
Did I need to use my Onefinity? No. Sure the drawer cutouts were candidates, but using a 90°v bit to miter the sides was a bit over kill and much slower than the table saw. Still. What’s the point of having a pet robot that cuts wood if you don’t play with it?


Resawn 4/4 Cherry to do four corner grain match and a couple coats of shellac.
17 Likes