First large run of laser etching… 120 shot glasses double sided for Daughter’s wedding in about a week. Just needs a little water and some light scrubbing to get the acrylic paint off. Now I just need to come up with the speech/toast…


First large run of laser etching… 120 shot glasses double sided for Daughter’s wedding in about a week. Just needs a little water and some light scrubbing to get the acrylic paint off. Now I just need to come up with the speech/toast…
Wow,Dean, I’m really liking your project. That speech had better be pretty good as everyone toasts with those glasses.
That’s awesome, I can’t tell if that dollar is carved or real! Really nice design!!
BTDTGTTS (2x). Well, at least the easy part is done. ![]()
Only have to do 1X, then it is just the son left and that should be easier…
Did you develop the design/profiles yourself. If so, what software are you using?
Looks great.
I’m astonished that only took 14-odd hours. Care to share feeds and speeds, stepovers and what bits you used?
The large waterways are painted black?
-Mark
Thanks. Yeah, the cutting portion takes about 12 hours with the Elite machine. Before I upgraded, my old journeyman would take almost twice that time to cut.
In terms of the feeds, I use pretty generic recommended chip loads for any 3d carve. 1/4" milling bit for roughing (150ipm IIRC), tapered 1/8" ballnose (140ipm) bit for finish pass. Stepover of 8-10% depending on the map resolution.
The water is painted to some degree. I laser (hatch fill) the water bodies, but since it’s cutting plywood, you get a fairly uneven appearance in some areas. I use a black paint marker to fill in the lighter areas.
That is very nice, tried spraying paint on parts like this and bad results for me, hand painting with masking works good for me.
Pat
Thanks for the feedback.
That sliding piece on the back of the cribbage board, what mechanism are you using to hold the piece? Are the edges cut at an angle? If so was that angle cut on the CNC or a table saw?
For the peg storage, I use an end mill and a dovetail bit in my 1F and the sliding piece or cover, I make it on my router table using the same dovetail bit, generally the cover is a tight sliding fit as it is fit by hand, if it becomes too loose, I put a dab of hot glue on the underside and shave it down to a few thousands thick so the cover doesn’t slide out by itself.
I am sure you could automate making the cover in the CNC but it only takes me a few minutes to do by hand in the router table.
Pat
ok so you are using a 14 degree angle from a dovetail bit, that makes perfect sense. I do something completely different but use the same technique of opposing angles. I have been using the Table saw set to 22.5 degrees with a Sled but was wanting something more precise and repeatable so to speak.
First I cut the mortice by hand, then scanned it with a 3D scanner, reverse engineered the sides of the mortice and connected it to the new neck in the CAD software.
This was a two sided job (the heel of the neck is too high for a one sided job), hence the cylinders, which have a holes for location pins, which I could insert in location holes the wasteboard to position it correctly for cutting the second side…
With the understanding that your knowledge of the required software is paramount here, how much did this approach reduce the total time on this project?
It should be lost on none of us that our 1F’s are tools that truly expand shop capabilities.
Beautiful! would you consider seeking the .crv file?
Very difficult to say, I am not sure I saved much time at all. This was my first cello neck, and I did spend a significant amount drawing, checking and double checking (flamed maple is pretty expensive too, I did not want to waste a piece). Also the two sided cutting took a bit more time than I expected.
With that being said, a violin neckgraft usually takes 40 hours of work (including varnish retouch and new bridge), I might have maybe a day less work. You also have to keep in mind that I make the fingerboard as well, which will save me another few hours. I believe with a cello thing are similar, I expect 20% time savings in the future.
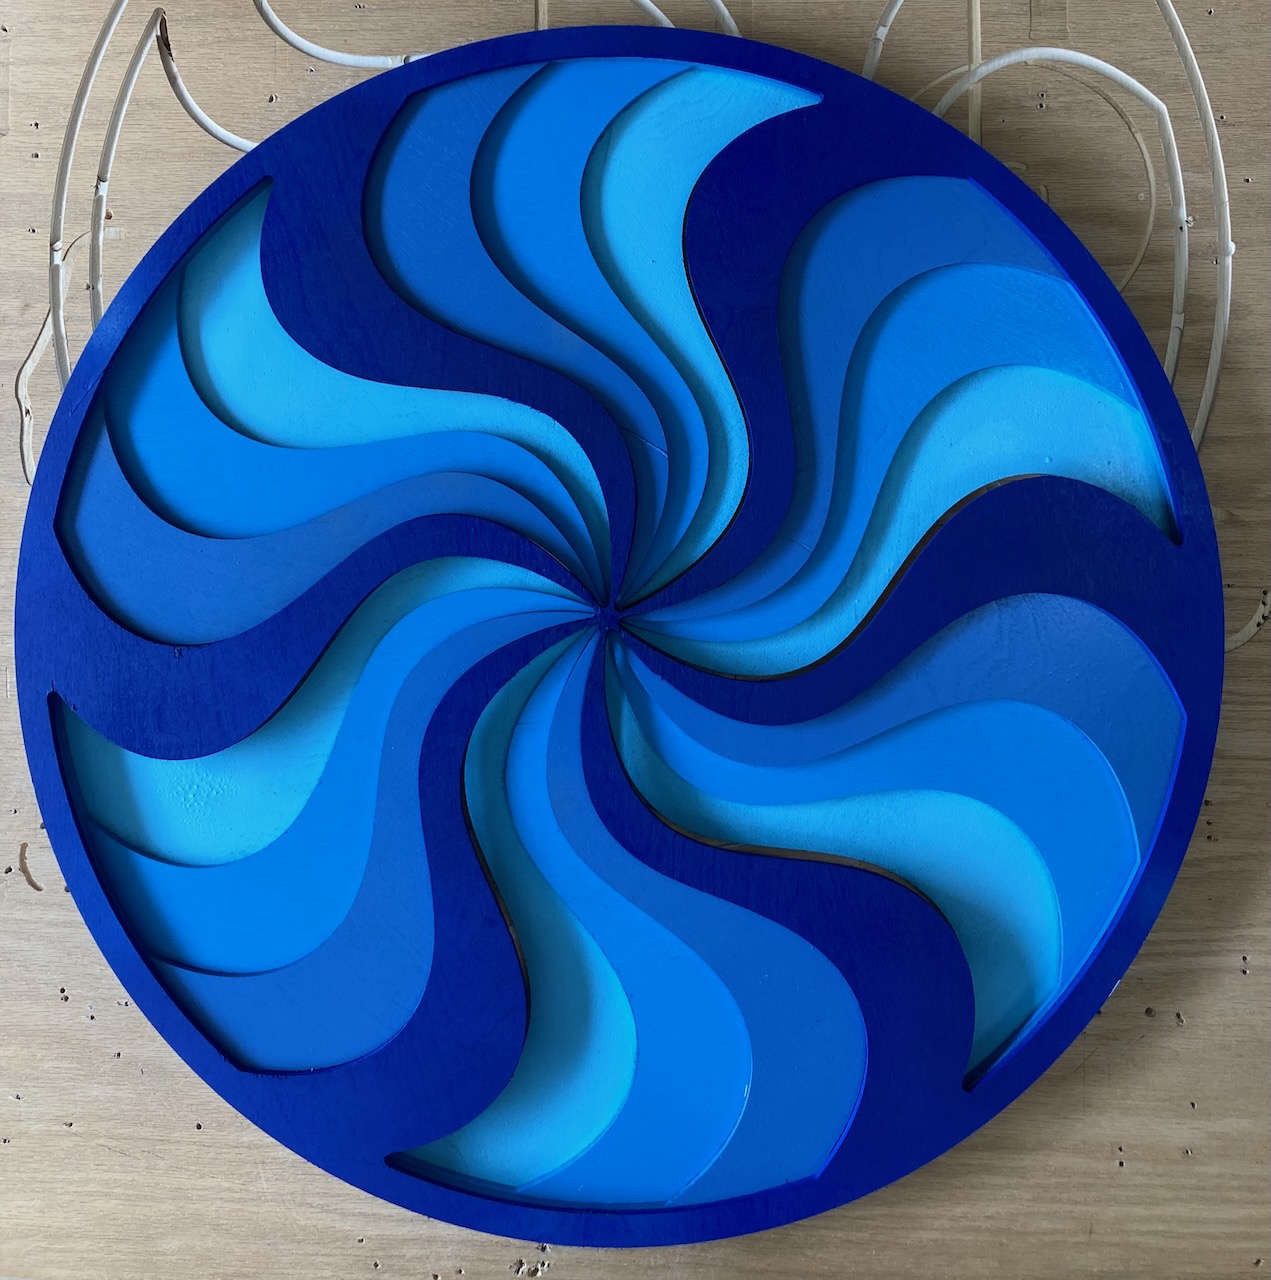
Now that is REALLY cool! And your colors are excellent.
Pony