+1 for the Acorn option!!
+1 for rotary on non elite units…possibly with Acorn processor as an upgrade?
1 Like
A feed override addon for non Elite machines with buildbotics controller
1 Like
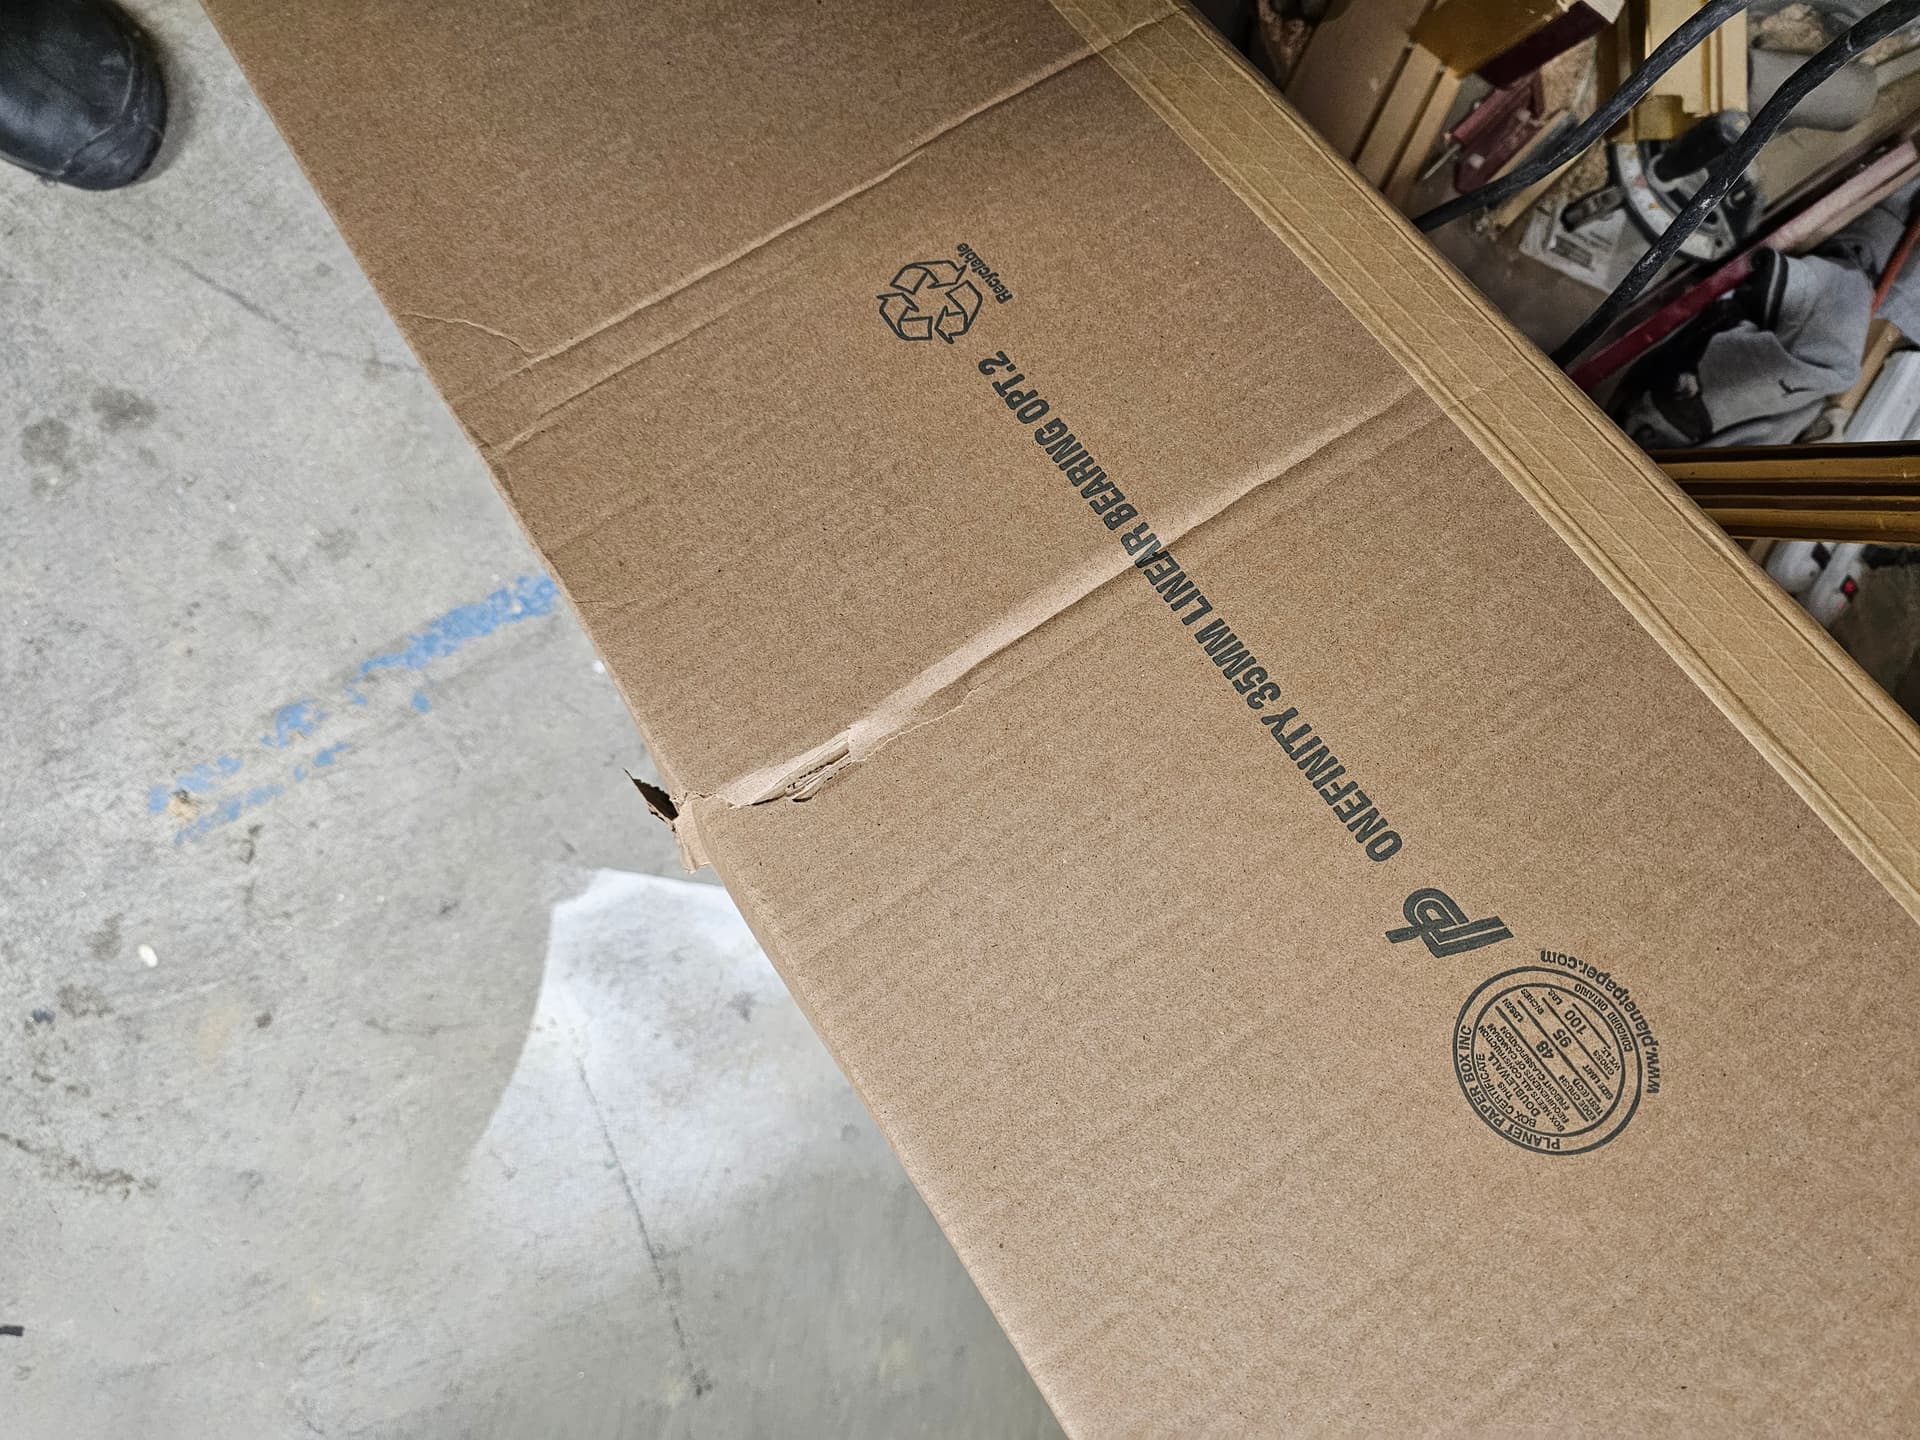
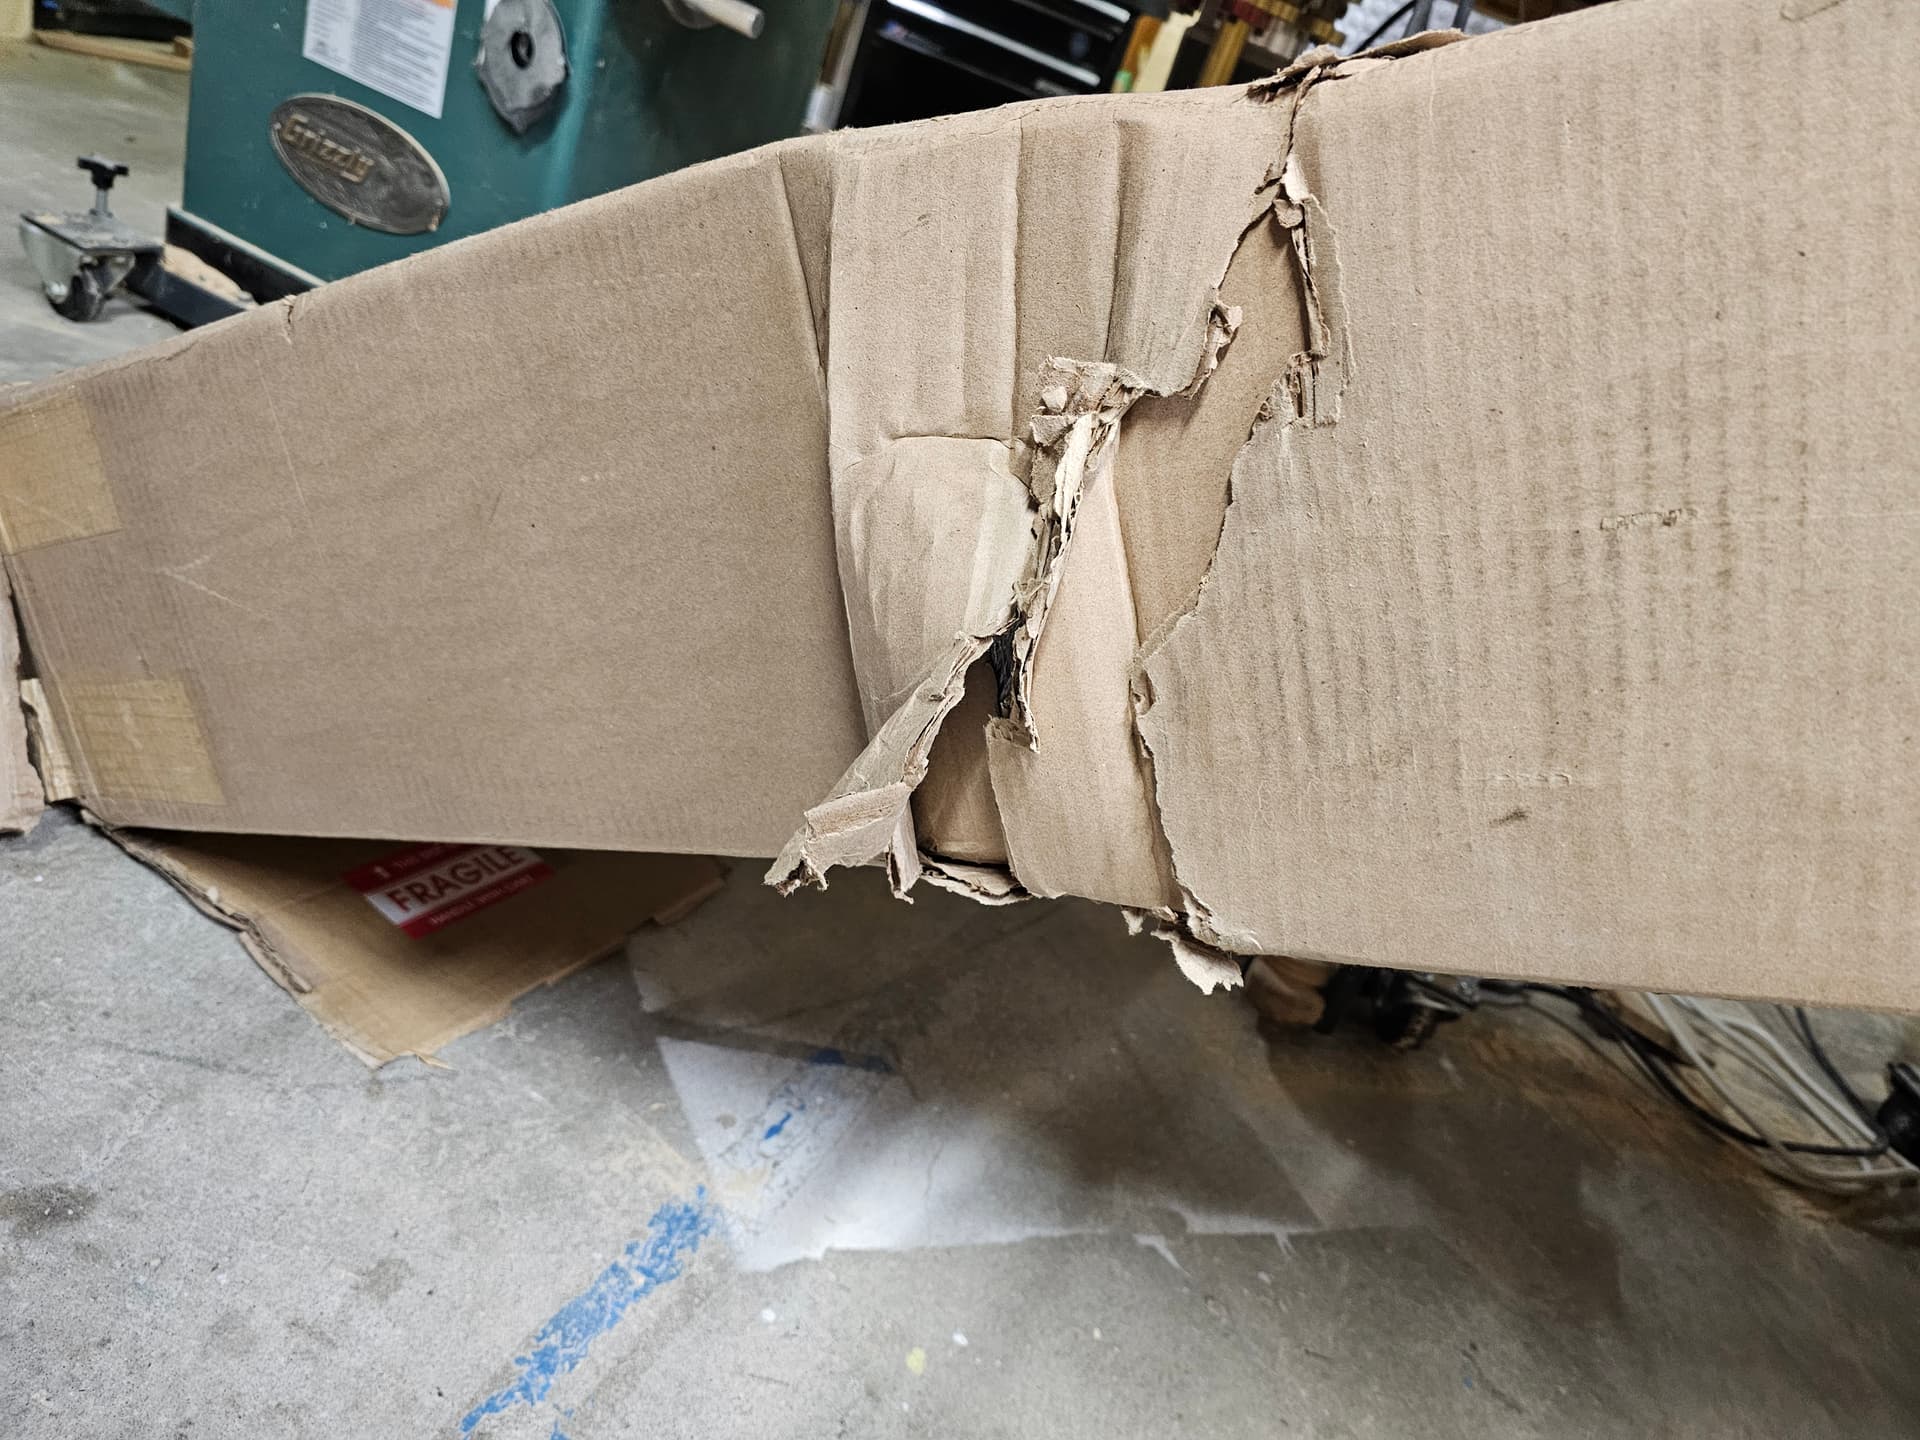
I meant to suggest do NOT change the packaging at all. UPS beat up my order pretty well and everything was completely protected/isolated. You have mastered packaging, I appreciate the investment.
1 Like
I would love to see a new Z-axis mount that allowed an additional 2-4 inches in Z travel for the Z-20.
Hello MK-
This post is a little old but maybe you can help me. I have an elite on the way, and I have a several years experience with RhinoCam in a professional context. I’ve been looking to see if there is a Masso/onefinity post processor that’s ready to rock, but so far I’ve been unsuccessful. I’ve looked online around Masso, MecSoft, and in rhinocam itself but I don’t find one. Likely I’m missing something. Are you aware of one?
thanks!
will
I’m using Rhino and RhinoCAM, latest versions, and there is a Mass post processor included with RhinoCAM. There is both a metric and imperial one.
1 Like
Ah. I was just checking and my rhinocam is 2021, that’s probably it. For some reason MecSoft doesn’t have the masso processor in their downloads section.
Another one for a pathway to add a rotary (4th axis) on the X-50 BB controller. Give us a breakout board if it’s that easy or give us an option to change out the controller to something besides the Masso. There’s got to be something that could be developed to be “plug and play” for those of us that either don’t want to go the Elite path or can’t afford it.
2 Likes
I’ve been thinking about this and while I’d be happy to have a slightly longer rails to incorporate the ATC tool change area, I really think if going up a size that 64X64 would be a better option. This would not only allow for the tool changer be set on along either axis but cutting of a half sheet of Baltic Birch without cutting it down in size. Thanks
3 Likes
I Just upgraded my system with a kit from Ugly Dog Woodshop. Couple of different sizes available https://www.youtube.com/watch?v=MFFtKKT_928
This youtube channel has another video of the process.www.youtube.com/@MitchellsWoodwork
It takes some time and $$. You can order it as a kit or maker files for the major parts to print your own and order the chain lengths from the Ugly Dog site. I printed my own. it has advantages but the print quality is better ordering it as a kit. A big plus is that you can chat with the staff, the owner I think, of the company. I have never waited more than a few minutes for a reply to questions.
1 Like
OMG, when mine arrived I was about to panic. One of the boxes for he Y axis looked like it had fallen off the truck or been run over by it. Perhaps they used a fork lift and this one was on the bottom. the box was literally bent in the middle but everything was intact inside.

I’m a plus one on shorter X with a 48 or longer Y. I’m looking to do things in the 24 inch range but with Y dims that are 48" or longer. I’d really like to be able to purchase a 32X48 or longer. I’m only cutting foam so I suspect a 72" or 96" inch travel in the Y with the 50mm tubes would be fine for me. Even at the 48 inch Y the narrower machine would allow me to save a bunch of space in the shop and tile my cuts to get the needed length. Seems like the X Y Swap would be an easy one in software space…
For the BB controller to save it’s exact location so that when power goes out and then comes back on, I can simply click on a "Resume " button for the cutting to continue. All my 3D printers have this feature and it would be very easy to do software wise.
Add a thin tramming plate to the Z axis. This plate would have two micro adjusters to get the spindle perpendicular to the the table.
2 Likes
I whole heartedly agree with the tramming plate. I’m thought many a time of taking my entire Z slider to a machine shop and having it done.
Pony
Yes I know the ones you’re talking about, but I would like something better so I don’t have to mess with foil shims. Also maybe better placement of the bolts so they’re easier to get to.
I’m going to take the HD Z assembly into a local machine shop and get his opinion. This guy really knows his stuff.
Pony
X-35 with the 80mm HD Z
Upper & lower bolts aren’t the easiest to get to
The only way to tram in Y is with shims unless you know an easier way.
Pony

1 Like
You can see the bolts for tramming front to back in this post.
3 Likes
Thanks NewsVan! Every video on tramming the Onefinity I’ve seen shows using tape or foil and here you come along and tell us about the bolts! LOL Good grief, I just went through the whole tramming process two days ago - taking the bolts out, inserting a different thickness, reinserting the bolts and so on. Got it nailed, but I would have loved to have known about the tramming bolts!
2 Likes